There's a bit of labor involved with prepping the garage floors and then making use of the paint, but the benefits may well be stunning and creative very. When you're using a normally wasted space for family enjoyable, you will see the value of garage flooring. They actually do change in cost depending on the type of mat selected, size as well as design.
Images about Best Garage Floor Coating DIY
Some might cost you money, and many might not, but many of them likely have a little something to do with improving the looks or perhaps usability of your house. Ensure that you check around at your area home improvement centers to determine what alternatives are available. So you've established what garage flooring you want to buy, and it's now time to find the specific tiles.
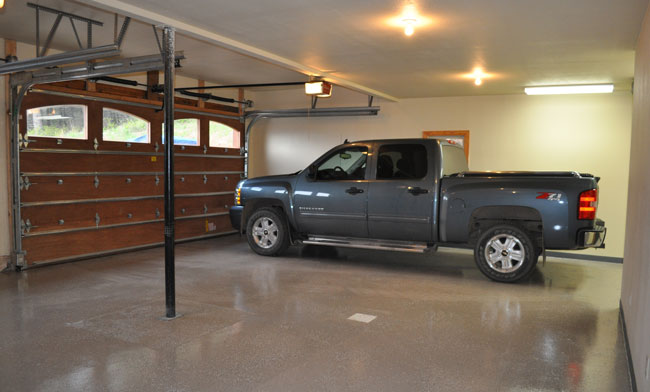
Coatings Pro v. DIY Epoxy Garage Floor Kits CoatingsPro Magazine
Garage flooring coatings takes fairly a shorter time to finish. However, thinking about just how much the garage is used, to hold lawnmowers, cars as well as offering a great spot for children to enjoy during bad weather, applying the perfect choice of garage floor paint will not only enhance the look of the whole garage.
DIY vs. Professional Garage Floor Coatings u2014 Advanced Flooring Systems
DIY How-To Renew a Pitted Garage Floor with a Nohr-S Coating All
Coatings Pro v. DIY Epoxy Garage Floor Kits CoatingsPro Magazine
How to Epoxy Your Garage Floor in 9 Steps
Why the Best DIY Garage Floor Coating Kits are not Epoxy All
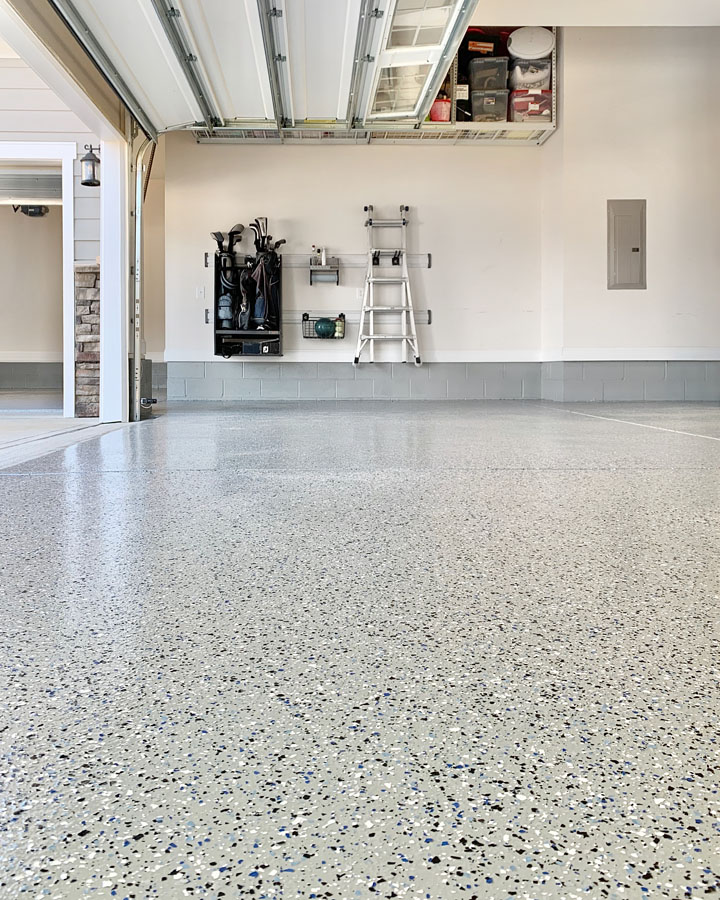
DIY Epoxy Garage Floors
Which Garage Floor Coating Is Best? – Mile High Coatings
DIY Epoxy Garage Floors
Why Nohr-S is a Leading DIY Polyurea Garage Floor Coating All
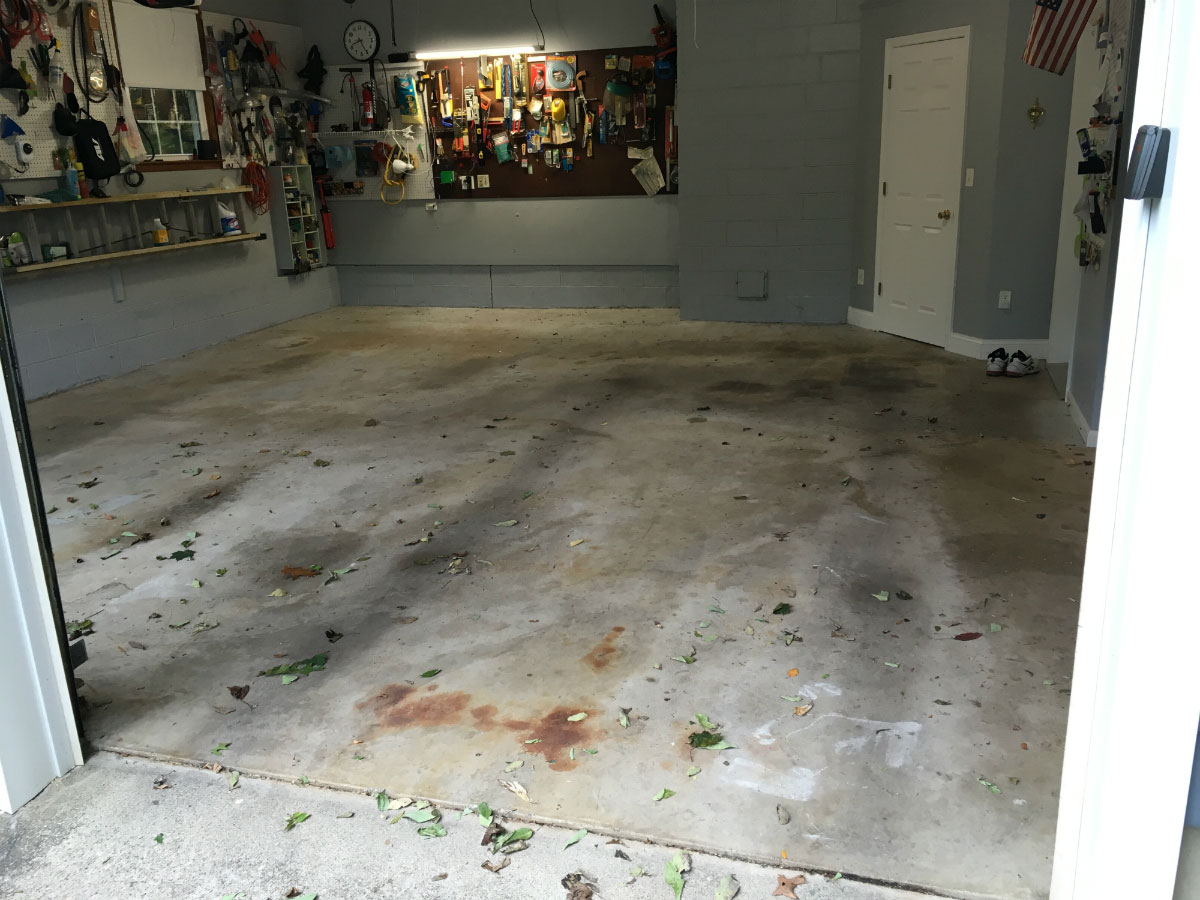
DIY Epoxy Garage Floor Coating Repair – Casper, WY

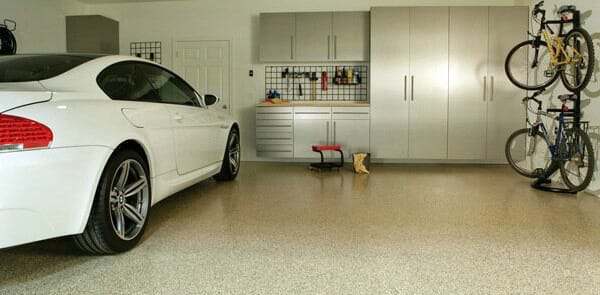
Armor Chip Garage Epoxy Floor Coating ArmorGarage
DIY Epoxy Garage Floor Tutorial – How to make your garage look
Related Posts:
- Garage Floor Protection Mats
- 1 Bedroom Garage Apartment Floor Plans
- How To Install A Garage Floor Drain
- Garage Floor Stain Colors
- Garage Floor Filler
- Liquid Granite Garage Floor
- Ucoat It Garage Floor Coating
- Epoxy Garage Floor Ideas
- Rustoleum Garage Floor Epoxy Touch Up
- Fast Track Garage Flooring
Best Garage Floor Coating DIY: A Comprehensive Guide to Transforming Your Garage
Introduction:
Transforming your garage into a functional and aesthetically pleasing space can greatly enhance the overall appeal of your home. One crucial aspect of this transformation is applying a high-quality garage floor coating. Not only does it protect your floor from stains, spills, and cracks, but it also adds a touch of style to your space. In this article, we will guide you through the best garage floor coating DIY options available, providing detailed instructions and answering frequently asked questions to help you achieve outstanding results.
Choosing the Right Garage Floor Coating:
Before diving into the DIY process, it’s essential to choose the right garage floor coating for your specific needs. There are several options available in the market, each with its own unique characteristics and benefits.
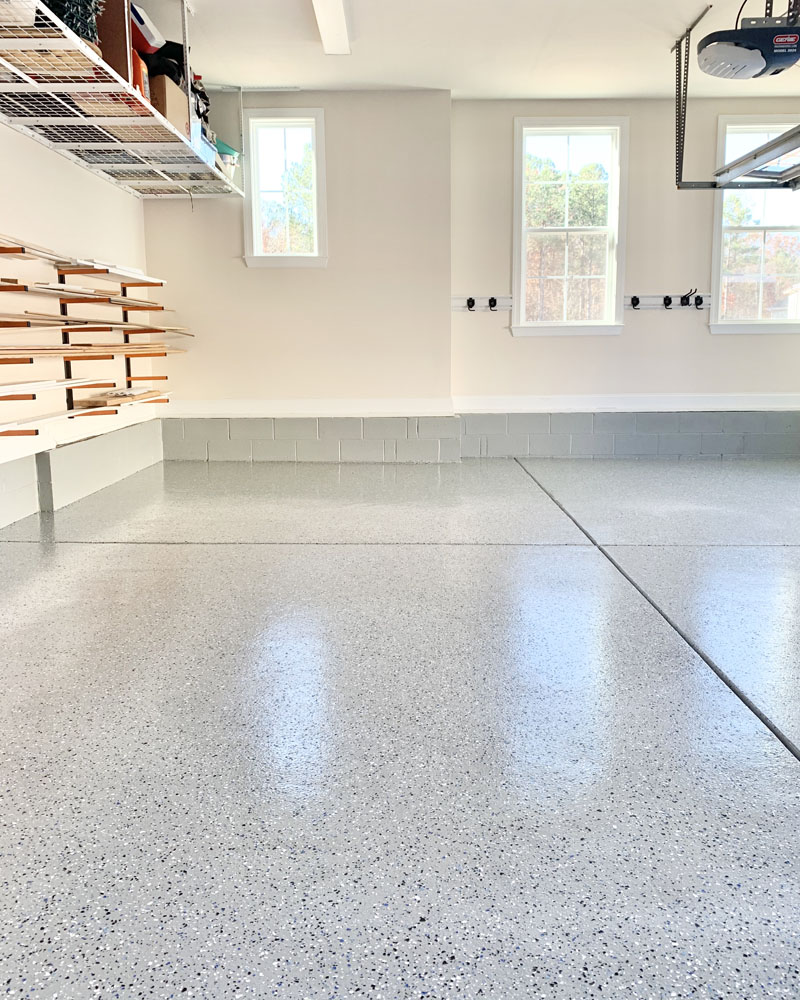
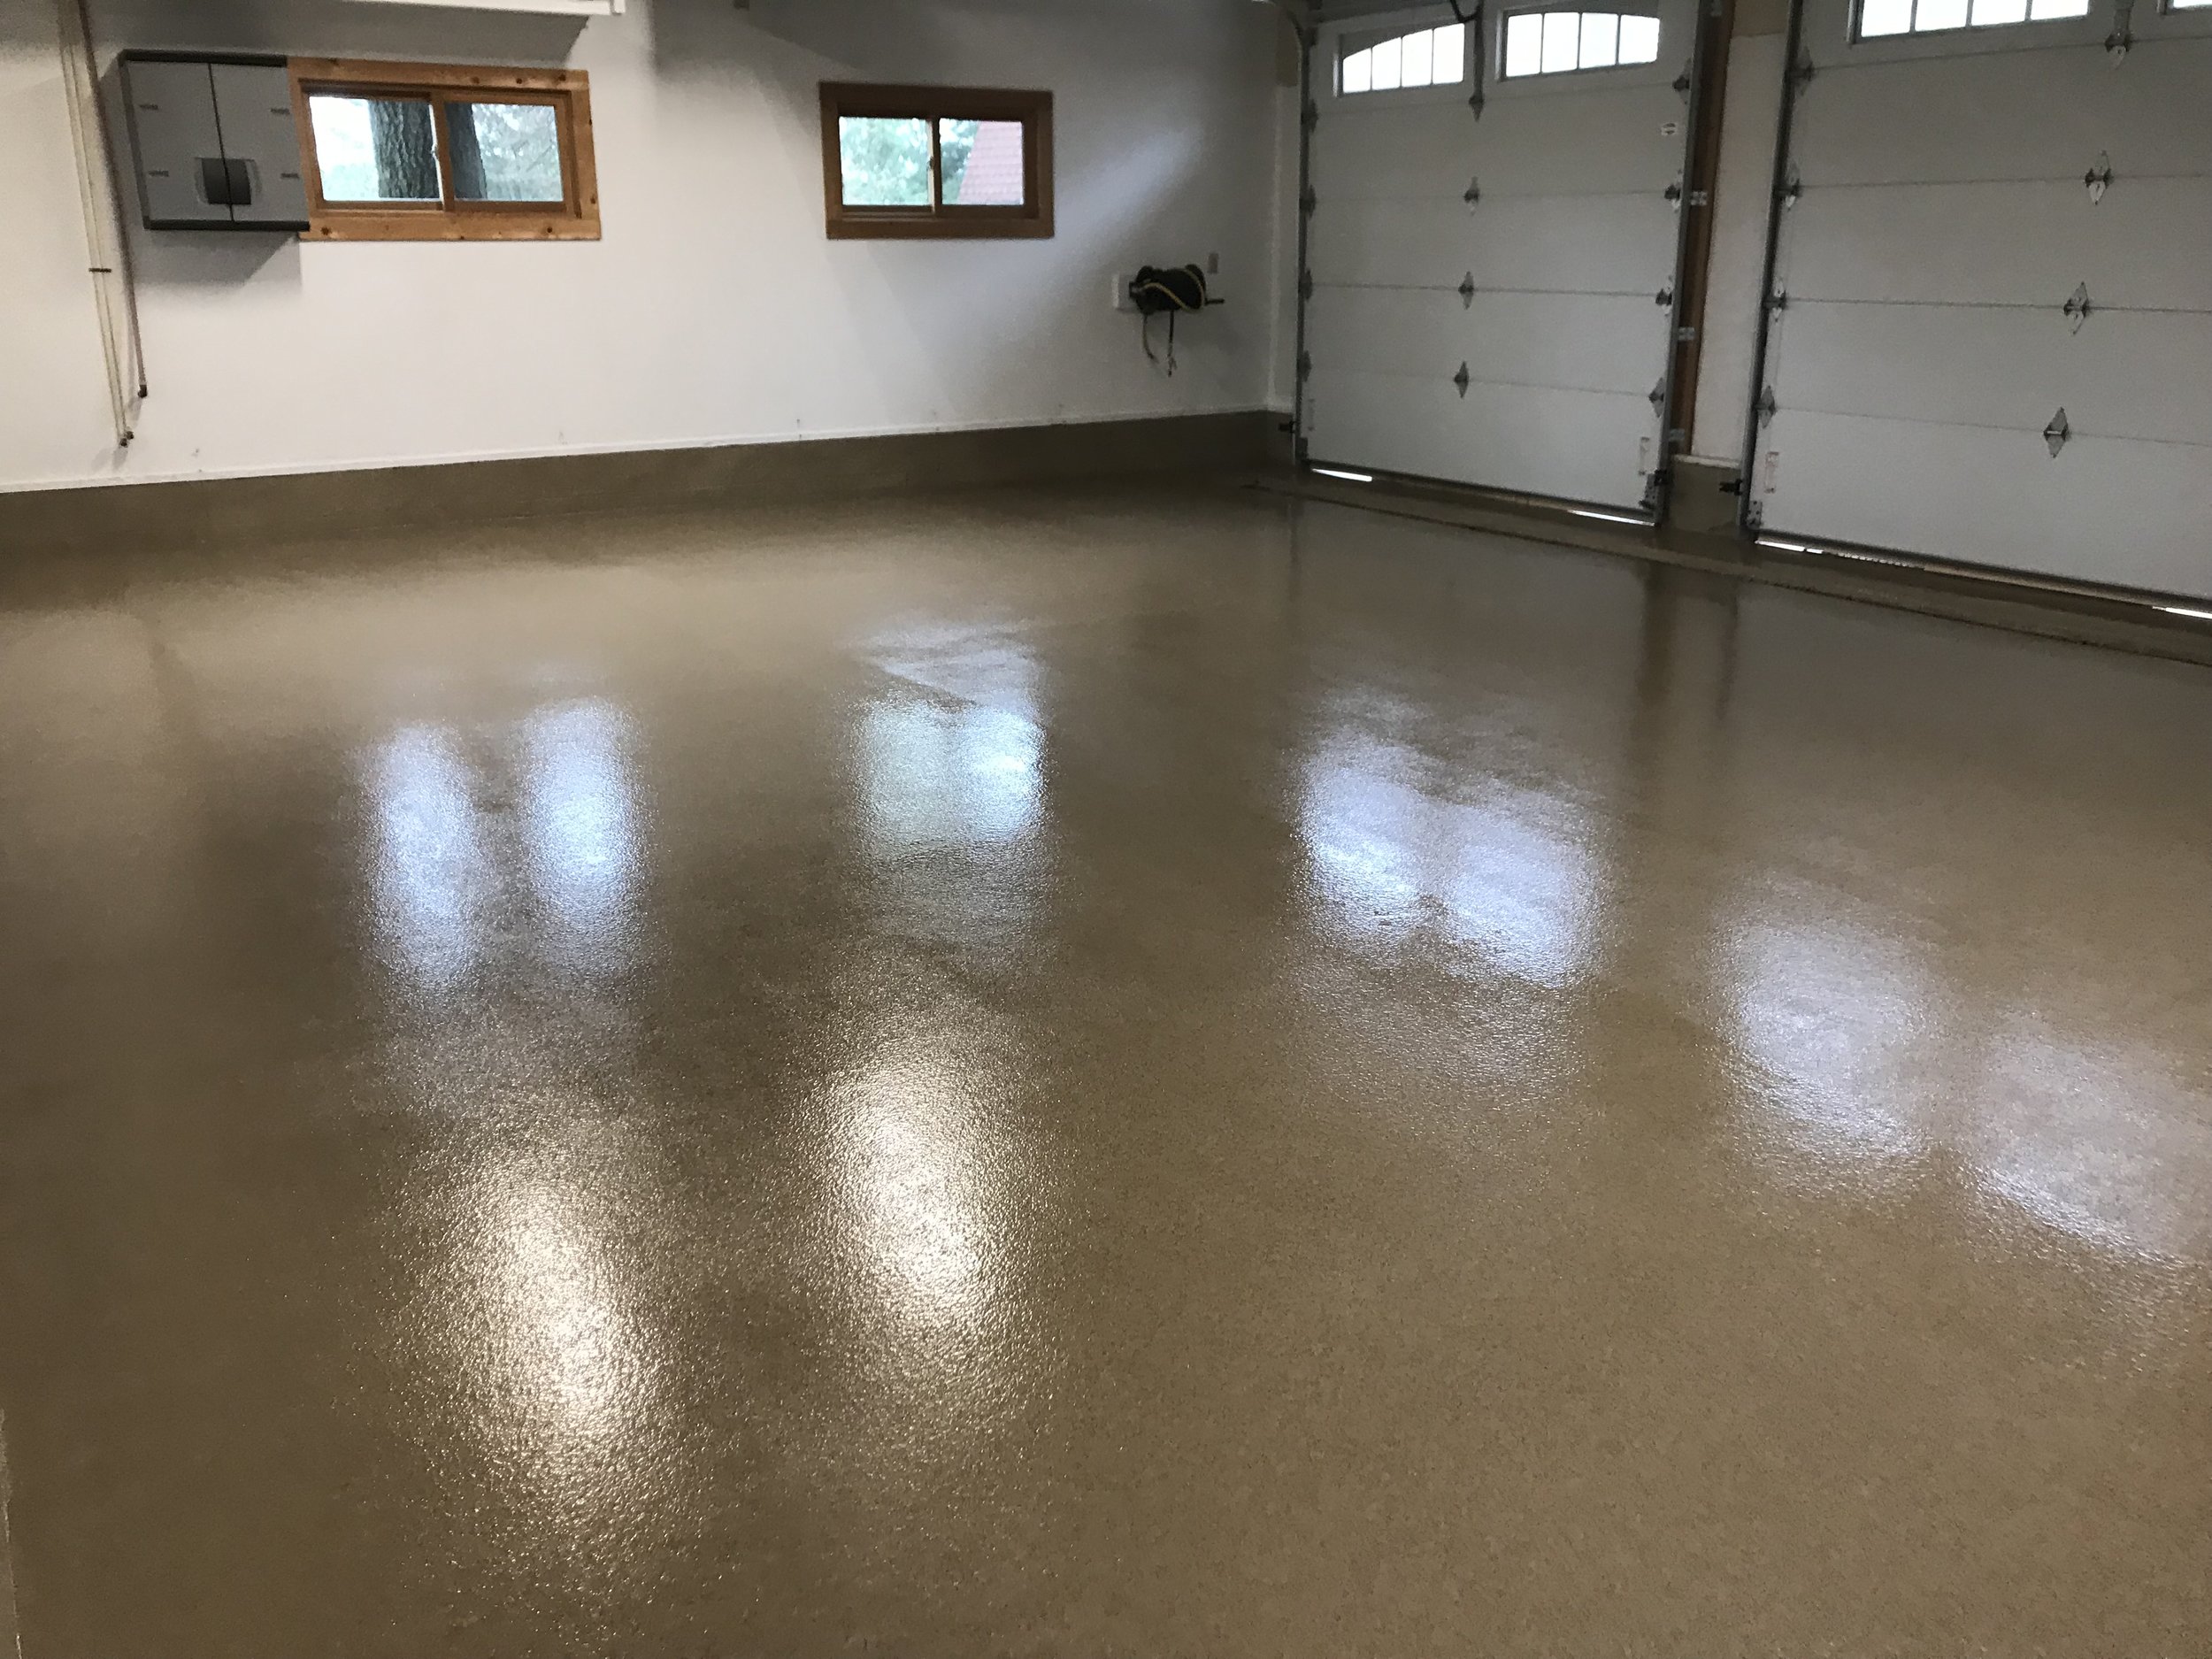
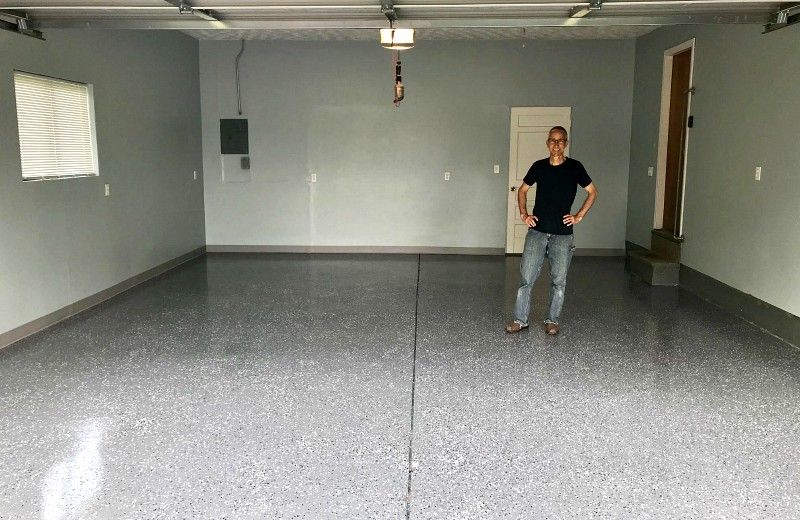
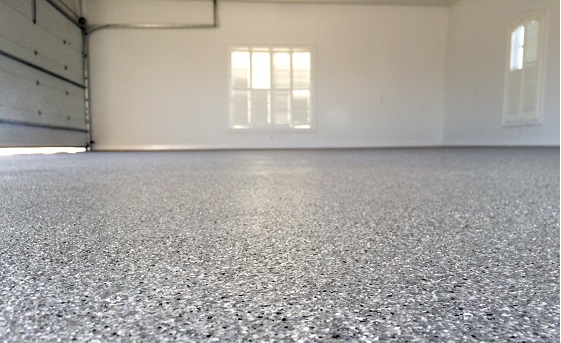
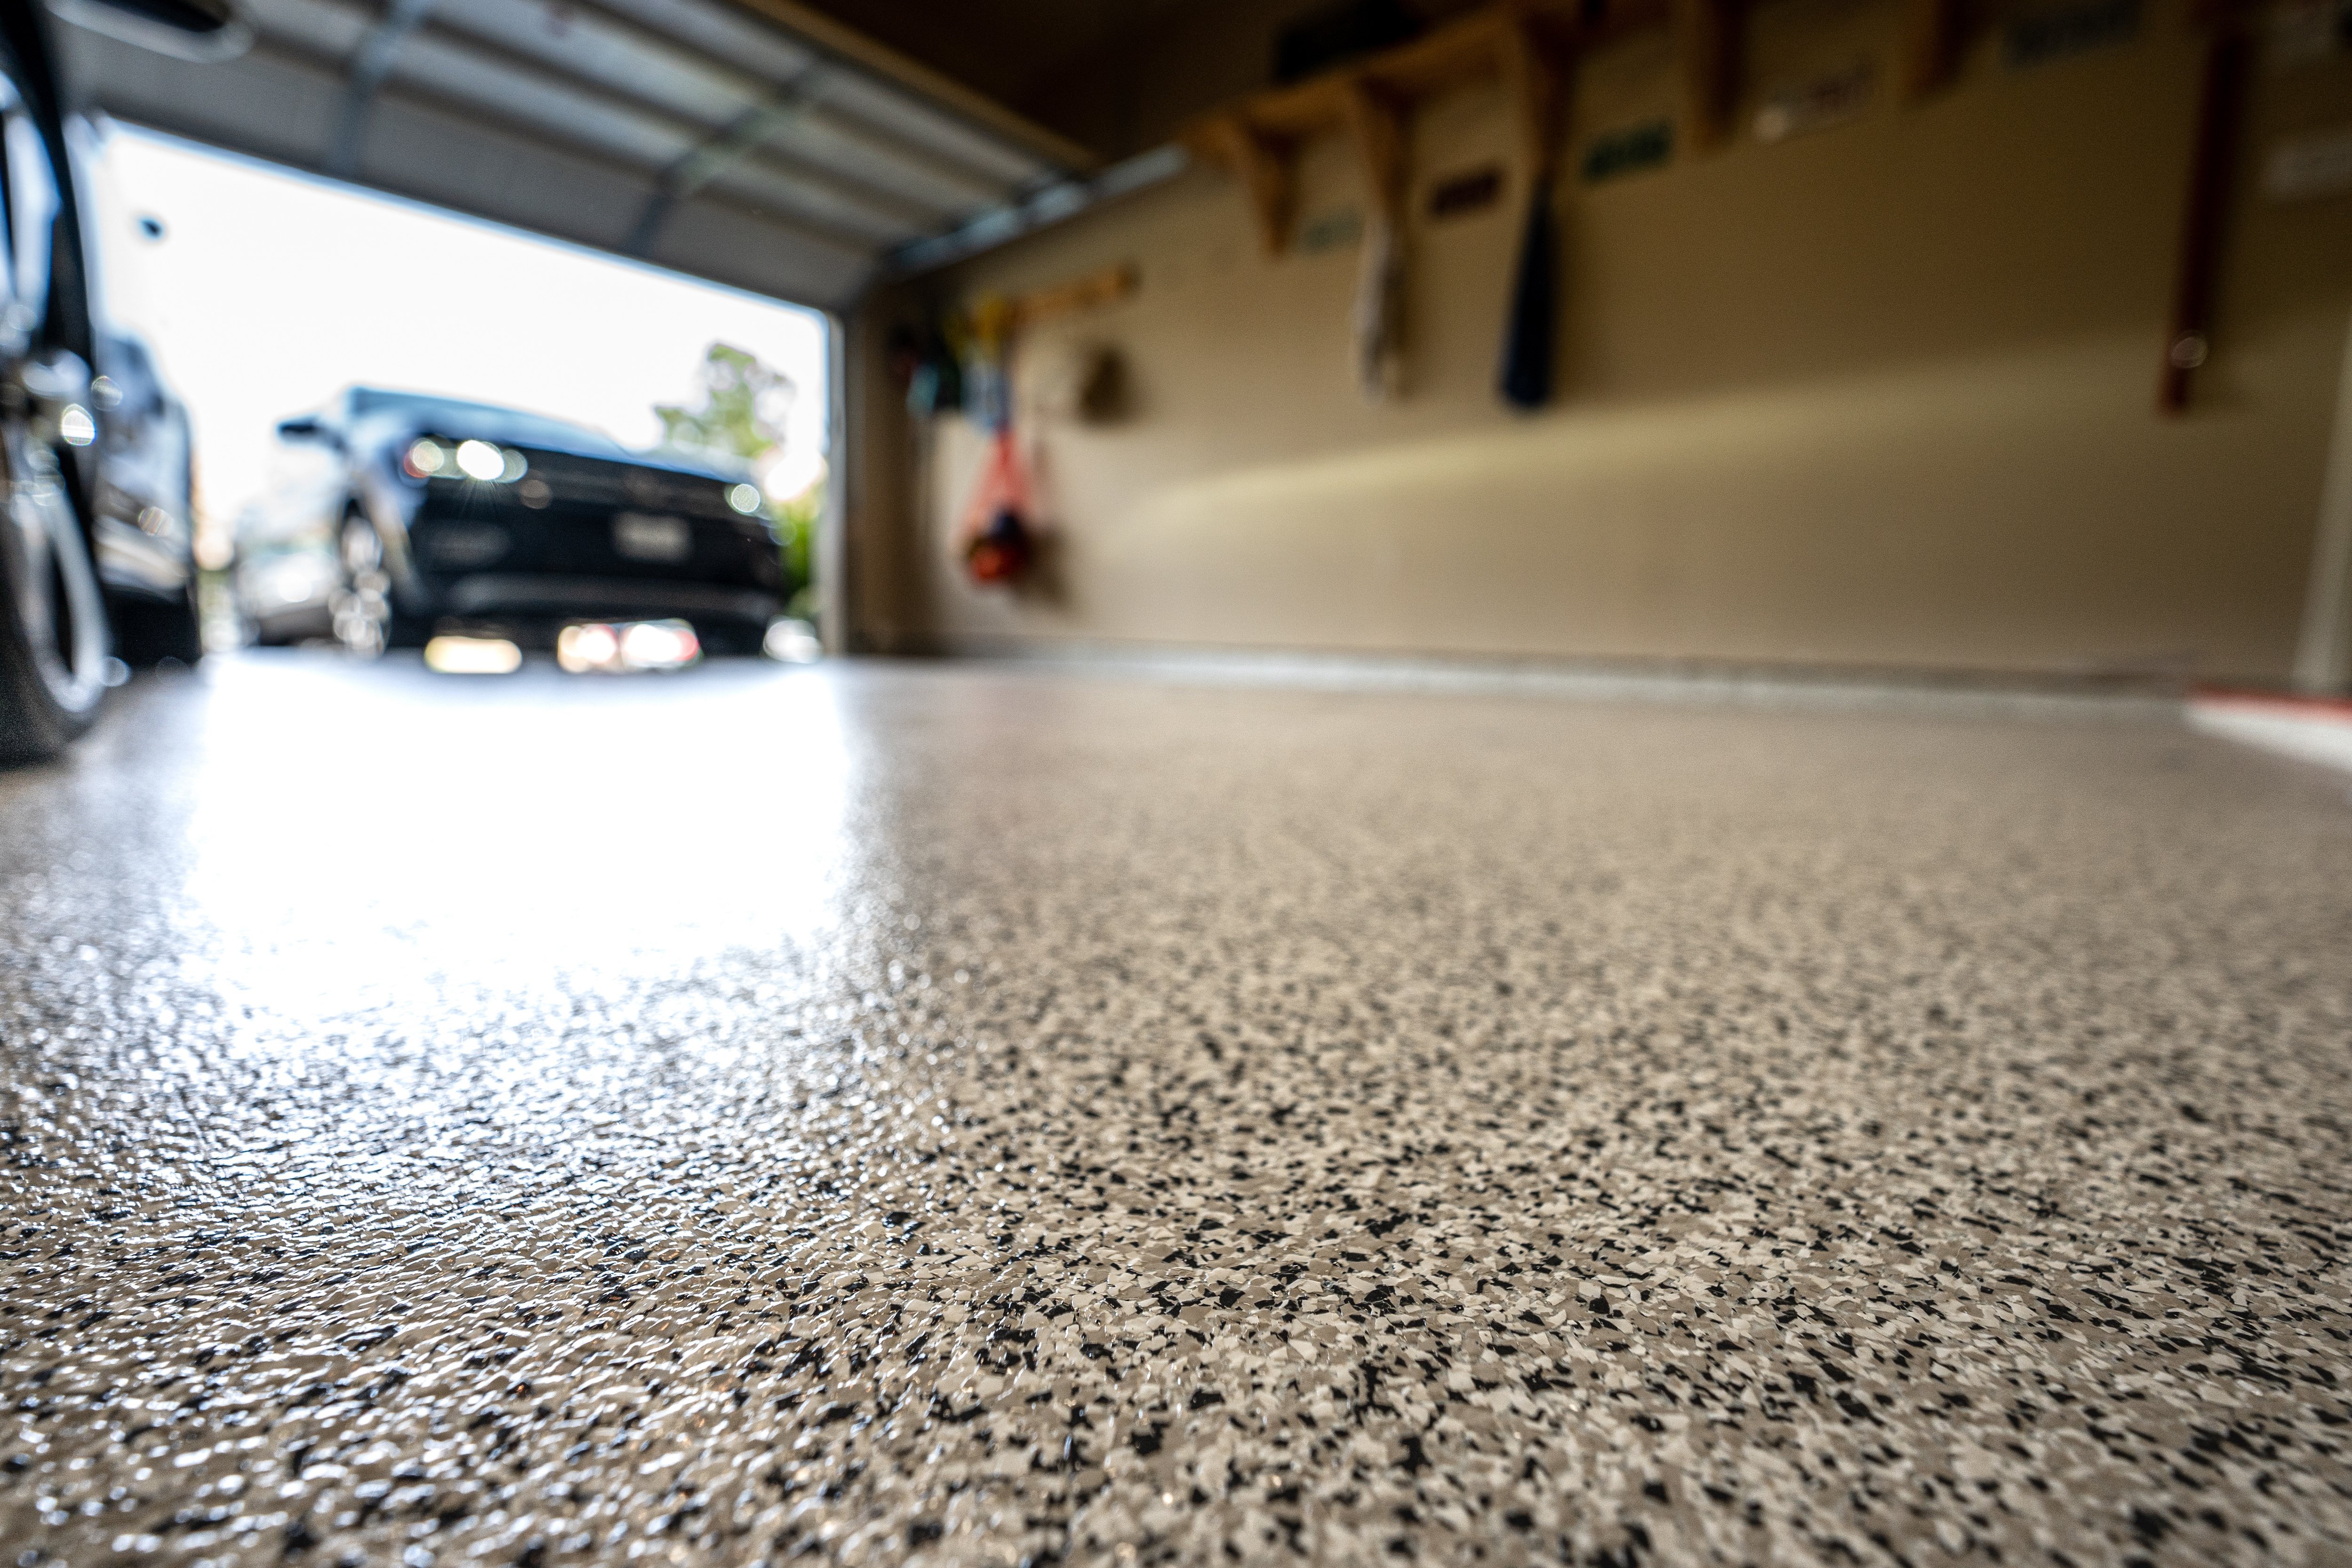
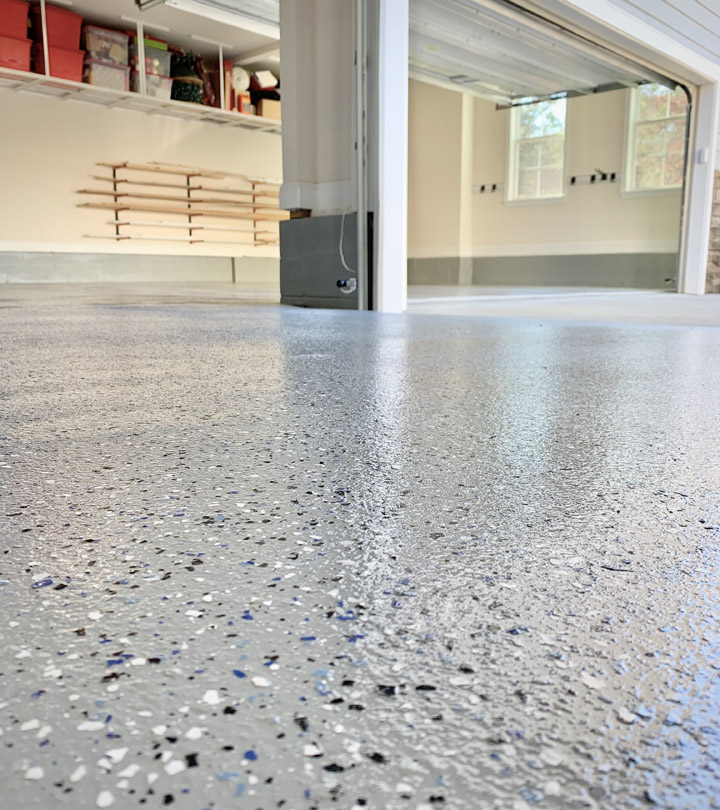
1. Epoxy Coatings:
Epoxy coatings are widely regarded as one of the best choices for garage floors. They offer exceptional durability, resistance to chemicals and stains, and a glossy finish that enhances the overall look of your garage. Additionally, epoxy coatings are relatively easy to apply and provide long-lasting protection.
FAQs:
Q: Can I apply an epoxy coating on my own?
A: Yes, applying an epoxy coating is a popular DIY project. However, it requires careful surface preparation and adherence to application instructions for optimal results.
Q: How long does an epoxy coating typically last?
A: When properly applied and maintained, an epoxy coating can last up to 10 years or more.
2. Polyurea Coatings:
Polyurea coatings are another excellent choice for garage floors. They offer similar benefits to epoxy coatings but have a faster curing time, making them ideal for those who want to complete their project quickly. Polyurea coatings also provide excellent resistance against chemicals, abrasions, and UV rays.
FAQs:
Q: Are polyurea coatings suitable for all types of concrete floors?
A: Yes, polyurea coatings can be applied to a variety of concrete surfaces, including new or old floors.
Q: How long does it take for a polyurea coating to cure?
A: Polyurea coatings usually cure within 24 hours, allowing you to resume regular use of your garage relatively quickly.
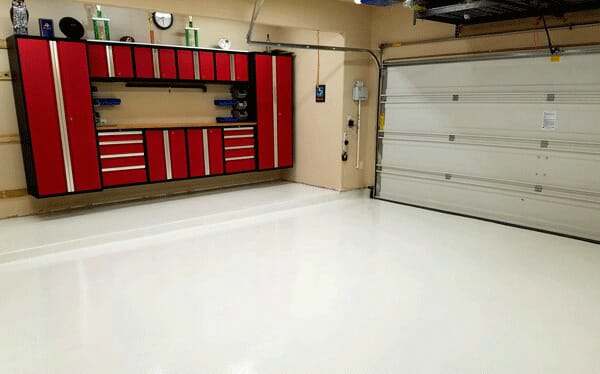
3. Concrete Stains:
If you prefer a more natural and unique look for your garage floor, concrete stains are an excellent choice. They penetrate the surface of the concrete, creating vibrant and translucent colors that enhance the texture and character of the floor. Concrete stains also provide protection against staining and fading.
FAQs:
Q: Can I apply concrete stains on my own?
A: Yes, applying concrete stains is a DIY-friendly project. However, it’s crucial to ensure proper surface preparation and follow the instructions provided by the manufacturer.
Q: Can I change the color of my existing stained concrete floor?
A: While it is possible to change the color of an existing stained concrete floor, it requires thorough cleaning and possibly stripping the previous stain before applying a new one.
Preparing Your Garage Floor:
Proper preparation is key to achieving long-lasting results when applying a garage floor coating. Neglecting this step can lead to adhesion issues and premature coating failure. Follow these steps to prepare your garage floor effectively:
1. Clean the Floor:
Thoroughly clean your garage floor by removing any dirt, dust, grease, or oil. Start by sweeping or vacuuming the entire surface, then use a degreaser or detergent To remove any stubborn stains or grease spots. Rinse the floor thoroughly and allow it to dry completely before proceeding to the next step.
2. Repair Any Damages:
Inspect your garage floor for any cracks, chips, or other damages. Use a concrete repair compound to fill in any cracks or holes, following the product instructions. Allow the compound to dry completely before moving on.
3. Etch the Surface:
Etching the surface of the concrete is essential to ensure proper adhesion of the coating. Use an etching solution or muriatic acid diluted with water according to the manufacturer’s instructions. Apply the solution to the floor and scrub it with a stiff brush or broom. Rinse thoroughly with water and allow it to dry completely.
4. Test for Moisture:
Moisture can compromise the adhesion and durability of your garage floor coating. Perform a moisture test by taping a plastic sheet to various areas of the floor and leaving it for 24-48 hours. If condensation forms under the plastic or if the floor appears damp, you may need to address moisture issues before applying the coating.
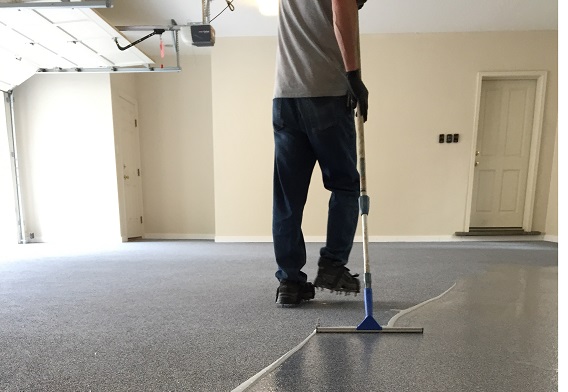
5. Apply the Coating:
Follow the instructions provided by the manufacturer for your chosen garage floor coating. This may include mixing specific ratios, using a roller or brush for application, and allowing sufficient drying time between coats. Apply multiple thin coats rather than one thick coat for optimal results.
6. Maintain Your Garage Floor:
To ensure long-lasting protection and appearance of your garage floor coating, it’s important to maintain it properly. Regularly sweep or vacuum to remove dirt and debris, and clean up any spills or stains promptly. Avoid using harsh chemicals or abrasive cleaners that can damage the coating.
In conclusion, applying a garage floor coating is a great way to enhance the durability, appearance, and longevity of your garage floor. Epoxy coatings, polyurea coatings, and concrete stains are all excellent options to consider. Remember to properly prepare your garage floor before applying the coating and to follow the manufacturer’s instructions for best results.