Before investing in some covering to the concrete floor of yours, it have to be clean and free of any debris which could prevent bonding, including soil, sealer or oil. The flooring is able to complement the kitchen, creating a spectacular masterpiece. No trees are actually cut down when concrete is actually made, a reduced amount of energy is produced to manufacture it as opposed to other flooring types, and concrete flooring doesn't have volatile organic compounds.
Images about Concrete Floor Prep For Stain
The polished concrete is a fast printer getting a standard problem in many places throughout the planet and this is partly because numerous men and women are appreciative of the beauty of its and in addition since many instances only are not able to stand having other type of floor. Sealed concrete has an extremely low environmental impact.
How to Prep Concrete for Stain – Surface Preparation Tips
Sometimes grease, oil or other things are able to discoloration concrete floor. The one thing that will scrape a concrete floor is a jackhammer. They may be reinforced so as to be powerful enough to carry the weight of a truck. Dying isn't the only style choice for polished concrete flooring. The dust and dirt doesn't follow the floor, like it lets you do with carpet.
Concrete Surface Preparation: How-to Guide Direct Colors
How to Stain Concrete
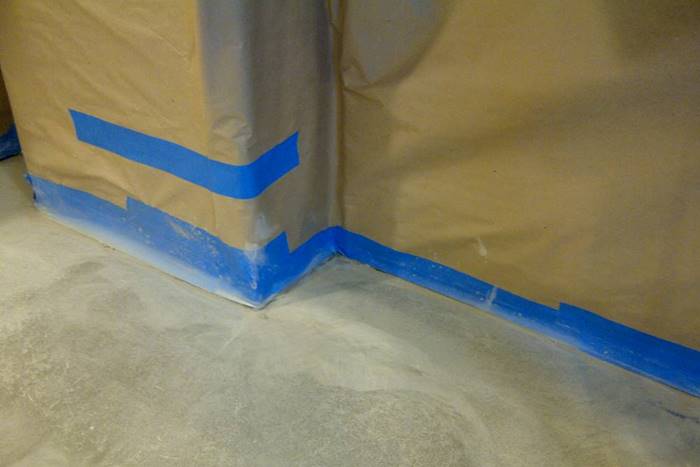
Preparing Your Floor For An Acid Stain Bach Custom Coatings

Stained Floors – G-F One Garage Floor Coatings
How to Prep Concrete Floors for Staining Concrete Floor Supply
Staining A Concrete Floor Is Easy, Just Follow Our Step By Step
How To Stain Old Concrete The Complete Guide
Staining A Concrete Floor Is Easy, Just Follow Our Step By Step
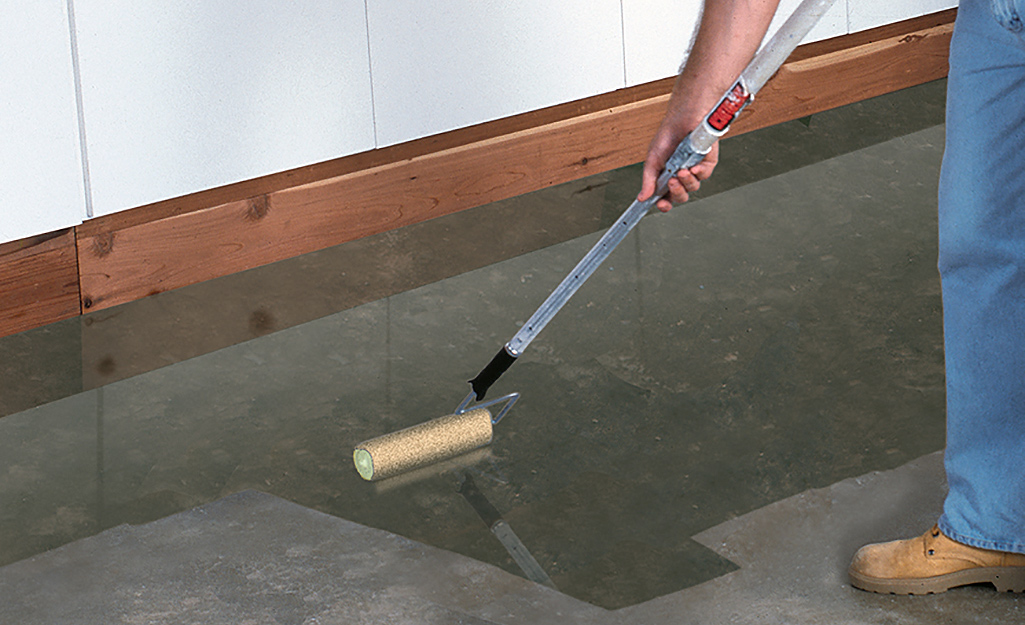
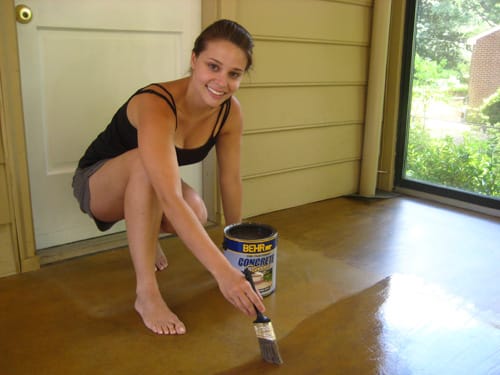
How-to Prepare Uncoated Surfaces for Concrete Stain Behr
![]()
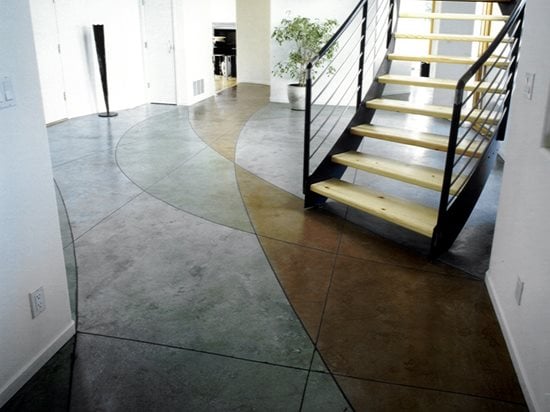
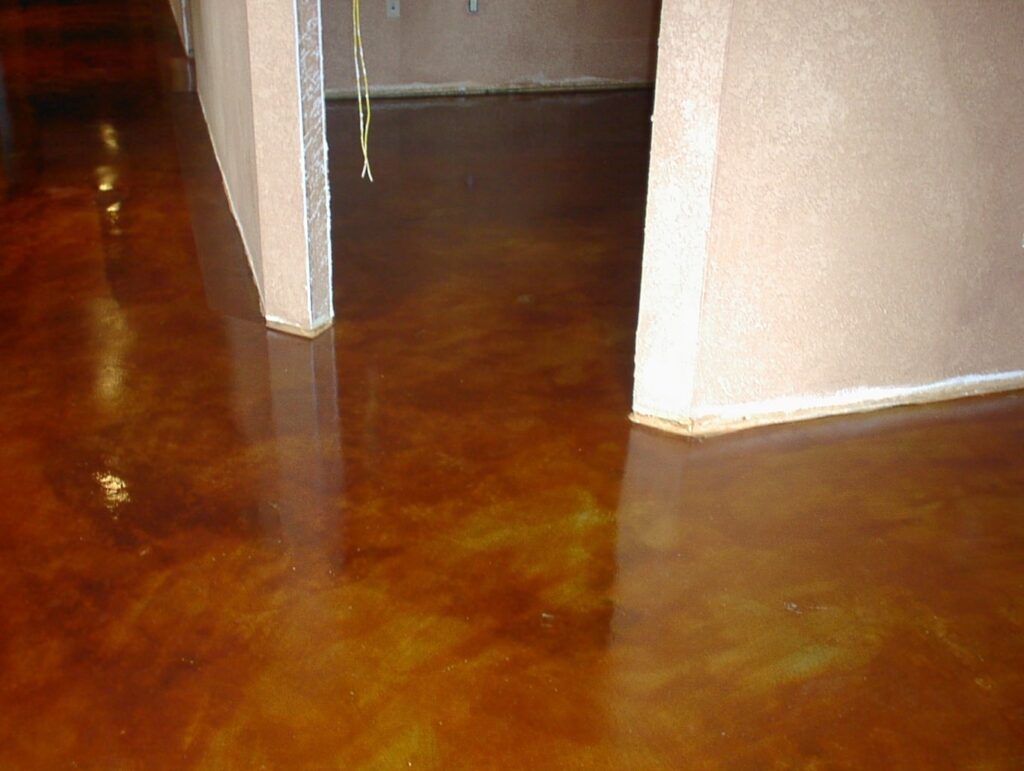
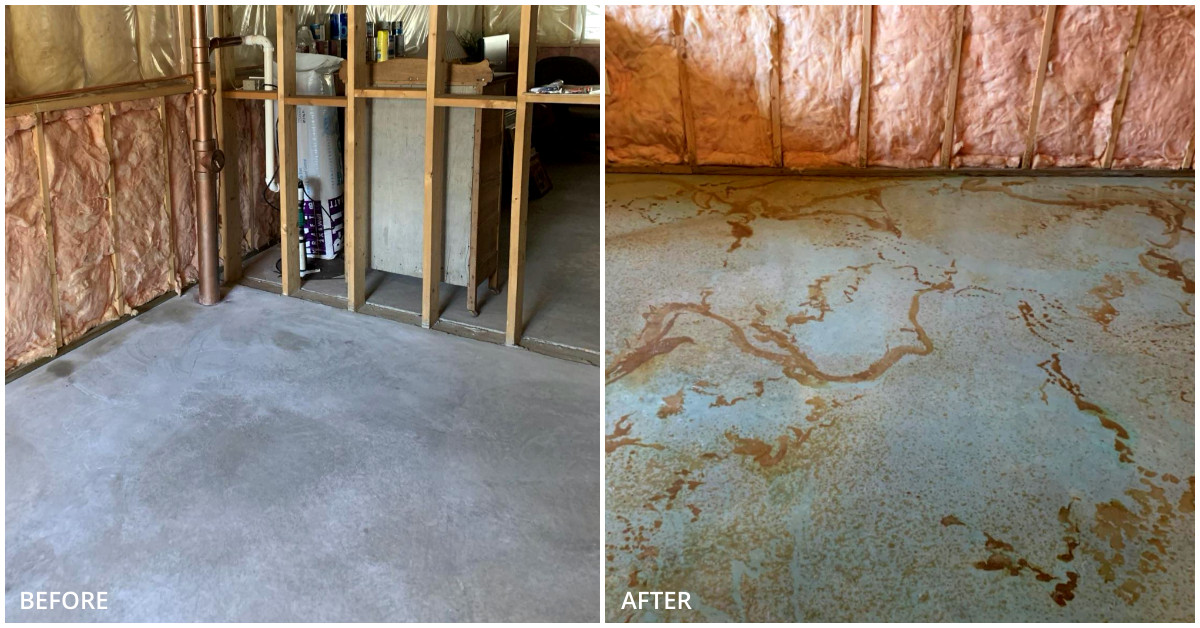
Acid Stained Hard Troweled Concrete Floor Direct Colors
How to Stain Concrete
How to stain interior concrete floors in 5 steps – Prosoco
Related Posts:
- Behr Epoxy Concrete Floor Paint
- Concrete Floor Preparation For Wood Flooring
- Epoxy Paint For Concrete Floors Colors
- Rent Concrete Floor Cleaner
- Heated Concrete Floor Tubing
- Concrete Floor Staining Process
- Concrete Floor Interior Design
- Concrete Floors In Your Home
- Cost Of Poured Concrete Floor
- Outdoor Polished Concrete Floors
Concrete Floor Prep For Stain: A Comprehensive Guide to Achieving a Beautiful and Durable Finish
Introduction:
A stained concrete floor can add a touch of elegance and sophistication to any space, be it a home, office, or commercial establishment. However, achieving that perfect stained finish requires careful preparation of the concrete surface. In this comprehensive guide, we will walk you through the step-by-step process of concrete floor prep for stain, from assessing the condition of the concrete to applying the final sealer. Whether you are a DIY enthusiast or a professional contractor, this article will provide you with all the information you need to ensure a successful staining project.
I. Assessing the Condition of the Concrete:
Before diving into the preparation process, it is crucial to assess the condition of your concrete floor. This step will help you identify any existing issues that may affect the staining process and allow you to address them beforehand.
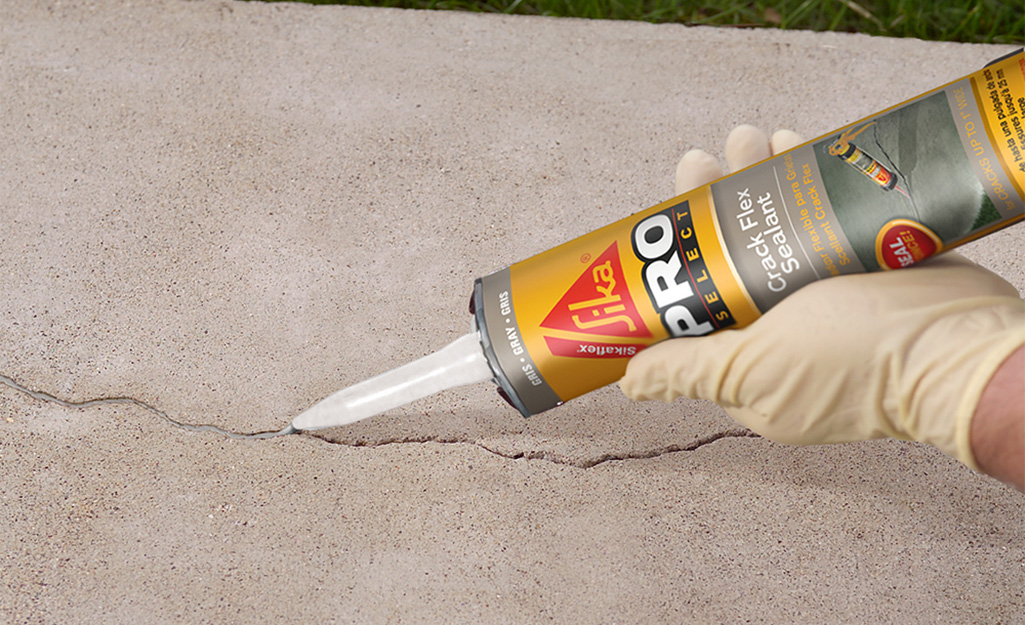
1. Inspect for Cracks:
Start by thoroughly inspecting the concrete surface for cracks. These can be caused by shrinkage, settling, or other factors. Small cracks can usually be repaired with an appropriate concrete filler, while larger cracks may require professional intervention.
FAQ: How do I determine if a crack in my concrete floor is significant enough to require professional repair?
Answer: Generally, cracks wider than 1/8 inch or those that continue to expand should be evaluated by a professional. Additionally, if there is any structural concern or if the crack extends through multiple layers of the concrete, it is best to consult an expert.
2. Check for Moisture Issues:
Moisture problems can adversely affect the adhesion and longevity of a stained concrete floor. Perform a simple moisture test by placing a plastic sheet on different areas of the floor and sealing the edges with duct tape. Leave it for 24 hours and check for condensation or darkening under the plastic. If moisture is present, it must be addressed before proceeding with the staining process.
FAQ: What causes moisture issues in concrete floors, and how can they be resolved?
Answer: Moisture issues can arise from various sources such as hydrostatic pressure, improper curing, or water infiltration. To resolve them, consider installing a vapor barrier, improving drainage around the foundation, or using moisture mitigation systems like epoxy coatings or moisture-resistant primers.
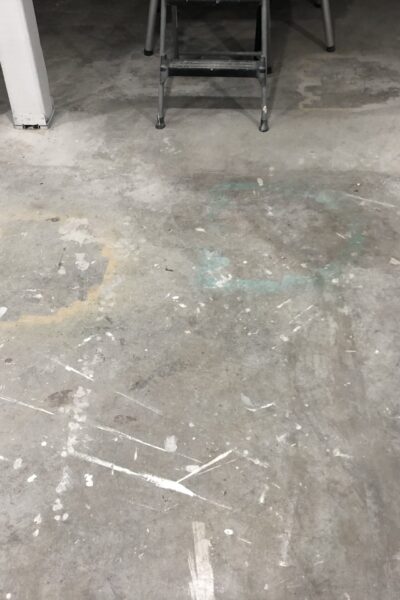
3. Evaluate Surface Contamination:
Concrete surfaces may accumulate contaminants such as oils, grease, paint, or sealers over time. These substances can interfere with the staining process and compromise adhesion. Proper cleaning and surface preparation are essential to remove any contaminants effectively.
FAQ: What is the best method for removing oil stains from a concrete floor?
Answer: Oil stains can be quite stubborn, but they can be removed using a degreaser or an oil stain remover specifically formulated for concrete. Apply the product to the stained area, scrub with a stiff brush, and rinse thoroughly with water. Repeat if necessary until the stain is completely removed.
II. Cleaning and Preparing the Concrete Surface:
Once you have assessed the condition of your concrete floor and addressed any issues that were identified, it’s time to move on to cleaning and preparing the surface. This step is crucial for ensuring proper adhesion of the stain and achieving a smooth finish.
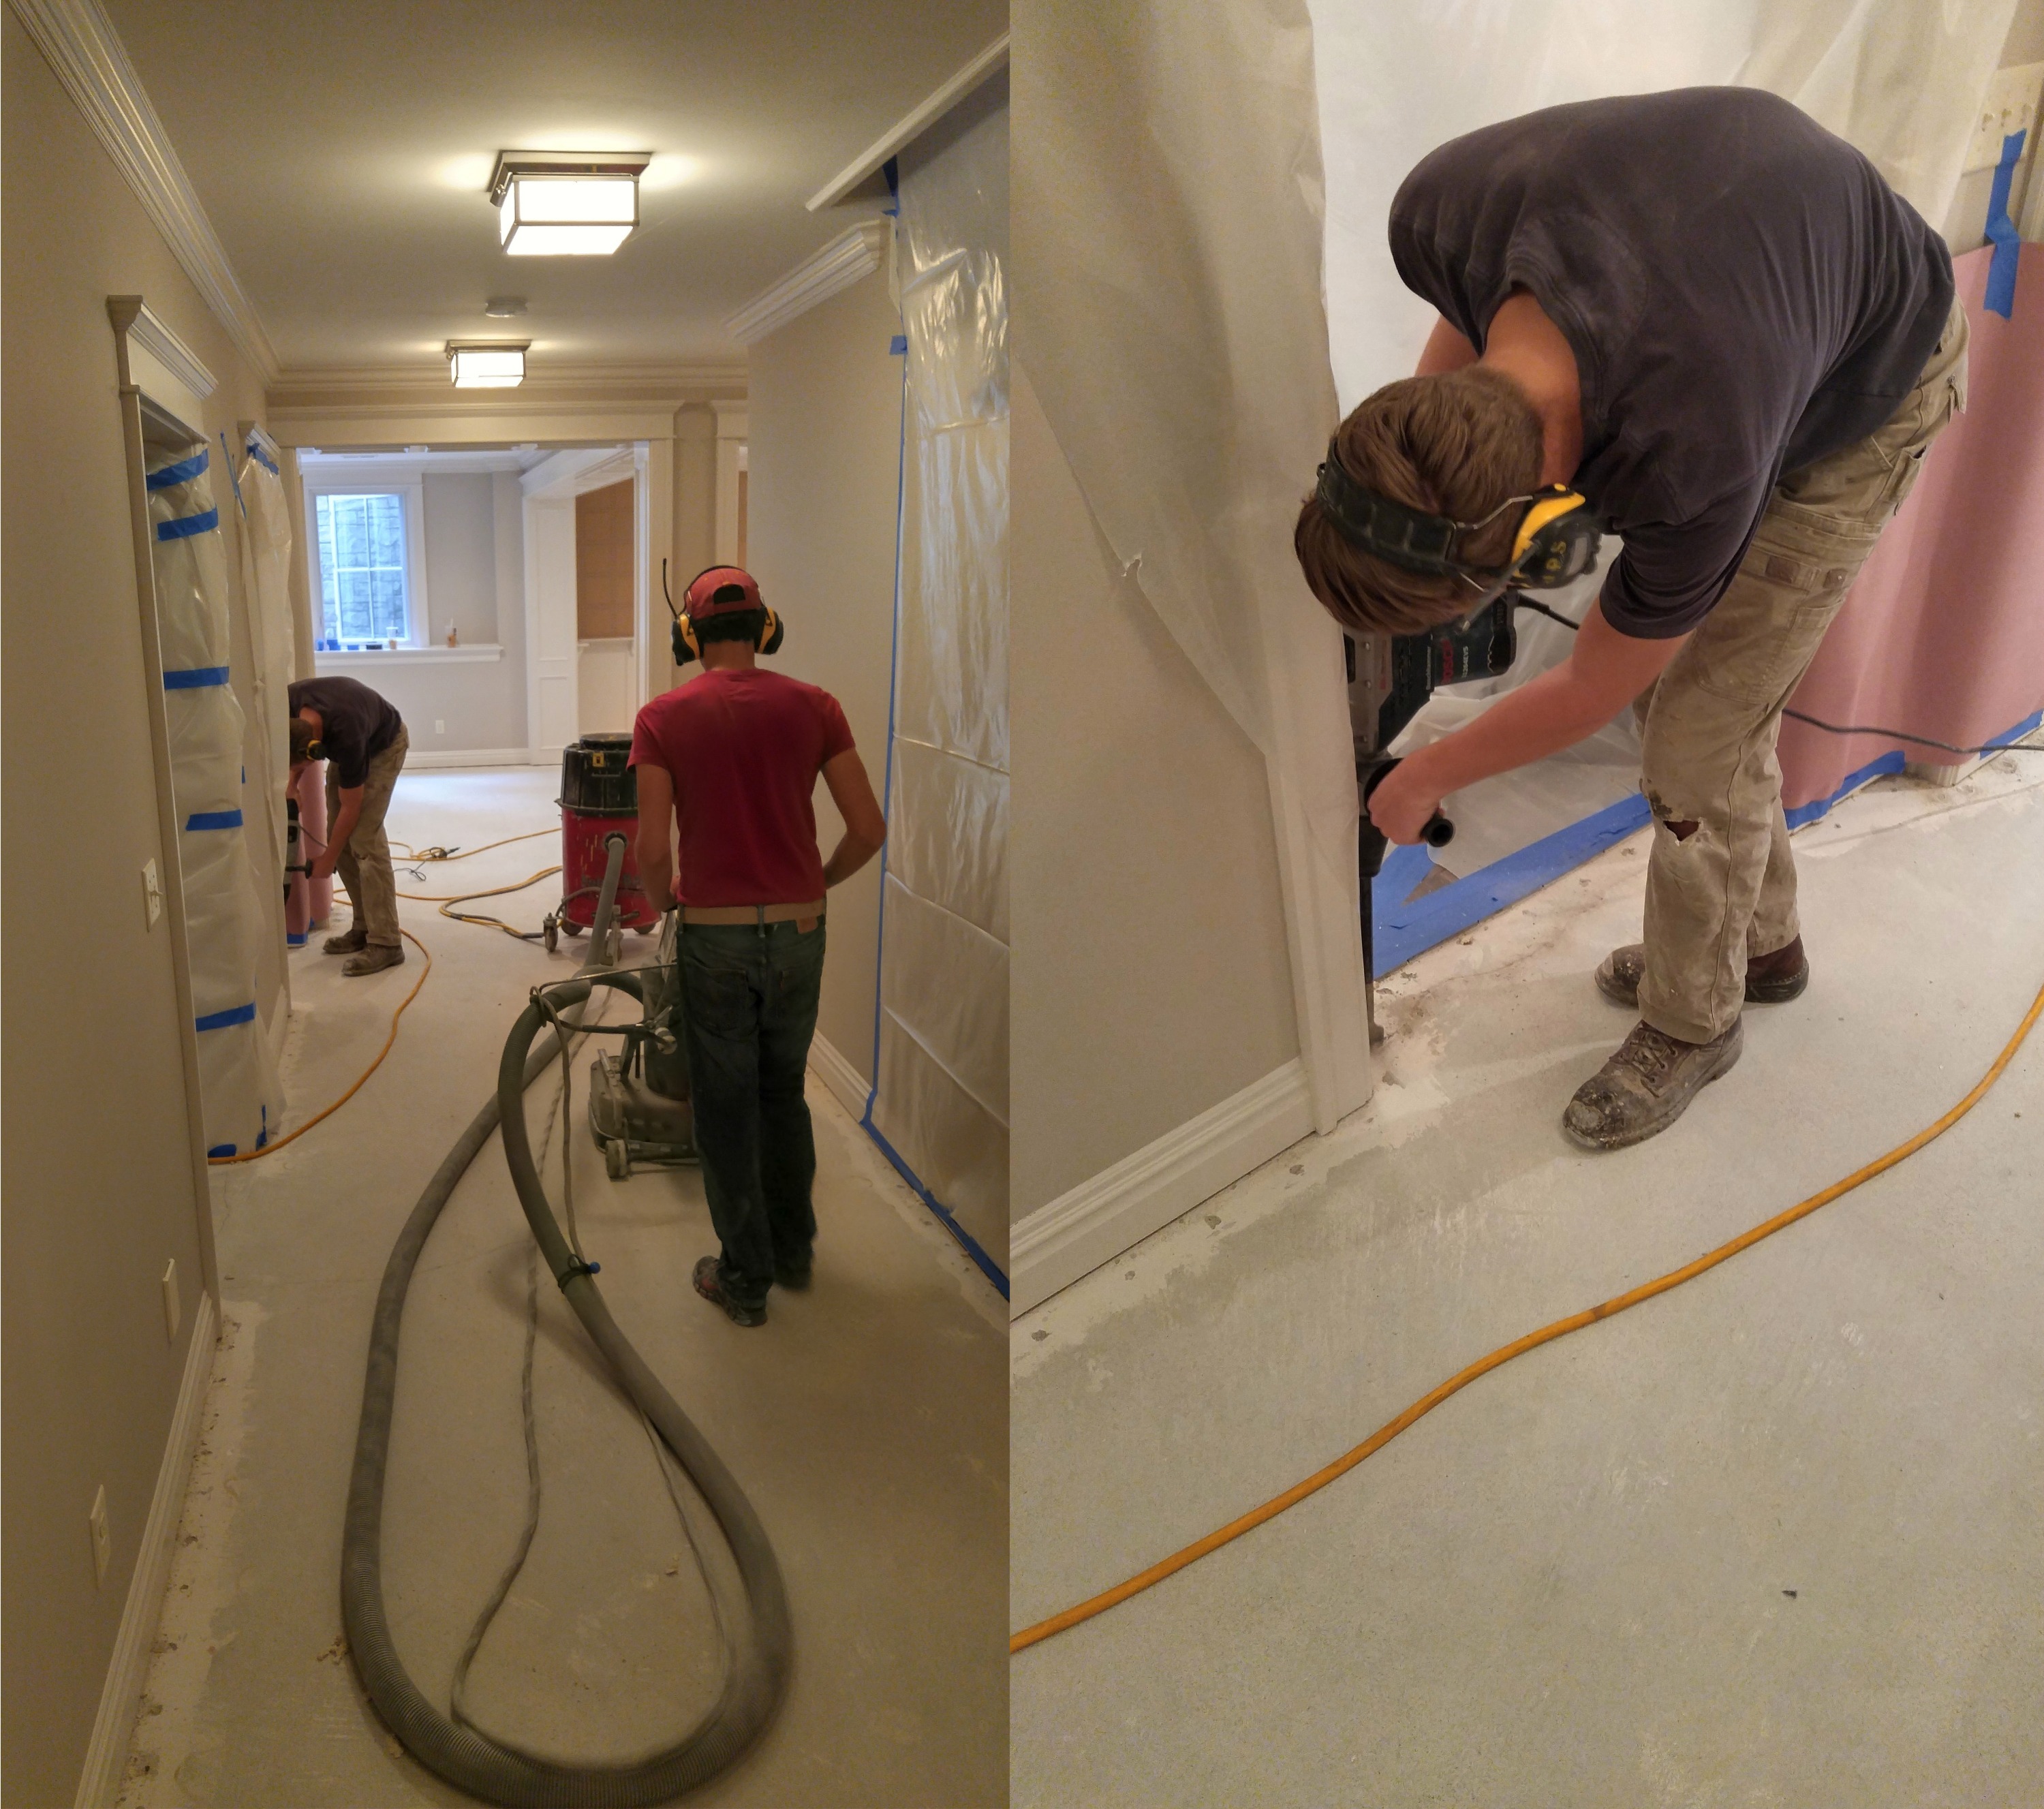
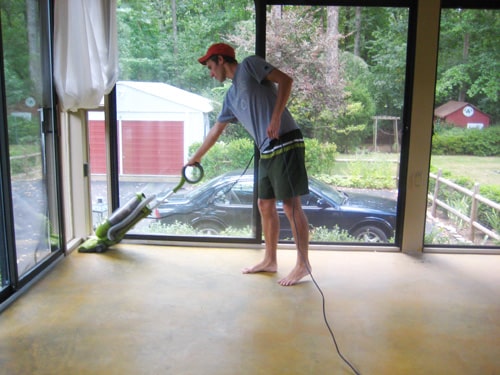
1. Sweeping and Vacuuming:
Start by thoroughly sweeping the entire concrete surface to remove loose debris and dust. Afterward, vacuuming with a shop vac equipped with a brush attachment will help eliminate fine particles that may not be visible to the Naked eye. This will create a clean surface for the stain to adhere to.
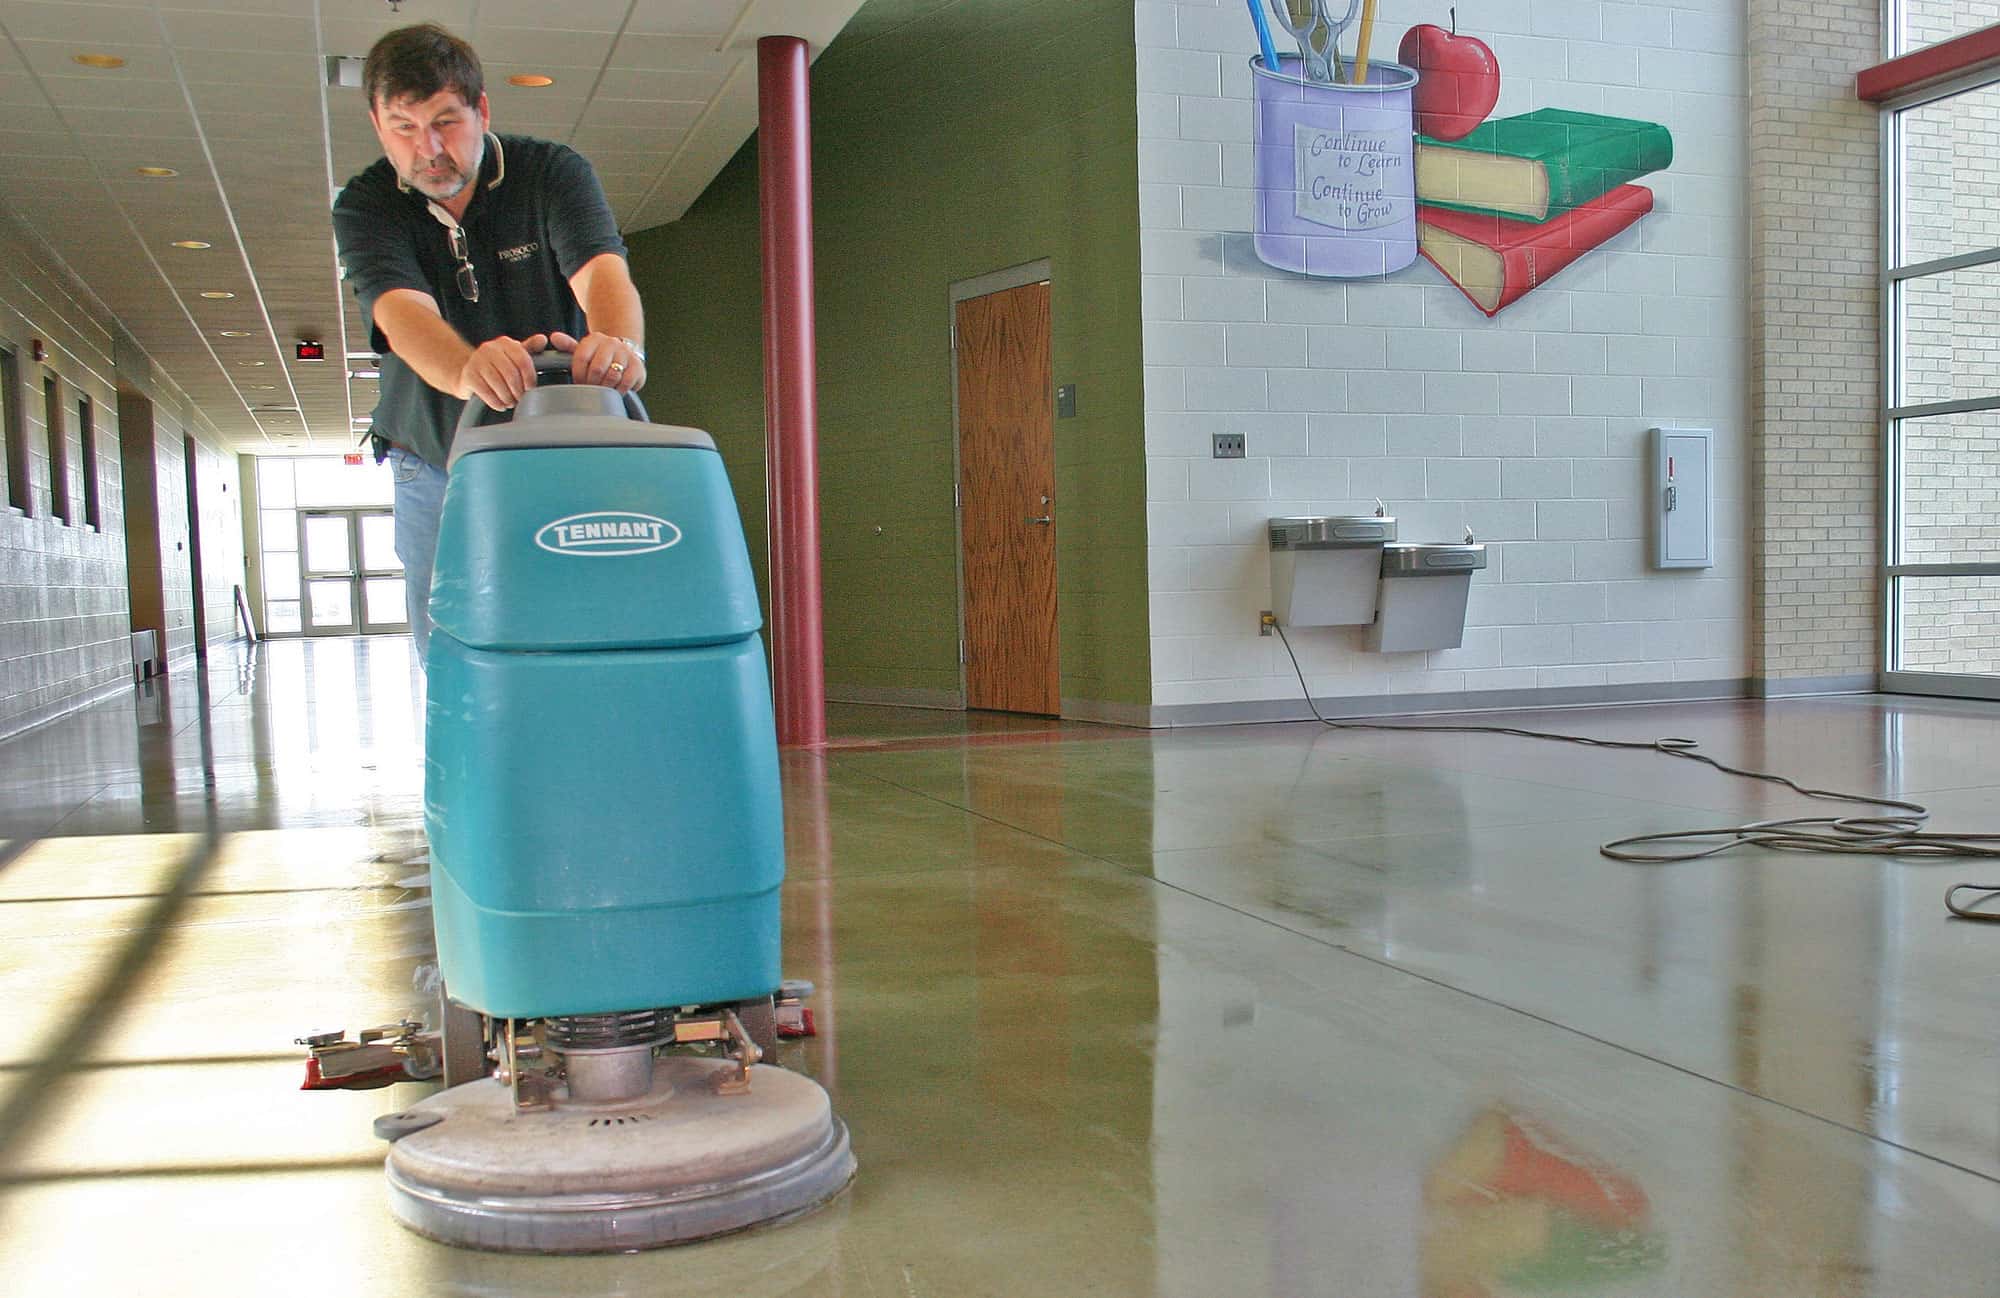
2. Power Washing:
If your concrete floor is heavily soiled or has stubborn stains, power washing can be an effective method for cleaning. Use a pressure washer with a low-pressure nozzle attachment to avoid damaging the concrete. Move the nozzle in a sweeping motion, keeping it at least 12 inches away from the surface. Be sure to remove any excess water and allow the floor to dry completely before proceeding.
3. Repairing and Patching:
Before staining, it’s important to repair any cracks, divots, or other surface imperfections. Use a concrete patching compound or filler that is compatible with your stain product. Follow the manufacturer’s instructions for mixing and applying the material, ensuring that it is smooth and level with the surrounding surface.
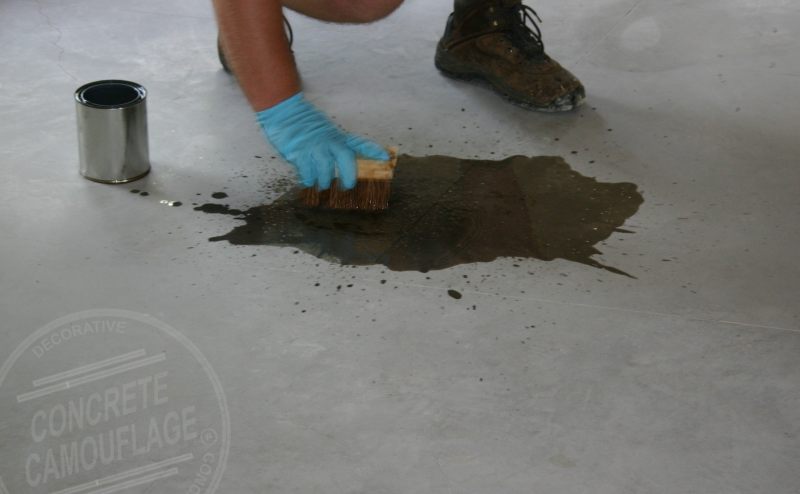
4. Etching:
Etching is another step that can be done to enhance adhesion and promote better penetration of the stain into the concrete. It involves applying an acid-based solution to the surface, which creates a rough texture. This can be done using a sprayer or brush, following the manufacturer’s instructions and taking proper safety precautions.
5. Neutralizing and Rinsing:
After etching, it’s important to neutralize the acid by applying a neutralizing solution or rinsing thoroughly with water. This will prevent any residual acid from reacting with the stain and affecting its color or performance.
6. Drying Time:
Allow the concrete surface ample time to dry before applying the stain. Follow the manufacturer’s recommended drying time, which may vary depending on factors such as temperature and humidity. It’s important to ensure that the surface is completely dry to avoid any issues with adhesion or color consistency.
By following these steps and properly cleaning and preparing your concrete floor, you will be well on your way to achieving a beautiful stained finish. Remember to always follow the manufacturer’s instructions for the specific stain product you are using, and consider consulting a professional if you have any doubts or concerns.