Both of these cork based flooring methods are made to be installed over a good sub floor, while the floating floor is able to go more than several existing floors for example vinyl, ceramic, hardwood, etc. These is able to aid you assess the needs of yours and get the ideal sort of flooring for your home or office so that it could look last and good for decades.
Images about Cork Flooring For Exercise Room
This particular sort of tree grows in a few areas of the planet which has plenty of sunlight, low amount of rainfall, and humidity which is high. The Library of Congress has had cork floors because the 1800s. Suberin is a waxy substance that repels mold, mites, and insects. Farmers are going to harvest a thin layer of its bark, usually a couple of inches thick every 9 years.
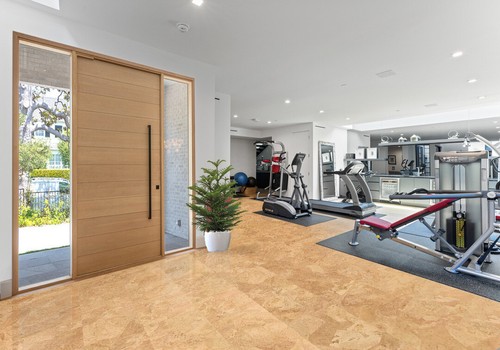
Cork Flooring Multitalented Enough As Gym Flooring – ICork Floor
Cork flooring reviews are a good way to find out about the different properties & benefits of cork floors. Due to the fact it's a rather soft material, if you've really large furniture the cork can in fact leave indentations in the floors which do not come out. As a lush homeowner you are right now probably wondering how cork is a renewable resource. Cork is certainly bark that's received using the cork oak tree.
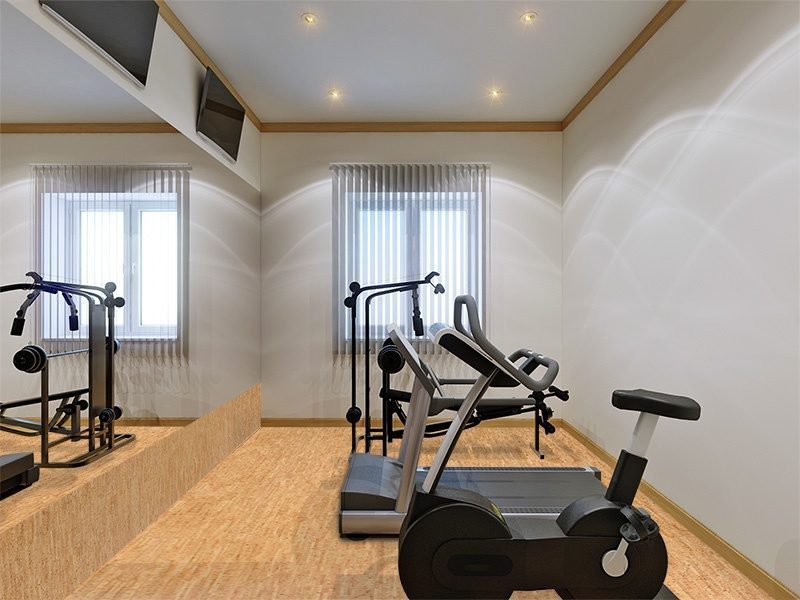
Cork Floor For Home Gym Sale, 56% OFF www.ingeniovirtual.com
This particular waxy substance occurs naturally in cork, and it is very natural that this chemical should guard cork floors out of rotting when damp for a quite a while. Cork floors might be bought un-finished or finished with many colors to choose from. However, before one fully appreciates cork as a floor material, one need to know what this substance cork is and what makes it special.
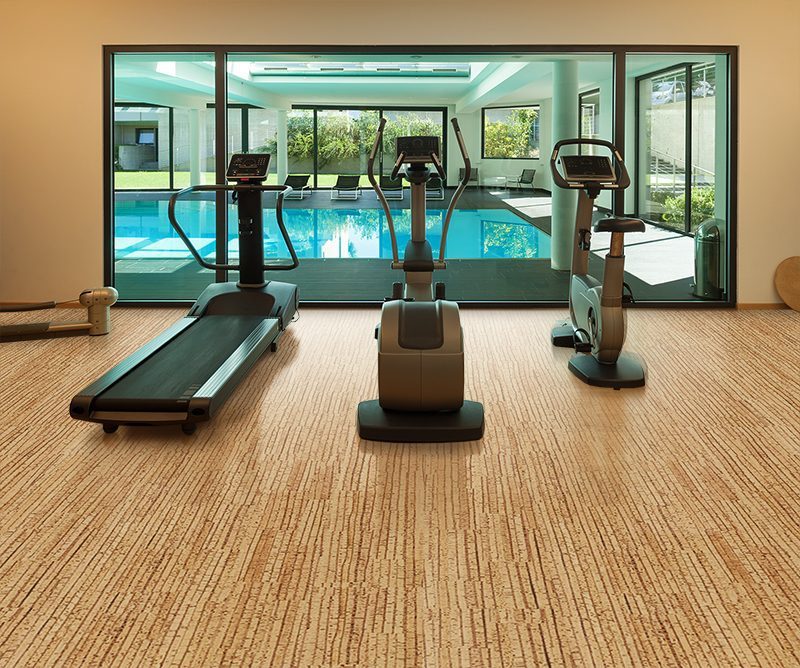
Fitness and Gym Cork Flooring – Mediterranean – Home Gym – Omaha
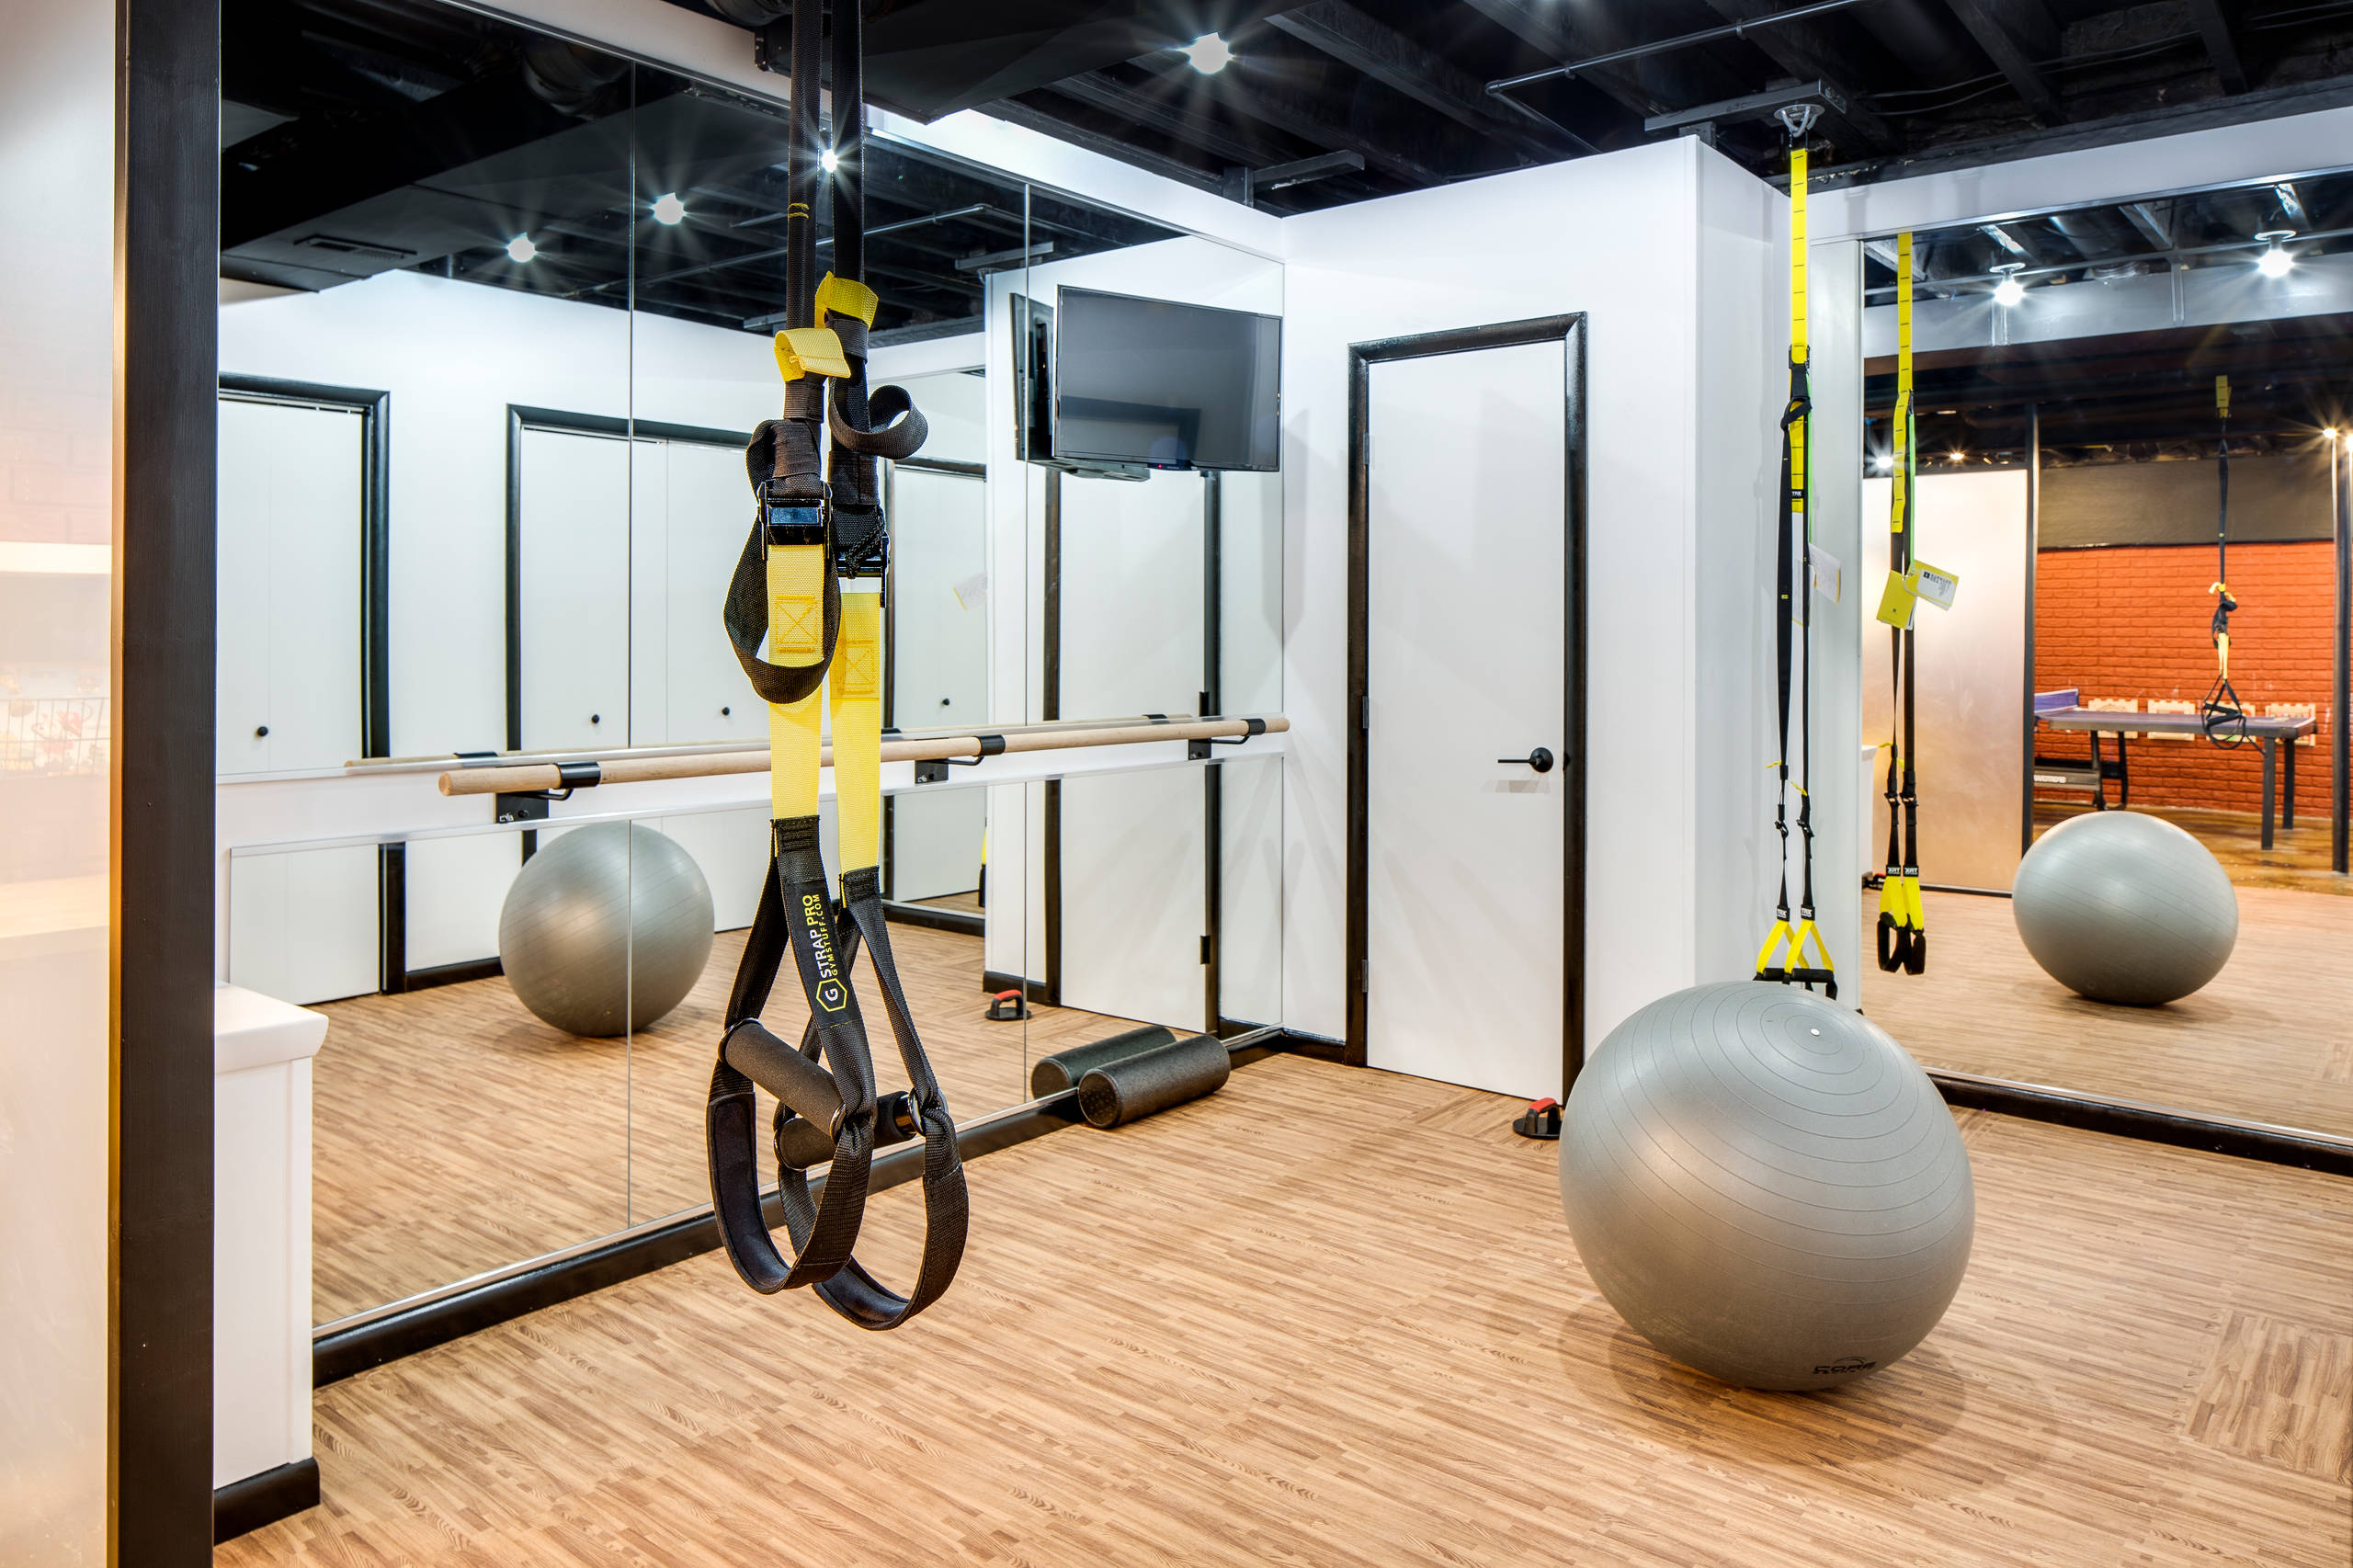
Real Cork Floors – Gallery Workout rooms, Cork flooring, Bedroom

Why Cork Flooring Is The Best Choice For A Gym – Cancork

Gym Room Flooring Logan Forna 1/2″ (12mm) Cork Flooring Floating 6″x6″ Samples eBay
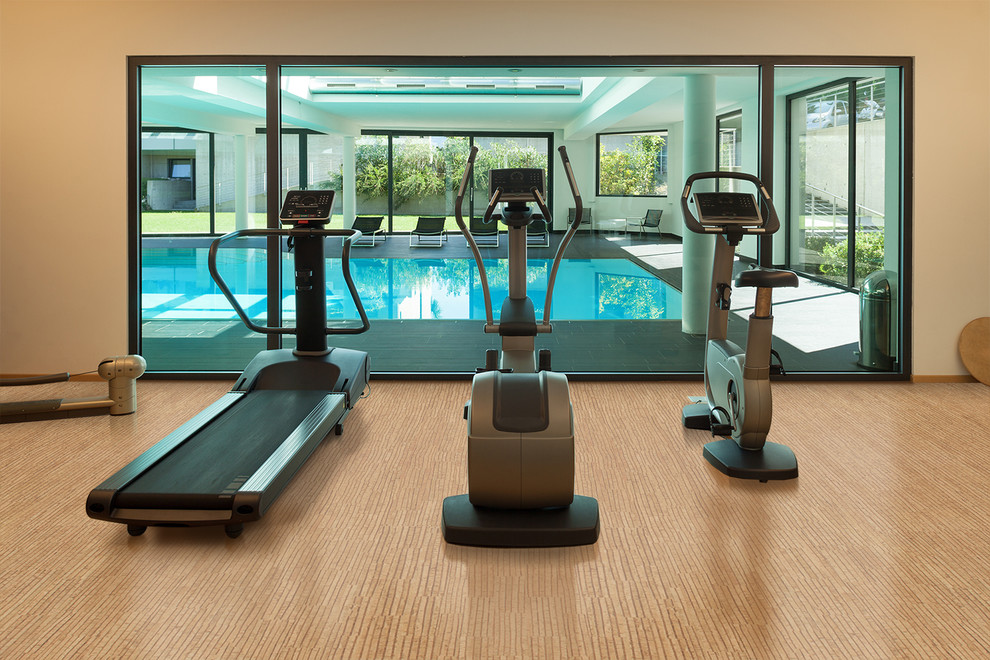
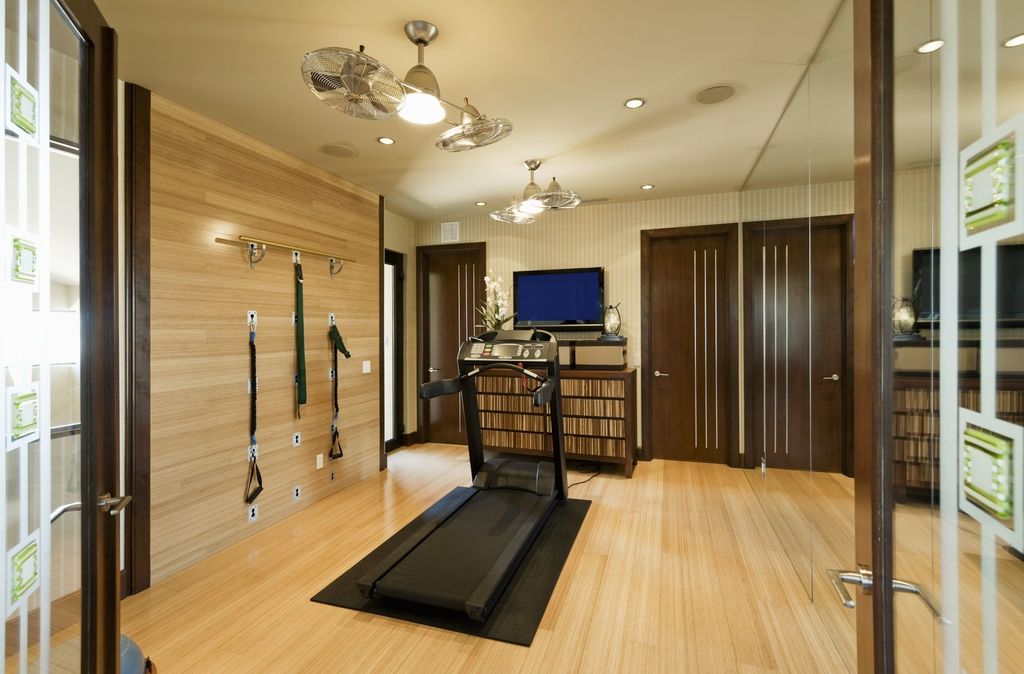
US Floors Natural Cork Flooring – Contemporary – Home Gym
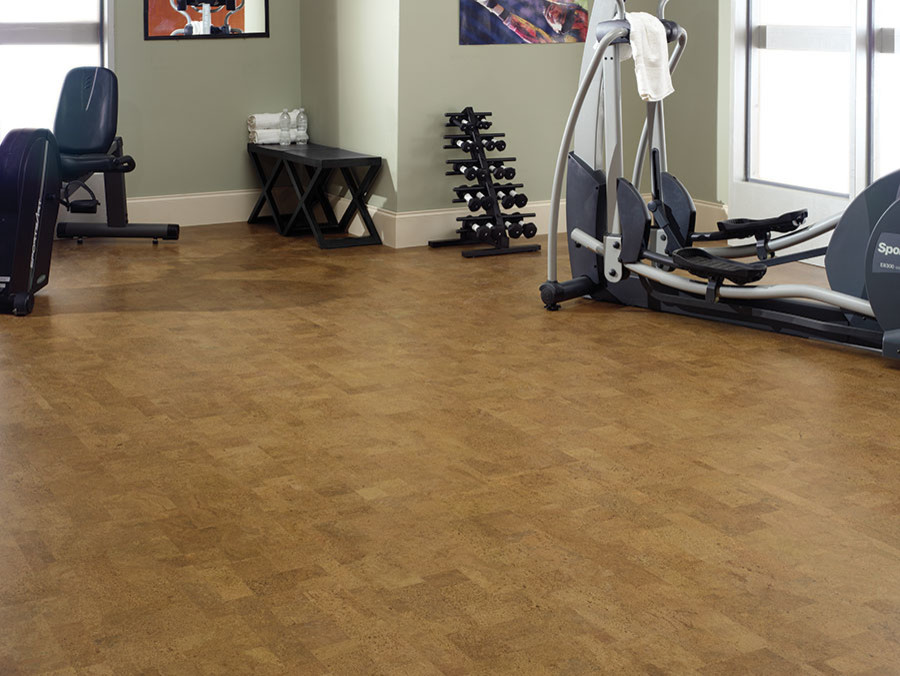
Advantages of Cork Gym Flooring: Why Install This Floor?
Globus Cork Eco-Friendly Flooring Brooklyn NY Cork flooring

Cork Flooring: Pros, Cons and Alternatives – Home Stratosphere

Cork Floor For Home Gym Sale, 56% OFF www.ingeniovirtual.com
Hot Yoga Flooring Glue Down Cork Tiles – Cancork
Itu0027s time for a cork flooring work out! Flooring Blog

Related Posts:
- Cork Board Flooring Reviews
- Cork Flooring Styles
- Expanko Cork Flooring Review
- How To Lay Cork Flooring Over Concrete
- Cork Flooring Designs
- Dry Cork Flooring
- Does Cork Flooring Need Underlay
- Slate Cork Flooring
- Cork Flooring Options Kitchen
- Samples Of Cork Flooring
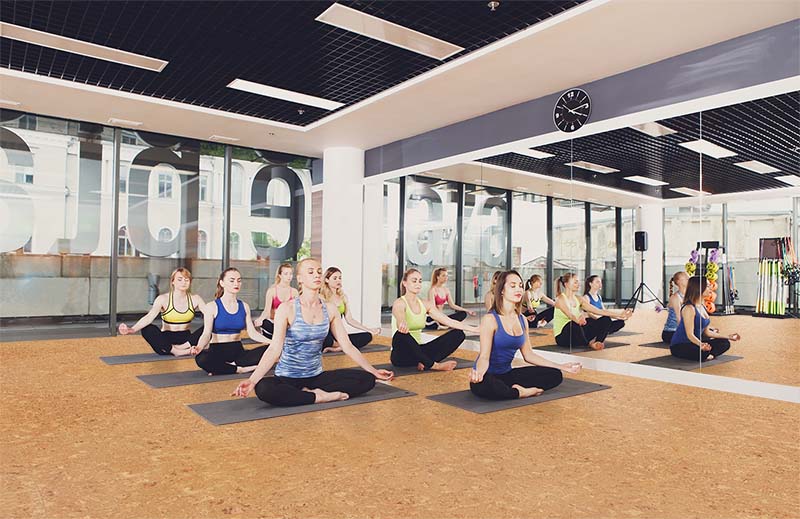
Cork Flooring For Exercise Room
When it comes to creating the perfect exercise room, one important factor to consider is the type of flooring you choose. The right flooring can make a significant difference in the comfort, safety, and overall experience of your workout. One option that has gained popularity in recent years is cork flooring. With its unique properties and numerous benefits, cork flooring is an excellent choice for any exercise room. In this article, we will explore the various aspects of cork flooring for exercise rooms, including its advantages, installation process, maintenance requirements, and frequently asked questions.
Advantages of Cork Flooring for Exercise Rooms
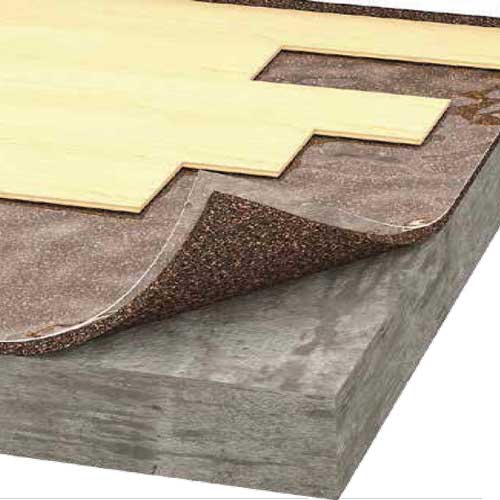
1. Comfort and Shock Absorption: One of the primary reasons why cork flooring is ideal for exercise rooms is its natural cushioning effect. Cork is a flexible material that provides excellent shock absorption, reducing the impact on your joints during high-impact exercises such as running or jumping. This cushioning effect helps to prevent injuries and enhances overall comfort during workouts.
2. Durability: Despite its softness, cork flooring is highly durable and can withstand heavy foot traffic and frequent movement of exercise equipment. It is resistant to cracking and denting, making it a long-lasting option for your exercise room.
3. Noise Reduction: A noisy exercise room can be distracting and disrupt other activities in your home or building. Cork flooring has exceptional sound-absorbing properties that help reduce noise levels by absorbing vibrations and impact sounds. This feature makes it a popular choice for apartment buildings or homes with multiple floors.
4. Thermal Insulation: Cork is an excellent insulator, providing natural thermal insulation properties that help maintain a comfortable temperature in your exercise room. Whether you are working out during hot summer months or cold winter days, cork flooring will help keep your space cozy without the need for additional heating or cooling.
5. Anti-Microbial Properties: Cork contains a natural substance called suberin that acts as an antimicrobial agent, inhibiting the growth of mold, mildew, and bacteria. This makes cork flooring a hygienic choice for exercise rooms, where cleanliness is crucial.
Installation Process of Cork Flooring
Installing cork flooring in your exercise room requires careful preparation and attention to detail. Here is a step-by-step guide to help you through the process:
1. Measure and Prepare the Room: Start by measuring the dimensions of your exercise room to determine the amount of cork flooring you will need. Ensure that the subfloor is clean, dry, and level before proceeding with the installation.
2. Acclimate the Cork Tiles: Since cork is a natural material, it needs time to adjust to the environment in which it will be installed. Leave the cork tiles in their packaging in the exercise room for at least 48 hours before installation. This allows them to acclimate to the temperature and humidity of the room.
3. Prepare the Subfloor: If there are any imperfections or irregularities on the subfloor, fix them before laying down the cork tiles. Remove any existing flooring and ensure that the surface is clean and level.
4. Apply Adhesive: Use a high-quality adhesive recommended by the manufacturer to secure the cork tiles to the subfloor. Apply the adhesive evenly using a trowel or roller.
5. Install Cork Tiles: Begin installing the cork tiles from one corner of the room, working your way across in rows. Ensure that each tile fits tightly against its adjacent tiles without any gaps or overlaps.
6. Allow Time for Adhesive to Dry: After completing the Installation, allow the adhesive to dry according to the manufacturer’s instructions. This typically takes around 24-48 hours.
7. Seal the Cork Flooring: Once the adhesive is dry, it is recommended to seal the cork flooring with a water-based polyurethane or sealant. This will provide added protection against moisture and wear.
8. Clean and Maintain: Regularly clean your cork flooring with a damp mop or cloth using a mild detergent. Avoid using harsh chemicals or abrasive cleaners, as they can damage the surface of the cork.
Overall, installing cork flooring in your exercise room can provide numerous benefits such as durability, noise reduction, thermal insulation, and antimicrobial properties. By following the proper installation process and maintaining your cork flooring, you can enjoy a comfortable and long-lasting exercise space. Installing cork flooring in your exercise room is a great choice due to its numerous benefits, such as durability, noise reduction, thermal insulation, and antimicrobial properties. Here is a step-by-step guide on how to install cork flooring in your exercise room:
1. Measure and Prepare the Room: Measure the dimensions of your exercise room to determine the amount of cork flooring you will need. Ensure that the subfloor is clean, dry, and level before proceeding with the installation.
2. Acclimate the Cork Tiles: Leave the cork tiles in their packaging in the exercise room for at least 48 hours before installation. This allows them to adjust to the temperature and humidity of the room.
3. Prepare the Subfloor: Fix any imperfections or irregularities on the subfloor before laying down the cork tiles. Remove any existing flooring and make sure the surface is clean and level.
4. Apply Adhesive: Use a high-quality adhesive recommended by the manufacturer to secure the cork tiles to the subfloor. Apply the adhesive evenly using a trowel or roller.
5. Install Cork Tiles: Start installing the cork tiles from one corner of the room, working your way across in rows. Make sure each tile fits tightly against its adjacent tiles without any gaps or overlaps.
6. Allow Time for Adhesive to Dry: After completing the installation, allow the adhesive to dry according to the manufacturer’s instructions, typically taking around 24-48 hours.
7. Seal the Cork Flooring: Once the adhesive is dry, seal the cork flooring with a water-based polyurethane or sealant for added protection against moisture and wear.
8. Clean and Maintain: Regularly clean your cork flooring with a damp mop or cloth using a mild detergent. Avoid using harsh chemicals or abrasive cleaners that can damage its surface.
By following these steps and properly maintaining your cork flooring, you can create a comfortable and long-lasting exercise space in your home.