The ensuing thing we should mention is all of corks 100 % natural resistances. One good attribute of cork floors is they are antimicrobial. That decorative standing lamp may not seem heavy, although it is ideal to place a thick furniture pad under it to defend the integrity of this cork flooring. Hardwood floors are mentioned for their ability to take in and store warmth.
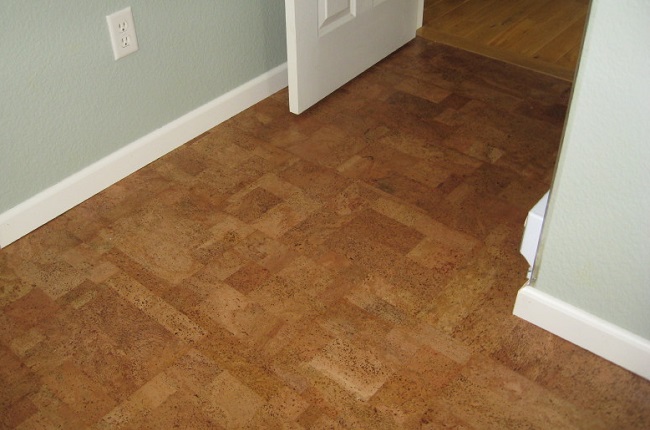
Images about Cork Flooring Installation Instructions

In fact, cork has an amazing resistant and it is extremely resilient to stress. Cork is a wood-based flooring information that is actually gotten from the bark of a cork oak tree. Do not let someone use the dark green product concept to over fee you. And following that, the tree can be harvested every 9 years for the rest of the lifetime.
Cork Florence Plank Installation Instructions – TORLYS Builder

One of the greatest methods to do that is leaving your shoes during the bedroom door. The process of obtaining cork substance is the reason why this product environmentally friendly as well as sustainable. Cork material is actually retrieved using the bark of Quercus suber (cork oak tree). With its beauty you additionally get comfort and also lets face it comfort is actually a requirement with regards to the majority of flooring solutions.
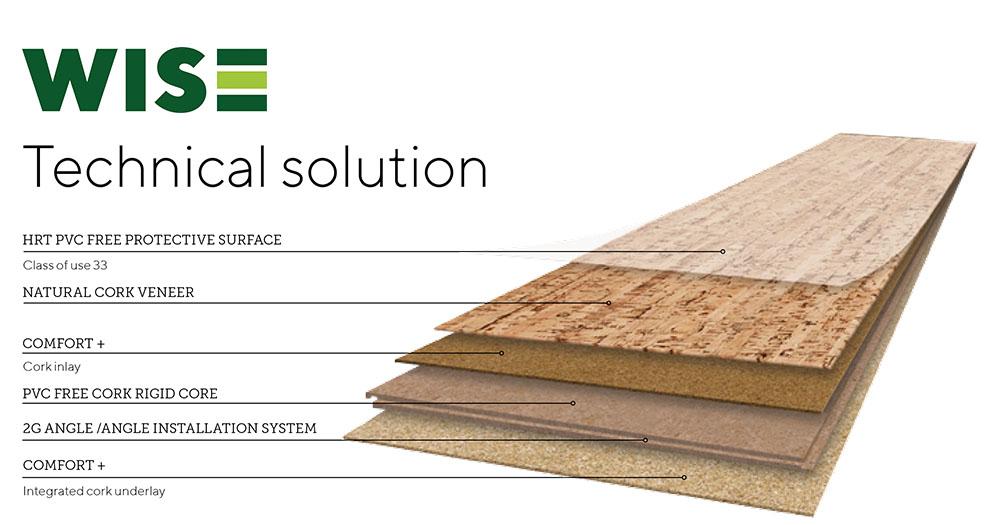
Amorim WISE – How to Install

Being hypoallergenic provides cork several outstanding health benefits to people with allergies, together with opposition to mold, mildew and bacteria. The rewards simply keeping rolling out for cork flooring don't they? Effectively, we're not finished just yet, there are a few more you have to learn about. Nowadays, cork flooring is available in a riot of styles.
Install u0026 Maintenance Guides u2014 Jelinek Cork Group®
WISE by Amorim – 100% Waterproof Cork Flooring in Traces Natural
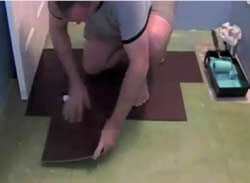
How to Install a Cork Floor – This Old House
/cdn.vox-cdn.com/uploads/chorus_asset/file/22873091/H1006HANDBOOK01.jpg)
Cork Flooring 101: Cost, Types, u0026 Installation – This Old House
/cdn.vox-cdn.com/uploads/chorus_asset/file/23088021/0421_NB_All_About_Cork_Floors_Cork_flooring_iStock_950010876.jpg)
Cork Tiles Installation Instructions, Installing Cork Tiles
Install Cork Flooring – Forna Floating – Cancork
How to Install Cork Flooring- Cork Flooring Installation Made Easy

Install u0026 Maintenance Guides u2014 Jelinek Cork Group®

How to Install a Cork Floor – This Old House
/cdn.vox-cdn.com/uploads/chorus_image/image/65892042/h1006handbook08.0.jpg)
Installing Cork Flooring Tiles Guide – Must Read – ICork Floor
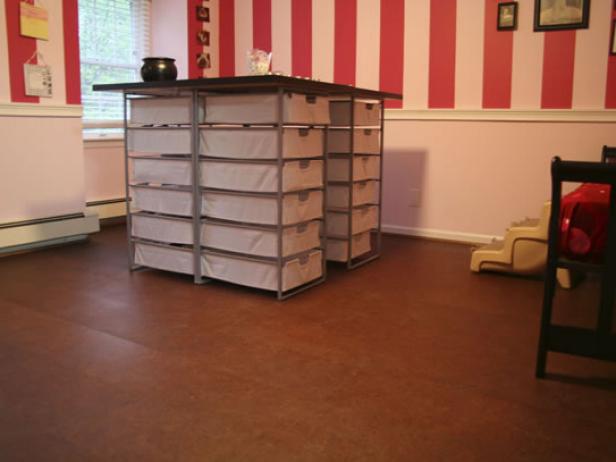
Cork Flooring Installation HGTV
Related Posts:
- Cork Flooring Styles
- Cork Board Flooring Reviews
- Expanko Cork Flooring Review
- How To Lay Cork Flooring Over Concrete
- Cork Flooring Designs
- Dry Cork Flooring
- Does Cork Flooring Need Underlay
- Slate Cork Flooring
- Cork Flooring Options Kitchen
- Samples Of Cork Flooring
Cork Flooring Installation Instructions: A Comprehensive Guide
Introduction:
Cork flooring has gained significant popularity over the years due to its eco-friendly nature and numerous benefits. It is a sustainable and versatile flooring option that adds warmth, comfort, and style to any space. If you are considering installing cork flooring in your home or office, this comprehensive guide will provide you with detailed instructions to ensure a successful installation process.
I. Pre-Installation Preparation:
Before you embark on the installation journey, it is crucial to undertake some pre-installation preparations. Following these steps will help you achieve a flawless finish and prolong the lifespan of your cork floor.
1. Acclimate the Cork Flooring:
Cork flooring is an organic material that reacts to changes in temperature and humidity. To prevent any potential issues later on, it is essential to acclimate the cork planks or tiles to the room where they will be installed. Allow them to rest in their packaging for at least 48 hours at room temperature before beginning installation.
2. Prepare the Subfloor:
The subfloor must be clean, dry, and level before installing cork flooring. Remove any existing flooring materials, ensuring there are no traces of adhesive or debris left behind. Repair any uneven areas or cracks in the subfloor using a suitable patching compound.
FAQs:
Q1: Can I install cork flooring over an existing floor?
A1: Yes, cork flooring can be installed over certain existing floors such as vinyl, linoleum, or ceramic tiles. However, carpeting and floating floors should be removed before proceeding with the installation process.
Q2: Do I need an underlayment for cork flooring?
A2: While underlayment is not always necessary, it can provide additional cushioning and insulation for your cork floor. In high-traffic areas or rooms with concrete subfloors, using an underlayment is recommended.
II. Installation Methods:
There are two common installation methods for cork flooring: glue-down and floating. The choice of method depends on various factors, including the type of subfloor, personal preference, and the manufacturer’s recommendations.
1. Glue-Down Installation:
Glue-down installation involves adhering the cork tiles or planks directly to the subfloor using a suitable adhesive. Follow these steps for a successful glue-down installation:
a) Apply Adhesive:
Using a trowel, spread the recommended adhesive evenly on the subfloor. Work in small sections to ensure proper coverage without allowing the adhesive to dry.
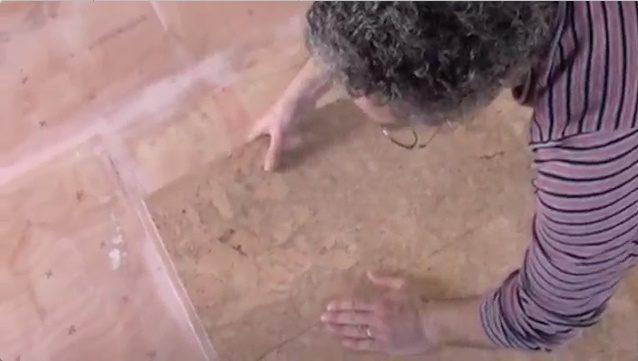
b) Place Cork Tiles/Planks:
Carefully lay the cork tiles or planks onto the adhesive, pressing them firmly in place. Ensure there is no space between the tiles/planks.
c) Allow Adhesive to Dry:
Follow the manufacturer’s instructions regarding drying time. It is crucial to avoid walking on the newly installed floor until the adhesive has completely dried.
FAQs:
Q1: Can I install cork flooring in a bathroom or basement?
A1: Yes, cork flooring is suitable for bathrooms and basements as long as proper precautions are taken. Ensure that the subfloor is adequately prepared and sealed to prevent moisture from seeping through.
Q2: What type of adhesive should I use for glue-down installation?
A2: It is essential to use an adhesive specifically designed for cork flooring. Choose a low-VOC (volatile organic compound) adhesive that is compatible with both your subfloor and the cork material.
2. Floating Installation:
Floating installation involves interlocking the cork Planks or tiles without the need for adhesive. Follow these steps for a successful floating installation:
a) Prepare the Subfloor:
Ensure that the subfloor is clean, dry, and level. Remove any debris or uneven areas and repair as necessary.
b) Install Underlayment:
If using an underlayment, roll it out across the entire floor area. Trim any excess and tape the seams together.
c) Begin Installation:
Start in one corner of the room and lay the first row of cork planks/tiles. Connect them by clicking or snapping them together. Use a tapping block and hammer to ensure a tight fit.
d) Continue Installation:
Continue laying subsequent rows, fitting the planks/tiles tightly together. Stagger the joints of each row to create a more stable and visually appealing floor.
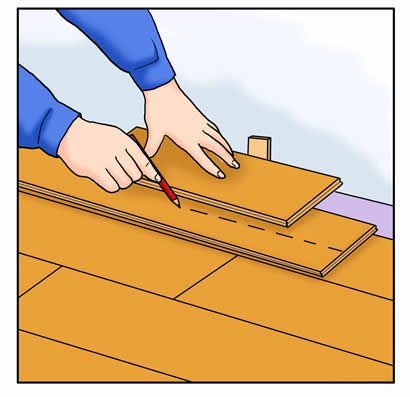
e) Trim as Necessary:
Measure and cut planks/tiles as needed to fit around corners, doorways, or other obstacles. Use a saw or utility knife for cutting.
FAQs:
Q1: Can I install cork flooring over radiant heat?
A1: Yes, cork flooring is compatible with radiant heating systems. However, it is crucial to follow the manufacturer’s instructions regarding temperature limits and installation guidelines.
Q2: Do I need to acclimate cork flooring before installation?
A2: Yes, it is recommended to acclimate cork flooring in the room where it will be installed for at least 48 hours before installation. This allows the material to adjust to the temperature and humidity of the space.
III. Finishing Touches:
Once the cork flooring is installed, there are a few additional steps to complete the project:
1. Clean the Floor:
Remove any dust or debris from the newly installed floor using a broom or vacuum cleaner. Avoid using harsh chemicals or abrasive cleaners that could damage the cork surface.
2. Apply Sealant:
Applying a sealant can help protect the cork flooring from moisture and stains. Follow the manufacturer’s instructions for the specific sealant product you choose.
3. Install Baseboards/Trim:
Install baseboards or trim around the perimeter of the room to cover any gaps and provide a finished look. Use finishing nails or adhesive to secure them in place.
4. Allow for Expansion:
Cork flooring may expand and contract with changes in temperature and humidity. Leave a small gap (around 1/4 inch) between the flooring and walls, cabinets, or other fixed objects to allow for this expansion.
5. Regular Maintenance:
To keep your cork flooring looking its best, regularly sweep or vacuum to remove dirt and debris. Wipe up spills promptly and avoid dragging heavy furniture across the floor to prevent scratches.