Laminate flooring is fast getting a popular choice, specifically for homeowners are motivated the look of wood, yet not the problems. If you use colors which are neutral like whites or beiges, they are going to make the space appear bigger, they will reflect light and they are constantly in fashion. If your home's serious floor plan is of hardwood, it will be pleasurable to use the same material for the bath room.
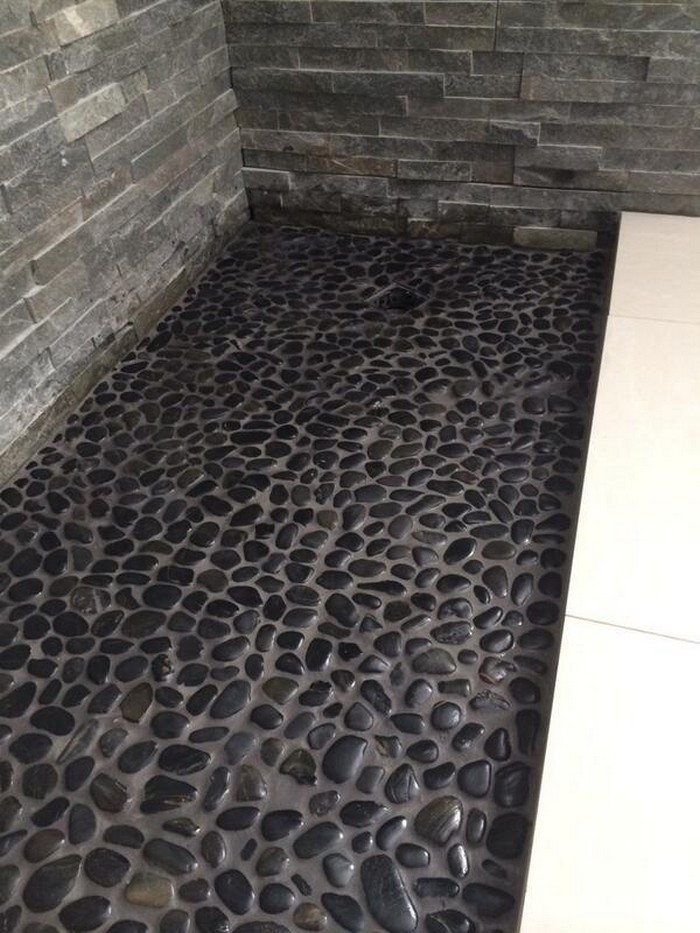
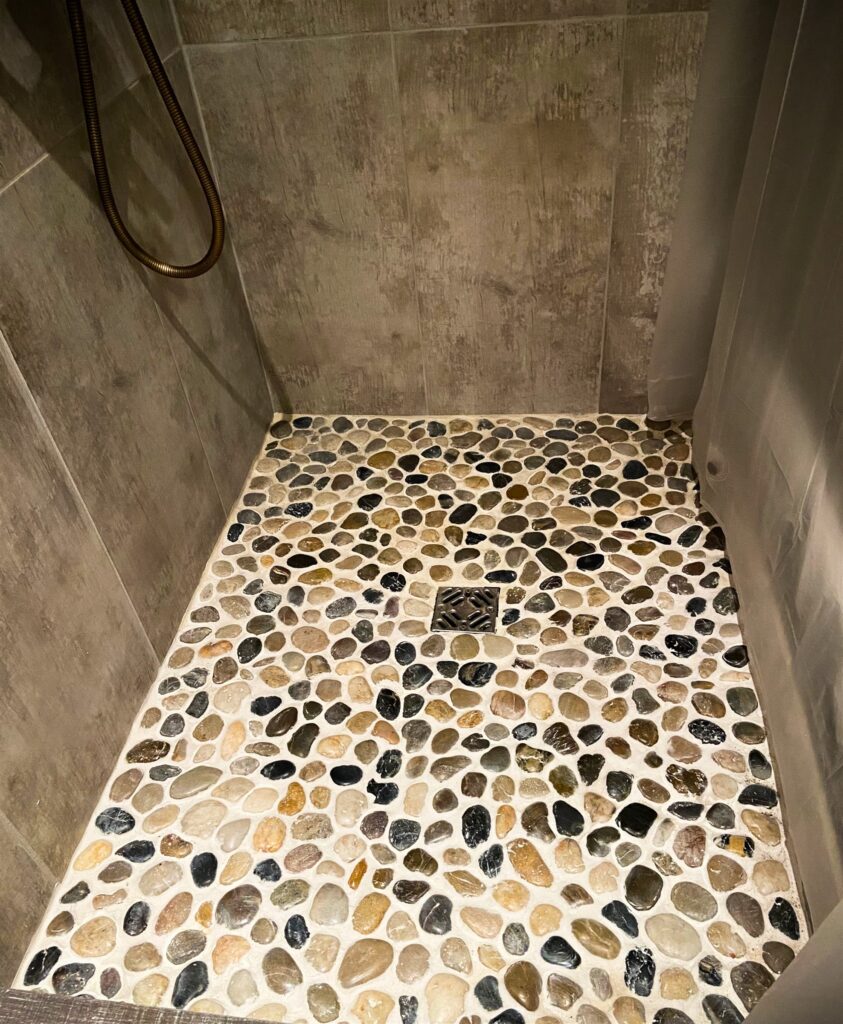
Images about DIY Pebble Bathroom Floor
Engineered wood is actually made of a combination of real wood veneer as well as plywood and it is more humidity resistant than solid wood. They are able to possibly be arranged to create a job of art. Owing to these challenges, one can find many attributes that your bathroom flooring material ought to possess. Vinyl might not be the original choice of flooring for many people.
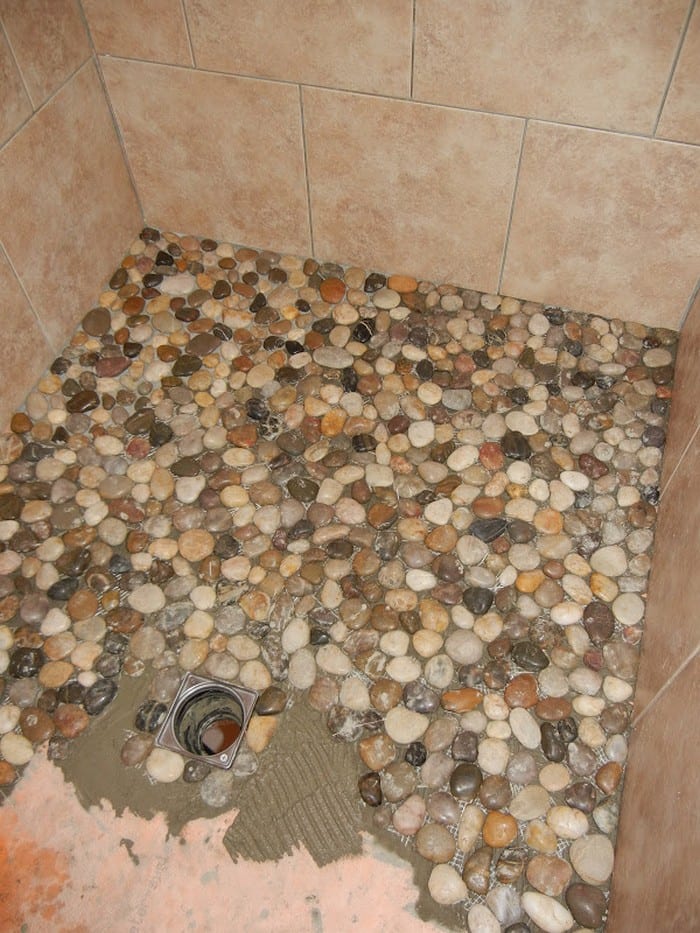
Create your own pebble shower floor! – Your Projects@OBN
This particular sort of floor content can include numerous unique textures as well as styles that go along with just about any interior design scheme. Wood reacts to temperature extremes, can't stop itself from vinyl as well as water damage is simply not a very organic or desirable flooring choice. That's exactly the reason it's surely smart to pick out a specialist instead of striving to install the flooring yourself.
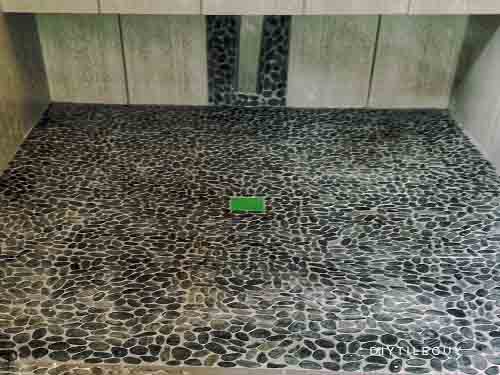
Miserable Pebble Tile Flooring DIYTileGuy
Pebble Tile Shower Floor Tips (5 Key Concepts!) — by Home Repair Tutor

How to Grout Pebble Tile » Decor Adventures

Miserable Pebble Tile Flooring DIYTileGuy
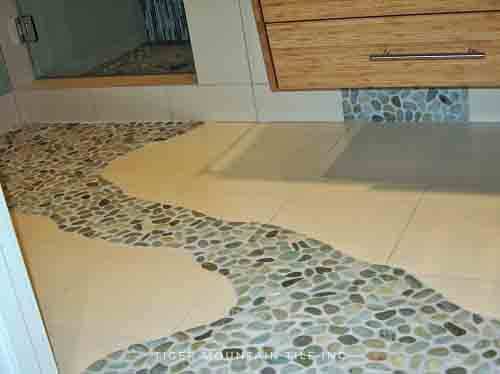
A Pebble Shower Floor – Designing Scarlett
pebble bathroom floor – The DIY Life
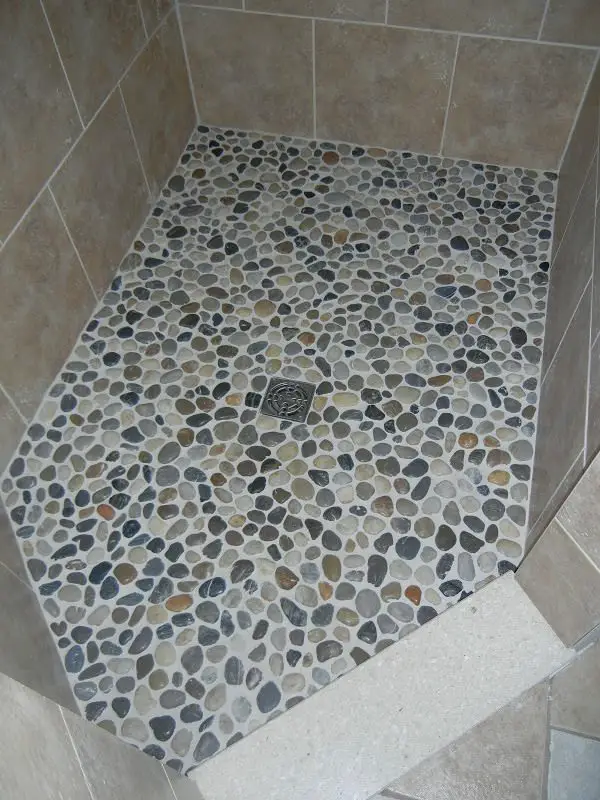
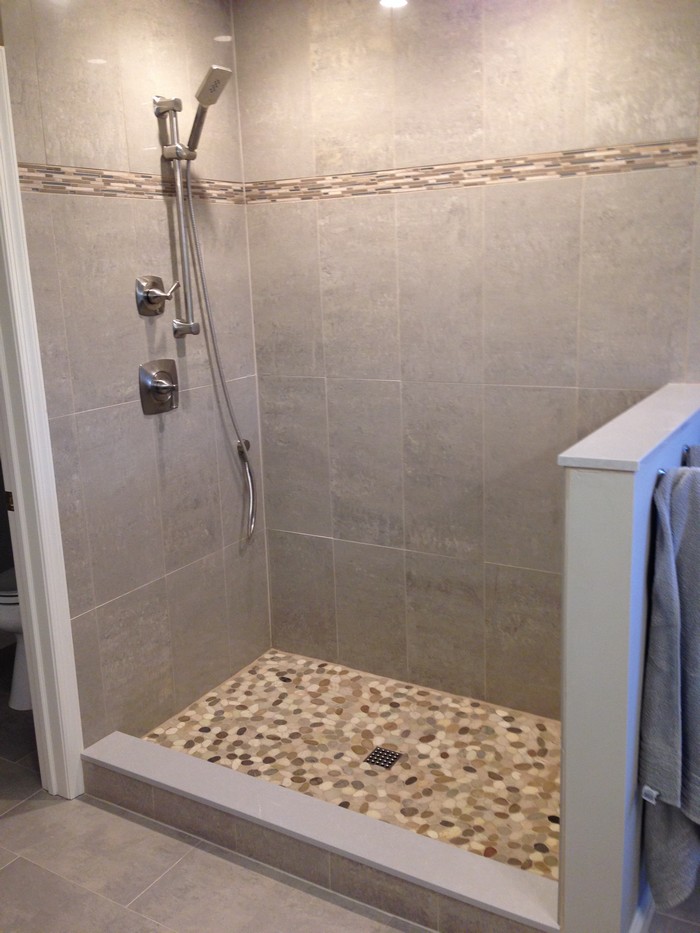
Create your own pebble shower floor! – Your Projects@OBN
How To Install River Rock (Pebble) Tiles For Your Shower Floor

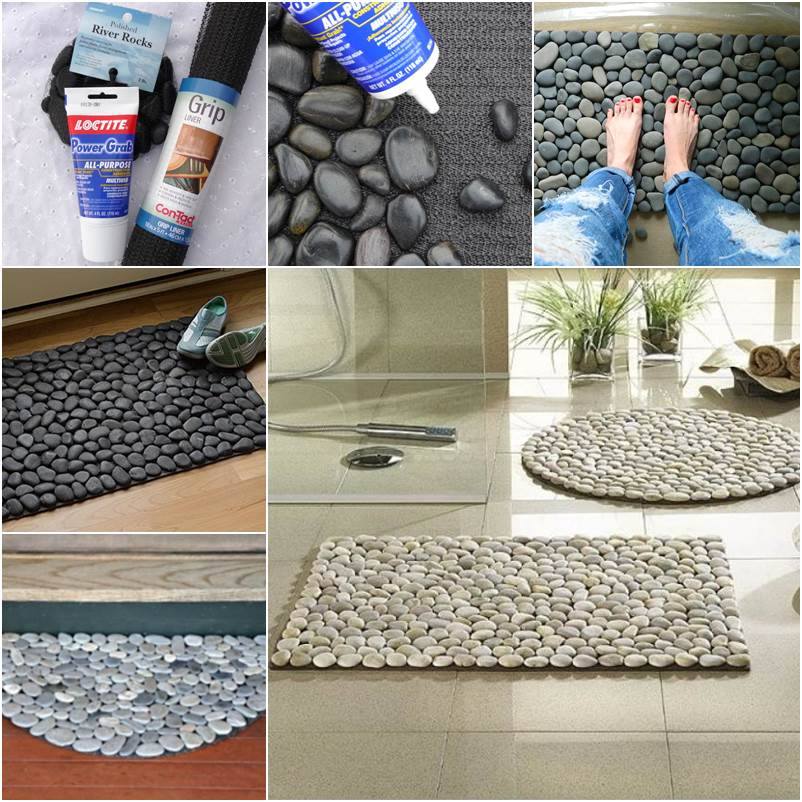
Fantastic DIY Stone Floor Mat – Free Guide and Tutorial
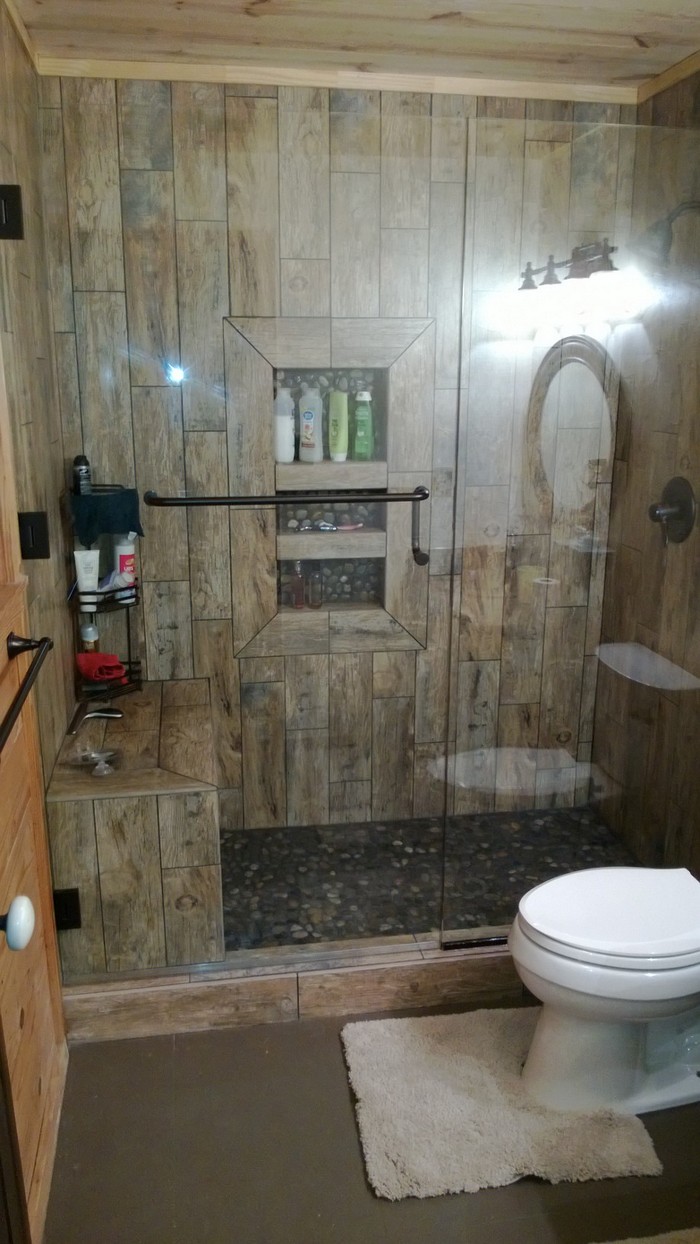
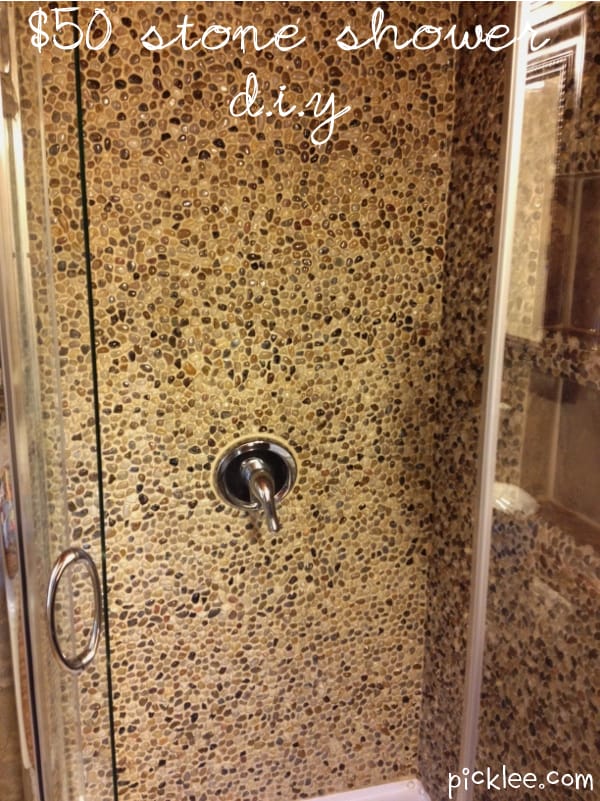
The $50 Stone Shower DIY {your pick} – Picklee
Create your own pebble shower floor! – Your Projects@OBN
Tips for installing and cleaning a pebble-stone shower floor – The
Related Posts:
- Bathroom Floor Tile Patterns Ideas
- Black And White Bathroom Floor Designs
- Bathroom Epoxy Floor Coating
- Bathroom Floor Covering Options
- His And Hers Bathroom Floor Plans
- Dark Wood Tile Floor Bathroom
- Handicap Bathroom Floor Plans Commercial
- How To Clean Grout In Bathroom Floor
- Bathroom Flooring Wood Look
- Bathroom Floor Tile Layout 12×24
DIY Pebble Bathroom Floor: Bring Natural Elegance to Your Bathing Space
Introduction:
The bathroom is one of the most important rooms in any home. It serves as a sanctuary where we can relax, unwind, and rejuvenate ourselves after a long day. When it comes to designing or renovating our bathrooms, we often focus on fixtures, tiles, and color schemes. However, one element that is often overlooked but can truly elevate the overall aesthetics and ambience of the bathroom is the flooring. If you are looking for a unique and natural flooring option that brings a touch of elegance to your bathing space, a DIY pebble bathroom floor might be just what you need.
What is a Pebble Bathroom Floor?
A pebble bathroom floor is an innovative and visually stunning flooring option that mimics the natural beauty of riverbeds and beaches. It involves arranging small pebbles or stones on the bathroom floor surface in a way that creates an organic and seamless look. The result is a tactile underfoot experience that not only adds aesthetic appeal but also provides therapeutic benefits.
Choosing the Right Pebbles:
Before embarking on your DIY pebble bathroom floor project, it’s crucial to choose the right pebbles. Opt for smooth, rounded stones that are comfortable to walk on and have an appealing texture. Natural river stones or beach pebbles are excellent choices as they come in various sizes, shapes, and colors, allowing you to create a personalized design.
Preparing the Bathroom Floor:
To ensure a successful installation, proper preparation of the bathroom floor is essential. Start by removing the existing floor covering, whether it’s tiles, laminate, or vinyl. Make sure the surface is clean, dry, and level before moving forward. If necessary, use a leveling compound or sand down any uneven areas to create a smooth base for your pebbles.
Creating a Solid Base:
To ensure longevity and prevent shifting of the pebbles over time, it’s crucial to create a solid base for your DIY pebble bathroom floor. Apply a layer of thin-set mortar or adhesive to the prepared floor, using a notched trowel to achieve an even and consistent thickness. The mortar will act as an anchor for the pebbles, providing stability and preventing them from moving or cracking.
Arranging the Pebbles:
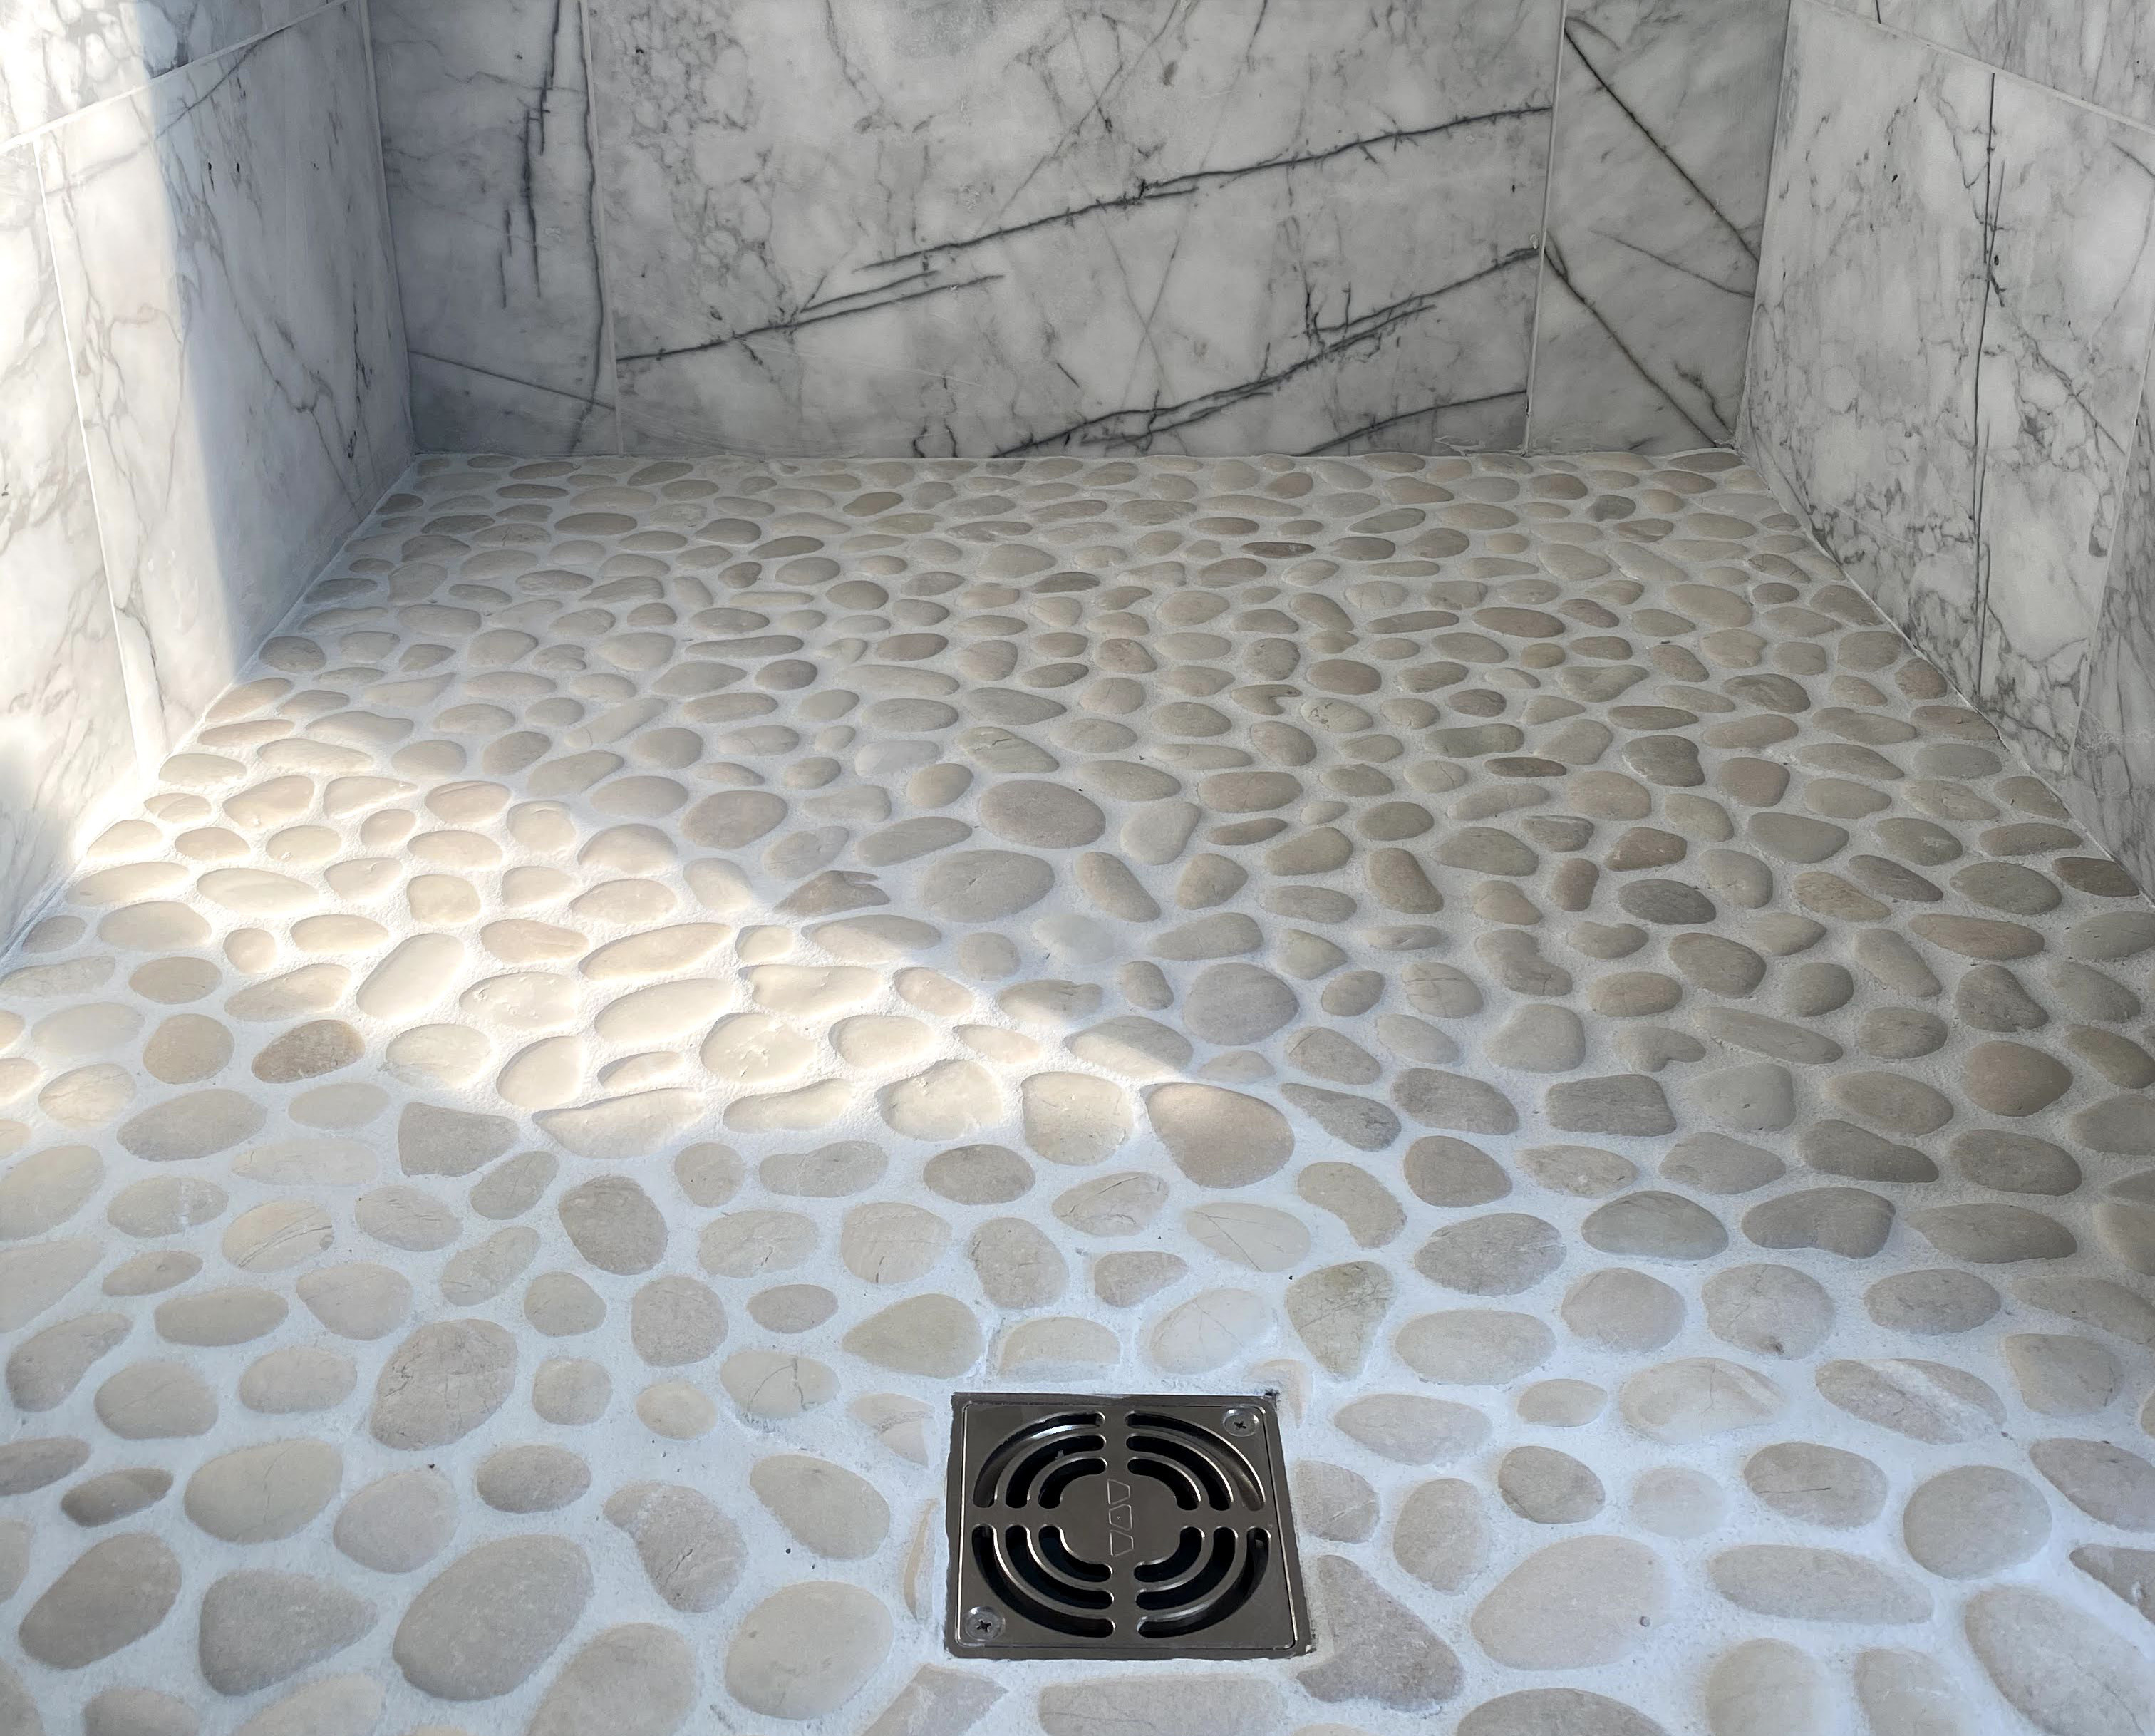
The real fun begins when it’s time to arrange the pebbles on your bathroom floor. Start by selecting a focal point, such as the shower area or vanity, and work your way outwards. Use your creativity and imagination to create patterns, borders, or even intricate designs with different colored pebbles. Place each stone individually onto the mortar bed, pressing them firmly to ensure they are securely embedded.
Grouting and Sealing:
Once all the pebbles are in place, it’s time to grout the gaps between them. Use a rubber grout float to apply sanded grout evenly across the entire surface. Work in small sections to prevent the grout from drying too quickly. After allowing the grout to set for a specified time, use a damp sponge to wipe away any excess grout from the pebbles’ surface. This step helps reveal the natural beauty of the stones while ensuring a clean and polished finish.
After completing the grouting process, it’s essential to seal your DIY pebble bathroom floor properly. Sealing not only enhances the color and shine of the stones but also protects them from moisture, stains, and daily Wear and tear. Choose a high-quality stone sealer that is suitable for the type of pebbles you have used. Follow the manufacturer’s instructions and apply the sealer evenly across the entire floor surface. Allow the sealer to dry completely before using the bathroom.
Maintenance and Care:
To keep your pebble bathroom floor looking its best, regular maintenance is necessary. Sweep or vacuum the floor regularly to remove dirt, dust, and debris. Avoid using harsh chemicals or abrasive cleaners that can damage the stones or strip off the sealer. Instead, use a mild soap or stone-specific cleaner and a soft brush or mop to clean the floor gently. Periodically reapply a fresh coat of sealer to maintain its protective properties.
In conclusion, creating a DIY pebble bathroom floor can add beauty, texture, and therapeutic benefits to your space. By selecting the right pebbles, preparing the floor properly, creating a solid base, arranging the stones creatively, grouting and sealing carefully, and maintaining it regularly, you can enjoy a stunning and functional pebble floor for years to come. Overall, creating a DIY pebble bathroom floor can be a rewarding project that adds a unique touch to your space. By following the steps outlined above, you can ensure that your pebble floor is durable, visually appealing, and easy to maintain. Enjoy the beauty and tranquility that a pebble floor brings to your bathroom! Creating a DIY pebble bathroom floor can be a fun and rewarding project that adds a unique touch to your space. To ensure a successful installation and long-lasting results, follow these steps:
1. Select the Right Pebbles: Choose pebbles that are durable, smooth, and of consistent size. Consider using a variety of colors and shapes to create interest and visual appeal.
2. Prepare the Floor: Start by removing any existing flooring or debris from the bathroom floor. Ensure that the subfloor is clean, level, and free of any cracks or damage. Repair any issues before proceeding.
3. Create a Solid Base: Apply a layer of mortar or thin-set adhesive to the subfloor. This will provide stability and prevent the pebbles from moving or cracking. Use a trowel to spread the mortar evenly.
4. Arrange the Pebbles: Start by selecting a focal point, such as the shower area or vanity, and work your way outwards. Use your creativity and imagination to create patterns, borders, or even intricate designs with different colored pebbles. Place each stone individually onto the mortar bed, pressing them firmly to ensure they are securely embedded.
5. Grouting and Sealing: Once all the pebbles are in place, it’s time to grout the gaps between them. Use a rubber grout float to apply sanded grout evenly across the entire surface. Work in small sections to prevent the grout from drying too quickly. After allowing the grout to set for a specified time, use a damp sponge to wipe away any excess grout from the pebbles’ surface.
6. Seal the Floor: Properly sealing your DIY pebble bathroom floor is essential for enhancing its color and shine while protecting it from moisture, stains, and daily wear and tear. Choose a high-quality stone sealer that is suitable for the type of pebbles you have used. Follow the manufacturer’s instructions and apply the sealer evenly across the entire floor surface. Allow the sealer to dry completely before using the bathroom.
7. Maintenance and Care: To keep your pebble bathroom floor looking its best, regular maintenance is necessary. Sweep or vacuum the floor regularly to remove dirt, dust, and debris. Avoid using harsh chemicals or abrasive cleaners that can damage the stones or strip off the sealer. Instead, use a mild soap or stone-specific cleaner and a soft brush or mop to clean the floor gently. Periodically reapply a fresh coat of sealer to maintain its protective properties.
By following these steps and paying attention to detail, you can create a stunning and functional pebble bathroom floor that adds beauty, texture, and therapeutic benefits to your space. Enjoy the tranquility and natural beauty that a pebble floor brings to your bathroom!