Nonetheless, in case you're considering a complete bathroom renovation, you must provide the flooring some attention, it adds much more to the general design of the bathroom of yours than you understand. Many bathroom layouts are certainly not perfectly square which could cause problems when trying to put in the flooring yourself.
Images about DIY Retile Bathroom Floor

Choose bathroom floor flooring which match the decor of your house and blend perfectly with the fixtures in the bathroom of yours. While ceramic tile is lovely to look for, it can also be unforgiving if someone should happen to fall. To illustrate, a cream flooring is usually bordered by dark tiles with cream print on it or just plain black tiles.
How to Lay a Tile Floor HGTV

This's a wonderful solution which has been used since time immemorial by residence owners throughout the globe. Bathroom vinyl tiles are made in different shades & textures. You are able to also experiment with colored grout. These tiles could be arranged to develop themes and patterns. You are able to find prints of popular paintings or scenarist or perhaps plain geometric patterns.
How To Update Your Bathroom Floor Tiles – 6 DIY ideas

DIY Painted Bathroom Floor

How To Tile a Bathroom Floor The Home Depot

How To Update Your Bathroom Floor Tiles – 6 DIY ideas

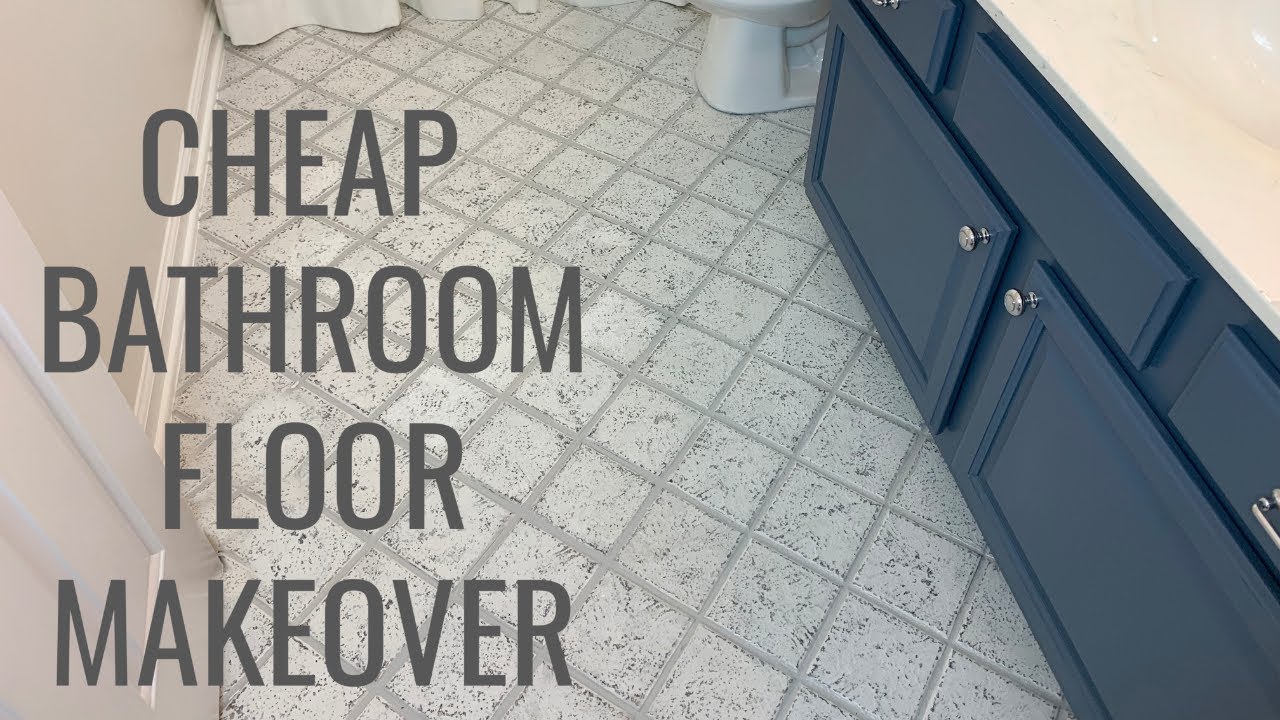
Cheap Bathroom Floor Makeover Easy DIY
How to Lay Tile: Install a Ceramic Tile Floor In the Bathroom (DIY)

Hallway Bathroom Update: DIY Flooring Upgrade – THE BALLER ON A

4 Inexpensive Bathroom Flooring Ideas
/budget-bathroom-flooring-refresh-ideas-326828_porcelain_tile-8959414ed56e4ca3a018896d984f52eb.jpg)
How to Tile Floors u0026 Walls – Sincerely, Sara D. Home Decor u0026 DIY
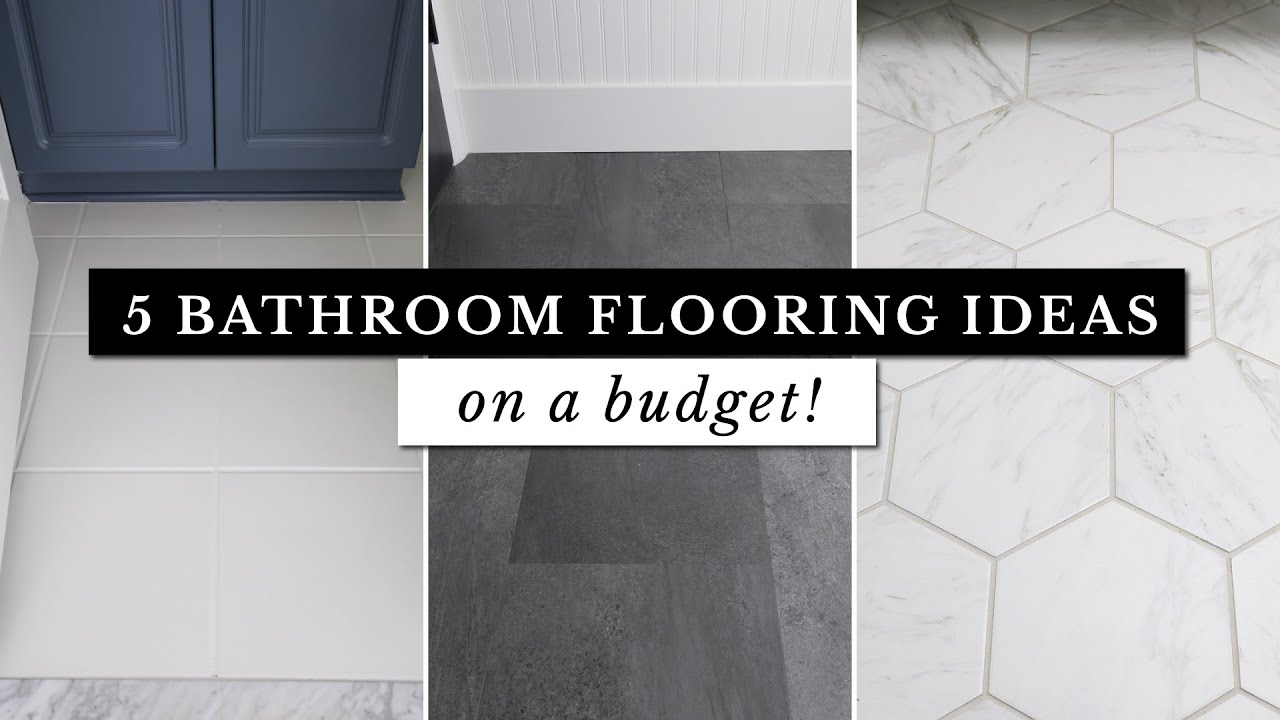
5 Bathroom Flooring Ideas on a Budget!
How to Paint Bathroom Tile Floors
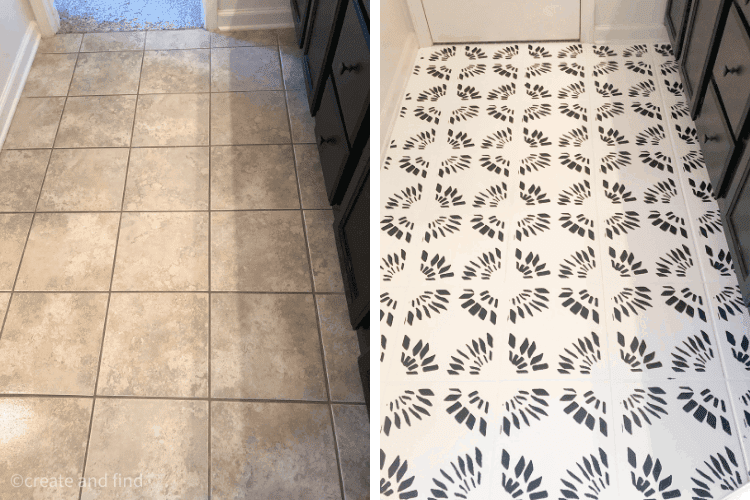
Easy DIY: Painting Bathroom Tile Stencils u2013 Royal Design Studio

Related Posts:
- Bathroom Floor Tile Patterns Ideas
- Black And White Bathroom Floor Designs
- Bathroom Epoxy Floor Coating
- Bathroom Floor Covering Options
- His And Hers Bathroom Floor Plans
- Dark Wood Tile Floor Bathroom
- Handicap Bathroom Floor Plans Commercial
- How To Clean Grout In Bathroom Floor
- Bathroom Flooring Wood Look
- Bathroom Floor Tile Layout 12×24
DIY Retile Bathroom Floor: A Comprehensive Guide to Transforming Your Space
Introduction:
A well-maintained bathroom can add value to your home and enhance your daily routine. However, over time, bathroom floors can become worn out and outdated. If you’re looking to revamp your bathroom without breaking the bank, retiling the floor is a fantastic DIY project to consider. In this article, we will guide you through each step of the process, providing detailed instructions and helpful tips along the way.
Choosing the Right Tiles:
When it comes to selecting tiles for your bathroom floor, there are various factors to consider. Firstly, you’ll want to choose a tile material that is both durable and water-resistant. Ceramic and porcelain tiles are popular choices due to their strength and ability to withstand moisture. Additionally, consider the size, color, and texture of the tiles to ensure they complement your overall bathroom aesthetic.
FAQs:
Q: How do I determine how many tiles I need?
A: Start by measuring the length and width of your bathroom floor. Multiply these measurements together to get the total square footage. It’s recommended to purchase an extra 10% of tiles to account for any breakages or future repairs.
Preparing the Surface:
Before starting the tiling process, it’s crucial to prepare the surface properly. Begin by removing any existing flooring material, such as vinyl or carpet, down to the subfloor. Ensure that the subfloor is clean, level, and free from any debris or protrusions. If necessary, use a leveling compound to correct any uneven areas.
FAQs:
Q: Can I tile over my existing floor?
A: It’s generally not recommended to tile over an existing floor as it may result in an uneven surface and compromise the integrity of the new tiles. Removing the old flooring ensures a solid foundation for your new tiles.
Laying Out the Tiles:
Properly planning the layout of your tiles is essential for achieving a professional-looking result. Start by finding the center of the bathroom floor and mark it with a chalk line. This will serve as your starting point. Dry lay a few rows of tiles along this line, using tile spacers to maintain even spacing between each tile. Adjust the starting point if necessary to ensure that cut tiles along the edges are of similar size.
FAQs:
Q: How do I cut tiles for edges and corners?
A: To cut tiles, you can use a wet saw, tile cutter, or tile nipper, depending on the specific cuts needed. Measure and mark the tile, then carefully make the cut following manufacturer instructions for your chosen cutting tool.
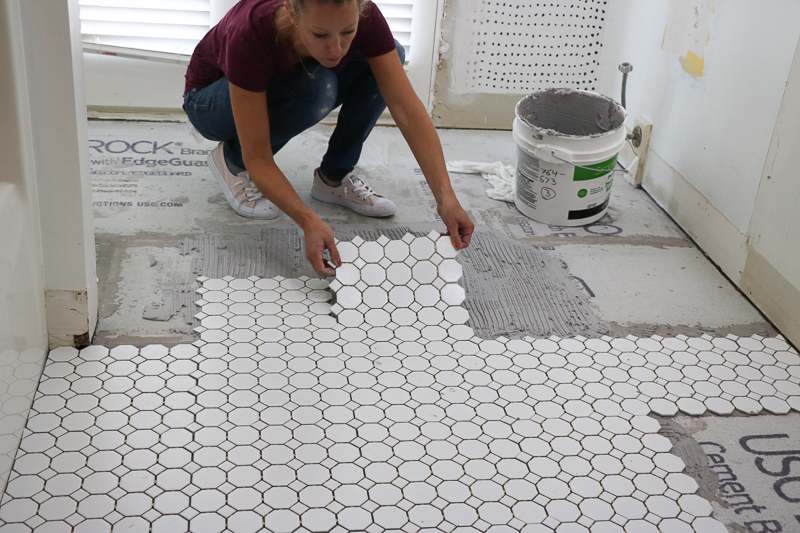
Applying Adhesive and Setting the Tiles:
Once you have determined the layout, it’s time to apply adhesive to the subfloor and set the tiles in place. Use a notched trowel to spread thin-set adhesive evenly over a small section of the floor. Place each tile firmly into the adhesive, pressing it down and twisting slightly to ensure good adhesion.
FAQs:
Q: How long should I wait before grouting?
A: Allow the adhesive to dry overnight before proceeding to grouting. This ensures that the tiles are securely set in place and minimizes any shifting during grouting.
Grouting the Tiles:
Grout not only fills in the gaps between tiles but also provides stability and prevents moisture from seeping beneath them. Begin by mixing grout according to manufacturer instructions, ensuring a smooth consistency. Using a rubber float, spread the gr Out diagonally across the tiles, pressing it into the gaps. Remove any excess grout with a damp sponge, being careful not to remove too much from the gaps. Allow the grout to dry for about 24 hours before sealing it with a grout sealer.
FAQs:
Q: How often should I seal the grout?
A: It is recommended to seal the grout every 1-2 years to maintain its appearance and protect it from stains and moisture.
Cleaning and Maintenance:
To keep your tiled bathroom floor looking its best, regular cleaning and maintenance are necessary. Use a mild detergent or tile cleaner and a soft brush or mop to clean the tiles. Avoid using harsh chemicals or abrasive tools that can damage the surface of the tiles. Regularly check for any loose or cracked tiles and repair them promptly to prevent further damage.
FAQs:
Q: How do I remove stains from the tiles?
A: For most stains, a mixture of baking soda and water or vinegar can be effective in removing them. Create a paste with either ingredient, apply it to the stain, let it sit for a few minutes, then scrub gently with a soft brush or sponge. Rinse thoroughly with water.
Q: Can I use a steam cleaner on the tiles?
A: It is generally safe to use a steam cleaner on tiles, but be sure to check the manufacturer’s instructions and recommendations for your specific tiles. Some types of tiles may be more sensitive to heat and moisture, so it’s important to use caution and test a small area before cleaning the entire floor.