Garages nowadays have much greater utilities than simple car parking places. Sometimes there can be zones that need to be filled before putting on floor mats to be able to make sure a professional and smooth look. Flexible flooring surfaces are more comfy to stand on than a ceramic gadget or simple cement. It's well worth the energy to do it the right way.
Images about Garage Floor Sealers Do It Yourself
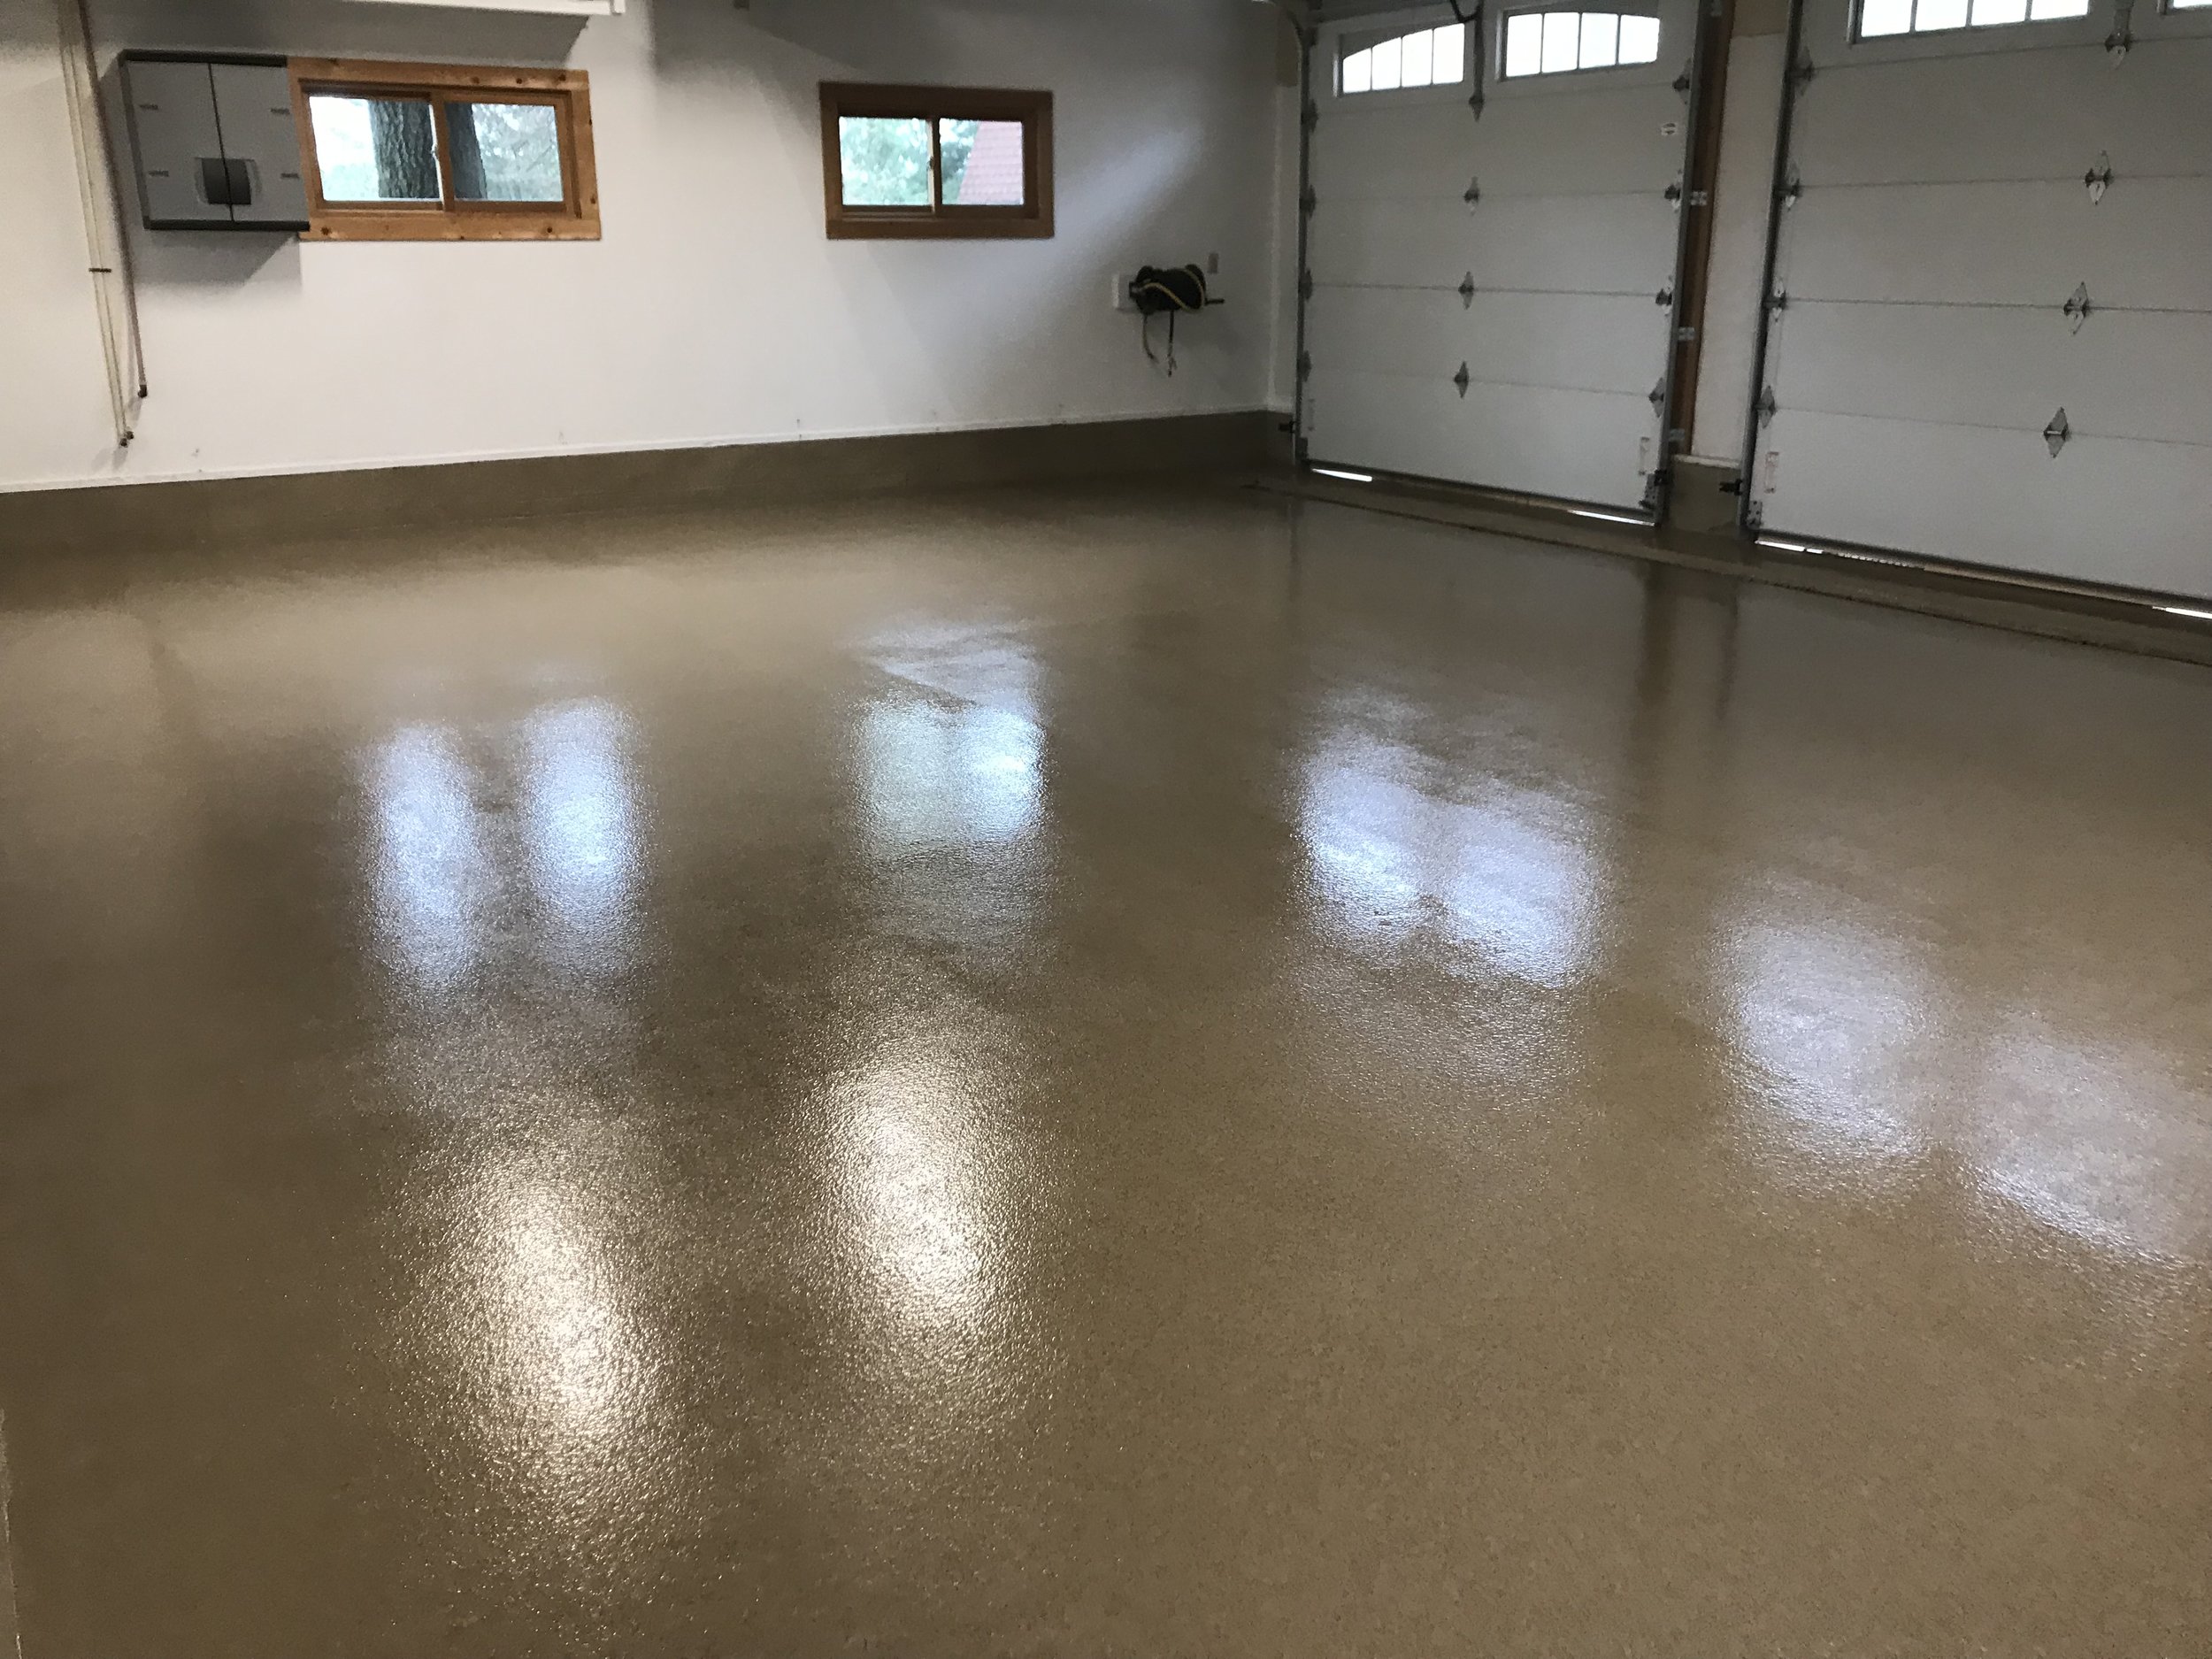
You don't wish to buy an excessive amount of & waste money although you additionally do not want to buy overly small & end up short on the job. If you've a seasoned garage with heavier traffic, you have to allow the color or coat to dry for 24 hours if not more. It was likewise costly to effectively cover the floors.
Coatings Pro v. DIY Epoxy Garage Floor Kits CoatingsPro Magazine
With so many items now available, anyone can change their garage from an eyesore to a high end automobile showroom overnight, while adding years to the lifestyle of the first cement by preserving the floor from damage. To cost under two dolars a square foot on average, they're the fastest of all three options to put down. Prior to considering garage flooring, you must consider what you would like the garage of yours to are like and what feature does your garage area serve.
DIY How-To Renew a Pitted Garage Floor with a Nohr-S Coating All
Coatings Pro v. DIY Epoxy Garage Floor Kits CoatingsPro Magazine
DIY Epoxy Garage Floors
Best Garage Floor Coating of 2022 – This Old House
/cdn.vox-cdn.com/uploads/chorus_image/image/68830856/1120_FEA_Idea_House_Fairfield_Farmhouse_08142020NR_0078_v3.0.jpg)
How to Resurface a Garage Floor HGTV
A Top Rated DIY Concrete Floor Sealer for the Garage All Garage
How to Resurface a Garage Floor HGTV
Make Your Garage Floor Last (DIY) Family Handyman

How Much Does an Epoxy Garage Floor Cost? A Budgeting Guide – Bob Vila

4 Reasons your DIY garage epoxy flooring may fail Epoxy Blog

DIY Epoxy Garage Floor Coating Repair – Casper, WY

Which Garage Floor Coating Is Best? – Mile High Coatings

Related Posts:
- Garage Floor Protection Mats
- 1 Bedroom Garage Apartment Floor Plans
- How To Install A Garage Floor Drain
- Garage Floor Stain Colors
- Garage Floor Filler
- Liquid Granite Garage Floor
- Ucoat It Garage Floor Coating
- Epoxy Garage Floor Ideas
- Rustoleum Garage Floor Epoxy Touch Up
- Fast Track Garage Flooring
Garage Floor Sealers Do It Yourself: A Comprehensive Guide to Protecting and Enhancing Your Garage Floor
Introduction:
Your garage floor takes a lot of abuse, from heavy vehicles to oil spills and constant foot traffic. Over time, these factors can cause your garage floor to deteriorate, leading to cracks, stains, and an overall unattractive appearance. That’s where garage floor sealers come in. By applying a high-quality sealer yourself, you can protect your garage floor from damage and prolong its lifespan. In this comprehensive guide, we will explore everything you need to know about garage floor sealers, including their benefits, types, application process, and frequently asked questions.
Benefits of Garage Floor Sealers:
1. Protection against damage:
Garage floor sealers create a protective barrier that shields the concrete from various elements such as oil stains, moisture, chemicals, and abrasions. By preventing these substances from penetrating the surface, sealers help maintain the integrity of your garage floor.
2. Enhanced durability:
Sealers strengthen the surface of your garage floor by filling in small cracks and gaps. This added reinforcement makes the concrete more resistant to cracking under heavy loads or impact.
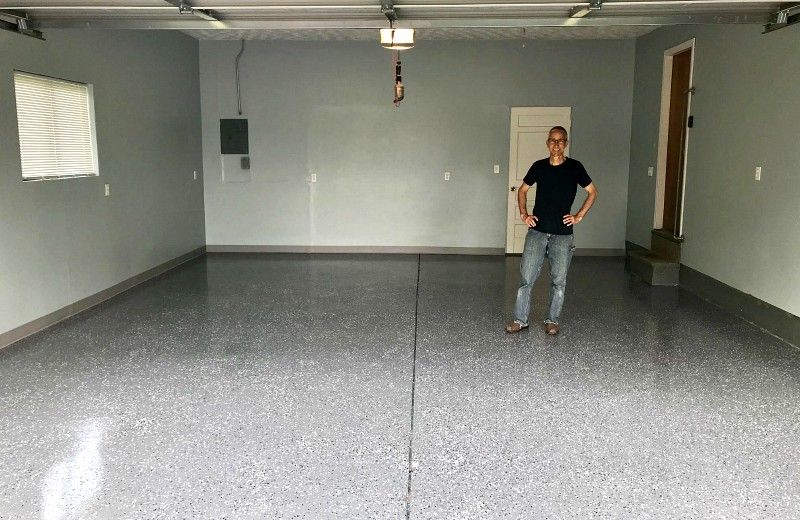
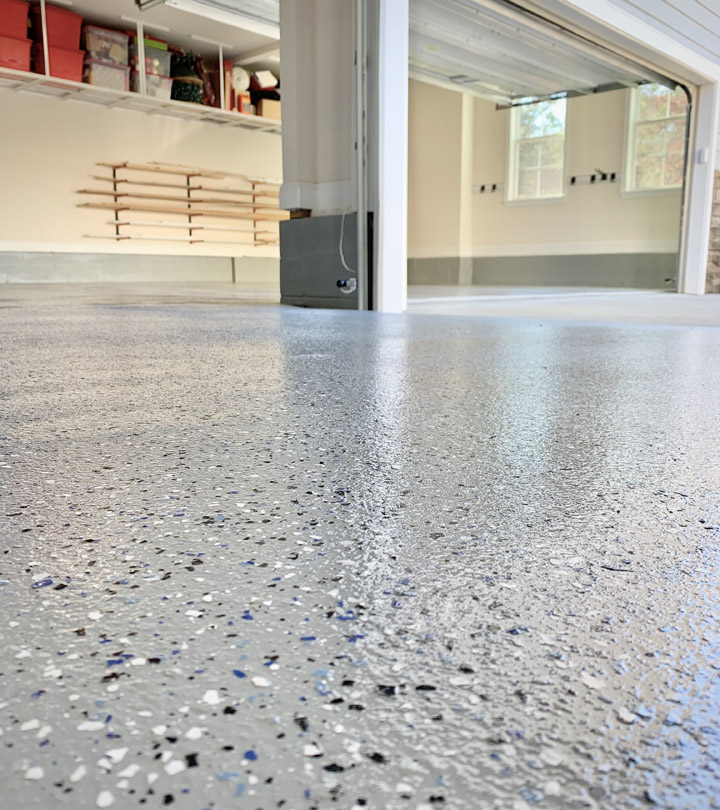
3. Improved aesthetics:
Applying a sealer can transform the appearance of your garage floor dramatically. With various options available – from clear sealers that enhance the natural color of concrete to tinted sealers that provide a decorative finish – you can give your garage an attractive and polished look.
Types of Garage Floor Sealers:
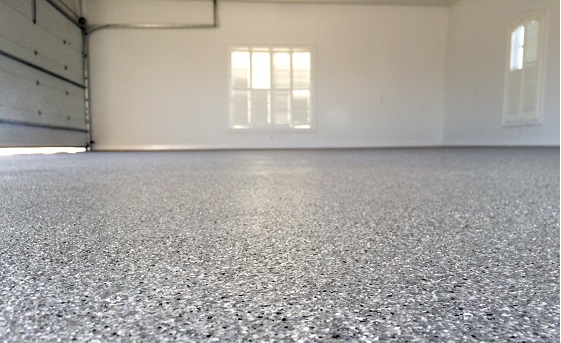
1. Epoxy Sealers:
Epoxy sealers are popular for their exceptional durability and resistance to chemicals, oils, and stains. They consist of a two-part system – epoxy resin and hardener – which creates a strong bond with the concrete surface. Epoxy sealers are available in different finishes such as satin or high gloss.
2. Polyurethane Sealers:
Polyurethane sealers offer similar benefits to epoxy sealers but excel in terms of flexibility and UV resistance. They are less prone to yellowing when exposed to sunlight, making them an ideal choice for outdoor applications.
3. Acrylic Sealers:
Acrylic sealers, also known as water-based sealers, are easy to apply and dry quickly. They provide a thin protective layer on the surface of the concrete and offer good resistance against water, oil, and mild chemicals. Acrylic sealers are available in various finishes, including matte, satin, and high gloss.
Application Process:
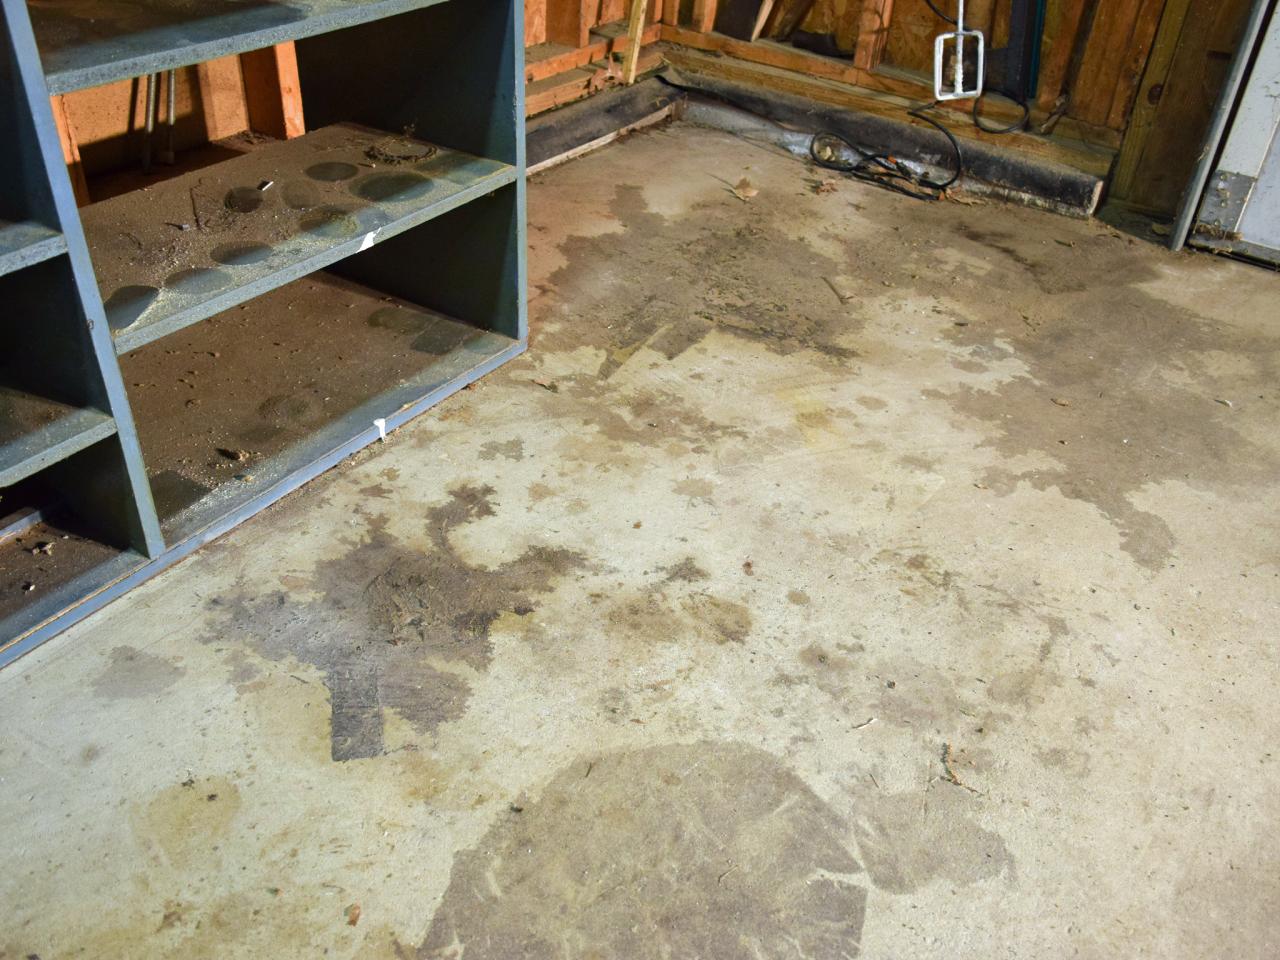
1. Surface preparation:
Before applying a garage floor sealer, it is crucial to prepare the surface properly. Start by cleaning the floor thoroughly, removing any oil stains or dirt using a degreaser and a stiff brush. Repair any cracks or imperfections with a concrete patching compound and allow it to dry completely.
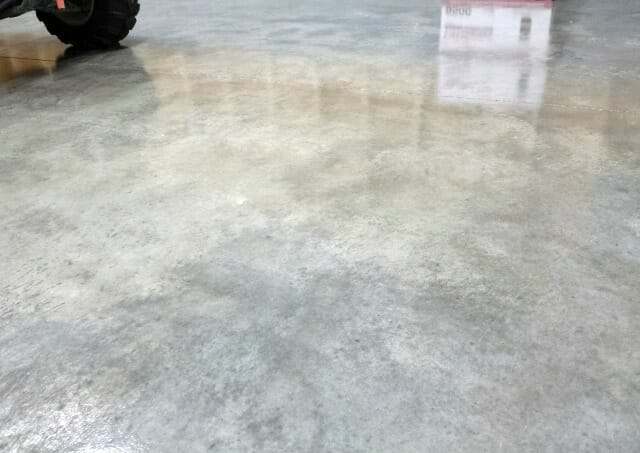
2. Etching the surface:
Etching helps create a slightly rough texture on the concrete, allowing the sealer to adhere better. You can use an etching solution containing muriatic acid or a safer alternative such as citric acid. Follow the manufacturer’s instructions carefully while handling acid-based products.
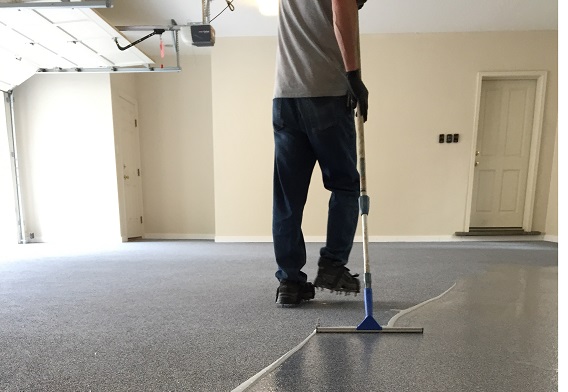
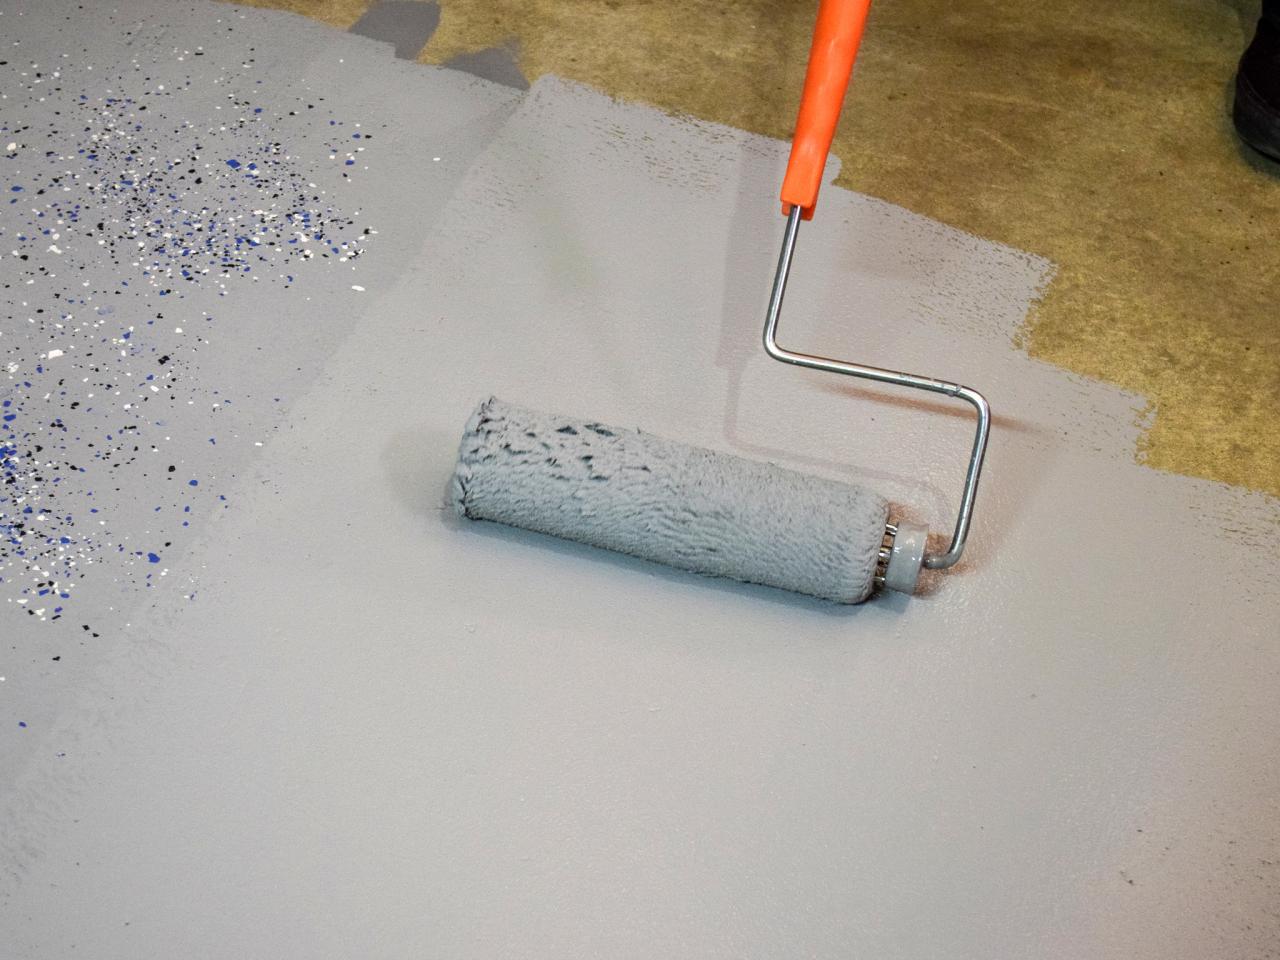
3. Applying the sealer:
Once the surface is clean and etched, it’s time to apply the sealer. Begin by cutting in along the edges using a brush or roller. Then, work your way across the floor in small sections, using a paint roller or sprayer for larger areas. Apply multiple thin coats rather than one thick coat for better penetration and Coverage. Allow each coat to dry completely before applying the next one, following the manufacturer’s recommended drying time. Finally, let the sealer cure for at least 24 hours before subjecting the floor to heavy traffic or placing any objects on it.
Maintenance:
Once your garage floor is sealed, regular maintenance is essential to keep it in good condition. Here are some tips:
1. Clean spills promptly: Wipe up any oil, chemicals, or other spills as soon as possible to prevent staining or damage to the sealer.
2. Sweep or dust mop regularly: Remove loose dirt and debris by sweeping or dust mopping the floor regularly. This helps prevent scratches and keeps the surface looking clean.
3. Avoid abrasive cleaners: Use mild soap and water for routine cleaning. Avoid using abrasive cleaners or scrub brushes that can scratch the sealer.
4. Reapply sealer as needed: Over time, the sealer may wear off or become damaged. Monitor the condition of your garage floor and reapply the sealer when necessary to maintain its protective properties.
In conclusion, applying a garage floor sealer offers several benefits including protection against stains, enhanced durability, and improved aesthetics. There are different types of sealers available, such as epoxy, polyurethane, and acrylic. Proper surface preparation and application techniques are crucial for a successful sealing process. Regular maintenance, including prompt spill clean-up and gentle cleaning methods, will help prolong the lifespan of the sealer and keep your garage floor looking its best.