All three can be fitted easily and inexpensively and therefore are easy to maintain. Many guys and gals that focus on cars are actually only concerned with getting it fresh. Another idea you will love to listen to when you work a great deal in your garage is that a garage floors covering will be much easier to clean as opposed to the concrete itself.
Images about How To Apply Epoxy Shield Garage Floor Coating
Another way to enhance a concrete garage floor is by installing tiles. But, just like with painting walls in a home, the true effort can be found in the preparation. If you've a garage floor coating, you are going to be in a position to get rid of any stains without having a headache. If this is the situation, you will want to consider some throw rugs for the garage area flooring region you are going to be most walking on.
DIY Epoxy Garage Floors
The better heavy duty professional grade mats generally cost much more than mild duty ones For all the various types, patterns, in addition to duty ratings, you ought to be able to select a roll out garage mat that suits your needs. Improving the appearance of your garage, or even fixing those issue areas is a perfect time to use garage floor coatings.
How to Apply Epoxy Coating to a Garage Floor – This Old House
/cdn.vox-cdn.com/uploads/chorus_image/image/65892091/epoxy_xl.0.jpg)
Rust-Oleum DIY Projects

Rust-Oleum Epoxy Flooring – Your Epoxy Shield Review
DIY Epoxy Garage Floors
How to Use Rust-Oleum® Epoxyshield® Garage Floor Coating Kit to

How to Apply Epoxy Floor Coatings to a Garage Floor (Start to Finish)
Garage Floor Makeover with Rust-Oleum EPOXYSHIELD
How to Prep Garage Floor for Epoxy Coating One Day Custom Floors

Rust-Oleum EpoxyShield 2-part Gray Gloss Concrete and Garage Floor Paint Kit (2-Gallon)
Garage Project – Rust-Oleum EPOXY SHIELD Garage Floor Coating
Coatings Pro v. DIY Epoxy Garage Floor Kits CoatingsPro Magazine
Garage Floor Makeover with Rust-Oleum EPOXYSHIELD
Related Posts:
- Garage Floor Protection Mats
- 1 Bedroom Garage Apartment Floor Plans
- How To Install A Garage Floor Drain
- Garage Floor Stain Colors
- Garage Floor Filler
- Liquid Granite Garage Floor
- Ucoat It Garage Floor Coating
- Epoxy Garage Floor Ideas
- Rustoleum Garage Floor Epoxy Touch Up
- Fast Track Garage Flooring
How to Apply Epoxy Shield Garage Floor Coating
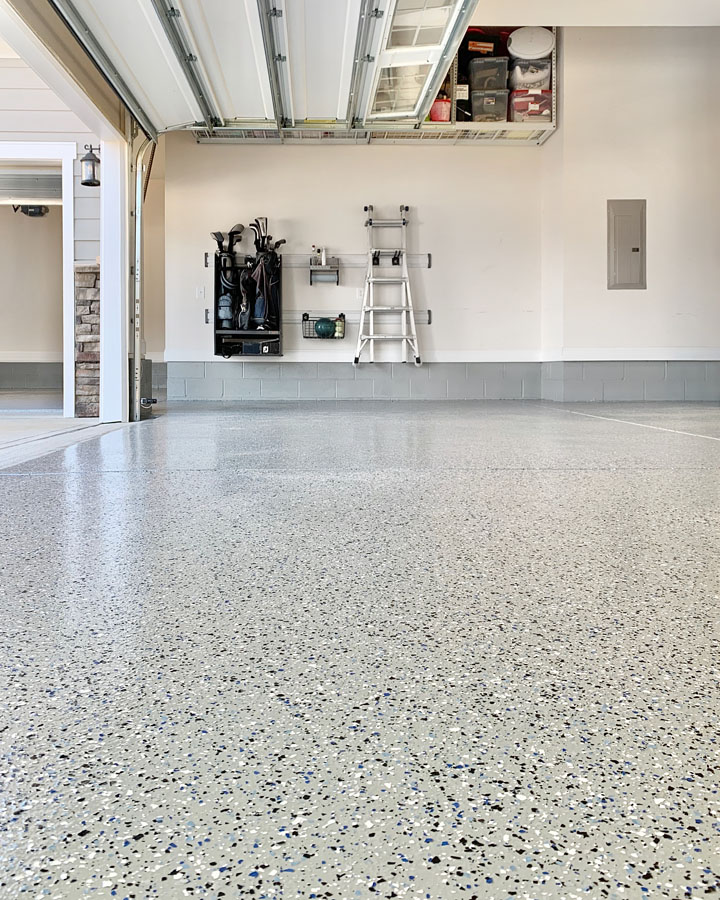
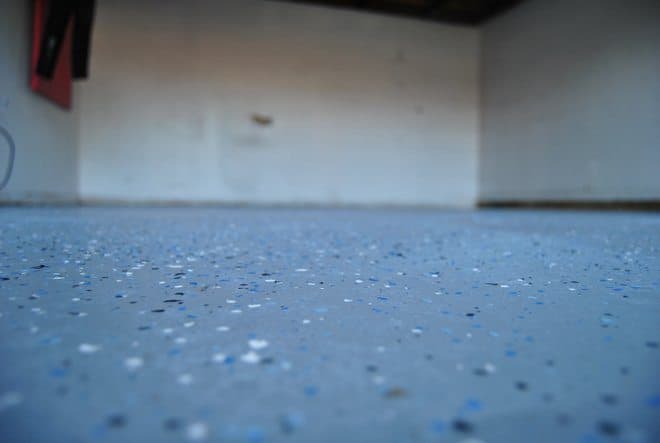
Having a well-maintained and attractive garage floor can make a significant difference in the overall appearance and functionality of your space. One of the best ways to achieve this is by applying an epoxy shield garage floor coating. This durable and long-lasting coating not only enhances the aesthetic appeal of your garage but also protects against stains, spills, and other damage. In this article, we will provide you with a step-by-step guide on how to apply epoxy shield garage floor coating effectively.
Preparing the Garage Floor
Before applying the epoxy shield garage floor coating, it is crucial to properly prepare the surface to ensure maximum adhesion and longevity of the coating. Follow these steps for a thorough preparation:
1. Clear the Area: Remove all items from your garage, including vehicles, tools, and any other objects that may obstruct your work area.
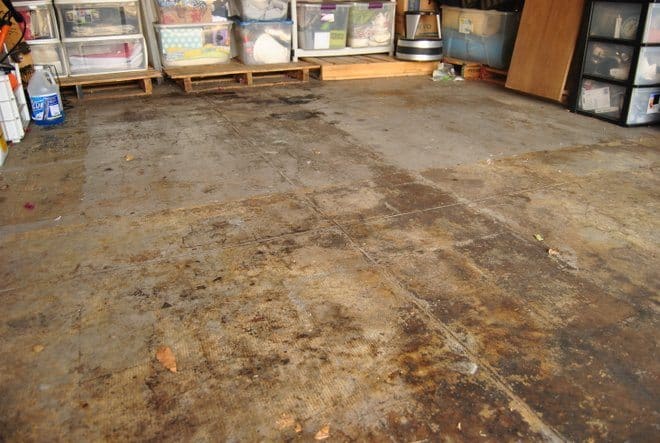
2. Clean the Floor: Thoroughly clean the entire garage floor using a degreaser or heavy-duty cleaner. This will help remove any oil, grease, dirt, or debris that may prevent proper adhesion of the epoxy shield coating.
3. Repair Cracks and Imperfections: Inspect the floor for any cracks, holes, or other imperfections. Use a concrete patching compound to repair these areas and ensure a smooth surface.
4. Etch the Surface: Etching is an essential step that helps open up the pores of the concrete and provides better adhesion for the epoxy shield coating. Mix an etching solution according to the manufacturer’s instructions and apply it evenly over the entire floor using a mop or brush. Allow it to sit for 15-20 minutes before rinsing off with clean water.
5. Test for Moisture: It is crucial to test for moisture in your garage floor before applying the epoxy shield coating. Excessive moisture can lead to adhesion issues and premature failure of the coating. Conduct a moisture test by taping a plastic sheet to the floor and leaving it overnight. If condensation appears on the underside of the plastic, there is excessive moisture present. In such cases, consult a professional for further guidance.
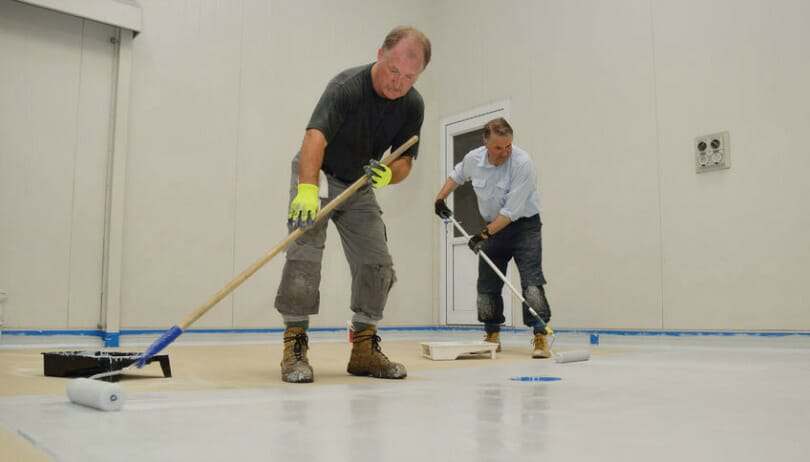
Applying the Epoxy Shield Garage Floor Coating
Once you have successfully prepared the garage floor, it is time to apply the epoxy shield garage floor coating. Follow these steps for a smooth and flawless application:
1. Gather Your Tools and Materials: Ensure you have all the necessary tools and materials before starting the application process. This includes epoxy shield garage floor coating kit, paint roller with extension pole, paintbrush, painter’s tape, safety goggles, gloves, and a mixing paddle.
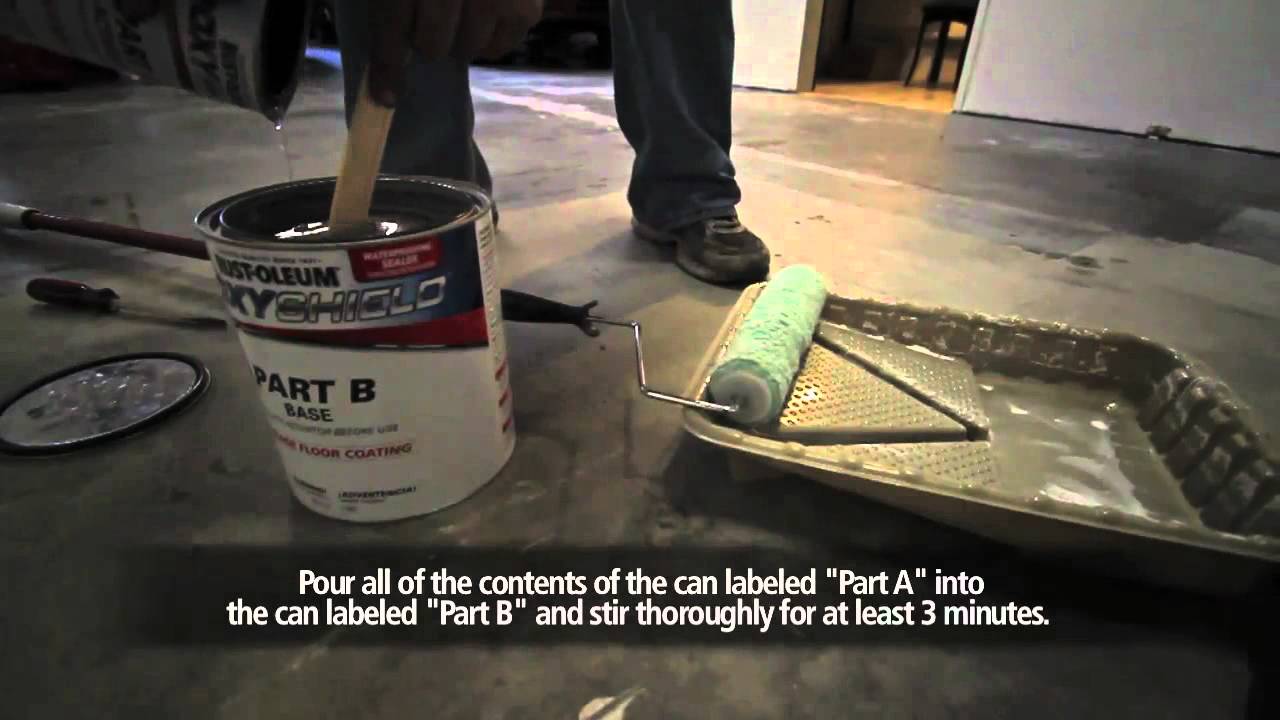
2. Mix the Epoxy Shield Coating: Carefully read and follow the manufacturer’s instructions for mixing the epoxy shield coating. Use a clean bucket or container and mix the components thoroughly using a mixing paddle or drill with a mixing attachment. Ensure that no lumps or streaks are present in the mixture.
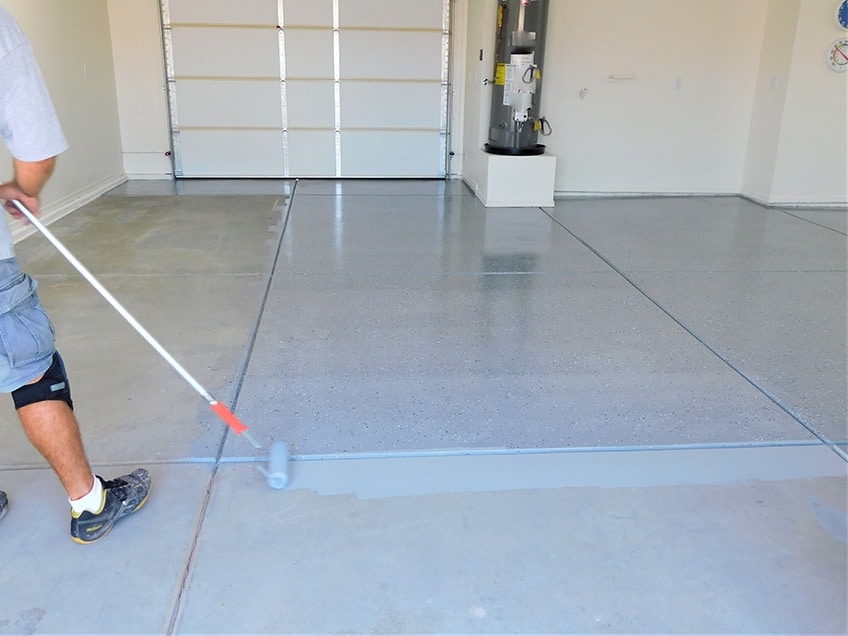
3. Cut in Edges: Before applying the epoxy shield coating to the entire floor, cut in along the edges using a paintbrush. This will help create clean lines and prevent any overlapping or uneven coverage when using a roller.
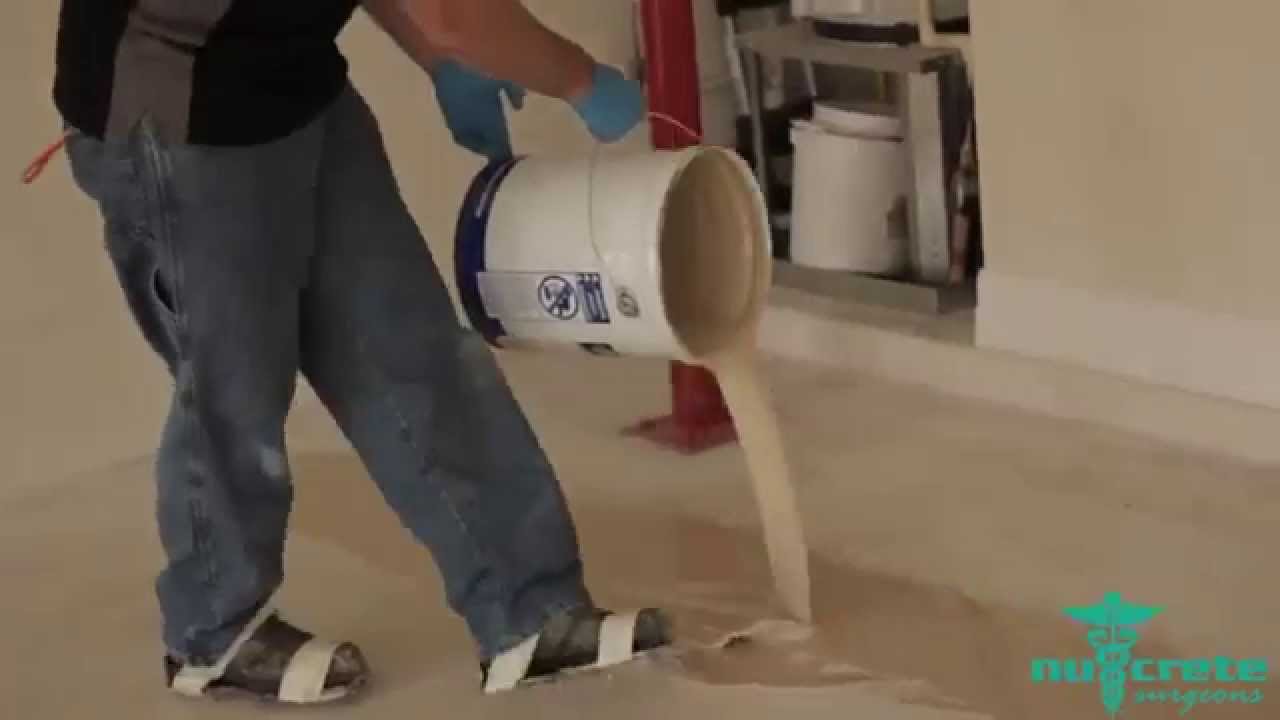
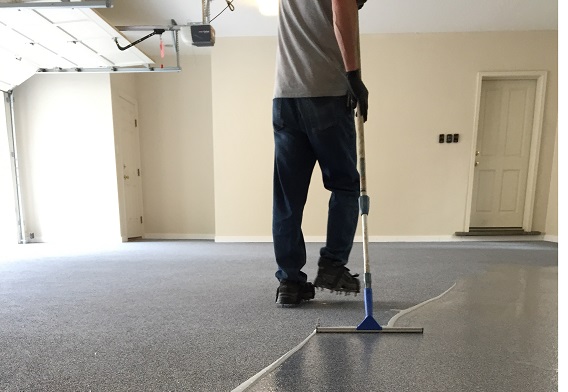
4. Apply the Coating: Start by pouring a small amount of epoxy shield coating onto the floor near one corner of your garage. Use a roller with an extension pole to spread the coating evenly across the surface in manageable sections. Work your way from one side of the garage to the other, ensuring consistent Coverage and avoiding any puddles or drips. Apply a thin coat initially and then follow up with a second coat for added durability and protection.
5. Allow Drying Time: After applying the epoxy shield coating, allow it to dry according to the manufacturer’s instructions. This usually takes around 24 hours, but it is best to wait longer if possible to ensure proper curing.
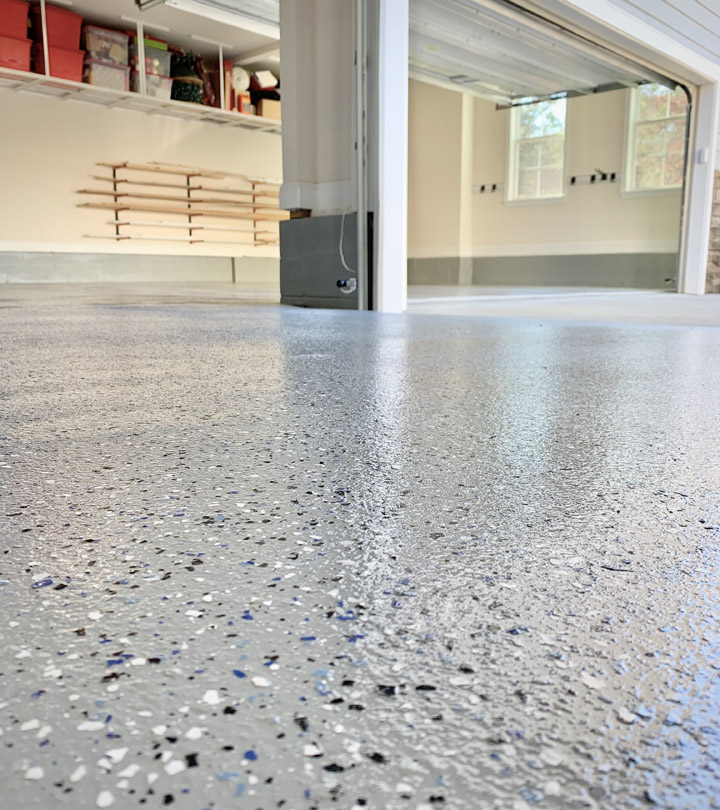
6. Apply a Top Coat (Optional): If desired, you can apply a clear top coat over the epoxy shield coating for added protection and shine. Follow the manufacturer’s instructions for mixing and applying the top coat.
7. Clean Up: Once you have finished applying the epoxy shield coating, clean your tools and materials immediately using water or an appropriate cleaning solution. Dispose of any leftover coating or materials safely according to local regulations.
8. Allow Curing Time: After completing the application process, avoid walking or driving on the coated garage floor for at least 72 hours to allow for proper curing. This will ensure that the epoxy shield coating fully bonds with the concrete surface and provides long-lasting protection.
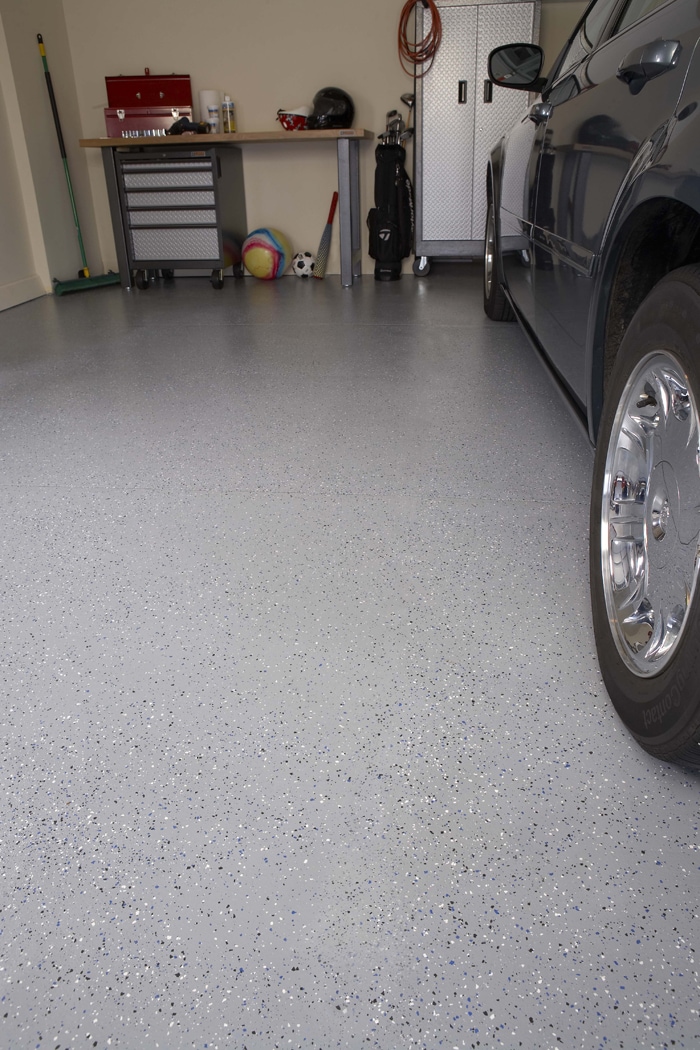
By following these steps and properly preparing and applying the epoxy shield garage floor coating, you can transform your garage floor into a durable, attractive, and easy-to-clean surface that will last for years to come. Enjoy your newly upgraded garage space!