Like every other area in your home, compare and contrast your alternatives when you're looking for basement flooring. It is going to last long to a selection of years and maintains the neat appearance. A very popular option when applying commercial carpet tiles is using 2 or perhaps 3 colors to generate checkerboard or contemporary designs.
Images about How To Concrete Basement Floor
This's paramount in ensuring that the damp problem is sorted out and that whatever flooring you choose, it is going to be relaxed. These issues intimidate many individuals if they begin to think about redoing their basements. Therefore most cellar flooring consisted of the initial concrete slab and then very little better.
15 DIY Basement Flooring Ideas – Affordable DIY Flooring Options
These're generally amongst the low-cost alternatives that you have, and so they're growing in popularity, particularly as they start to be far more purposeful plus more appealing. By performing some online research, you'll be able to find a number of different options for basement floor coverings. Don't choose linoleum tile since this's susceptible to basement issues.
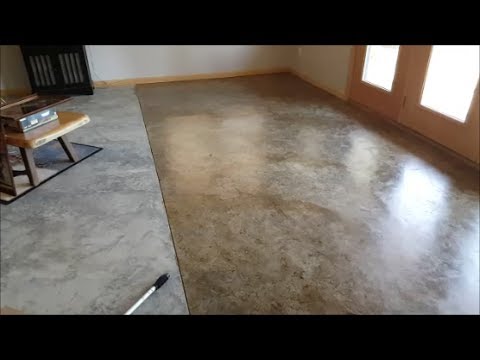
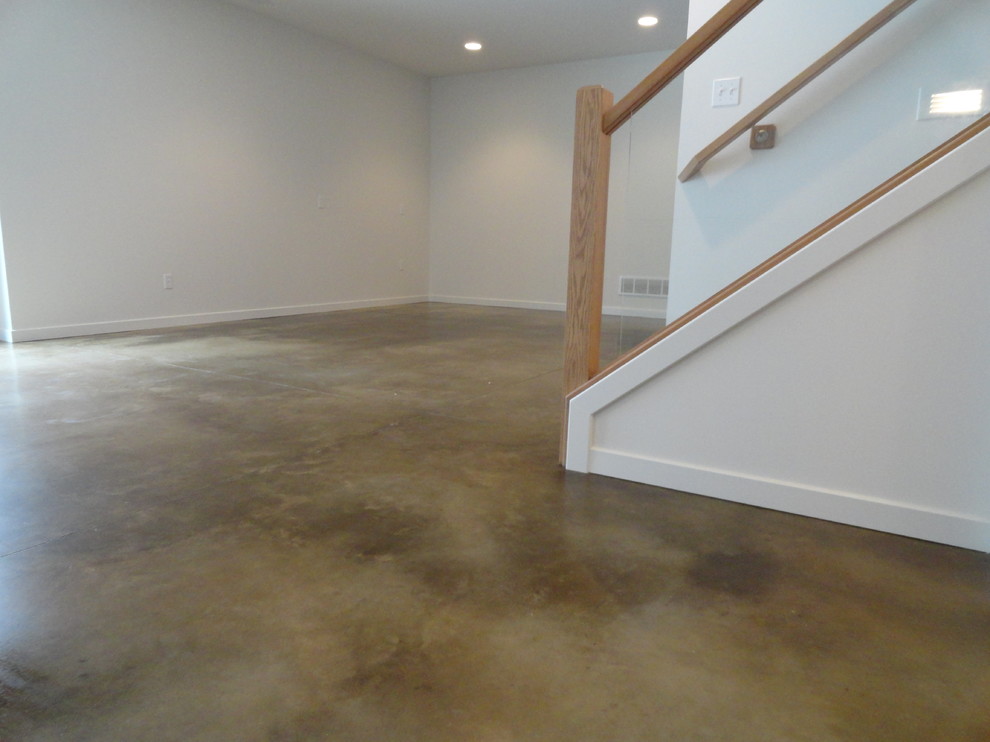
Polished Concrete Basement – Treadwell
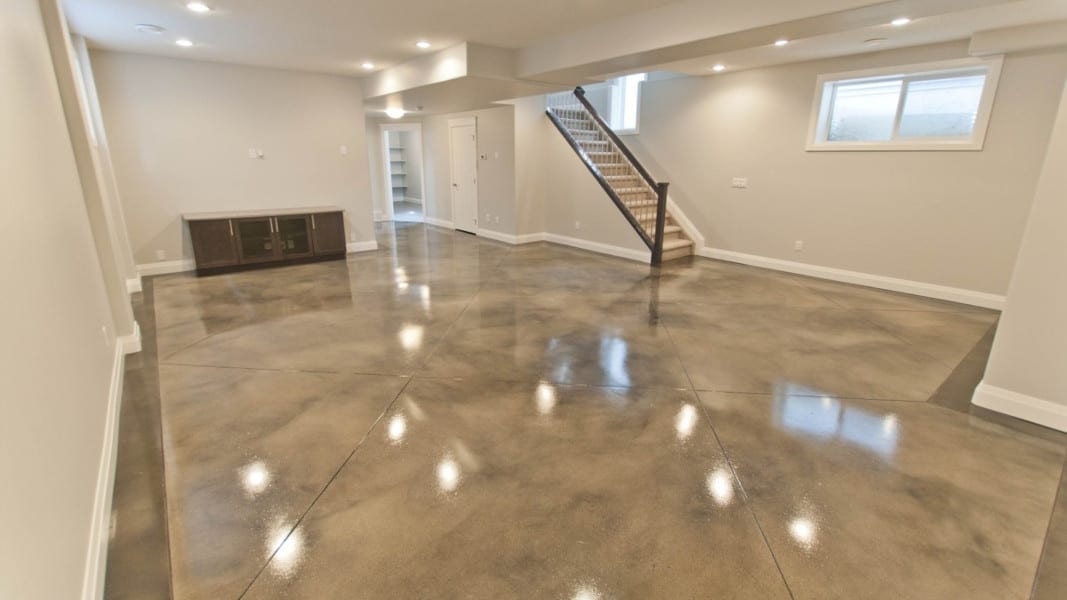
Stained Concrete Basement Floor – Modern – Indianapolis – by
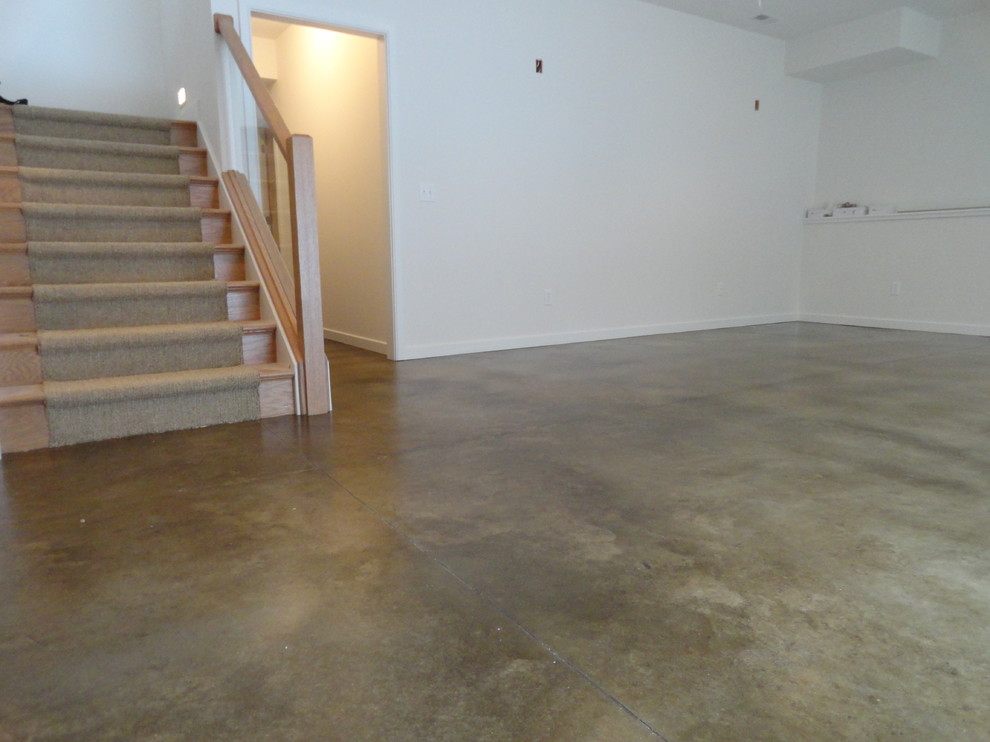
DIY Basement Floor Stain and finish, 2 colors, Without Etching!
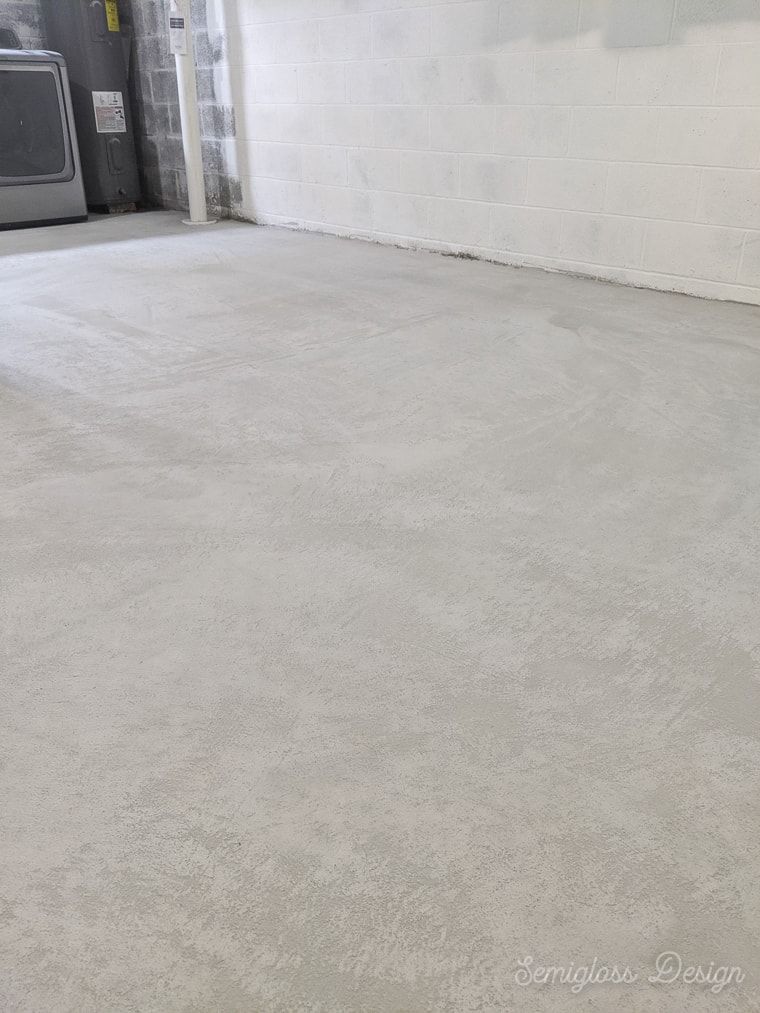
Best Basement Waterproofing Sealer u003e Articles u003e Ghostshield®

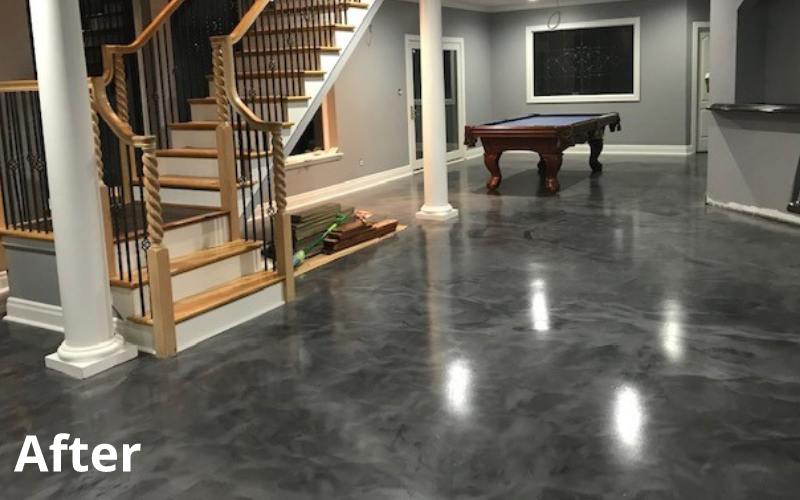
Basement Floor Coating – Galaxy Concrete Coatings

9 Basement Flooring Ideas for Your Home – Bob Vila

DIY Modern Look for a Traditional Family Home – Daybreak Utah

10 Concrete Basement Floor Ideas
Ready For Concrete Flooring In Your Basement? Hereu0027s What Itu0027ll Cost
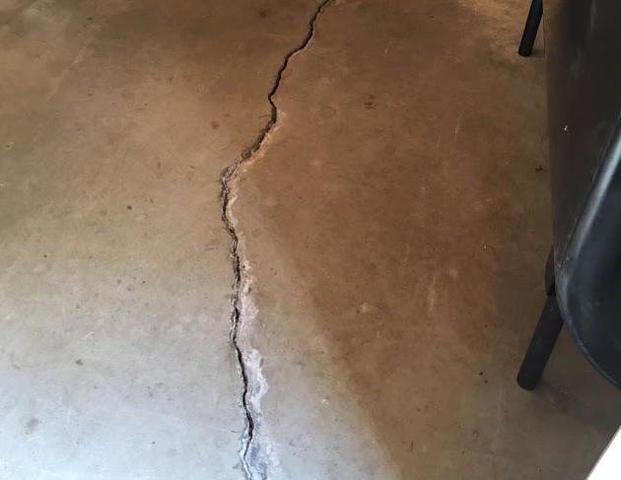
Causes of Basement Floor Cracks and What to Do About Them News
Stained Concrete Basement Floor – Modern – Indianapolis – by
My most expensive basement finishing MISTAKE and exactly how you

Related Posts:
- Leveling A Concrete Basement Floor
- How To Snake A Basement Floor Drain
- Basement Flooring Products
- Cheap Tile For Basement Floor
- Mike Holmes Basement Flooring Options
- Is Vinyl Plank Flooring Good For Basements
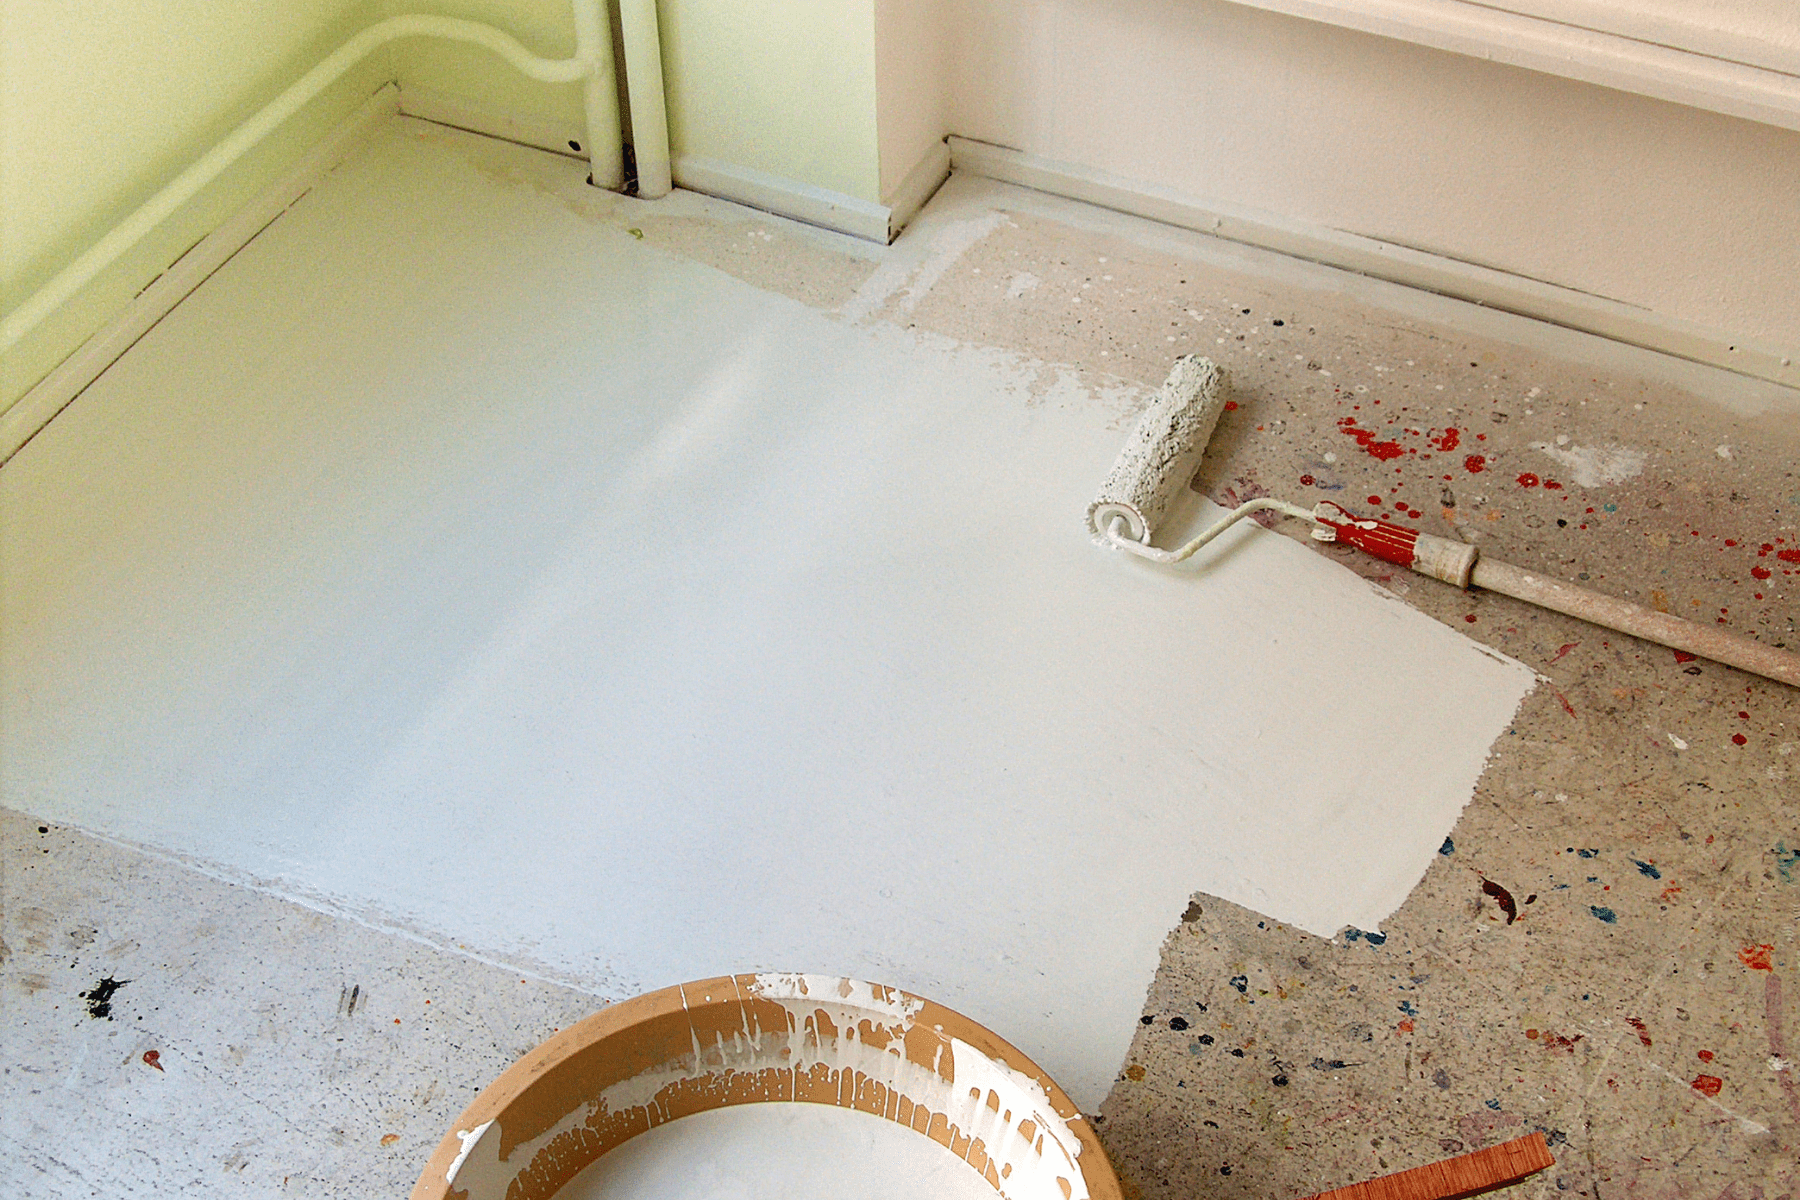
- Paint Your Basement Floor
- How To Install Shower Drain In Basement Floor
- Basement Concrete Floor Paint Ideas
- White Powder On Basement Floor
Title: How to Concrete Your Basement Floor: A Comprehensive Guide
Introduction:
Concrete basement floors are a popular choice for homeowners seeking a durable, low-maintenance, and versatile flooring option. Whether you’re finishing your basement or looking to upgrade an existing floor, this article will guide you through the process of concreting your basement floor step by step. From preparation to finishing touches, we’ll cover everything you need to know to achieve a professional-quality concrete floor that will stand the test of time.
I. Preparing the Basement Floor:
Before diving into the concrete pouring process, proper preparation is essential. Follow these steps to ensure a solid foundation for your basement floor:
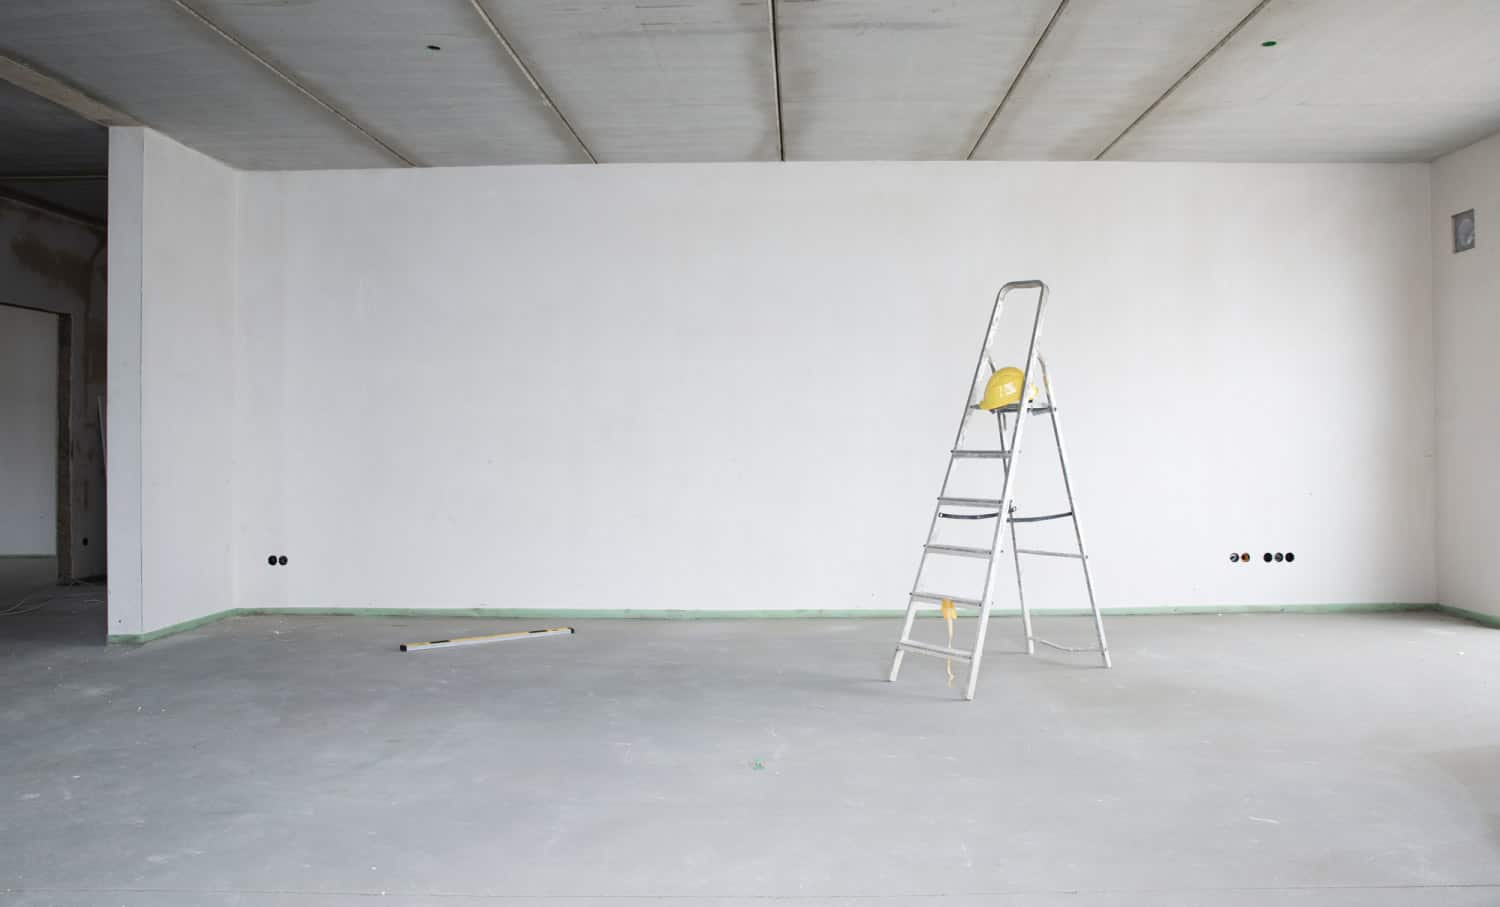
A. Clearing and Cleaning:
Begin by removing any debris, furniture, or existing flooring from the area. Sweep or vacuum thoroughly to eliminate all dust and dirt. This step is crucial as even small particles can affect the adhesion and finish of the concrete.
B. Patching and Leveling:
Inspect the floor for any cracks or uneven areas. Fill in larger cracks with epoxy-based concrete filler and use a trowel to level out any uneven sections. It’s crucial to address these issues beforehand to prevent future problems with your finished floor.
C. Moisture Barrier Installation:
Basements are prone to moisture issues, making it crucial to install a moisture barrier before pouring concrete. Roll out a high-quality plastic sheet or vapor barrier over the entire floor surface, overlapping seams by at least six inches. Secure the edges with waterproof tape.
FAQs:
Q1: Why do I need a moisture barrier in my basement before pouring concrete?
A1: Basements are vulnerable to moisture infiltration due to their below-grade location. A moisture barrier prevents water vapor from seeping through the concrete, which can cause damage and mold growth over time.
Q2: Can I skip patching cracks on my basement floor if they are small?
A2: Even small cracks can expand over time, leading to structural issues in your concrete floor. It is crucial to address them before pouring concrete to ensure a smooth and durable finish.
II. Mixing and Pouring Concrete:
Once your basement floor is properly prepared, it’s time to mix and pour the concrete. Follow these steps for a successful concrete application:
A. Calculating Concrete Quantity:
Measure the square footage of your basement floor to determine the amount of concrete you’ll need. Consult with a professional or use an online calculator to estimate the quantity required, factoring in the desired thickness of your concrete layer.
B. Gathering Materials and Tools:
Collect all the necessary materials, including ready-mix concrete, water, a wheelbarrow or mixing tub, a shovel or hoe for mixing, and a trowel for spreading the concrete.
C. Mixing the Concrete:
Refer to the instructions provided with your ready-mix concrete for specific mixing ratios. Generally, combine the dry mix with water in a wheelbarrow or mixing tub according to the manufacturer’s recommendations. Use a shovel or hoe to incorporate water gradually until you achieve a workable consistency.
D. Pouring and Spreading the Concrete:
Start by pouring the mixed concrete onto one corner of your basement floor. Use a long-handled squeegee or a straight-edged board to spread the concrete evenly across the entire surface. Work in small sections, overlapping each pour slightly for seamless integration.
FAQs:
Q1: Can I mix my own concrete instead of using ready-mix?
A1: While it is possible to Mix your own concrete, using ready-mix concrete is recommended for basement floors. Ready-mix concrete is specifically designed for ease of use and consistency, ensuring a high-quality and durable finish.
Q2: How long does it take for the poured concrete to dry and cure?
A2: The drying and curing time for concrete can vary depending on factors such as temperature and humidity. Generally, it takes about 24-48 hours for the concrete to dry to the touch, but it can take several weeks for the concrete to fully cure and reach its maximum strength. It’s important to follow the manufacturer’s instructions and allow sufficient time for proper drying and curing before subjecting the floor to heavy use. Q1: What is the purpose of a vapor barrier in concrete?
A1: The purpose of a vapor barrier in concrete is to prevent water vapor from seeping through the concrete. This helps to prevent damage and mold growth over time.
Q2: Can I skip patching small cracks on my basement floor?
A2: It is not recommended to skip patching small cracks on your basement floor. Even small cracks can expand over time, leading to structural issues in your concrete floor. It is crucial to address them before pouring concrete to ensure a smooth and durable finish.
Q1: Can I mix my own concrete instead of using ready-mix?
A1: While it is possible to mix your own concrete, using ready-mix concrete is recommended for basement floors. Ready-mix concrete is specifically designed for ease of use and consistency, ensuring a high-quality and durable finish.
Q2: How long does it take for the poured concrete to dry and cure?
A2: The drying and curing time for concrete can vary depending on factors such as temperature and humidity. Generally, it takes about 24-48 hours for the concrete to dry to the touch, but it can take several weeks for the concrete to fully cure and reach its maximum strength. It’s important to follow the manufacturer’s instructions and allow sufficient time for proper drying and curing before subjecting the floor to heavy use.