The trend seems to be for homeowners to get wood flooring with a factory applied finish. If perhaps you're a do-it-yourselfer, you may well enjoy setting up a reclaimed flooring on your own, as it no harder to install than the average wood floor. Appropriate maintenance by the consumer is every bit as important. Wood flooring styles in addition rely on the sort of room. You may want to take a look at several samples before you take on your next wood flooring project.
Images about How To Install Vinyl Wood Flooring On Concrete
With the ever increasing number of DIY shows on television, a lot of men and women are attempting to bring back their own wood floors and then find it is not as basic as appears on telly. They might additionally be incredibly stylish in patterns like tile, realistic stones and hardwood visuals. Also, you may want to consider installing tile in the entry ways of yours, since it's the spot where the heaviest traffic typically occurs.
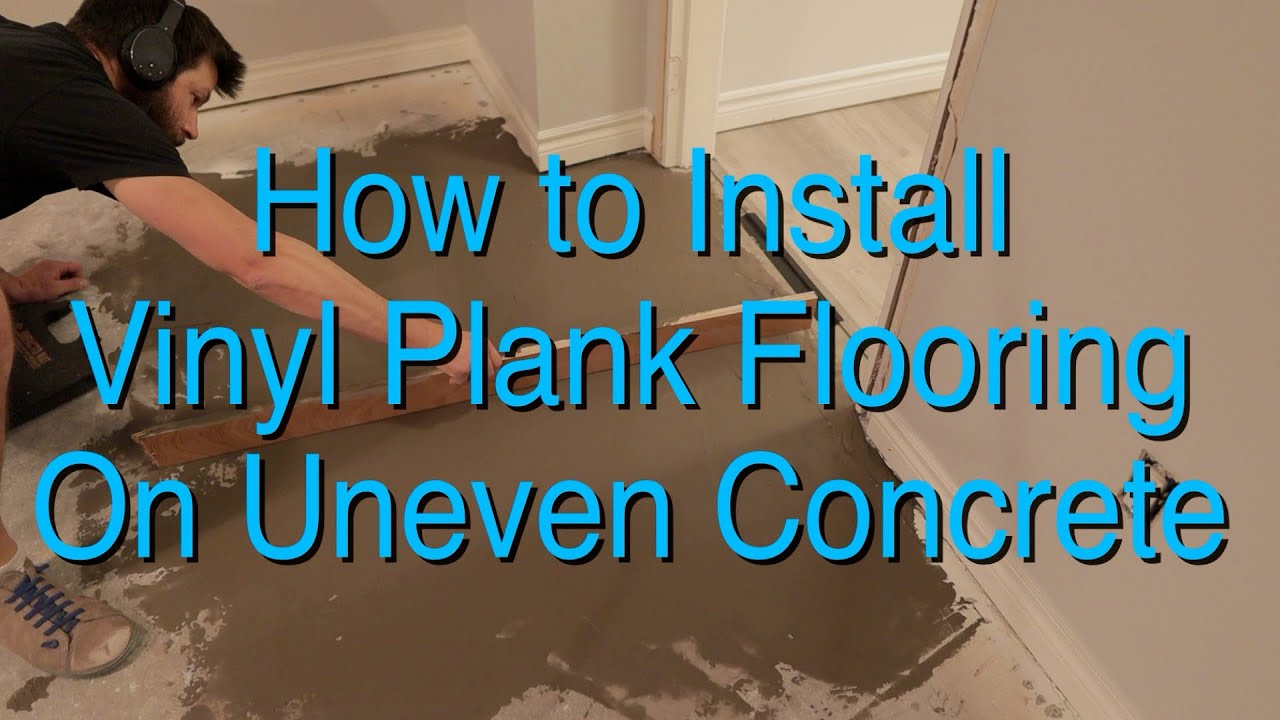
How to Install Vinyl Plank over Concrete (ORC Week 4/5) The
The styles include solid wood, acrylic-impregnated and engineered. Don't be shocked when a doctor suggests a wood flooring for your spine and joints. If you currently have a Reclaimed or perhaps Antique wood floor or are considering buying one, just think a little bit of History that is american is now or is often a part of your home.
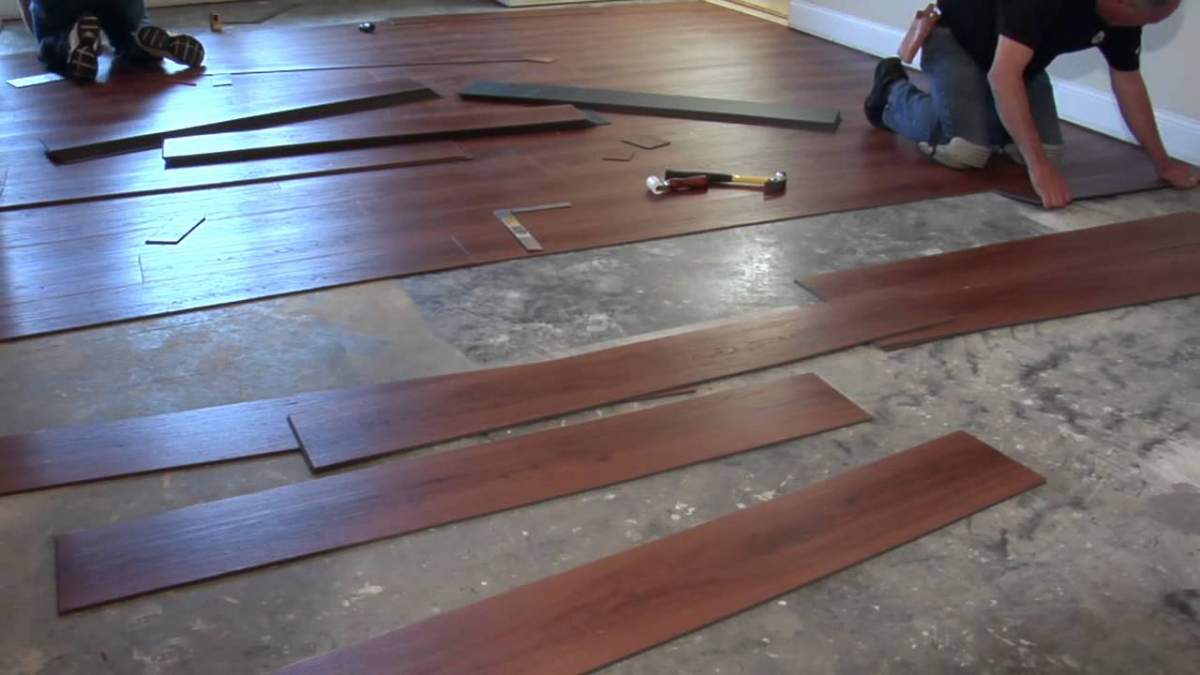
Easy Ways to Install Vinyl Plank Flooring on Concrete

Easy Ways to Install Vinyl Plank Flooring on Concrete

How to Install Vinyl Plank over Concrete (ORC Week 4/5) The
Vinyl Plank Installation: How to Install Vinyl Plank Flooring on

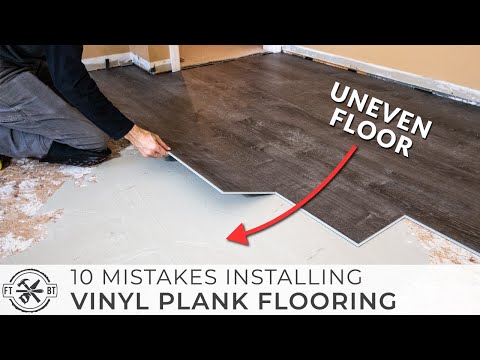
10 Beginner Mistakes Installing Vinyl Plank Flooring
How to Install Vinyl Plank Flooring on Concrete – Step By Step Guide

How to Install Vinyl Plank Flooring On Concrete? (Step-by-Step

Can You Put Vinyl Tile On Concrete Floor? – Ready To DIY

Easy Ways to Install Vinyl Plank Flooring on Concrete

How to install vinyl plank flooring on concrete base
How to Cut Vinyl Plank Flooring Hunker
Easy Ways to Install Vinyl Plank Flooring on Concrete

Related Posts:
- Canadian Maple Engineered Wood Flooring
- Bordeaux Pine Wood Flooring
- Reclaimed Wood Flooring Ideas
- White Wood Floor Bathroom
- Outdoor Wood Flooring Planks
- Wood Floor Sealing Options
- Bamboo Solid Wood Flooring Reviews
- Wood Floors White Baseboards
- Can You Use Engineered Wood Flooring In A Bathroom
- Wood Floor Out Of Pallets
Title: A Step-by-Step Guide on How to Install Vinyl Wood Flooring on Concrete
Introduction:
Vinyl wood flooring has become a popular choice for homeowners due to its durability, affordability, and aesthetic appeal. If you have a concrete subfloor and wish to install vinyl wood flooring, this comprehensive guide will walk you through the process, ensuring a successful and professional-looking installation.
I. Preparing the Subfloor:
Before diving into the installation process, it is crucial to properly prepare the concrete subfloor to ensure a smooth and long-lasting vinyl wood flooring installation.
1. Clean and Inspect:
Thoroughly clean the concrete surface by sweeping away any dirt or debris. Pay close attention to remove any adhesive residue from previous flooring installations. Inspect the floor for cracks, unevenness, or moisture issues.
2. Moisture Testing:
Concrete floors can retain moisture, which can damage vinyl wood flooring over time. Conduct a moisture test using a moisture meter to ensure the subfloor is dry enough for installation. If excessive moisture is present, address the issue before proceeding with the installation.
3. Leveling and Repairing:
If your concrete subfloor exhibits uneven areas or cracks, it is essential to level and repair them before installing vinyl wood flooring. Use a suitable leveling compound or patching material to rectify any imperfections and achieve a smooth surface.
II. Acclimating the Vinyl Wood Flooring:
Acclimating the vinyl wood planks is an important step in ensuring their stability and preventing future issues such as warping or buckling after installation.
1. Unpack and Stack:
Remove the vinyl wood planks from their packaging and gently stack them horizontally in the room where they will be installed. This allows them to adjust to the room’s temperature and humidity for at least 48 hours before installation.
2. Maintain Ideal Conditions:
During acclimatization, maintain an ambient temperature of around 65-85°F (18-29°C) and a relative humidity level of 30-50%. This ensures the planks adjust well to the environment, reducing the risk of expansion or contraction during installation.
III. Installing Underlayment:
Underlayment provides additional cushioning, noise reduction, and moisture resistance. While not always necessary for vinyl wood flooring, it can enhance the overall performance and comfort of your new floor.
1. Choose Suitable Underlayment:
Select a high-quality underlayment designed for use with vinyl flooring. Ensure it is appropriate for installation over concrete and compatible with your specific vinyl wood flooring type.
2. Roll Out and Secure:
Unroll the underlayment across the entire floor area, ensuring the edges are tightly butted together. Use adhesive or tape recommended by the manufacturer to secure the underlayment in place.
IV. Laying Vinyl Wood Flooring:
Now comes the exciting part – installing your vinyl wood flooring! Follow these steps carefully to achieve professional-looking results.
1. Plan Your Layout:
Start by planning the layout of your vinyl wood flooring, considering factors such as room size, furniture placement, and natural lighting. Dry lay a few rows of planks without adhesive to visualize how they will fit together.
2. Cut Planks to Size:
Measure and mark the planks that need cutting to fit along walls or around obstacles such as door frames or vents. Use a utility knife or a vinyl plank cutter for precise cuts. Remember to leave a small gap around the perimeter to accommodate expansion.
3. Apply Adhesive:
Choose a high-quality Vinyl wood flooring adhesive recommended by the manufacturer. Apply the adhesive to the subfloor using a trowel, following the instructions provided. Work in small sections to ensure the adhesive remains tacky during installation.
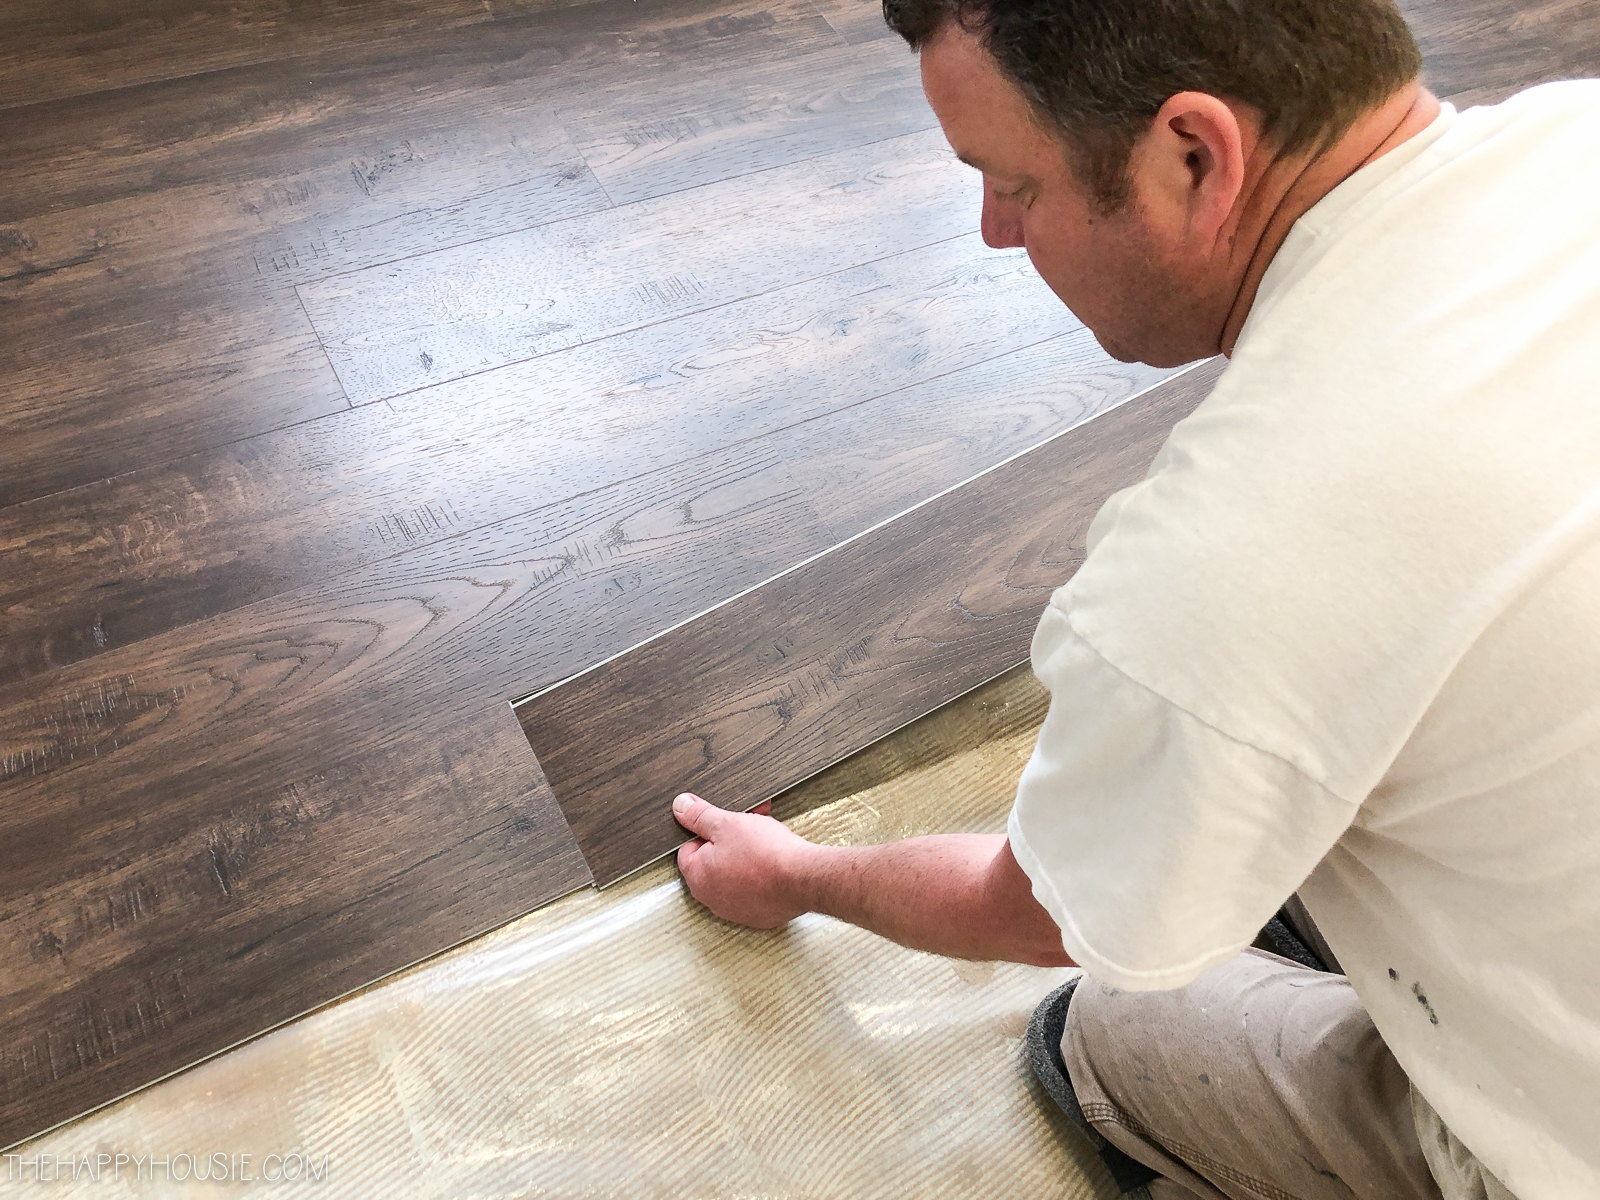
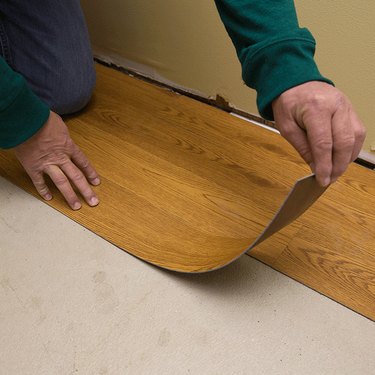
4. Install the First Row:
Begin installation by placing the first row of planks along one wall, leaving a small gap between the edge of the plank and the wall. Press the planks firmly into place, ensuring they are aligned and snugly fit together.
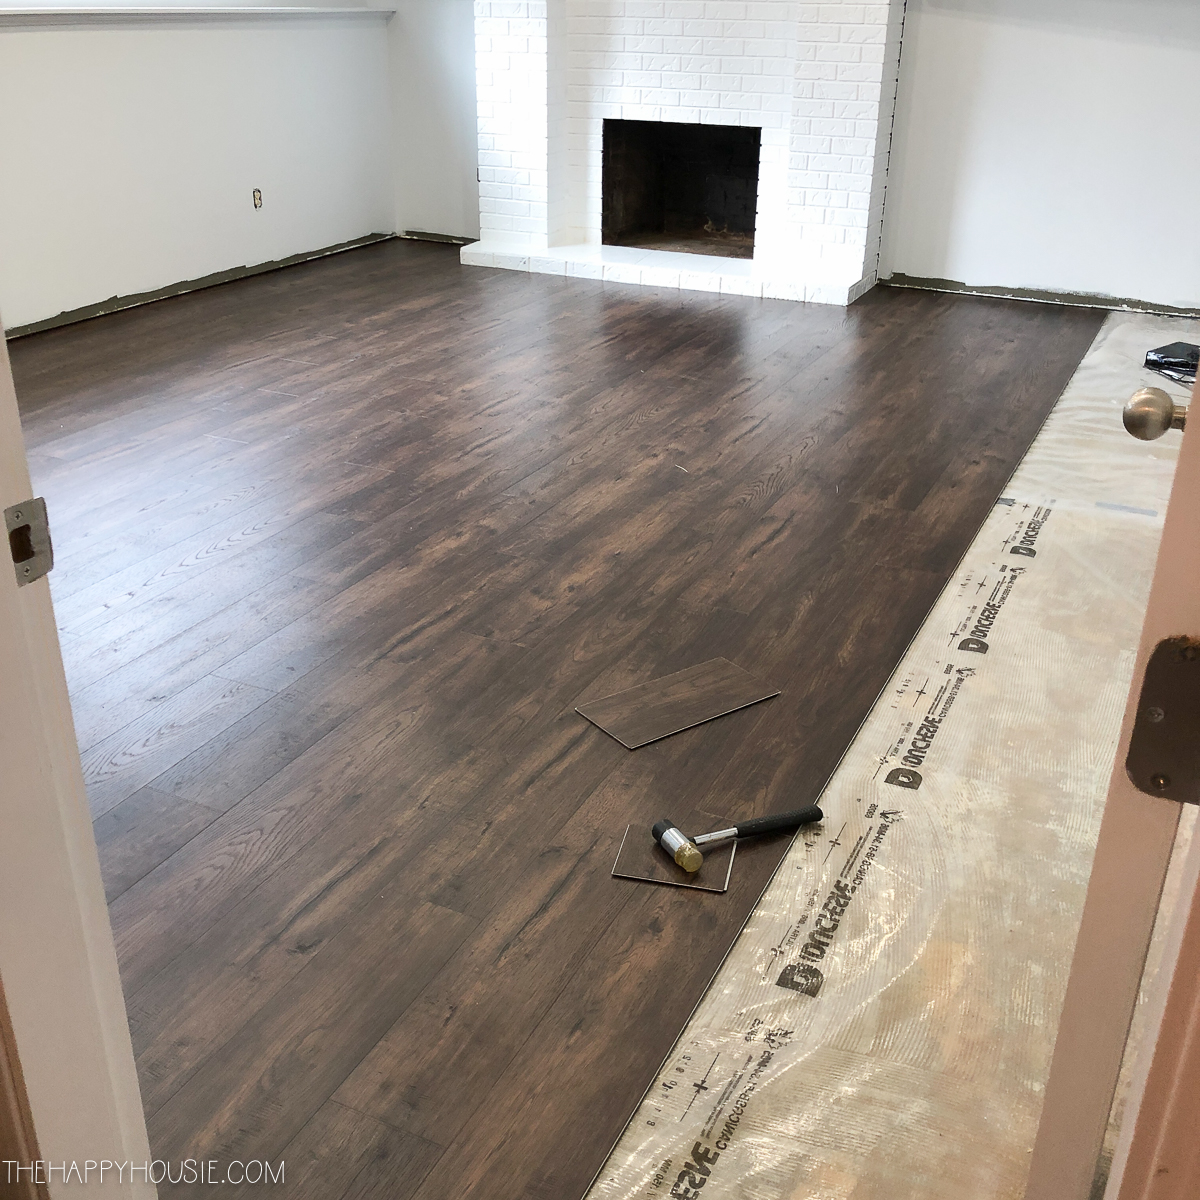
5. Continue Installing:
Work row by row, applying adhesive and fitting the planks tightly together. Use a tapping block and rubber mallet to gently tap each plank into place. Check for any gaps or misalignments and adjust as necessary.
6. Cut and Install Last Row:
Measure and cut planks to fit along the final row, leaving a small gap between the planks and the wall. Use a pull bar or tapping block to secure them in place.
7. Allow Time for Adhesive to Set:
Once all planks are installed, allow sufficient time for the adhesive to set according to manufacturer’s instructions before moving furniture or walking on the floor.
8. Install Baseboards or Trim:
After the adhesive has fully cured, install baseboards or trim to cover any expansion gaps around the perimeter of the room. Use finishing nails or an appropriate adhesive to secure them in place.
By following these steps, you can successfully install vinyl wood flooring over a concrete subfloor. Remember to carefully read and follow all manufacturer’s instructions for your specific flooring product to ensure optimal results.