Epoxy flooring is really flexible and is available in a wide variety of styles also. There are two definitions of the task, one from the makers of the item and that of the contractors who use them. Achievement offers the positives of industrial floors that are long-lasting, stylish and practical at the very same time. You should take the time of yours to stay away from mistakes.
Images about How To Paint A Basement Floor With Epoxy
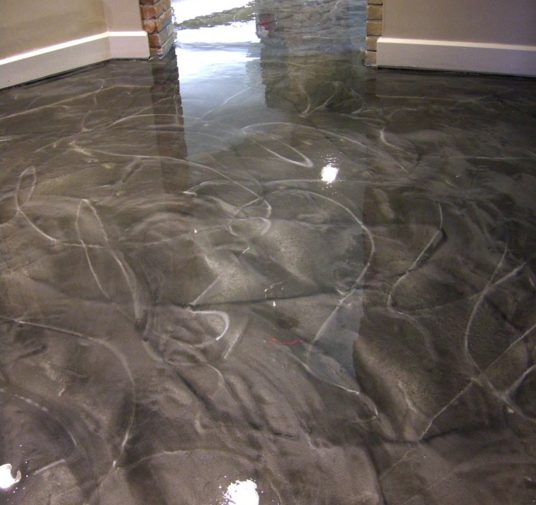
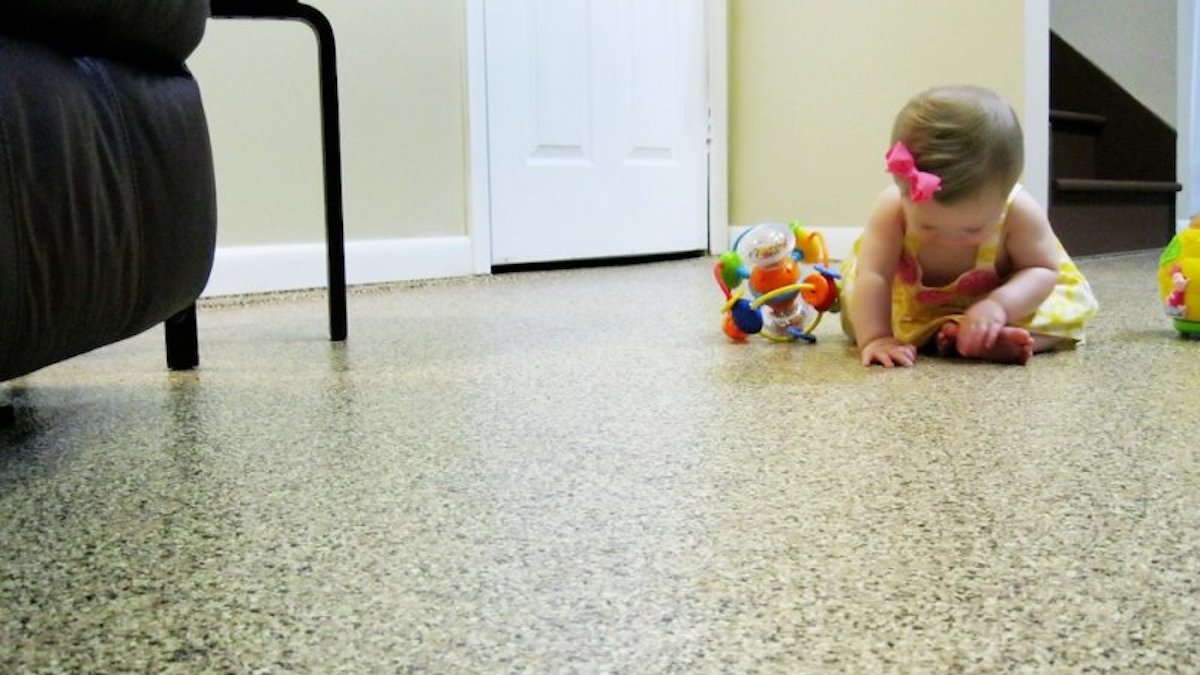
By applying an epoxy covering on the concrete, the concrete is protecting. Marble is beautiful, but far more expensive compared to decorated concrete. Epoxy flooring coatings, particularly, are widely used in floor applications. Epoxies are employed to develop durable, clean, and sparkling flooring. In addition, you must not use epoxy coating if your flooring was used with concrete sealer. Epoxy flooring coloring makes rooms look more professional.
Basement Floor Epoxy Coating Kits ArmorGarage
Although epoxy flooring is almost always a concrete floor it is able to also be worn on floors manufactured from wood. Further, they also give business owners an added benefit of customization in properties which isn't offered along with other flooring choices. Tile repels most stains and soil, but is very fragile and may chip easily.
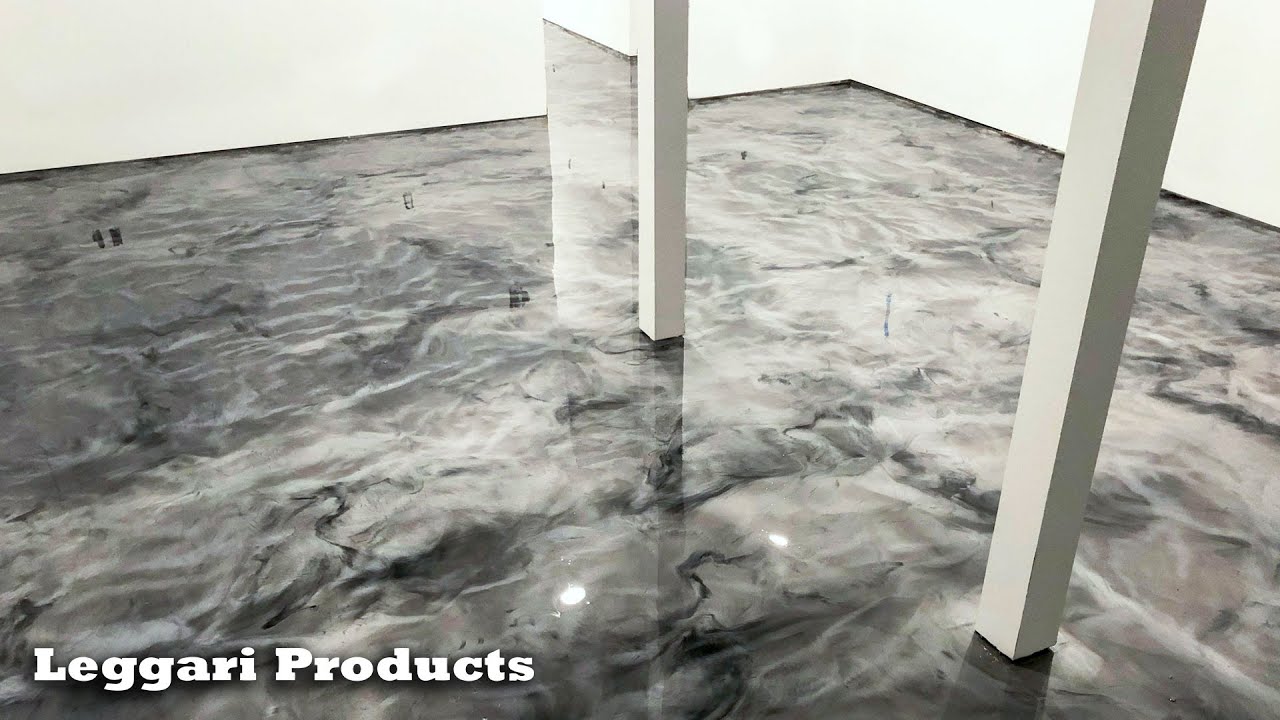
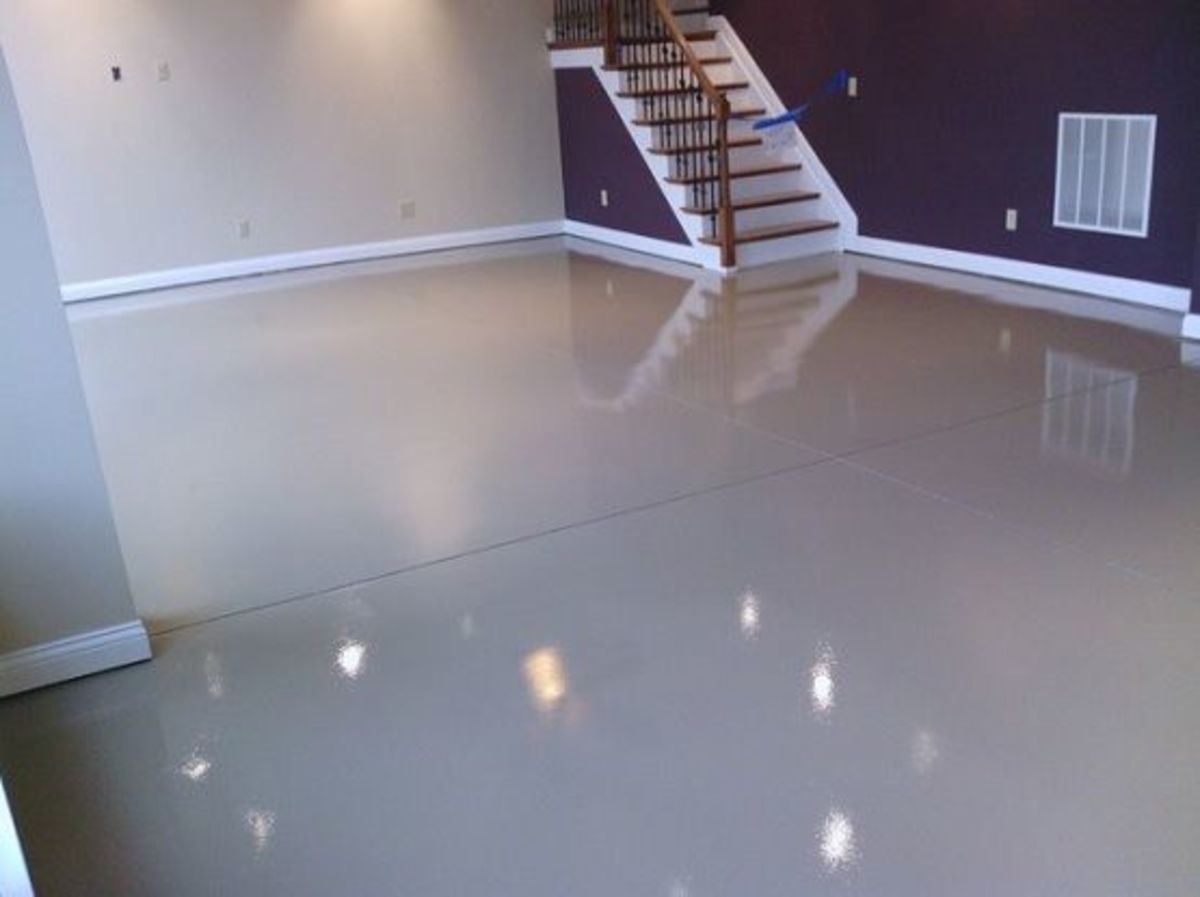
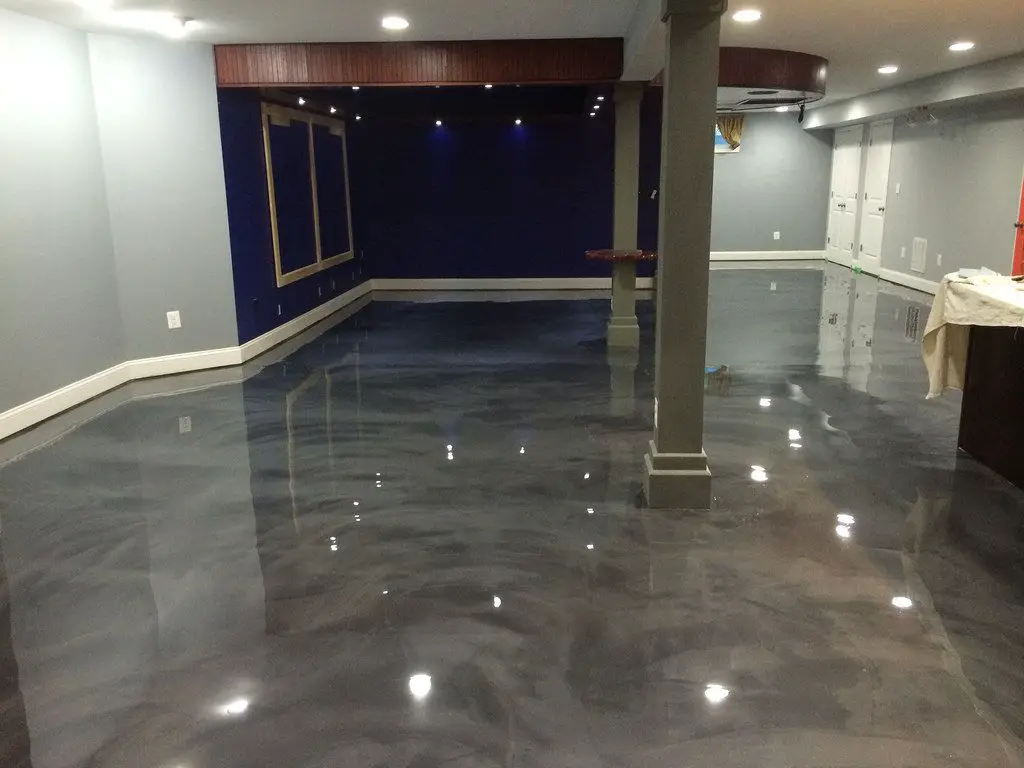
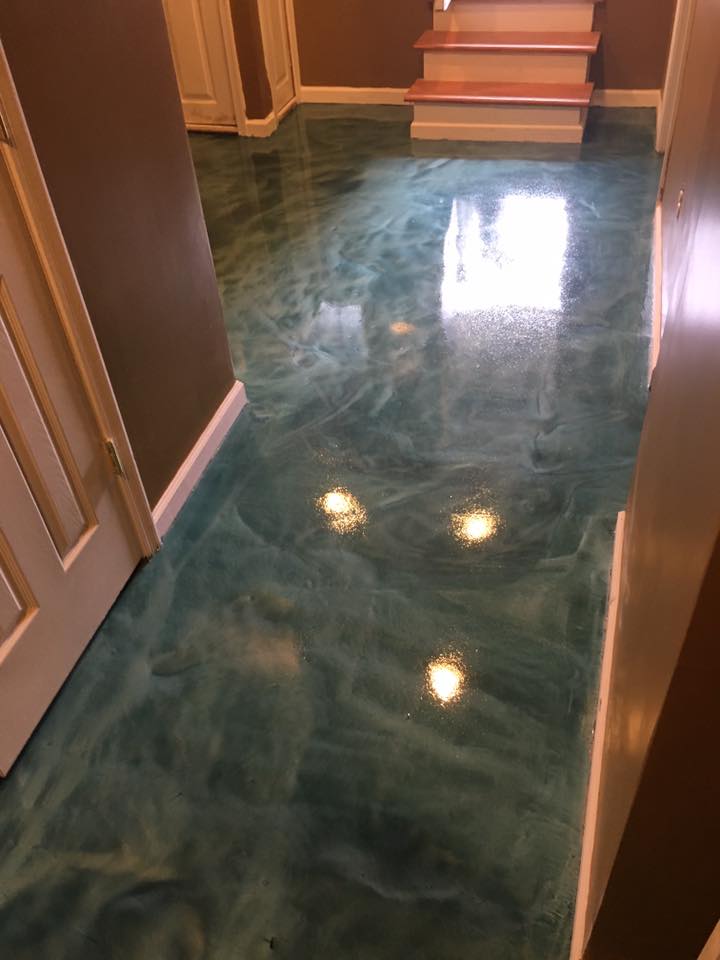
Basement Epoxy Floor Coating Waterproof Basement Flooring
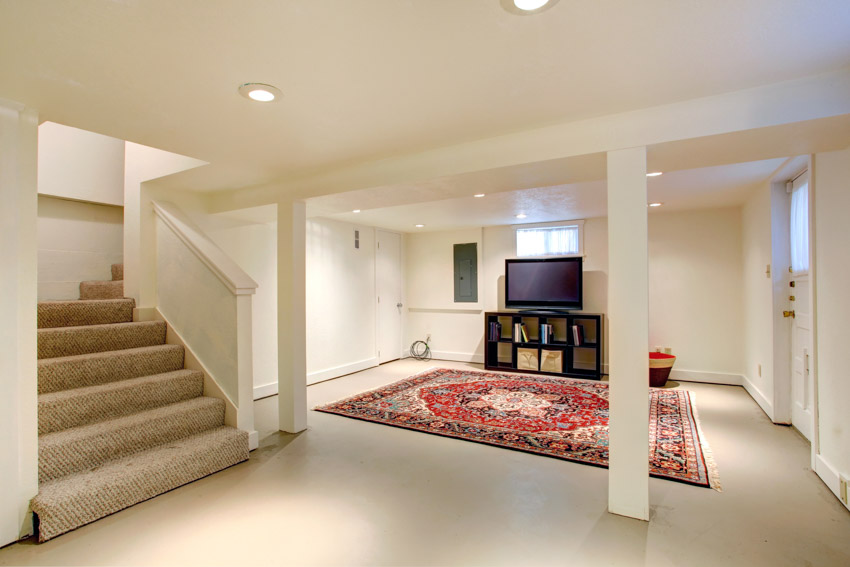
Epoxy layer for floors are additionally very affordable in comparison to various other forms of floor finishes such as vinyl, wood, tile, and carpeting. It also extends the lifetime of the concrete of yours and preserves it. Above every one of these benefits the most important is its affordable cost. Hardwood floors are costly and may be easily damaged by water.
Basement Floor Epoxy Coating Kits ArmorGarage
Tips on Choosing Basement Floor Paint – HubPages
10+ Years Of Experience In Basement Flooring – Free Consultation

Basement Questions: Basement Flooring – Epoxy and Hybrid Polymer

Basement Floor Paint Colors – Designing Idea
Epoxy Flooring: What You Must Know u0026 Should Avoid

Should I Epoxy My Basement Floor? – ArmorPoxy Floor Coatings
Basement Floor Paint Ideas u2013 Pick Up the Best Paint Color for Your

Epoxy Paint And Your Waterproofed Basement Floors
How To Epoxy Basement Floor A Step By Step Guide By Expert
Basement Floor Epoxy Coating Services in Maryland u0026 Virginia
Related Posts:
- Gray Epoxy Floor
- Epoxy Garage Floor Crack Filler
- Behr Epoxy Floor Paint
- High Build Epoxy Floor Coating
- Cost To Have Someone Epoxy Garage Floor
- Epoxy Shield Floor Paint
- Rustoleum Epoxy Basement Floor Paint
- What Is Epoxy Flooring Systems
- Austin Epoxy Floors
- Alternative To Epoxy Flooring
How to Paint a Basement Floor with Epoxy
Painting your basement floor with epoxy is a great way to transform a dull and boring space into a functional and attractive area. Epoxy paint not only enhances the look of your basement floor, but it also provides durability and protection against stains, moisture, and wear and tear. In this article, we will guide you through the step-by-step process of painting a basement floor with epoxy, providing you with detailed instructions and tips to ensure a successful project.
Materials You Will Need:
– Epoxy paint kit (includes epoxy resin and hardener)
– Concrete etching solution
– Scrub brush or broom
– Degreaser
– Paint roller with extension handle
– Paint tray
– Painter’s tape
– Plastic sheeting or drop cloths
– Paintbrush
– Safety goggles
– Gloves
– Dust mask
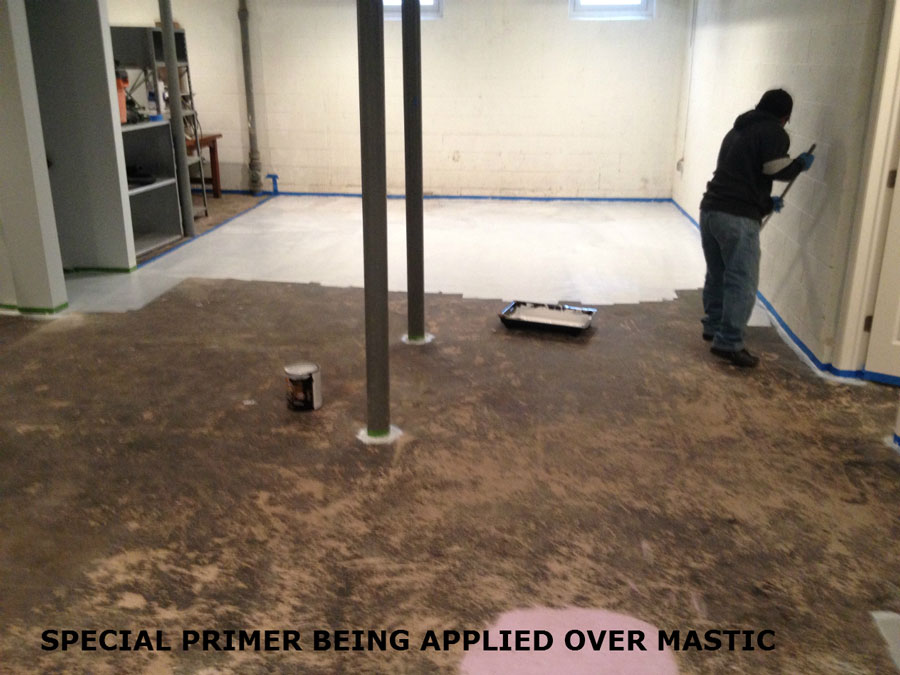
Step 1: Preparation
Before you start the painting process, it is crucial to prepare the basement floor properly. This includes cleaning the surface thoroughly and repairing any cracks or imperfections. Follow these steps for effective preparation:
1. Clear the area: Remove all furniture, storage items, and any other objects from the basement floor. This will give you ample space to work and prevent any damage to your belongings.
2. Clean the floor: Sweep away any loose dirt or debris using a broom or scrub brush. Next, use a concrete etching solution to clean the surface thoroughly. Apply the solution according to the manufacturer’s instructions and scrub the floor using a brush or broom. Rinse off the etching solution with water and allow the floor to dry completely.
3. Remove oil stains: If there are any oil stains on your basement floor, apply a degreaser specifically designed for concrete surfaces. Scrub the affected area with a brush or broom to remove the stains. Rinse off the degreaser and allow the floor to dry completely.
4. Repair cracks and imperfections: Inspect the basement floor for any cracks, holes, or imperfections. Use a concrete patching compound to fill in these areas, following the manufacturer’s instructions. Smooth out the patch with a trowel and let it dry completely before proceeding.
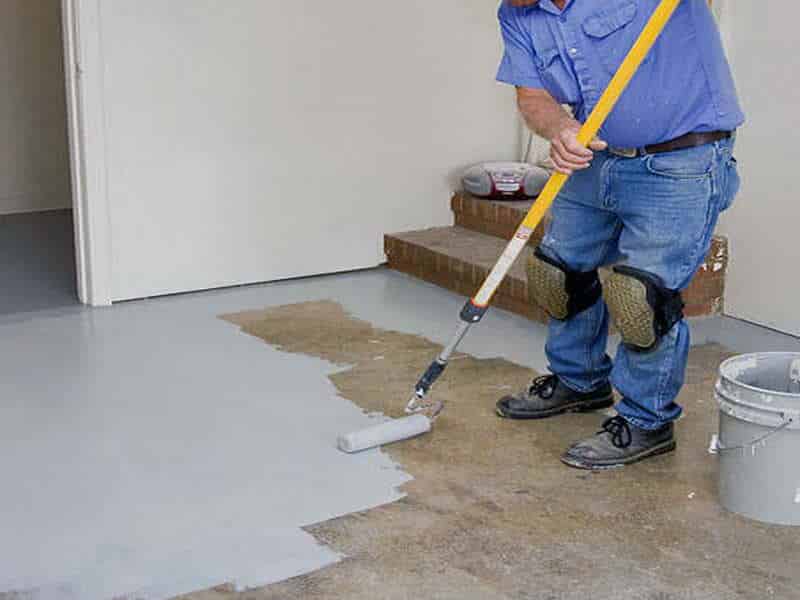
Step 2: Applying Epoxy Paint
Once the basement floor is properly prepared, it’s time to apply the epoxy paint. Follow these steps for a seamless application:
1. Tape off walls and other surfaces: Use painter’s tape to protect the baseboards, walls, and any other surfaces you don’t want to get painted. Ensure that the tape is securely attached to create clean edges.
2. Mix epoxy paint: Refer to the instructions provided with your epoxy paint kit to mix the epoxy resin and hardener. Follow the recommended mixing ratios and stir thoroughly until the components are well-blended.
3. Start painting: Begin by cutting in around the edges of the basement floor using a paintbrush. Apply a thin coat of epoxy paint along the perimeter of the room, working your way from one corner to another.
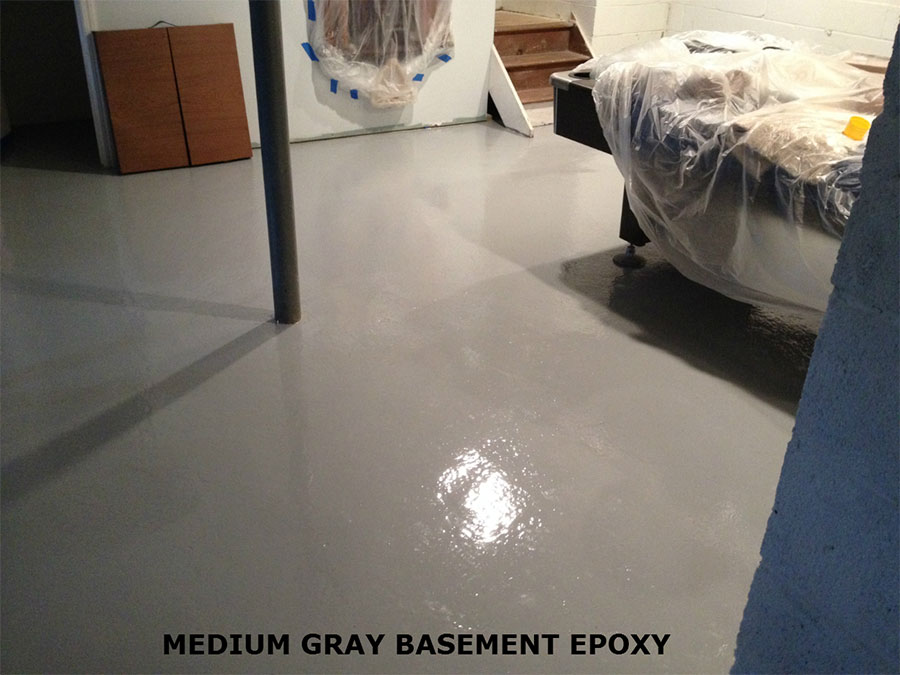
4. Roll on epoxy paint: Pour a sufficient amount of epoxy paint into a paint tray. Dip a paint roller into the tray and roll off any excess paint on the ridges of the tray. Start applying epoxy paint in small sections, working from one side of the room to another in overlapping strokes. Ensure even coverage by rolling back and forth in different directions.
5. Allow drying time: Once you Have finished applying the epoxy paint, allow it to dry according to the manufacturer’s instructions. This can range from a few hours to a full day, depending on the type of epoxy paint used. Avoid walking on the freshly painted surface during this time to prevent any damage or smudging.
6. Apply a second coat (optional): If desired, you can apply a second coat of epoxy paint for added durability and a smoother finish. Follow the same steps as before, ensuring proper drying time between coats.
7. Remove tape and clean up: Once the epoxy paint is completely dry, carefully remove the painter’s tape from the walls and other surfaces. Dispose of any used paint trays, brushes, or roller covers according to local regulations. Clean your tools with soap and water before storing them for future use.
By following these steps and taking the time to properly prepare the basement floor, you can achieve a professional-looking epoxy paint finish that will enhance the overall appearance and functionality of your basement space. Additionally, it is important to note that the basement should be properly ventilated during the application and drying process. This will help to prevent the buildup of fumes and ensure a safe environment. It is also recommended to wear protective gloves, goggles, and a mask while working with epoxy paint to protect yourself from any potential hazards.
Before starting the project, it is advisable to read and understand all the instructions provided by the manufacturer of the epoxy paint kit. Different epoxy paints may have specific requirements and drying times, so it is essential to follow these guidelines for the best results.
Lastly, it is crucial to remember that proper maintenance is necessary to keep the epoxy paint finish looking its best. Regular cleaning with a mild detergent and warm water can help to remove dirt and debris. Additionally, avoid dragging heavy objects across the floor, as this can cause scratches or damage to the epoxy paint surface.