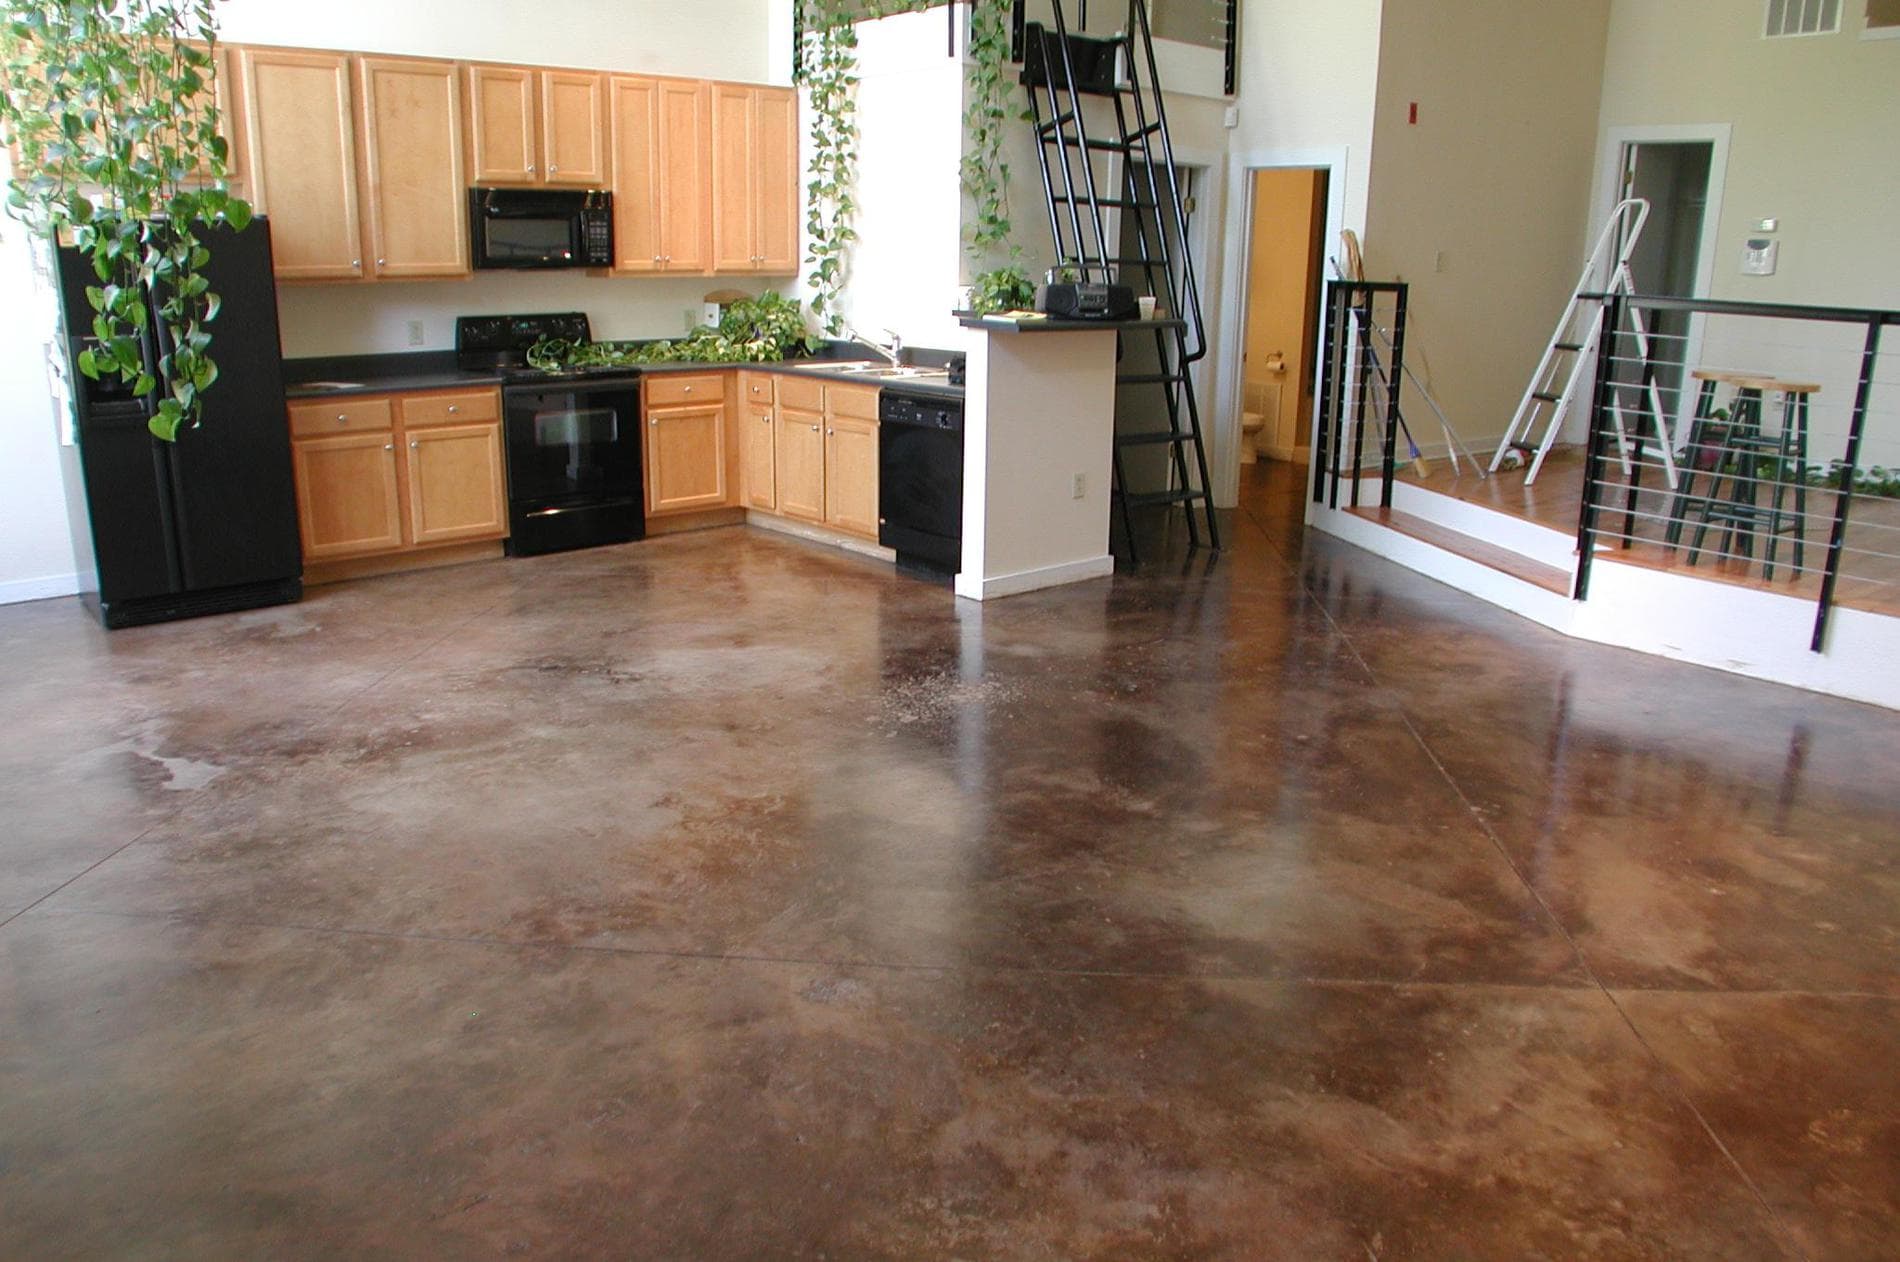
The reasons for this differ from the point that the polished concrete floors need a great deal of specialized knowledge to the fact that many folks prefer to consider the whole process of polishing the concrete floor as a process that is not suited to the daily lady. Combine this with concrete etching and also you can have an extremely artful look on the floors of yours.
Images about How To Paint Concrete Floors In Your House
Nonetheless, it is crucial for any home owner who is utilizing the polished concrete floors to determine the way the polished floor is achieved when everything has been said as well as done. Acid Stain concrete floorings have some time and again proven their reliability in terms of cost the, durability, and efficiency strength of the flooring.
How to paint concrete floors – DIY makeover
Polished concrete flooring is an excellent strategy to wisely use resources. Concrete floor takes some time to limber up, but is very effective at holding that heat in, meaning the home of yours will stay hot on winter nights. Maintaining your concrete floor coating is very simple. Polished concrete floors are very simple to maintain as well as manage.
Painted Concrete Floors, Concrete Floor Paint; Tutorial u0026 Videos
How To Paint Concrete UPDATED!! (Plus My Secret Cleaning Tip

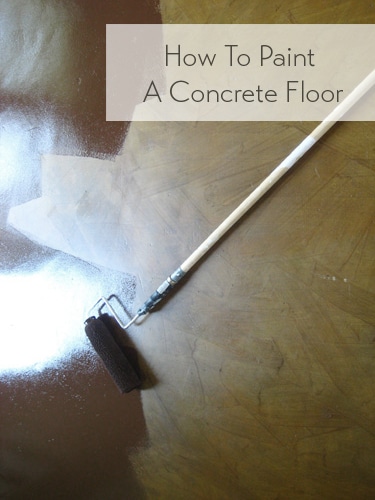
How to Paint a Concrete Floor
What is the Most Durable Paint for Concrete Floors?
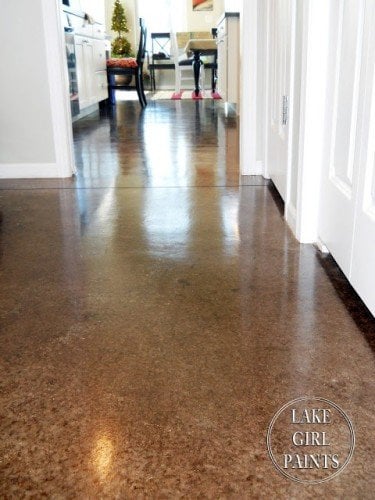
Painted Concrete Floors u2022 Vintage Revivals

How To Paint a Concrete Floor Basement concrete floor paint

Painted Concrete Floors, Concrete Floor Paint; Tutorial u0026 Videos
Painting Wood Or Concrete Floors Has Never Been Easier, Check Out
My Mudroom Floors $80 Makeover: How to Paint Your Ugly Concrete
![]()
tips on how to paint concrete flooring
Painted Concrete Floors, Concrete Floor Paint; Tutorial u0026 Videos

HOW I PAINTED u0026 STAINED MY CONCRETE FLOOR TO LOOK LIKE WOOD

Related Posts:
- Behr Epoxy Concrete Floor Paint
- Concrete Floor Preparation For Wood Flooring
- Epoxy Paint For Concrete Floors Colors
- Rent Concrete Floor Cleaner
- Heated Concrete Floor Tubing
- Concrete Floor Staining Process
- Concrete Floor Interior Design
- Concrete Floors In Your Home
- Cost Of Poured Concrete Floor
- Outdoor Polished Concrete Floors
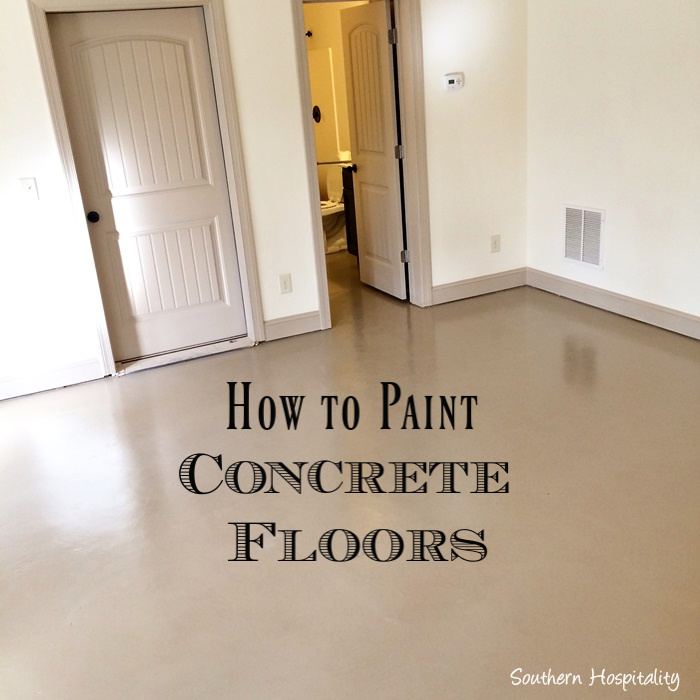
How to Paint Concrete Floors in Your House
Concrete floors are a durable and versatile option for many homeowners. However, they can often appear dull and unattractive. Luckily, painting your concrete floors is a great way to bring new life and style to your space. Whether you want to add a pop of color or create a faux finish that mimics the look of more expensive flooring materials, painting your concrete floors can be a fun and rewarding DIY project. In this article, we will guide you through the step-by-step process of painting concrete floors, including preparation, priming, painting, and sealing.
Preparation
Before you begin painting your concrete floors, it is crucial to properly prepare the surface. Follow these steps to ensure the best results:
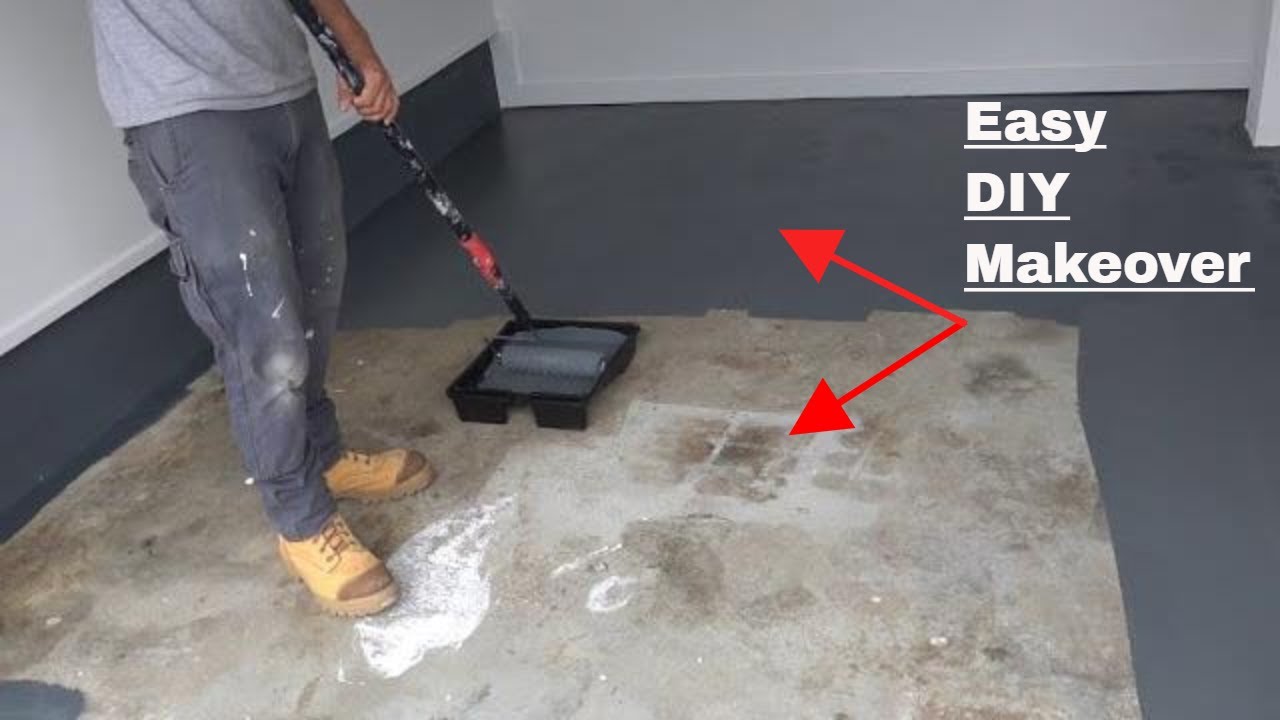
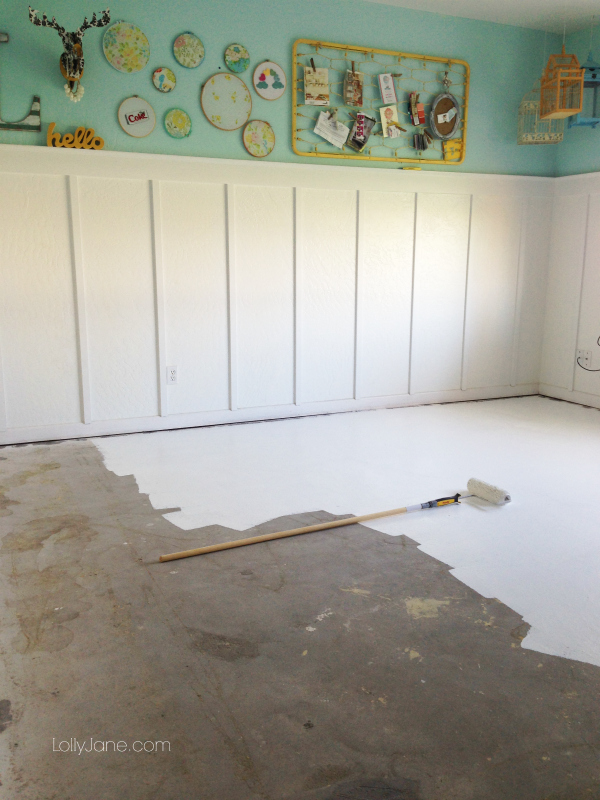
1. Clean the floor: Start by thoroughly cleaning the concrete surface. Remove any dirt, dust, oil stains, or other debris using a stiff brush or broom. For stubborn stains or grease spots, you may need to use a degreaser or etching solution.
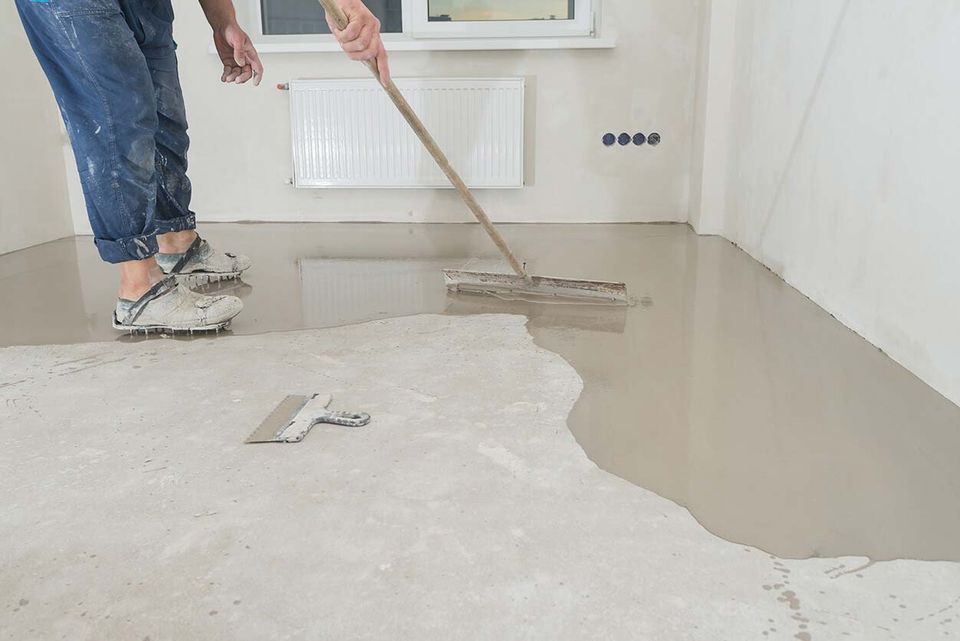
2. Repair cracks and imperfections: Inspect the floor for any cracks or imperfections. Fill in small cracks with a concrete patching compound and smooth it out with a putty knife. For larger cracks or uneven areas, consider using a self-leveling compound.
3. Remove existing coatings: If your concrete floor has been previously painted or coated, you will need to remove the old finish before applying a new coat of paint. Use a paint stripper or floor grinder to strip away the existing coating. Be sure to follow the manufacturer’s instructions and wear appropriate safety gear during this step.
4. Etch the surface: Etching is an essential step that helps create a rougher surface for better paint adhesion. Mix an etching solution according to the manufacturer’s instructions and apply it evenly over the entire floor using a brush or roller. Allow the solution to sit for the recommended time (usually around 20-30 minutes), then rinse it thoroughly with clean water. Allow the floor to dry completely before proceeding.
FAQ: Can I skip the etching step if my concrete floor is already rough?
Answer: Etching is still recommended even if the concrete is already rough. It helps remove any lingering debris, contaminants, or old coatings that may interfere with paint adhesion. Skipping this step could result in a less durable and long-lasting finish.
Priming
After preparing the concrete surface, it is crucial to prime it before applying the paint. Priming helps create a smooth and consistent base for the paint and enhances its adhesion. Follow these steps to prime your concrete floor:
1. Choose the right primer: Select a primer specifically designed for use on concrete surfaces. Look for a product that offers good adhesion, seals the surface, and is compatible with your chosen paint.
2. Prepare the primer: Mix the primer according to the manufacturer’s instructions. Be sure to wear appropriate safety gear and work in a well-ventilated area.
3. Apply the primer: Start by cutting in along the edges of the floor using a brush or roller. Then, apply the primer to the rest of the floor using a roller or sprayer, working in small sections at a time. Make sure to apply an even coat, covering every part of the surface.
4. Allow drying time: Follow the manufacturer’s instructions regarding drying time between coats and before painting. Typically, primers require at least 24 hours of drying time before applying paint.
FAQ: What type of paint should I use for my concrete floor?
Answer: For best results, use a high-quality epoxy or latex-based paint specifically designed for concrete floors. These types of paints are durable, resistant to chemicals and stains, and provide good adhesion to the surface. Be sure to choose a paint color that suits your aesthetic preferences and meets your functional needs (e.g., slip-resistant, easy to clean). Additionally, it is important to note that different types of concrete floors may require specific paints. For example, if you have a garage floor or outdoor concrete surface, you may need a paint that is specifically formulated for high traffic and resistance to weather conditions.
When applying the paint, follow these steps:
1. Prepare the paint: Mix the paint thoroughly according to the manufacturer’s instructions. If necessary, thin the paint with water or a recommended thinner.
2. Cut in along the edges: Use a brush or smaller roller to cut in along the edges of the floor, ensuring that you reach all areas that cannot be easily reached with a larger roller.
3. Apply the paint: Using a roller or sprayer, apply the paint to the rest of the floor in small sections at a time. Work in even strokes, making sure to cover every part of the surface. Avoid applying too much paint at once, as this can lead to drips and uneven coverage.
4. Allow drying time: Follow the manufacturer’s instructions regarding drying time between coats and before allowing foot traffic. Typically, epoxy paints require at least 24 hours of drying time before light foot traffic and several days before heavy use.
5. Apply additional coats if necessary: Depending on the desired color and finish, you may need to apply multiple coats of paint. Follow the manufacturer’s recommendations for optimal coverage.
6. Seal the paint (optional): To enhance durability and longevity, consider applying a clear sealer over the painted surface. This will provide an extra layer of protection against wear and tear.
Remember to always follow proper safety precautions when working with paints and chemicals. Wear protective clothing, gloves, goggles, and work in a well-ventilated area.
Overall, properly preparing and priming your concrete floor before painting will ensure better adhesion and create a long-lasting finish. By choosing the right type of paint for your specific needs and following these steps carefully, you can transform your concrete floor into a beautiful and functional space.