Homeowners are able to make a house a home, stick to an inexpensive AND get a bright wood look. Cleaning of laminated flooring is likewise an advantageous feature of this type of flooring. Most people have hectic lifestyles and frenzied work schedules. Below are some important considerations of laminate flooring surfaces. Most sellers of laminate floors on the Internet will entertain such requests. As mentioned above, pre-glued laminate is simply moistened before you place the pieces together.
Images about How To Stagger Laminate Flooring Joints

If perhaps you secure the laminate flooring to the floor boards it will cause it to crack in the event it starts to shift. Possibly the most crucial thing to educate yourself when learning how to lay laminate flooring is that laminate flooring isn't held on the floor boards so in case you're fixing it or nailing it to the floor after that stop now. Fairly new to the laminate business, Westhollow has nevertheless managed to capture the interest of homeowners across North America.
How to Stagger Laminate Flooring Flooring-Experts.com

Installation formats also vary, including click lock, glue bad, and floating, just to name just a few. Thanks to their ability to resist dents and scratches, laminate floors are the leading choices for high-traffic areas like bathrooms and kitchens. If you are building a new home or would like to update your existing space, laminate is an excellent option for your flooring needs.
How to stagger laminate flooring properly
How to Stagger Laminate Flooring [Case Study] – FloorTheory
How to Stagger Laminate Flooring! – DIYist

How to Stagger Laminate Flooring! – DIYist

How To Stagger Laminate Flooring Online, 57% OFF www

How To Make A Stagger Pattern For Laying Laminate Flooring (+

How To Make A Stagger Pattern For Laying Laminate Flooring (+
How to lay flooring part 3: laying locking laminate
How to Stagger Vinyl Plank Flooring? (Step-by-Step Tutorial)
Laminate Floors just installed but pattern not random?
How To Stagger Laminate Flooring Online, 57% OFF www

LAMINATE FLOOR JOINT STAGGER « Diy flooring, Wood floor pattern

Related Posts:
- Direction Of Laminate Flooring In Bedroom
- Installing Laminate Flooring Trim Molding
- Traditional Living Laminate Flooring Reviews
- How To Nail Laminate Flooring
- Best Way To Clean Timber Laminate Flooring
- Laminate Flooring Up To Stairs
- Price To Install Laminate Flooring On Stairs
- Krono Aberdeen Oak Laminate Flooring
- How To Replace Laminate Flooring With Hardwood
- Red Gloss Laminate Flooring
Title: Mastering the Art of Staggering Laminate Flooring Joints
Introduction:
Laminate flooring has become a popular choice for homeowners due to its durability, affordability, and aesthetic appeal. One crucial aspect of installing laminate flooring is staggering the joints. By following proper techniques and guidelines, you can achieve a visually seamless finish that enhances the overall look of your flooring. In this comprehensive guide, we will delve into the step-by-step process of how to stagger laminate flooring joints effectively.
I. Understanding the Importance of Staggering Laminate Flooring Joints
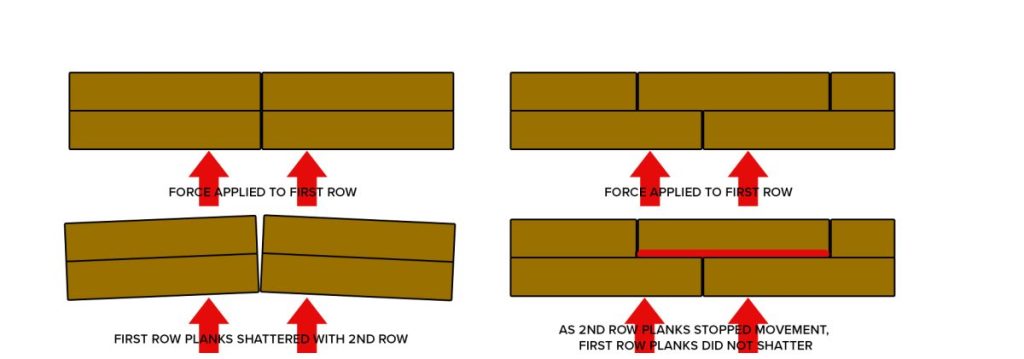
Staggering laminate flooring joints refers to the deliberate arrangement of end joints between adjacent planks. This technique ensures that no two neighboring joints align vertically, horizontally, or diagonally. By staggering the joints, you distribute stress evenly across the floor, preventing weak spots and reducing the possibility of buckling or warping over time.
FAQs:
1. Why is it important to stagger laminate flooring joints?
Staggering joints helps maintain structural integrity by preventing stress concentration in one area. It also enhances the visual appeal, creating a more natural and professional-looking floor.
2. What happens if I don’t stagger laminate flooring joints?
Neglecting to stagger joints can result in an unstable floor prone to damage and premature wear.
II. Preparing for Installation
1. Acclimation:
Before installation, allow your laminate flooring to acclimate to the room’s temperature and humidity for at least 48 hours. This process minimizes the risk of expansion or contraction after installation.
2. Measuring and Planning:
Measure your room’s dimensions accurately and calculate the square footage needed for your project. Plan your layout accordingly to determine where to begin and how many rows you will need.
III. Setting Up Your Work Area
1. Clearing the Space:
Remove all furniture, appliances, and any other obstacles from the room where you will be installing laminate flooring.
2. Preparing the Subfloor:
Ensure the subfloor is clean, dry, and level. Remove any debris, adhesive residue, or imperfections that could affect the installation process.
FAQs:
1. Can I install laminate flooring over carpet?
No, laminate flooring should always be installed on a clean and even subfloor. Installing over carpet can result in an unstable floor and void any warranty.
2. Is it necessary to remove baseboards before installing laminate flooring?
While it is not mandatory, removing baseboards provides a more professional finish and allows for easier installation.
IV. Starting the Installation
1. Choosing the First Row:
Begin with the longest wall in your room as your starting point. Measure the width of your planks and adjust accordingly to ensure the last row will not be too narrow.
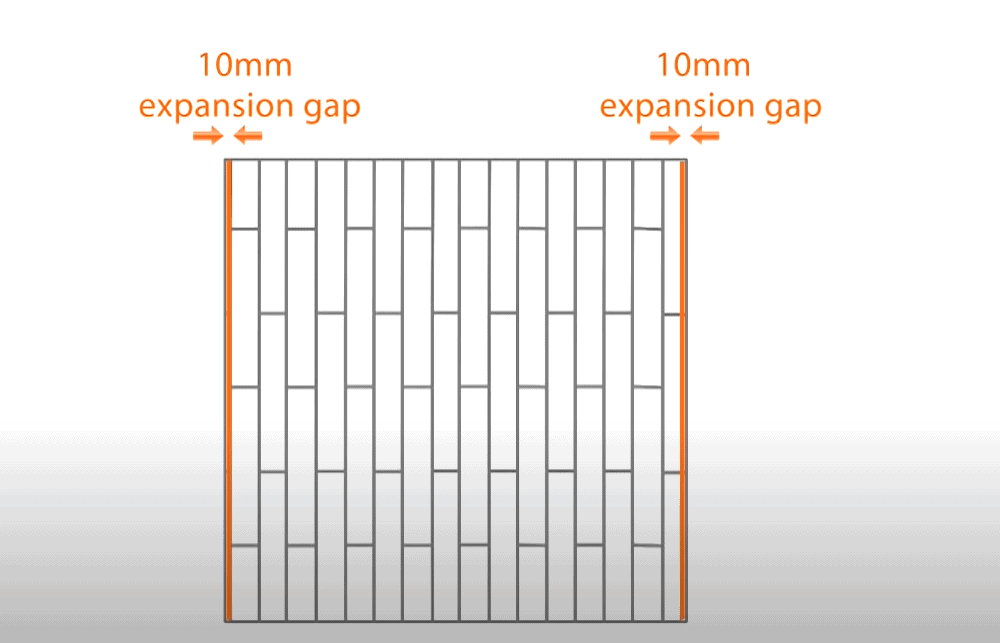
2. Creating Expansion Gaps:
Laminate flooring requires expansion gaps along the walls to accommodate natural expansion and contraction. Use spacers to maintain a consistent gap of approximately 1/4 inch between the planks and the walls.
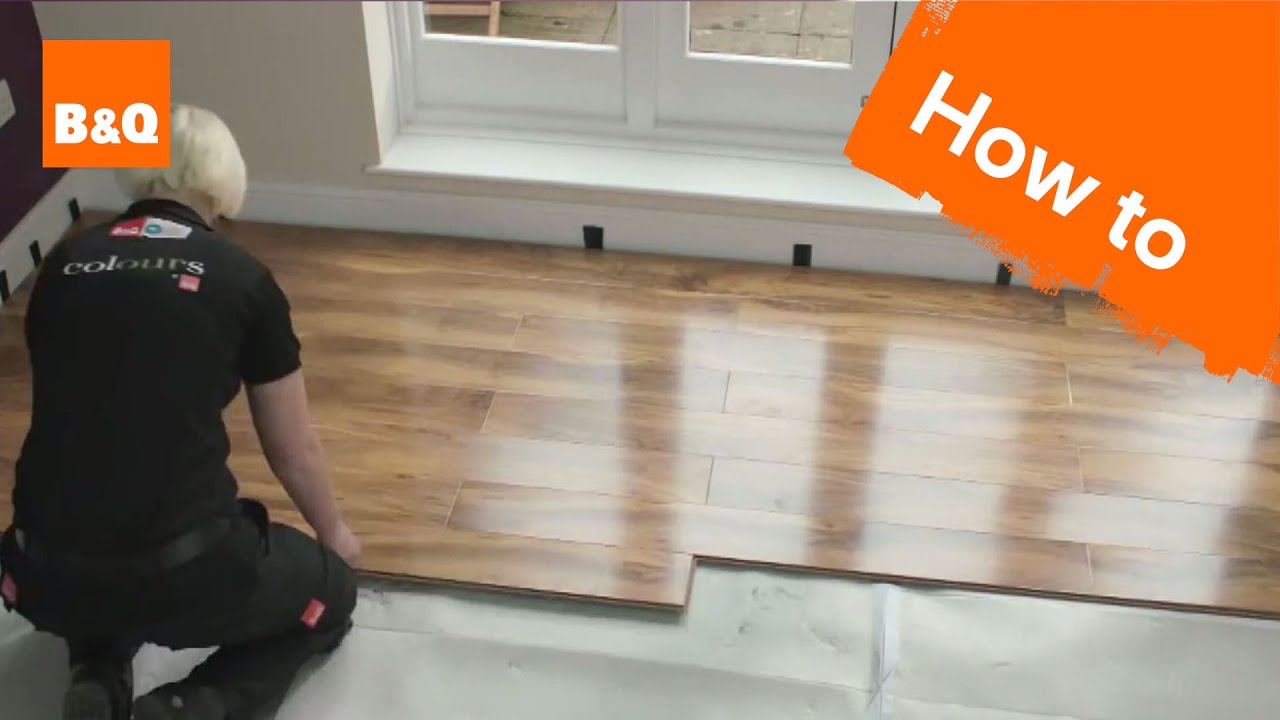
3. Installing the First Row:
Place the first plank with its groove side facing towards the wall. Use a tapping block and mallet to gently tap each subsequent plank into place, ensuring a snug fit.
FAQs:
1. Can I start installing laminate flooring in the middle of a room?
It is generally recommended to start from a wall for stability purposes and a more seamless finish.
2. How do I ensure my first row is straight?
Using a chalk line or laser level, mark a straight line parallel to your starting wall To guide the placement of your first row of laminate planks. This will help ensure that your first row is straight and that the rest of the installation proceeds smoothly. V. Continuing the Installation
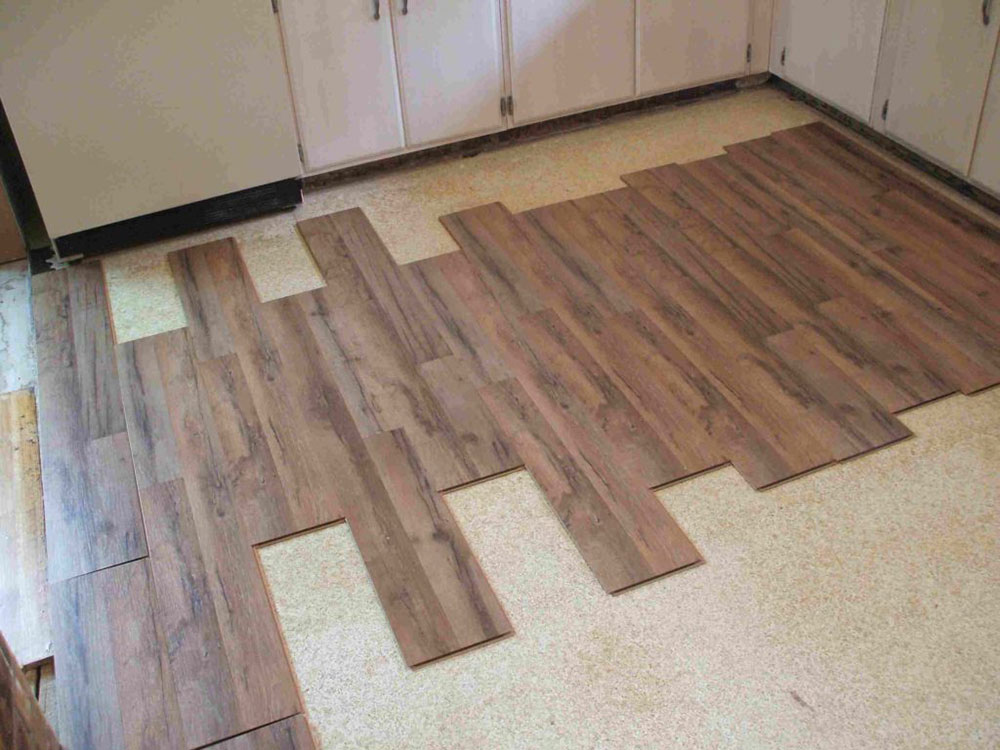
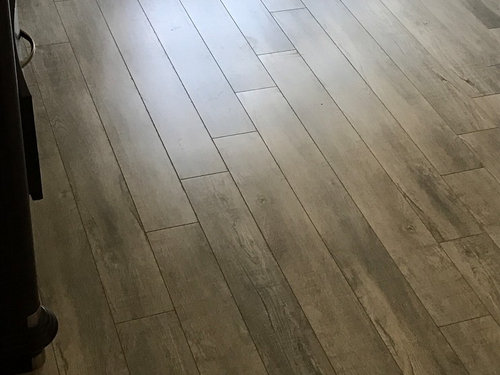
1. Staggering the Planks:
As you continue installing each row, make sure to stagger the planks by at least 6 inches to create a more visually appealing and stable floor. This will also help prevent the planks from lining up and creating weak spots.
2. Cutting the Planks:
Measure and cut planks as needed to fit around doorways, corners, or other obstacles. Use a circular saw or a jigsaw to make accurate cuts, and be sure to leave expansion gaps around these cut pieces as well.
FAQs:
1. What tools do I need to cut laminate flooring?
You will need a circular saw or a jigsaw with a fine-tooth blade, a carpenter’s square, and safety goggles.
2. How can I avoid damaging the planks when cutting them?
To minimize damage, place the laminate plank face down when cutting with a circular saw or jigsaw. This will help prevent chipping or splintering on the visible side of the plank.
VI. Completing the Installation
1. Finishing Rows:
Continue installing rows of laminate flooring until you reach the final row. Trim the last row if needed to ensure it fits snugly against the wall, leaving an expansion gap as required.
2. Installing Baseboards and Transition Strips:
Install baseboards or quarter-round molding to cover any gaps between the laminate flooring and walls. Also, install transition strips where the laminate flooring meets different types of flooring or thresholds.
FAQs:
1. How do I install baseboards or quarter-round molding?
Use a nail gun or finishing nails to attach the baseboards or quarter-round molding to the wall, making sure to leave small gaps for expansion.
2. What type of transition strip should I use?
The type of transition strip will depend on the types of flooring being transitioned. Common types include T-molding, reducer molding, and threshold molding.