Make certain that the printed pages blend best with the overall theme of the bath room. The list of bathroom flooring suggestions is in fact long; which includes unusual and familiar options, though the bottom line within making the option is safety and cleanliness. Together with the numerous designs and styles of flooring today, additionally, there are a range of prices.
Images about How To Tile Bathroom Floor On Wood

Has your bathroom flooring seen better days? Mosaic tiles are produced using glass, old tiles, pebbles etc and after that add color and texture to the bathroom. There are many modern choices – including laminate floors & engineered wood flooring surfaces – that help you enjoy the look of classic materials without all of the problems.
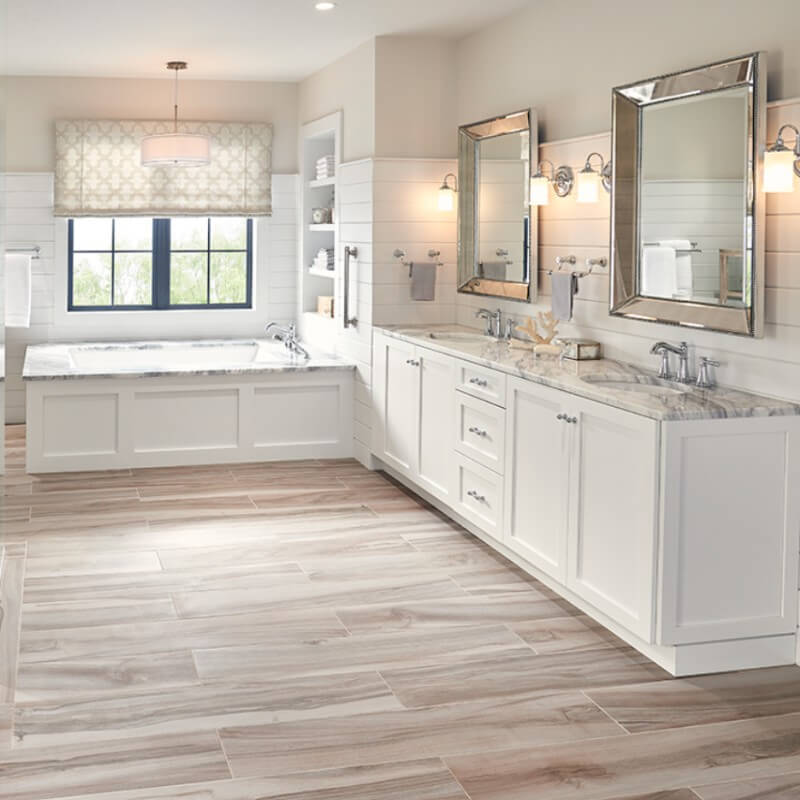
Move Over, HardwoodPorcelain Wood-Look Tile Is in the House!
Bathroom tile suggestions as well as tile color are important since color can easily significantly affect your feelings — making you feel calm or energizing you. Stone is, by much, the most expensive of the choices described. Do not make your ultimate decision until you have examined every feature. Let the bathtub, sink etcetera be smooth and white with no edges that are sharp.
Transition Time: How to Connect Tile and Hardwood Floors
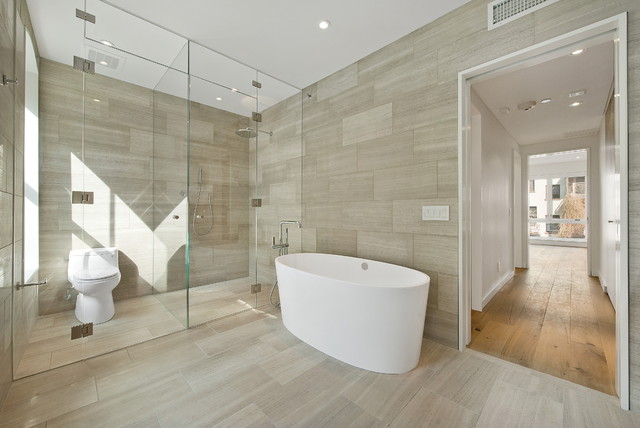
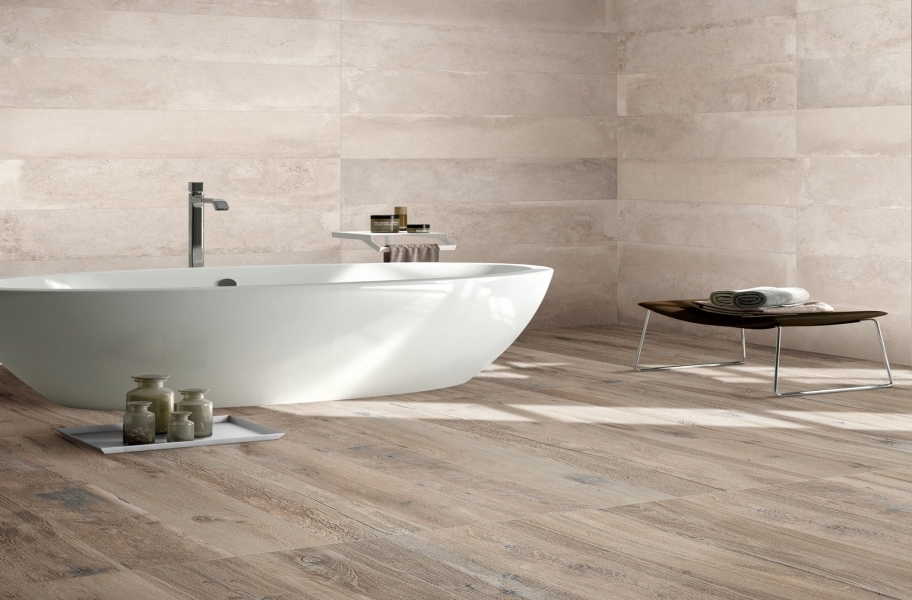
Is Wood Look Porcelain Tile A Good Choice When Remodeling
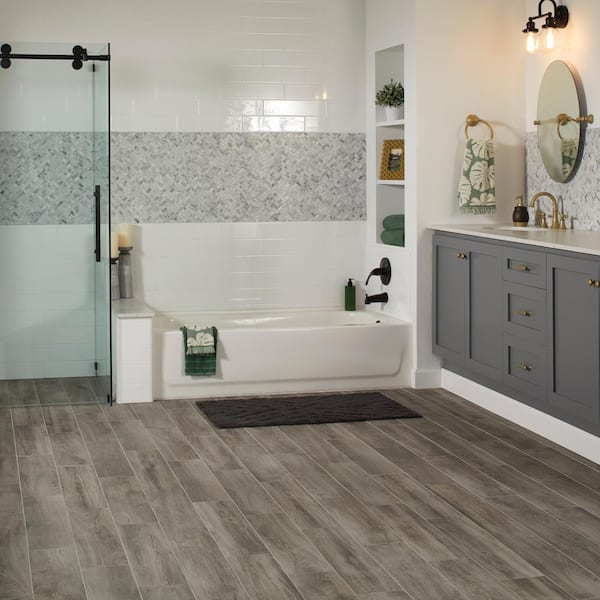
Lifeproof Shadow Wood 6 in. x 24 in. Porcelain Floor and Wall Tile
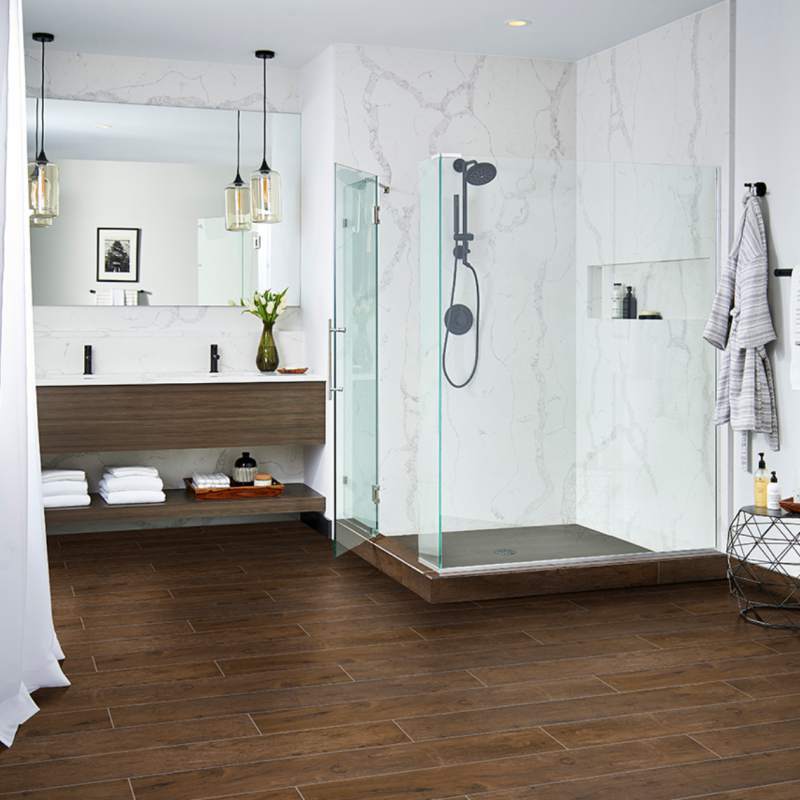
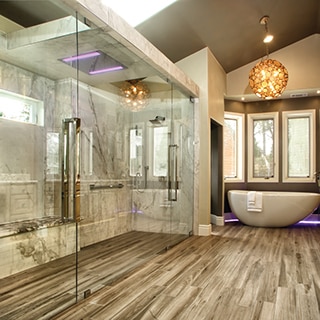
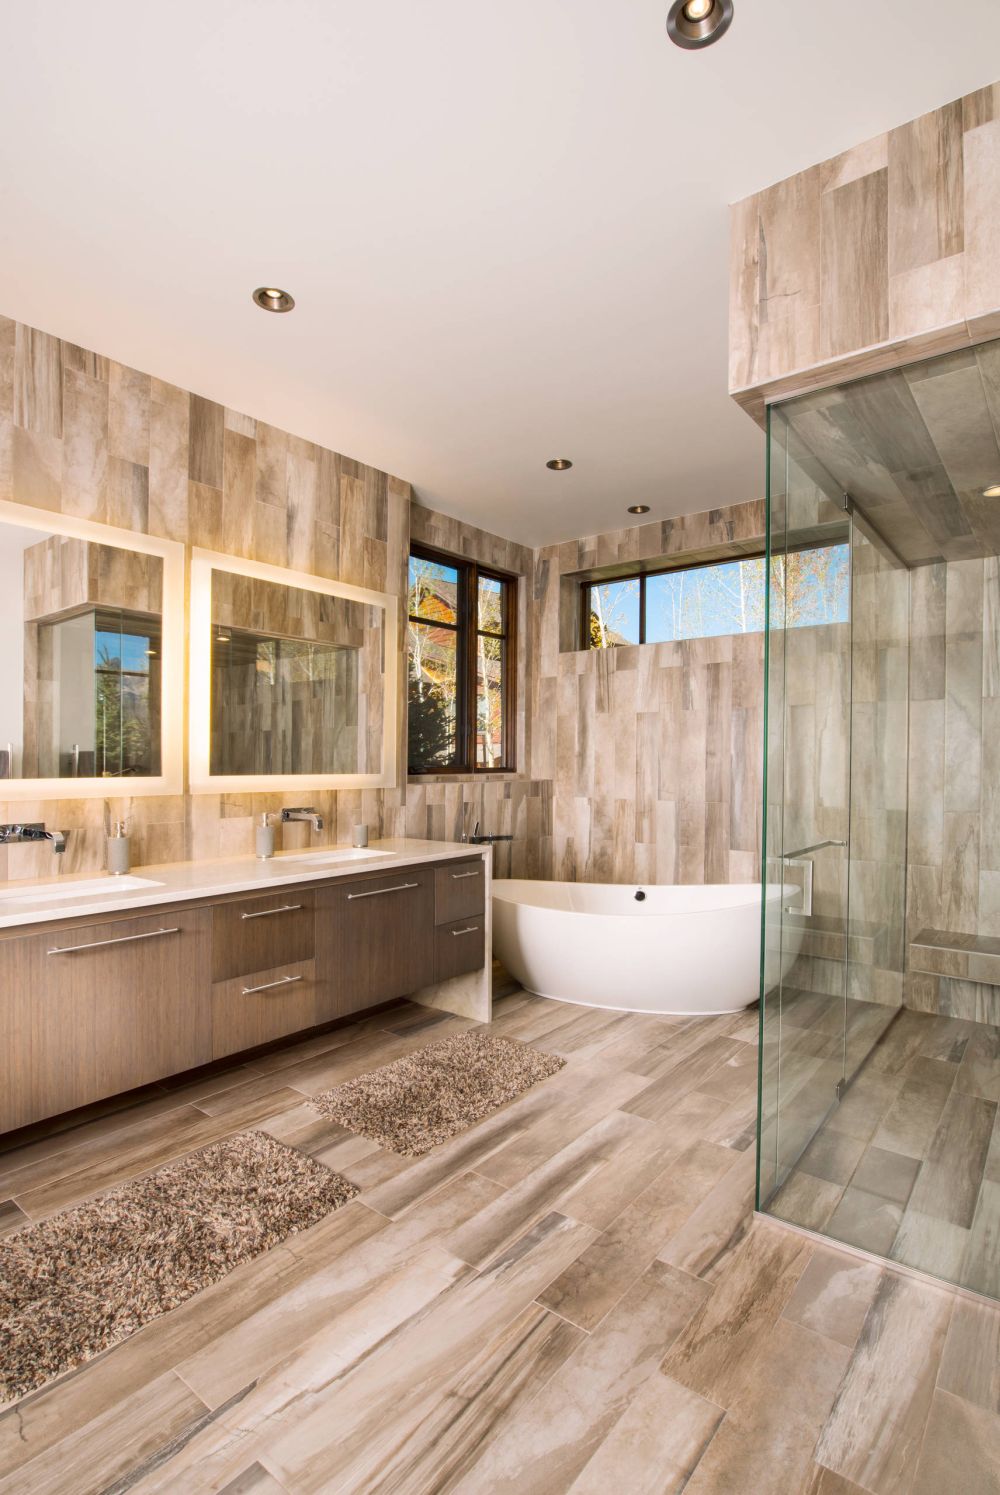
Wood-look tile. Bathroom u0026 walk-in shower flooring: Style

Wood Look Tile in the Shower Daltile
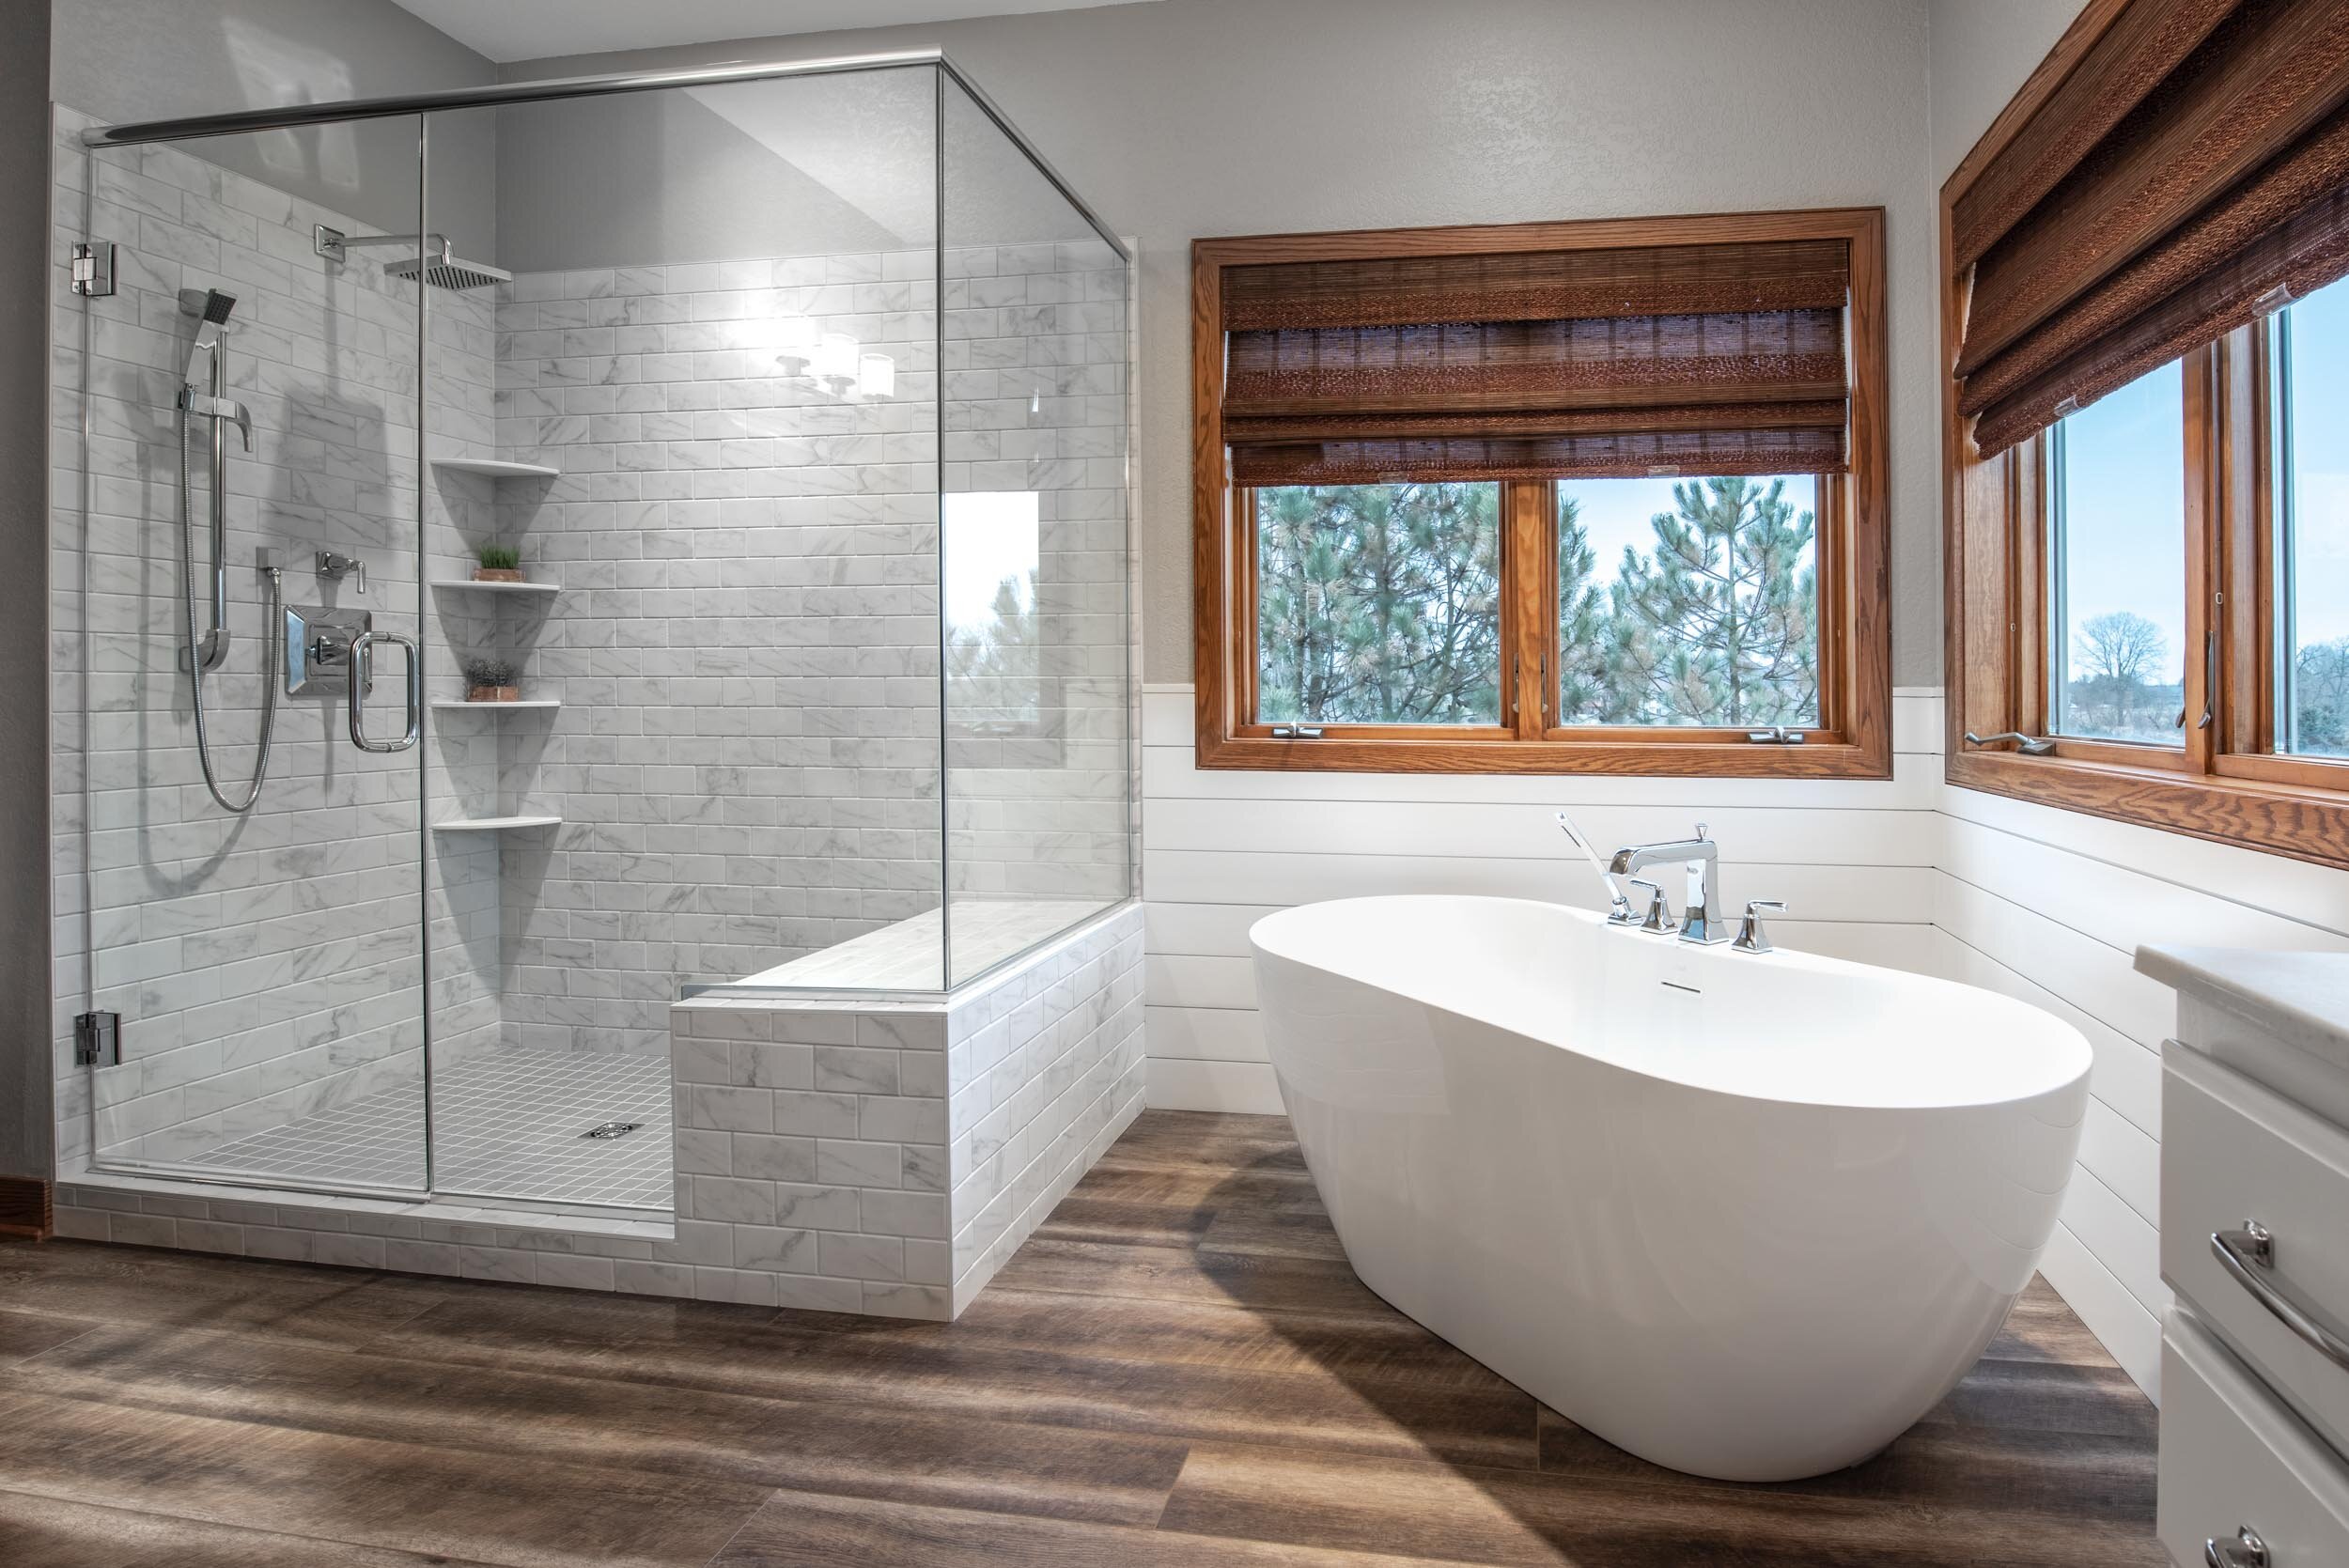
Durable Porcelain Tile That Looks Just Like Natural Birch
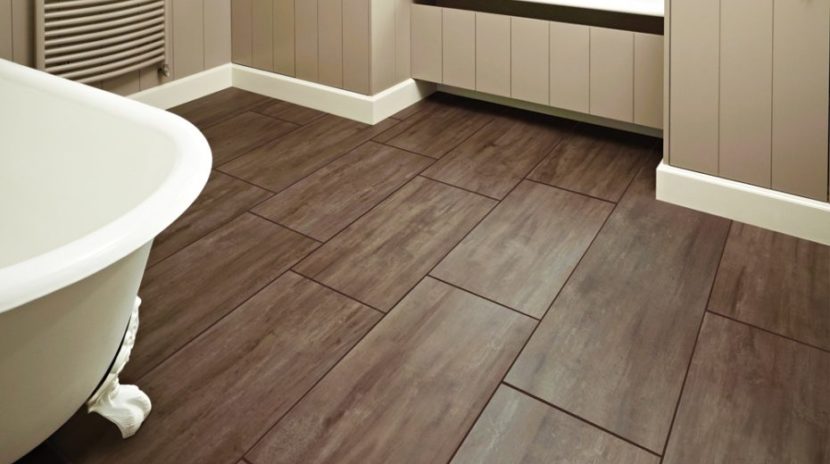
15 Ideas for Wood Floors in Bathrooms
:max_bytes(150000):strip_icc()/traditional-bathroom-57feaca03df78cbc286997d1.jpg)
ProHandymen Bathroom Floor Ideasvinyl, Wood u0026 Tile – San Diego Pro
Design Style In-Depth: Bathroom Flooring Re-Bath

2022 Bathroom Flooring Trends: 20+ Updated Styles – Flooring Inc
25 Wood Tile Showers For Your Bathroom
Wood Look Porcelain Tile Bathroom – 5 Fundamentals

Related Posts:
- Bathroom Floor Tile Patterns Ideas
- Black And White Bathroom Floor Designs
- Bathroom Epoxy Floor Coating
- Bathroom Floor Covering Options
- His And Hers Bathroom Floor Plans
- Dark Wood Tile Floor Bathroom
- Handicap Bathroom Floor Plans Commercial
- How To Clean Grout In Bathroom Floor
- Bathroom Flooring Wood Look
- Bathroom Floor Tile Layout 12×24
How to Tile a Bathroom Floor on Wood
Tiling a bathroom floor can bring new life and style to your space. However, if you have a wooden subfloor, there are some additional steps and considerations to keep in mind. In this article, we will guide you through the process of tiling a bathroom floor on wood, ensuring a durable and beautiful result.
1. Preparing the Subfloor:
Before you begin tiling, it is crucial to prepare the wooden subfloor properly. Start by removing any existing flooring materials such as carpet or vinyl. Next, inspect the subfloor for any signs of damage or rot. If you notice any issues, repair or replace the damaged areas before proceeding.
FAQ: Can I tile directly on top of the wood subfloor?
Answer: Tiling directly onto a wood subfloor is not recommended as it can lead to cracks and unevenness in the tiles over time. It is essential to add an extra layer of support, such as cement backer board or an uncoupling membrane, to ensure stability and prevent moisture-related problems.
2. Installing Cement Backer Board:
To provide a solid and stable base for your tiles, install cement backer board over the wooden subfloor. Begin by measuring and cutting the backer board panels to fit your bathroom floor. Lay out the panels in a staggered pattern, ensuring that there are no gaps between them.
Next, apply thin-set mortar onto the subfloor using a notched trowel. Press each backer board panel firmly into place, making sure it is level with neighboring panels. Secure the backer board with screws or nails every 6-8 inches around the edges and every 12 inches within the field.
FAQ: Can I use plywood instead of cement backer board?
Answer: While plywood may seem like an alternative option for tiling on wood, it is not recommended due to its susceptibility to moisture damage. Cement backer board is specifically designed for tiling applications, providing better stability and resistance to moisture.
3. Waterproofing the Subfloor:
To prevent water damage and ensure the longevity of your tiled floor, it is essential to waterproof the subfloor. Apply a layer of waterproofing membrane over the cement backer board, following the manufacturer’s instructions. Use a paintbrush or roller to evenly coat the entire surface, including the seams and edges.
Allow the waterproofing membrane to dry completely before moving on to the next step. This step is crucial in bathrooms where moisture levels are high, as it prevents water from seeping through the grout lines and damaging the wooden subfloor.
FAQ: Can I skip the waterproofing step if I’m using pre-sealed tiles?
Answer: Even if you have pre-sealed tiles, it is still recommended to waterproof the subfloor. Grout lines can be susceptible to moisture penetration, leading to potential damage over time. By waterproofing the subfloor, you add an extra layer of protection against any water-related issues.
4. Planning Tile Layout:
Before starting to tile, plan out your layout carefully. Measure your bathroom floor and determine where you want to start laying tiles. It is generally recommended to begin in the center of the room and work your way outwards.
Using a chalk line or tile spacers, mark guidelines on the subfloor to ensure straight and even tile placement. Dry-fit some tiles along these guidelines to check if any adjustments or cuts are needed. This step will help you visualize how the final result Will look and ensure that you have enough tiles to complete the project.
5. Applying Thin-Set Mortar:
Once your layout is planned, it’s time to start applying thin-set mortar. Mix the mortar according to the manufacturer’s instructions, making sure it has a consistency similar to peanut butter.
Using a notched trowel, spread a layer of mortar onto the subfloor within one of the marked guidelines. Make sure to only cover a small area at a time, as the mortar can dry quickly. Hold the trowel at a 45-degree angle and create ridges in the mortar by combing it with the notched side of the trowel.
6. Setting the Tiles:
Place your first tile onto the mortar, pressing it down firmly and twisting it slightly to ensure good adhesion. Use tile spacers to maintain consistent grout lines between each tile. Continue applying mortar and setting tiles along the marked guidelines, working in small sections at a time.
Check frequently for levelness and adjust as needed. If any tiles need to be cut to fit around edges or obstacles, use a wet saw or tile cutter to make precise cuts.
7. Grouting:
After all the tiles are set and the mortar has dried (usually 24-48 hours), it’s time to grout. Mix the grout according to the manufacturer’s instructions until it reaches a smooth consistency.
Using a grout float, spread the grout diagonally across the tiles, ensuring that all spaces between tiles are filled. Hold the float at a 45-degree angle and press firmly into the joints to pack in the grout.
8. Cleaning and Sealing:
After applying the grout, wait about 10-15 minutes for it to set slightly. Then, using a damp sponge, gently wipe away excess grout from the surface of the tiles. Rinse the sponge frequently to avoid smearing grout onto the tiles.
Allow the grout to fully cure for at least 24 hours before sealing. Apply a penetrating sealer to protect the grout and tiles from stains and moisture. Follow the manufacturer’s instructions for application and drying times.
9. Finishing Touches:
Once the sealer has dried, remove any remaining haze or residue from the tiles with a clean, dry cloth. Install baseboards or trim along the edges of the tiled floor to give it a finished look.
Congratulations! You have successfully tiled your bathroom floor. Enjoy your new durable and beautiful flooring for years to come.