You will discover a number of benefits to the green colored building substance cork flooring. But, this article can not allow you to recognize exactly how durable and beautiful cork flooring actually is. The bark of the cork oak tree is actually real cork and is harvested by removing a small stratum of this bark (cork) coming from the trunk.
Images about Install Cork Flooring Over Ceramic Tile

Nonetheless, if you remove the stress, the floor will spring back again to its original shape quickly, and leave no lasting mark or even impression! This's handy if you plan to place any hefty furniture on your floor. If also you intend on installing your brand new floor by yourself then a cork floating flooring is the ideal choice.
How to Install Cork Tile Flooring (DIY) Family Handyman

Just because cork is resist to water and moisture you will still want to clean up all spills and standing water to prevent it from getting underneath the tiles. This particular baked mold is then utilized for flooring. It is able to also be a low cost project in case you make use of a floating cork floor system and install it yourself. For a lot of customers one of the greatest advantages of cork flooring is that it's eco friendly product.
Cork Tile Floor I Installation Instructions I Underlayment
The two of these cork based flooring methods are made to be fitted over a proper sub-floor, while the floating flooring can go more than some existing floors such as vinyl, ceramic, hardwood, etc. These can help you evaluate your needs and get the right flooring type for your home or office so that it will look last and good for years.
Using Cork Floor Tiles in Your Kitchen
/cork-flooring-in-unfurnished-new-home-647206431-57e7c0c95f9b586c3504ca07.jpg)
How to Install Cork Flooring – (Tips and Guidelines For Your DIY

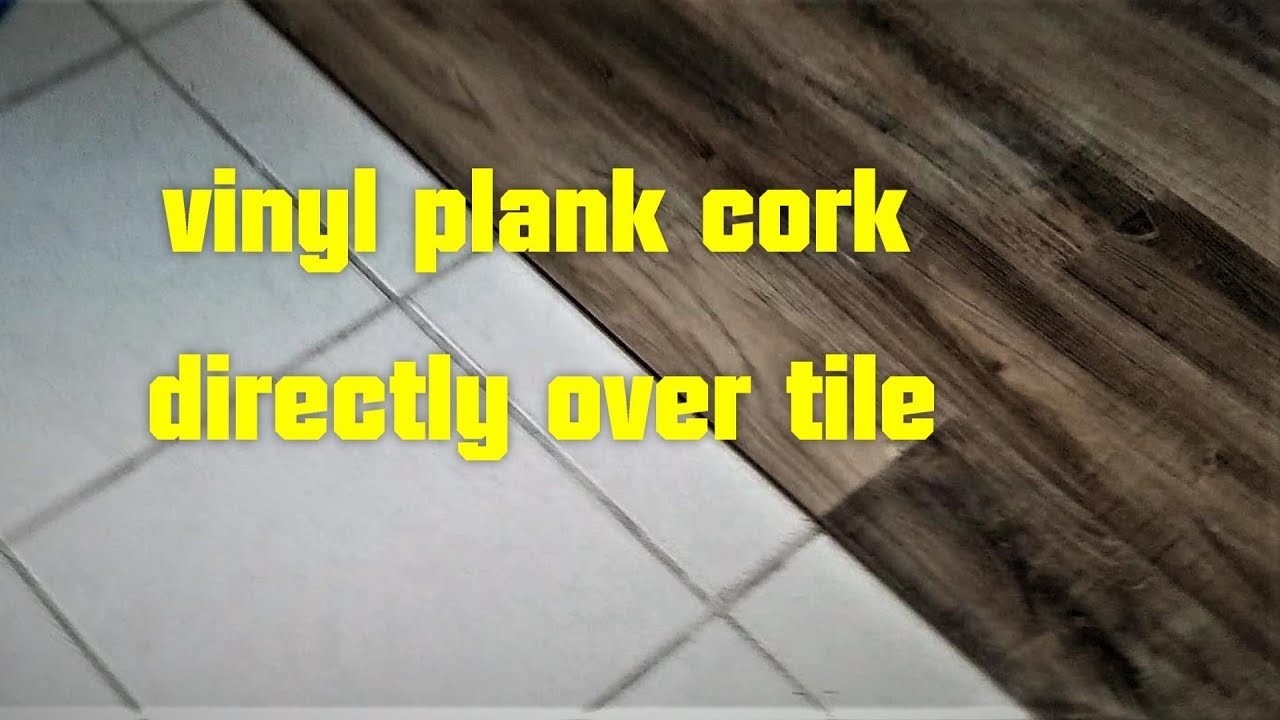
Vinyl Plank Cork flooring Directly Over Tile Should I do this
Cork Flooring Installation – How to Do It DIY Home Improvement
Advantages Of A Cork Floating Floor Over Glue-Down Cork Tiles
Cork Flooring Cost Cork Flooring Installation Prices
How to Prepare a Cork Flooring SubfloorLearning Center

Cork Flooring Installation: PRO or DIY?Learning Center

YAY! Cork Flooring Going Over Bad Kitchen Tile!!! (brand, hang
Jelinek Cork Flooring Types u2014 Jelinek Cork Group®
What Type of Flooring Can You Put Over Ceramic Tiles?

Related Posts:
- Cork Board Flooring Reviews
- Cork Flooring Styles
- Expanko Cork Flooring Review
- How To Lay Cork Flooring Over Concrete
- Cork Flooring Designs
- Dry Cork Flooring
- Does Cork Flooring Need Underlay
- Slate Cork Flooring
- Cork Flooring Options Kitchen
- Samples Of Cork Flooring
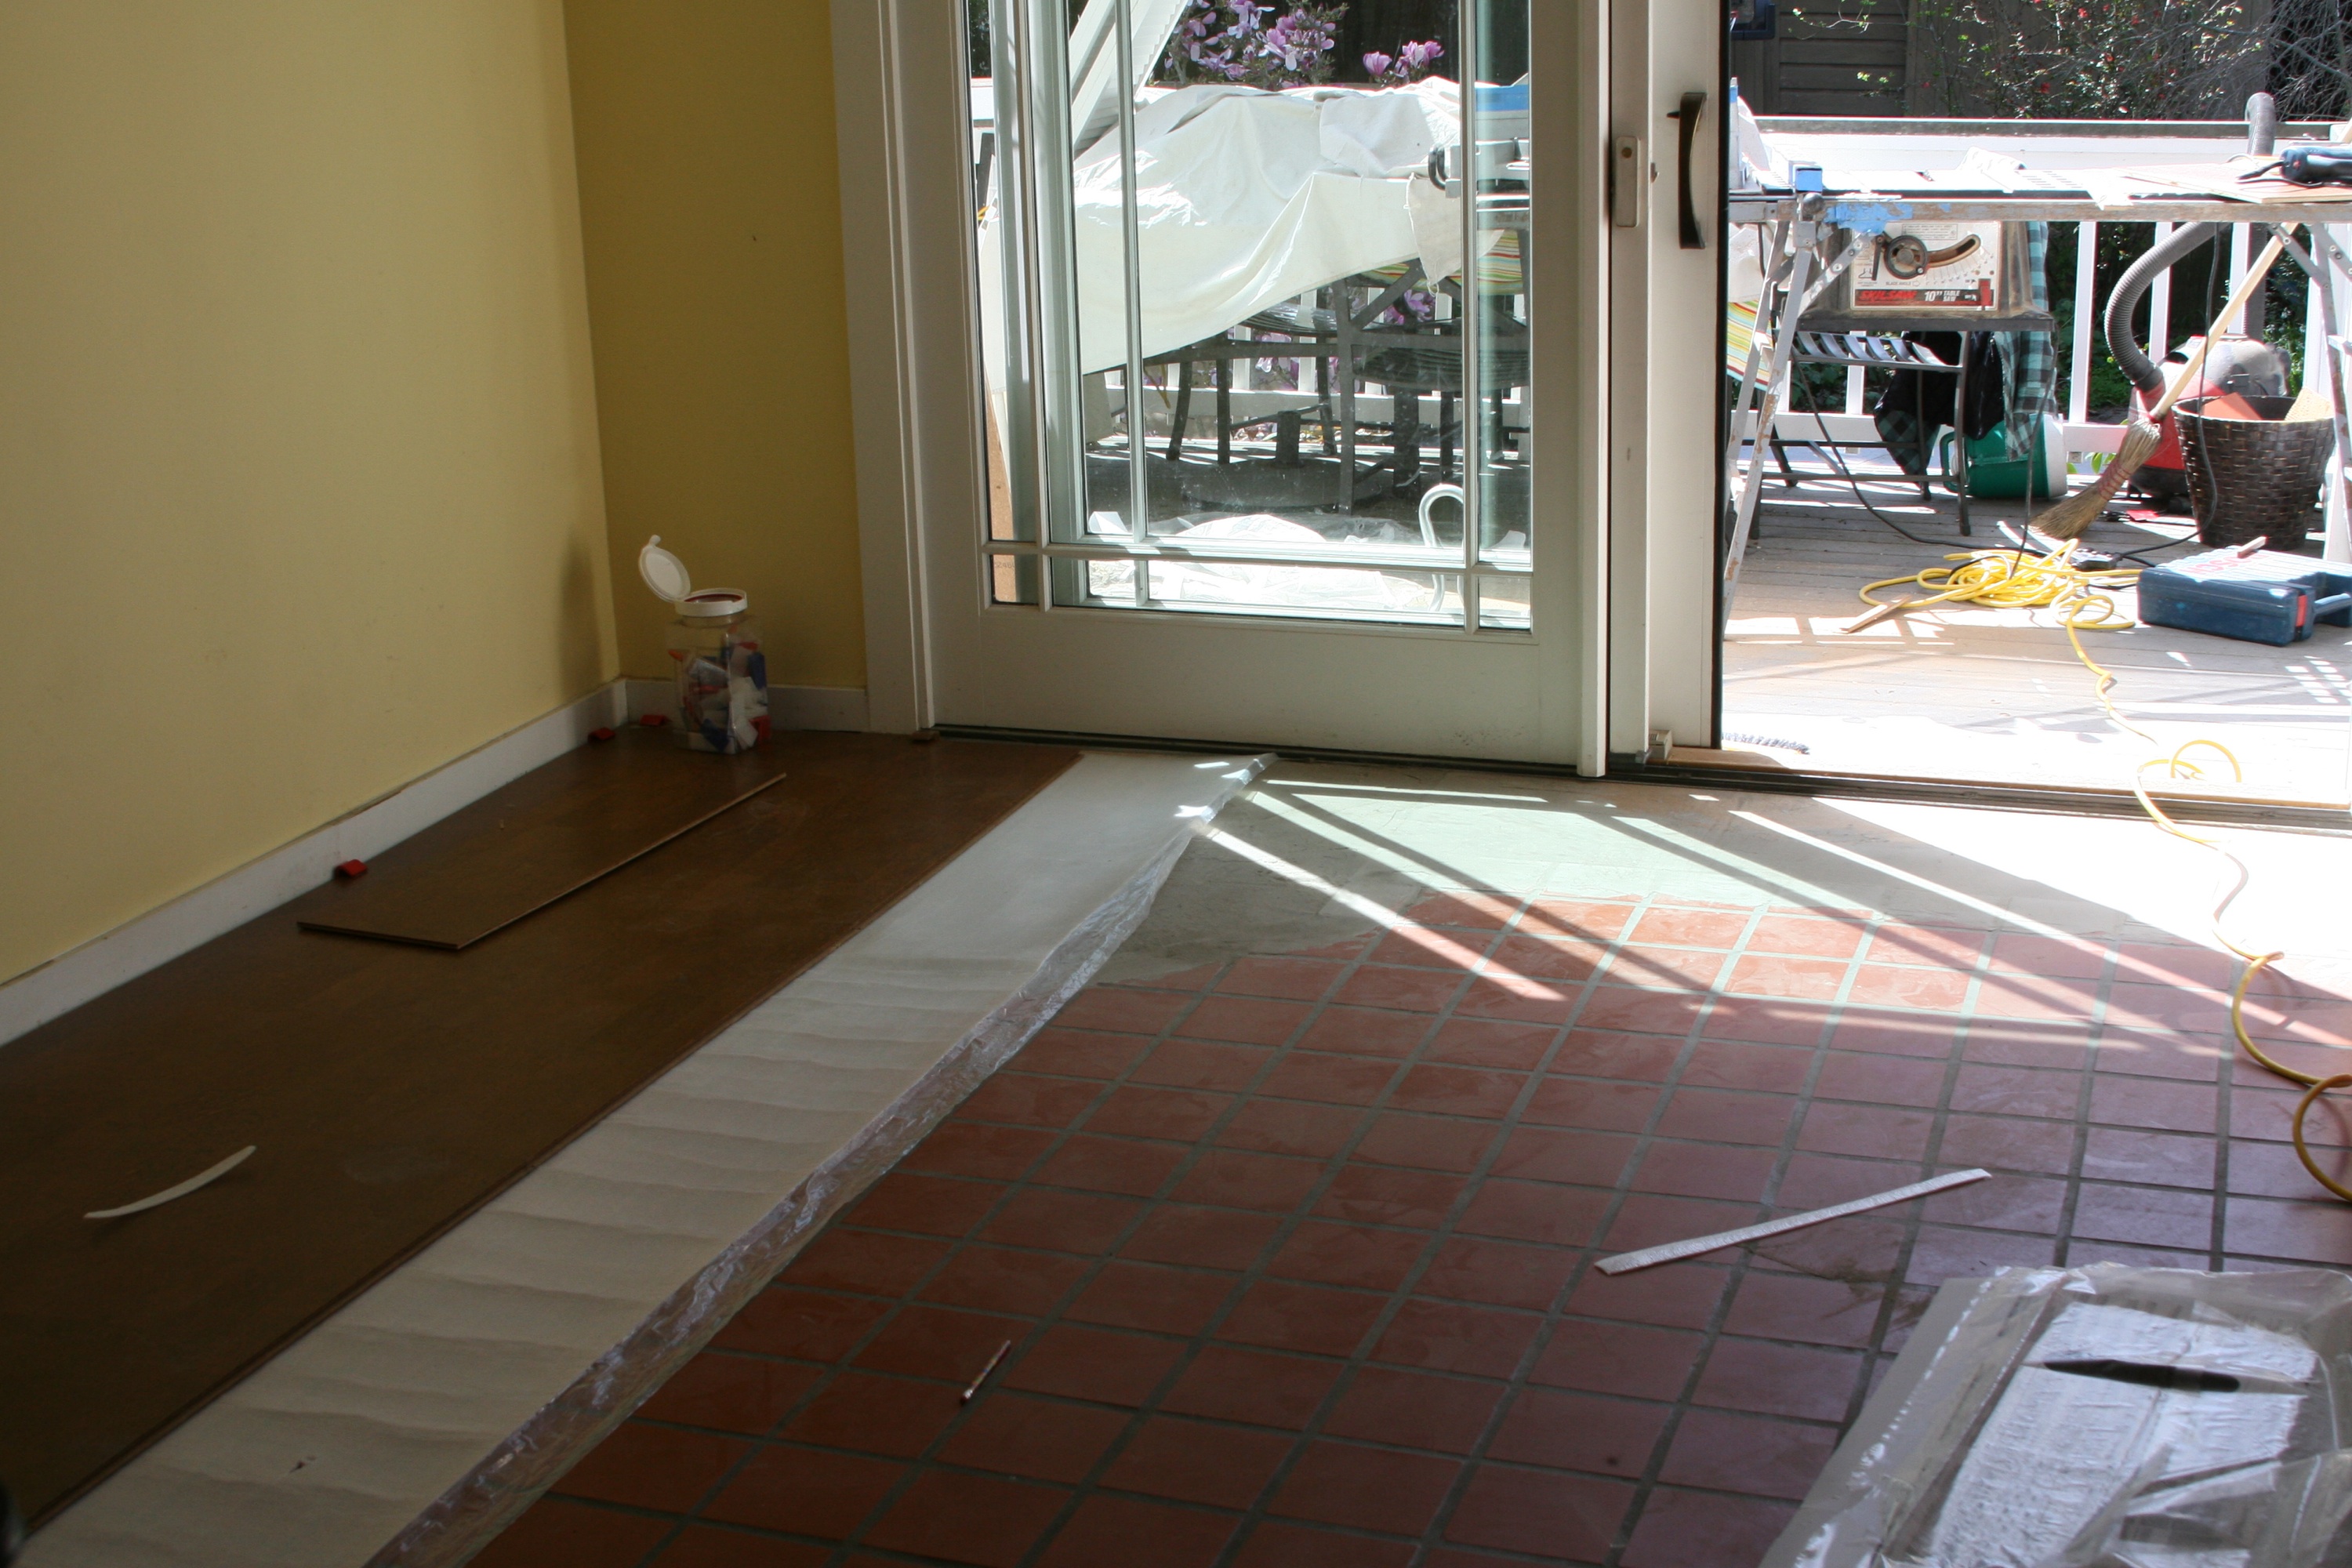
Installing cork flooring over ceramic tile is a great way to give your space a fresh, new look. Cork flooring is not only eco-friendly and sustainable, but it also provides insulation and soundproofing properties. Plus, it’s relatively easy to install, making it a popular choice for DIY enthusiasts. In this article, we will provide you with a detailed guide on how to install cork flooring over ceramic tile, along with some frequently asked questions and their answers.
1. Preparation:
Before you begin the installation process, it’s crucial to prepare the surface properly. Start by cleaning the ceramic tiles thoroughly to remove any dirt, dust, or debris. Use a mild detergent and warm water solution to scrub the tiles gently. Rinse them off with clean water and allow them to dry completely.
Next, check for any loose or damaged tiles. If you find any, repair or replace them before proceeding with the installation. It’s important to have a smooth and even surface to ensure the cork flooring adheres properly.
2. Acclimation of the Cork Flooring:
Cork is a natural material that expands and contracts with changes in temperature and humidity. To prevent any issues later on, it’s essential to acclimate the cork flooring before installation. Place the cork flooring boxes in the room where you plan to install them and let them sit for at least 72 hours. This allows the cork to adjust to the environmental conditions of the space.
3. Moisture Barrier Installation:
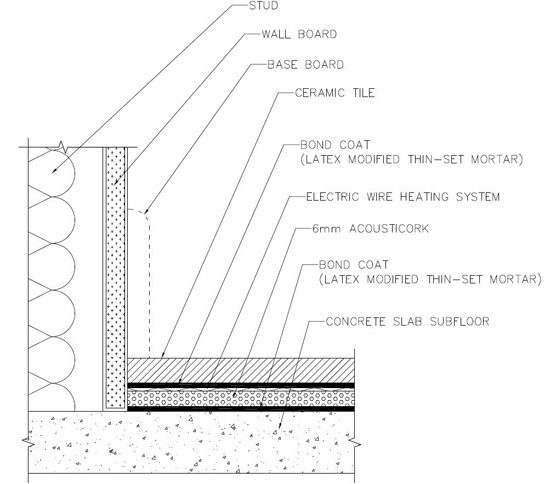
Since ceramic tiles are not waterproof, it’s crucial to install a moisture barrier before laying down the cork flooring. A moisture barrier prevents any moisture from seeping through the tiles and damaging the cork.
Start by applying a layer of primer on the ceramic tiles using a paint roller or brush. The primer helps create a strong bond between the moisture barrier and the tiles. Once the primer is dry, roll out a sheet of polyethylene vapor barrier over the entire floor surface. Make sure to overlap the edges by at least 6 inches and secure them with duct tape. Trim off any excess barrier around the edges of the room.
4. Cork Underlayment Installation:
Cork underlayment provides additional cushioning and insulation for your cork flooring. It also helps to reduce sound transmission between floors. Before installing the cork underlayment, make sure the moisture barrier is completely dry.
Roll out the cork underlayment and cut it to fit the dimensions of the room. You can use a utility knife or a pair of sharp scissors for this purpose. Once you have cut the pieces, lay them down on top of the moisture barrier, ensuring they are snugly fitted together without overlapping.
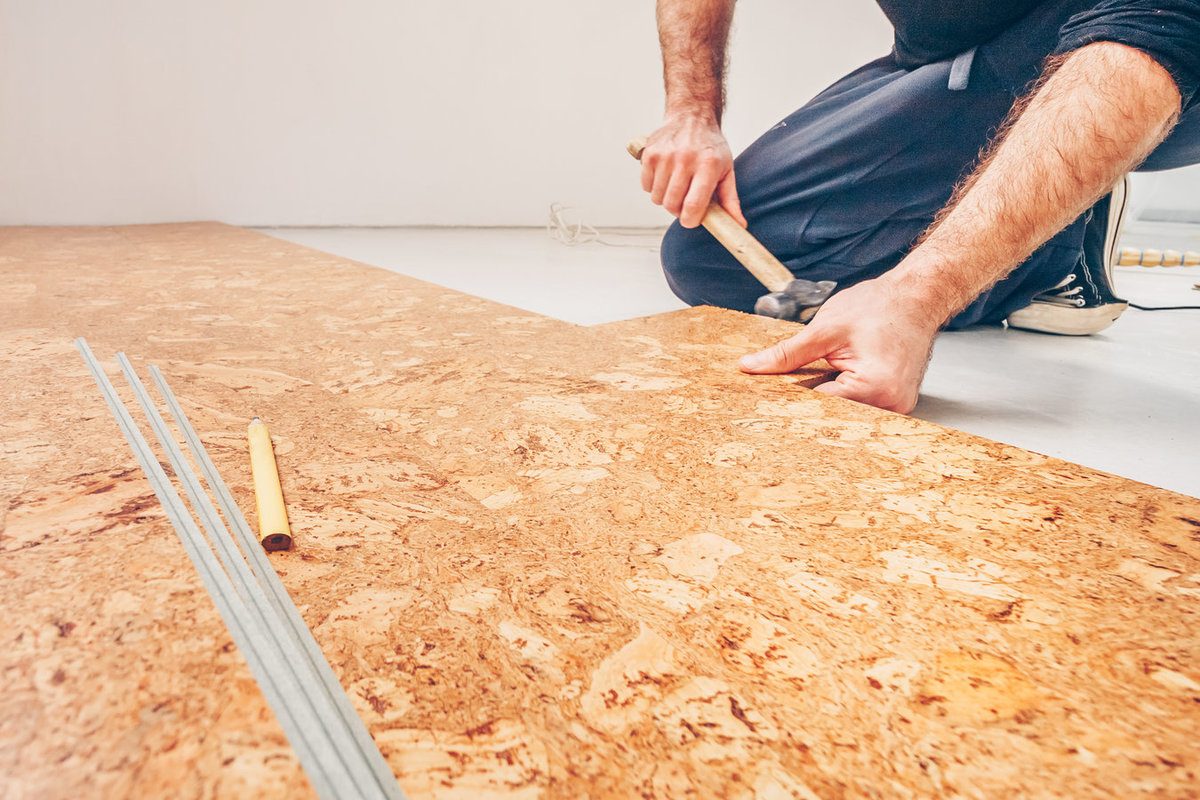
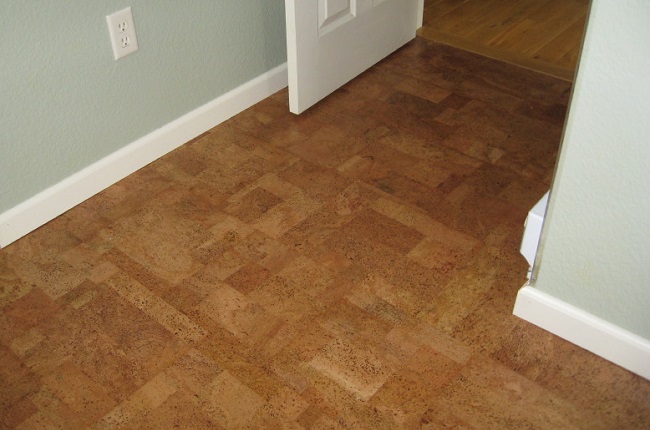
5. Cork Flooring Installation:
Now that you have prepared the surface and installed the necessary barriers and underlayment, it’s time to install the cork flooring itself. Start by measuring and marking the centerline of the room using a chalk line or a straightedge.
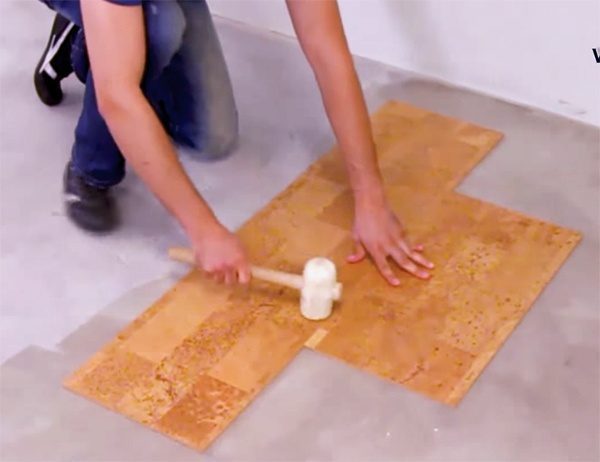
Apply adhesive on one half of the centerline using a trowel or a notched spreader. Make sure to follow the manufacturer’s instructions regarding the type and amount of adhesive to use. Begin laying down the cork tiles along the marked line, pressing them firmly into place. Use a rubber mallet or a flooring roller to ensure proper adhesion and remove any air bubbles.
Continue installing the cork tiles row by row, working your way towards the edges of the room. Cut any tiles that need trimming using a utility knife or a jigsaw. Remember to leave a small gap Between the cork flooring and the walls to allow for expansion. Once all the tiles are installed, go over the entire floor with a flooring roller to ensure proper adhesion and to flatten out any uneven areas.
6. Finishing Touches:
After the cork flooring is installed, allow it to settle for at least 24 hours before walking on it or placing any furniture on it. This will give it time to fully adhere and adjust to its new environment.
Once the cork flooring has settled, you can apply a protective finish to enhance its durability and longevity. There are various options available, such as polyurethane or wax finishes. Follow the manufacturer’s instructions on how to apply the finish and allow it to dry completely before using the floor.
Lastly, install baseboards or trim around the edges of the room to cover any gaps and give the installation a finished look.
By following these steps, you can ensure a successful installation of cork flooring that will provide a beautiful and comfortable surface for your space. To install cork flooring, follow these steps:
1. Prepare the Subfloor:
– Remove any existing flooring and clean the subfloor thoroughly.
– Repair any uneven areas or damage to the subfloor.
– Ensure that the subfloor is dry, level, and free of debris.
2. Acclimate the Cork Flooring:
– Allow the cork flooring to acclimate in the room where it will be installed for at least 48 hours.
– Keep the temperature and humidity levels in the room consistent with the normal living conditions.
3. Install a Moisture Barrier:
– Roll out a moisture barrier over the entire subfloor, extending it up the walls by at least 6 inches.
– Secure the barrier to the subfloor using duct tape.
– Trim off any excess barrier around the edges of the room.
4. Install Cork Underlayment:
– Ensure that the moisture barrier is completely dry before proceeding.
– Roll out the cork underlayment and cut it to fit the dimensions of the room.
– Lay down the underlayment on top of the moisture barrier, ensuring a snug fit without overlapping.
5. Install Cork Flooring:
– Measure and mark the centerline of the room using a chalk line or straightedge.
– Apply adhesive on one half of the centerline using a trowel or notched spreader, following manufacturer’s instructions.
– Lay down cork tiles along the marked line, pressing them firmly into place.
– Use a rubber mallet or flooring roller to ensure proper adhesion and remove air bubbles.
– Continue installing tiles row by row, working towards the edges of the room.
– Cut any tiles that need trimming and leave a small gap between flooring and walls for expansion.
– Use a flooring roller to flatten out any uneven areas.
6. Finishing Touches:
– Allow cork flooring to settle for at least 24 hours before walking on or placing furniture on it.
– Apply a protective finish, following manufacturer’s instructions, and allow it to dry completely.
– Install baseboards or trim around the edges of the room to cover gaps and give a finished look.
By following these steps, you can successfully install cork flooring that will provide a beautiful and comfortable surface for your space.