Nonetheless, even though better quality materials are costly, they are save, safer, and durable you much more cash within the long haul. It is very simple! You need to figure out how the sunlight enters the room and lay the floor on the identical direction on the sun rays. No matter whether it is an office space or maybe an eating places, laminate floorboard could be purchased based on the resistance of its.
Images about Installing Laminate Flooring Tools

This means that you are able to put in your laminate floor surfaces in a room which will get direct sunlight and never need to worry too much about the sunshine fading the floor's coloring. And here is yet another amazing thing with this particular company's flooring: it feels exactly love timber. Laminate floors actually resemble ceramic and stone flooring with grouted joints.
Flooring Spacers,Laminate Wood Flooring Tools(24 Pack),Compatible w/Vinyl Plank, Hardwood u0026 Floating Floor Installation etc,Hardwood Flooring w/1/4

Using this method should help stop the block from becoming damaged. Then as was born the personal label laminate. Since laminate can be quite vulnerable to humidity, areas that have a big humidity range are not the most effective on account of the laminate contracting and expanding thanks to the temperature and humidity. It is unusual to find an installer that can undertake it all.Eliminate all spacers from the walls and install the molding or baseboard in order to cover the expansion gap.
Tools For Installing Laminate Flooring Cabana State Of Mind

Roberts Laminate and Wood Flooring Installation Kit 10-28
![]()
How to Install Laminate Flooring on Your Own (DIY) – Flooring HQ
How to Install a Laminate Floor
22pcs Wood Floor Installation Tool Laminate Flooring Installation Kit
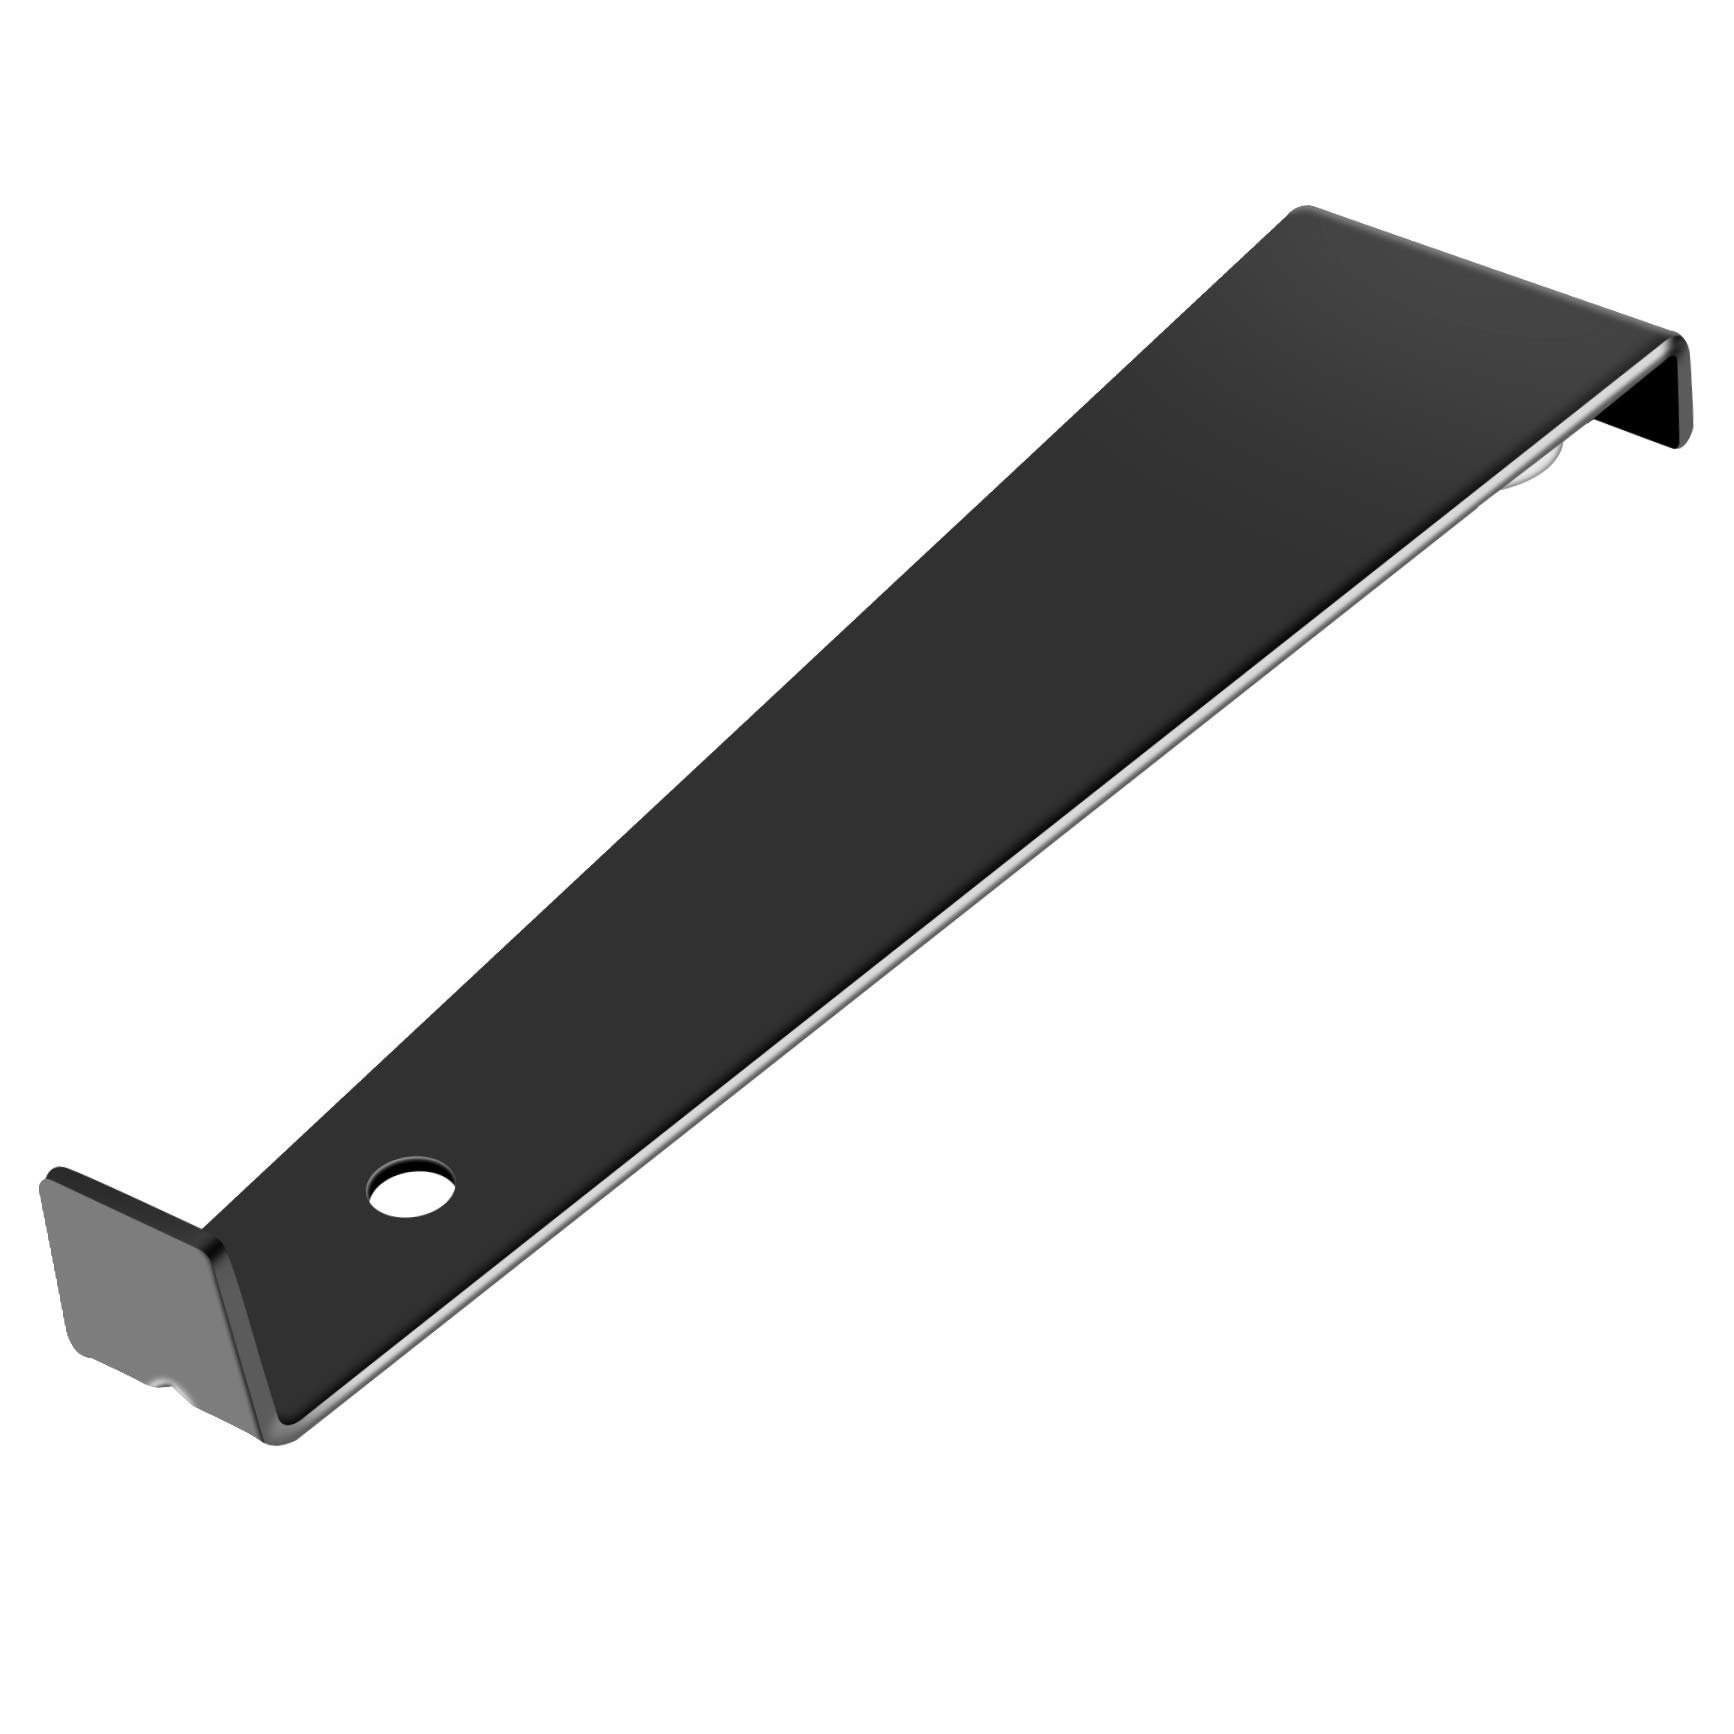
Heavy Duty Pull bar for Vinyl Plank Flooring and Laminate Wood Flooring Installation Tool,12.2 inch Long
FlorCraft® Laminate and Wood Flooring Installation Kit at Menards®

Laminate Flooring Installation Kit – Roberts Consolidated

DIY Wood Laminate Flooring Installation Tool Floor Fitting Kit with 20pcs Spacers Flooring Tool Set
![]()
What Supplies Do I Need to Install Laminate Flooring?
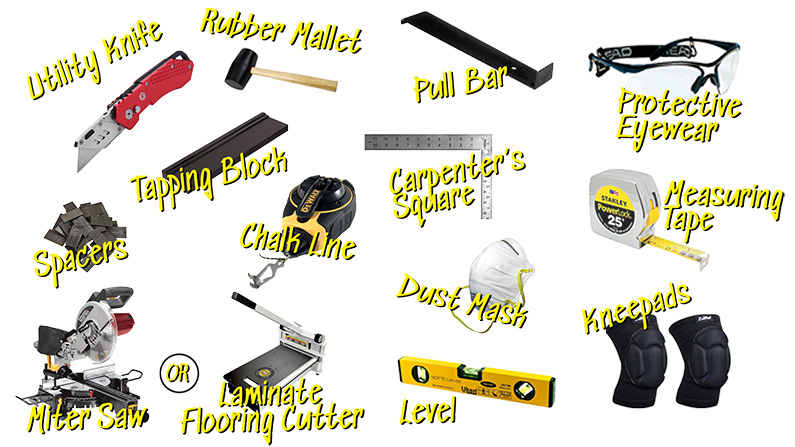
Laminate Flooring Tools Tools for Installing Laminate Flooring
Installing a laminate floor Our Bright Road
Related Posts:
- Direction Of Laminate Flooring In Bedroom
- Installing Laminate Flooring Trim Molding
- Traditional Living Laminate Flooring Reviews
- How To Nail Laminate Flooring
- Best Way To Clean Timber Laminate Flooring
- Laminate Flooring Up To Stairs
- Price To Install Laminate Flooring On Stairs
- Krono Aberdeen Oak Laminate Flooring
- How To Replace Laminate Flooring With Hardwood
- Red Gloss Laminate Flooring
Installing Laminate Flooring Tools
Introduction:
Laminate flooring has become a popular choice for homeowners due to its durability, affordability, and easy installation process. To ensure a successful installation, it is essential to have the right tools at hand. In this article, we will discuss the various tools required for installing laminate flooring and provide detailed guidelines on their usage. So let’s dive in and explore the world of laminate flooring tools!
1. Measuring and Marking Tools:
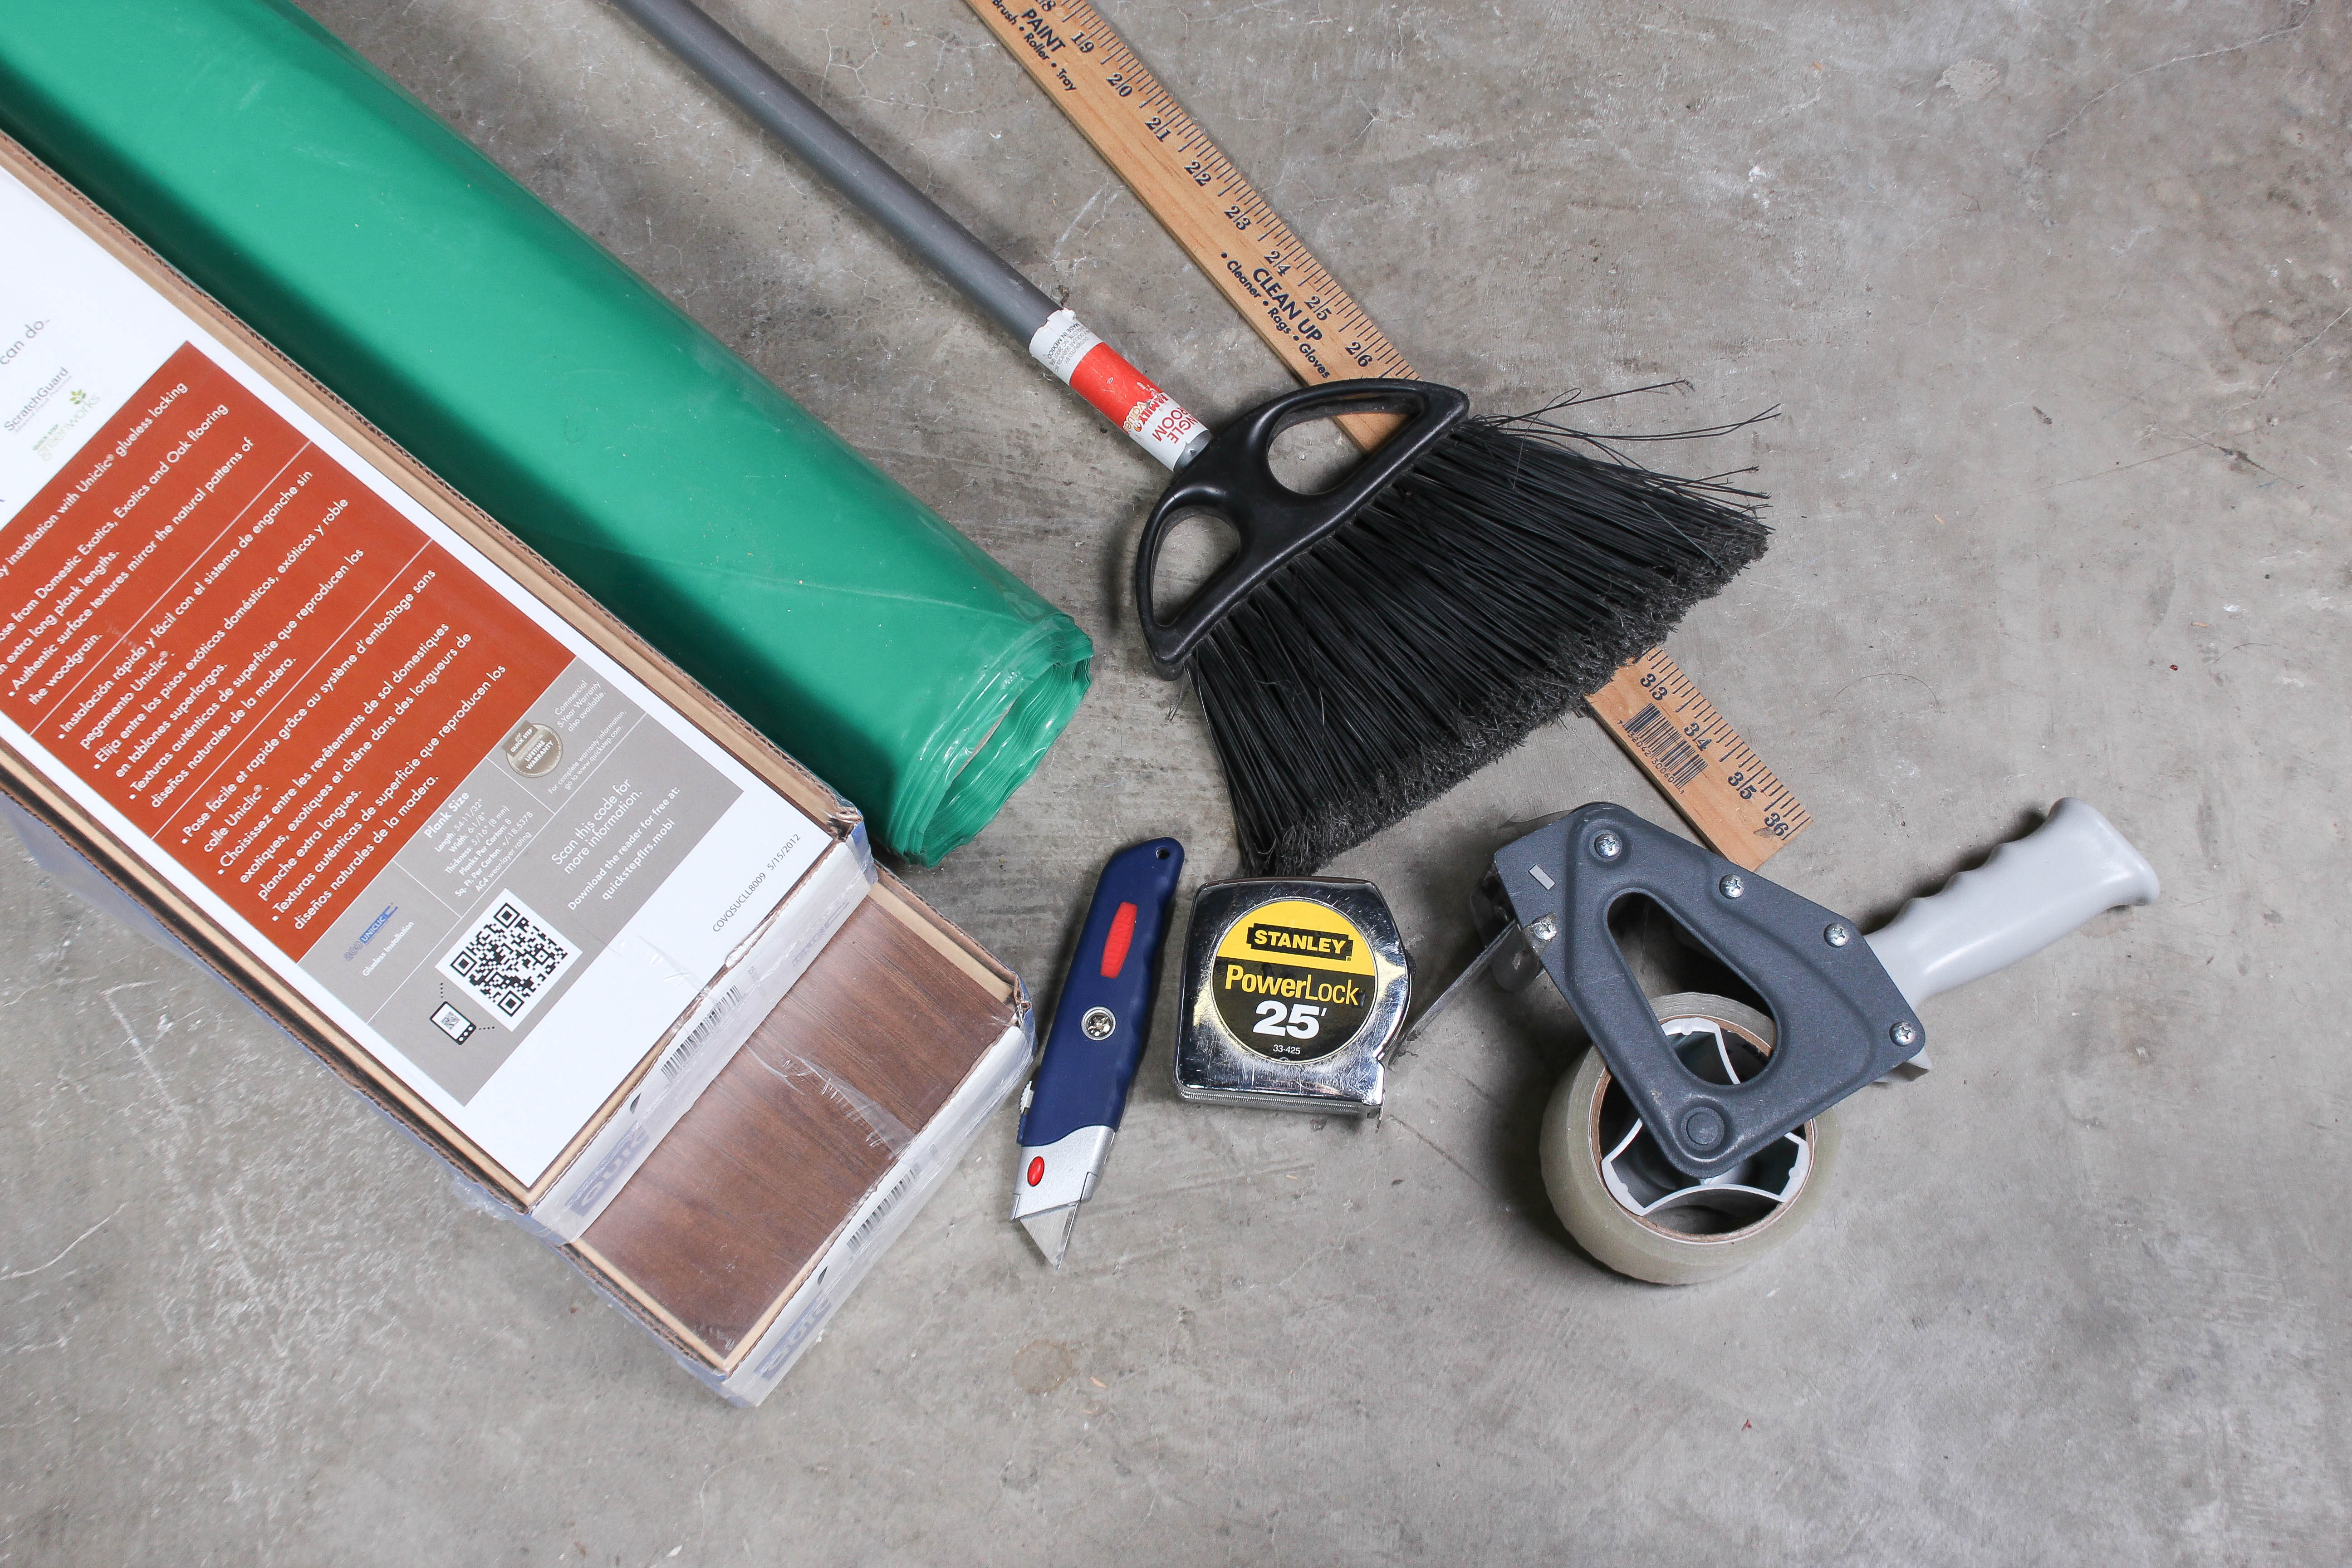
Before you begin the installation process, accurate measurements are crucial to ensure a perfect fit. Here are some essential measuring and marking tools you should have:
a) Tape Measure: A tape measure is an indispensable tool for obtaining precise measurements of the room dimensions, including length, width, and any irregular spaces.
b) Chalk Line: A chalk line helps in marking straight lines on the subfloor, ensuring proper alignment during installation.
c) T-Square: This tool assists in creating accurate 90-degree angles when cutting laminate flooring planks.
FAQs:
Q: Can I use a regular ruler instead of a tape measure?
A: While a ruler can be used for shorter measurements, a tape measure with longer lengths is more suitable for measuring room dimensions accurately.
Q: What type of chalk should I use with a chalk line?
A: It is recommended to use powdered chalk as it provides a more visible and consistent line compared to liquid chalk.
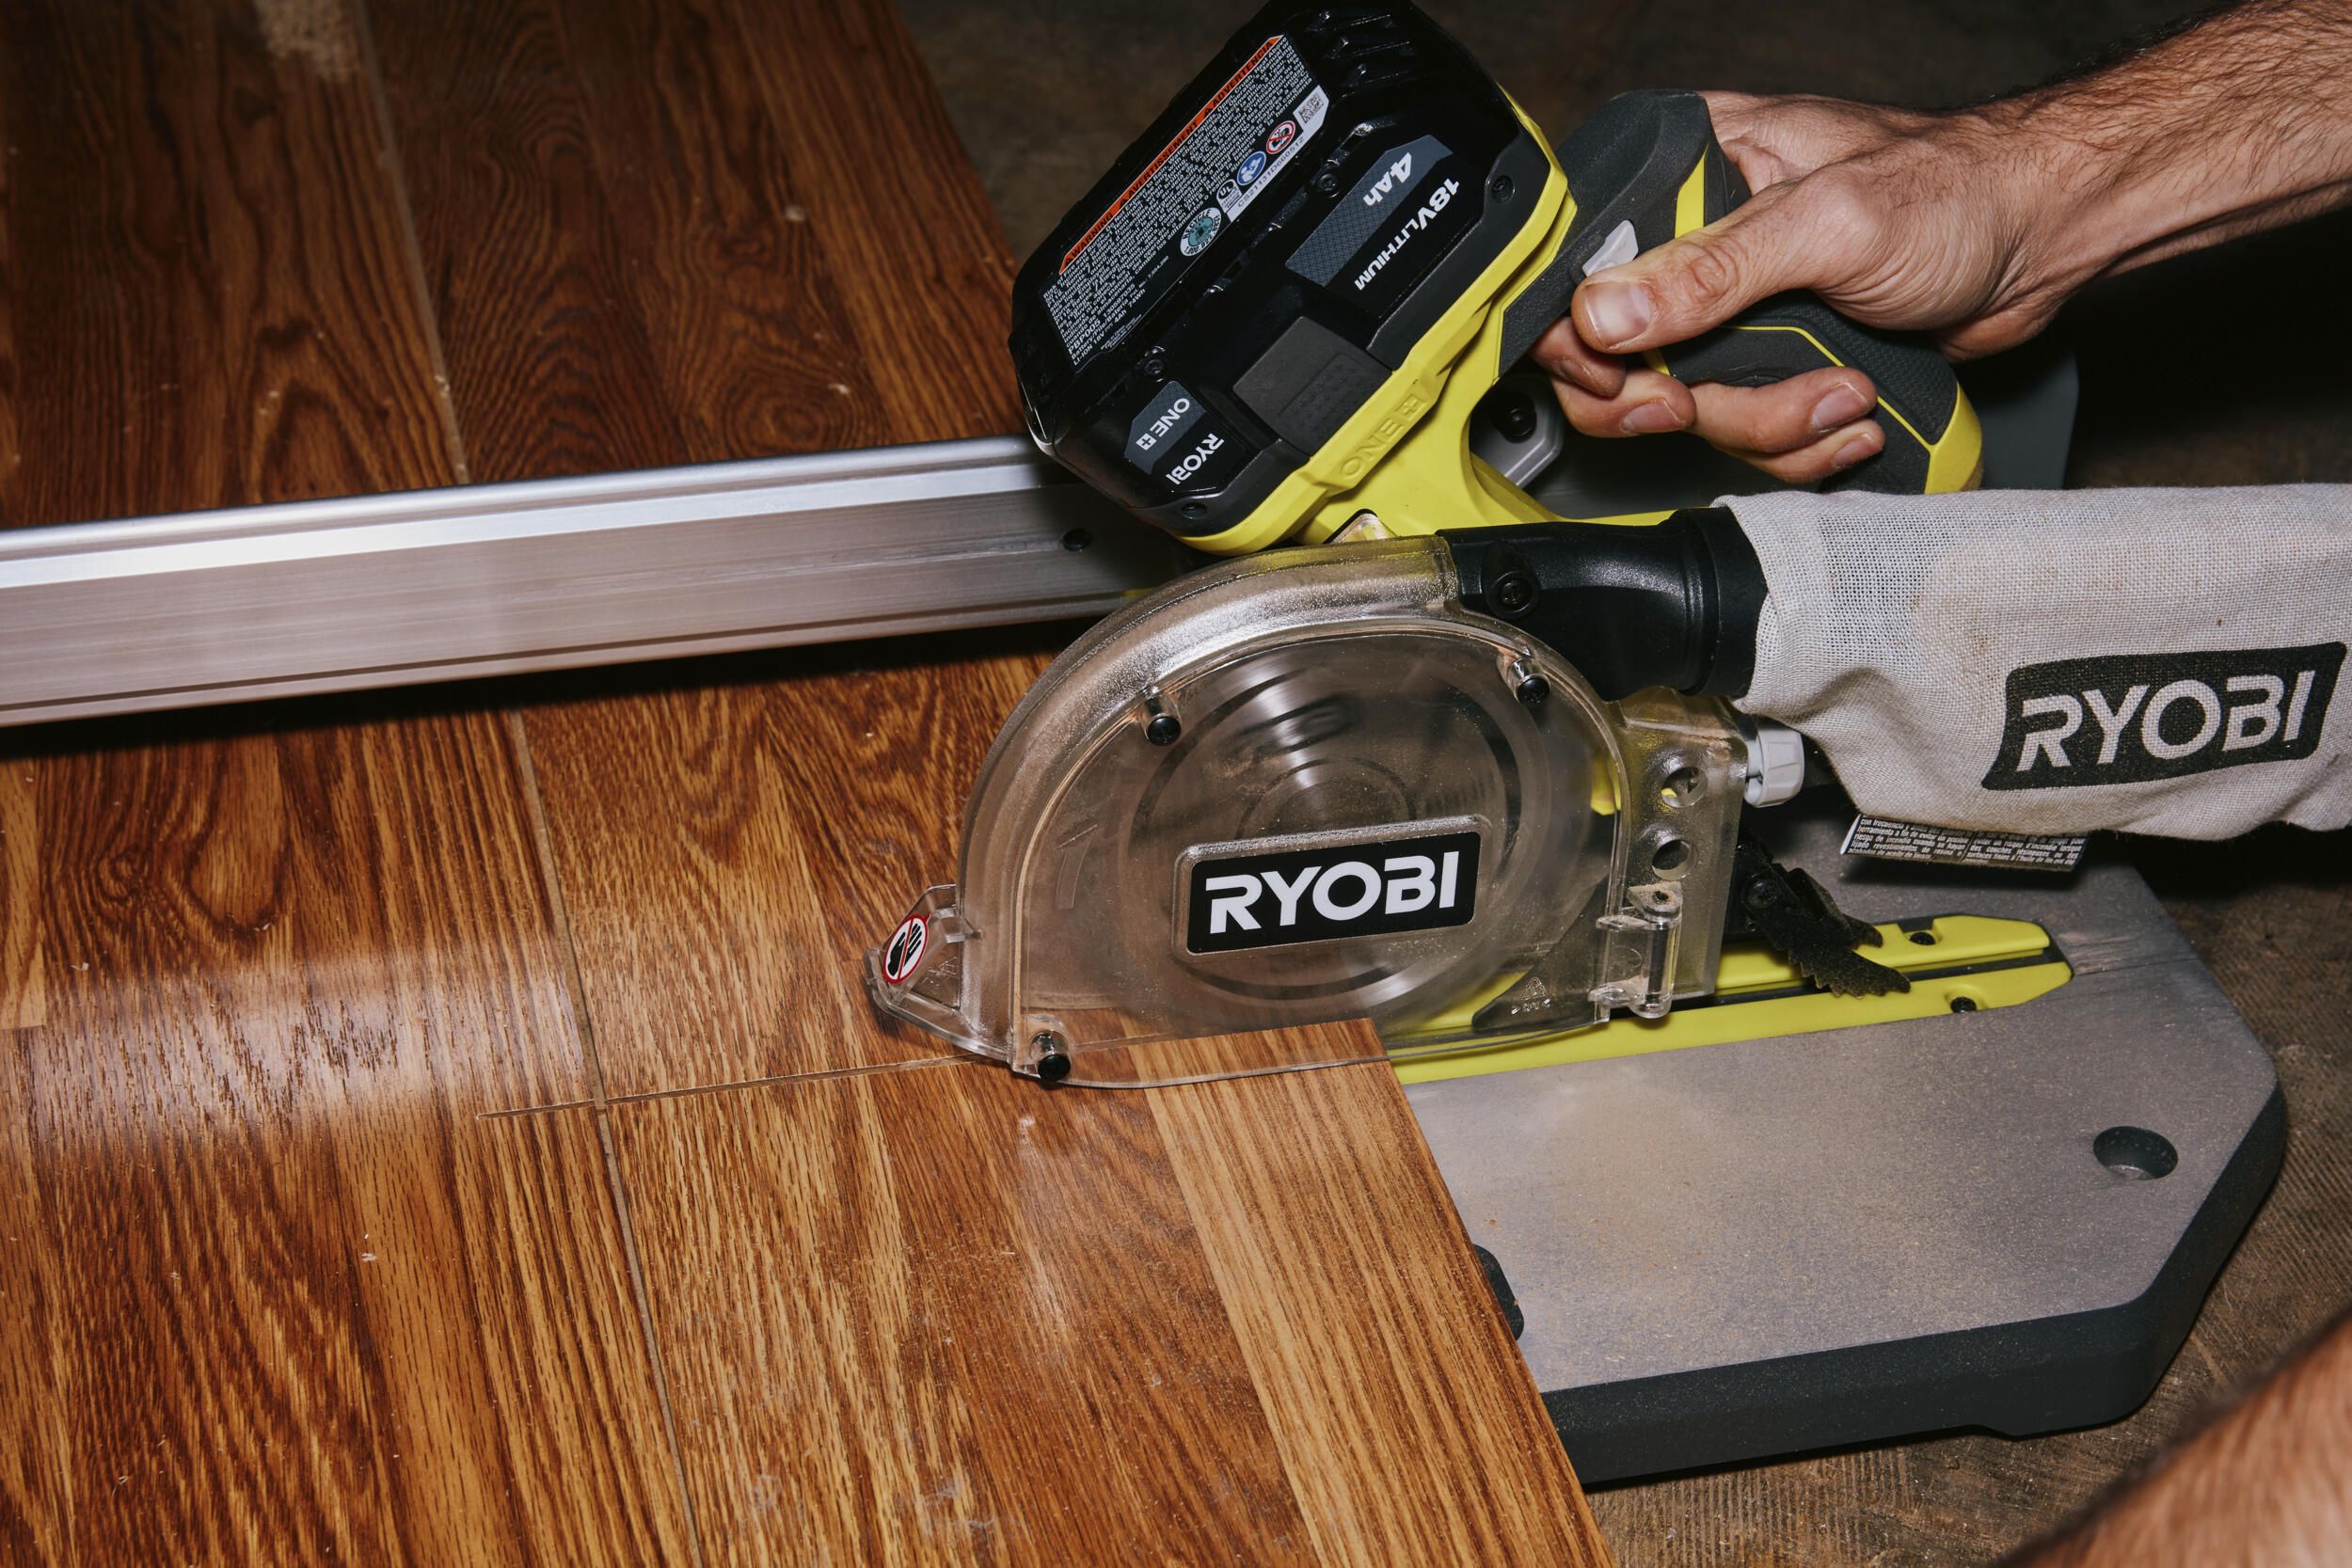
2. Cutting Tools:
Precise cutting of laminate flooring planks is necessary for achieving seamless joints and fitting around obstacles. Here are the cutting tools you’ll need:
a) Circular Saw or Jigsaw: A circular saw or jigsaw equipped with a fine-toothed blade allows you to make straight or curved cuts on laminate planks with ease.
b) Miter Saw: A miter saw is ideal for making angled cuts, especially when working on corners or baseboards.
c) Laminate Cutter: A laminate cutter is a specialized tool designed specifically for cutting laminate planks. It provides quick and clean cuts without creating dust or debris.
FAQs:
Q: Can I use a regular hand saw instead of a circular saw?
A: While a hand saw can be used, it requires more effort and may not provide as clean and accurate cuts as a circular saw.
Q: Is it necessary to invest in a laminate cutter?
A: A laminate cutter can significantly speed up the installation process and create cleaner cuts, but it is not essential. Alternatives like circular saws or jigsaws can also be used.
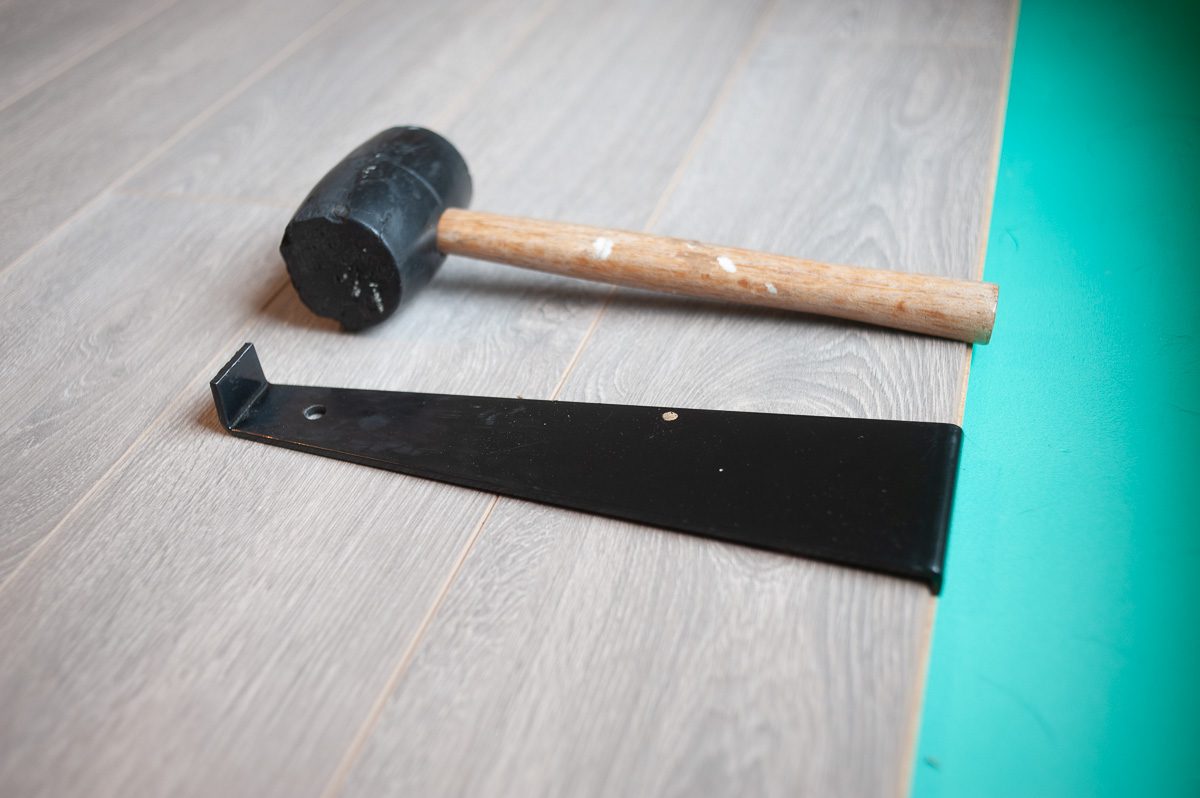
3. Installation Tools:
To ensure a smooth and efficient installation process, you’ll need the following tools:
a) Flooring Spacers: Spacers help maintain the recommended expansion gap between the laminate planks and the walls. They ensure proper alignment and prevent buckling due to temperature changes.
b) Pry Bar: A pry bar is useful for removing baseboards or existing flooring materials without causing damage.
c) Hammer or Rubber Mallet: These tools are essential for gently tapping the planks into place during installation, ensuring they fit tightly together.
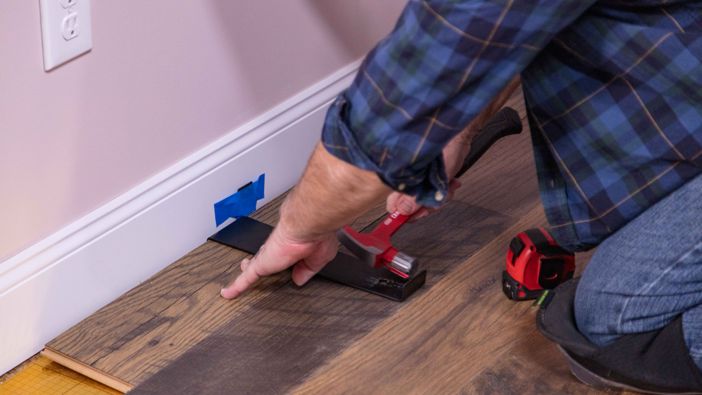
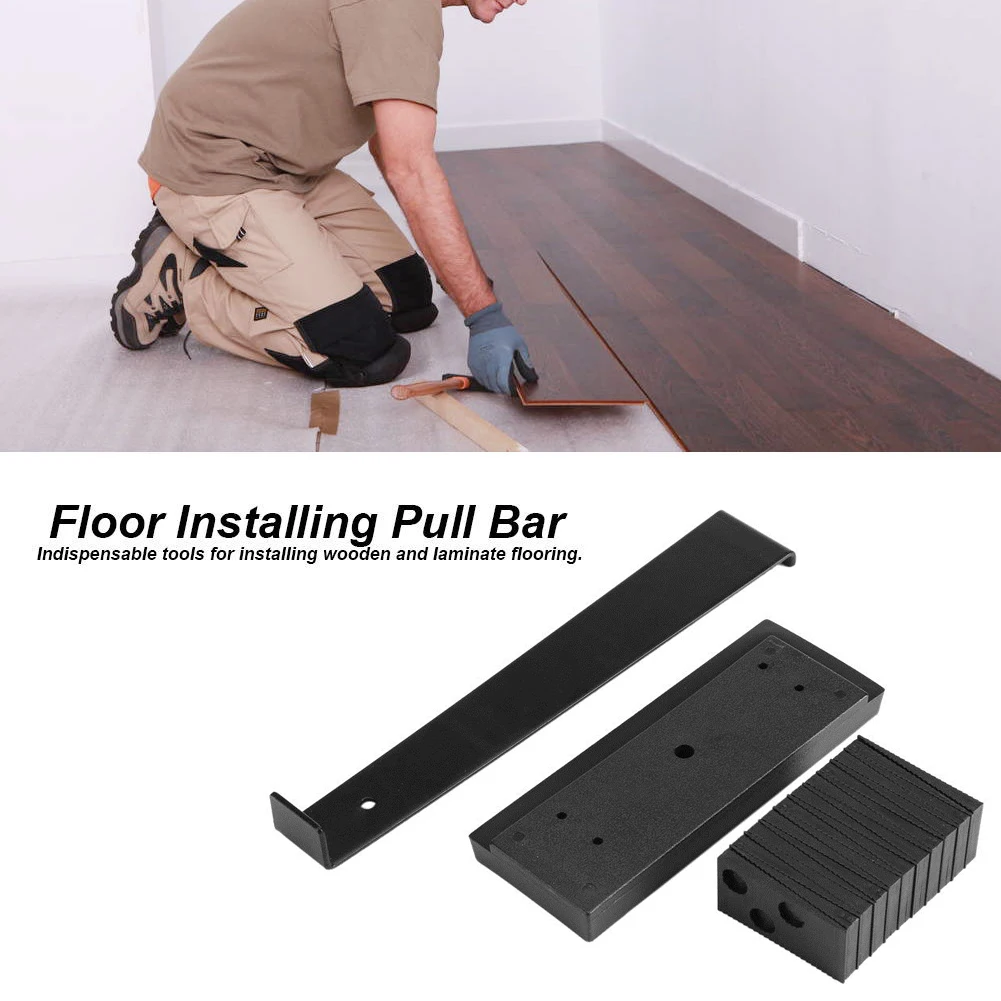
d) Pull Bar: A pull bar helps to connect the last row of planks to the previous row, providing leverage for a snug fit.
e) Tapping Block: A tapping block protects the edges of the laminate planks while tapping them into place using a hammer or mallet.
FAQs:
Q: Do I need to purchase flooring spacers separately?
A: Many laminate flooring kits include sp Acers, but if not, you can purchase them separately. They are relatively inexpensive and essential for maintaining the proper expansion gap.
Q: Can I use a regular hammer instead of a rubber mallet?
A: While a regular hammer can be used, a rubber mallet is recommended to prevent damage to the laminate planks during installation.
Q: How do I use a pull bar?
A: To use a pull bar, place one end against the last row of planks and tap it gently with a hammer or mallet. This will create leverage and connect the planks securely.
By having the right measuring, cutting, and installation tools, you can ensure a successful and efficient laminate flooring installation process. The information provided is accurate and helpful for anyone looking to install laminate flooring. Having the right tools is crucial for achieving clean and precise cuts, as well as ensuring a smooth installation process. The FAQs also address common questions and provide useful tips for using specific tools. Overall, this information will guide individuals in selecting the necessary tools and carrying out a successful laminate flooring installation. The information provided is accurate and helpful for anyone looking to install laminate flooring. Having the right tools is crucial for achieving clean and precise cuts, as well as ensuring a smooth installation process. The FAQs also address common questions and provide useful tips for using specific tools. Overall, this information will guide individuals in selecting the necessary tools and carrying out a successful laminate flooring installation.