Occasionally grease, oil or other things are able to discoloration concrete floor. The one thing that is going to scrape a concrete floor is a jackhammer. They are okay to be reinforced and so as to be strong enough to hold the weight of a truck. Dying isn't the single style option for polished concrete flooring. The dust as well as dirt doesn't adhere to the floor, like it does with carpet.
Images about Installing Vapor Barrier On Concrete Floor
Polishing may be put on to many sound concrete floors. Evidently, a small floor area to be discussed could merely take a brief period of time to finish while an even greater area may be finished after an extended time period. These are embedded into the floor using a saw so the design options are extremely versatile.
How to Carpet a Basement Floor (DIY) Family Handyman

The principal cause is the fact that these floors are cost effective flooring options and will keep going for many years. The toughest part is waiting: When the whole concrete floor is done, you still need to hold off parking the car on it for another 72 hours. There are concrete floors which appear gray and plain just like those used in factories and garages.
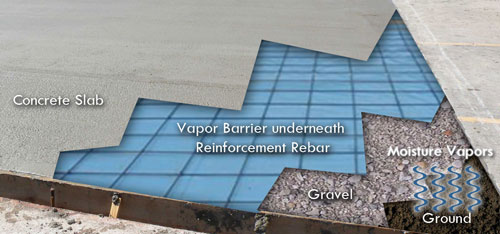
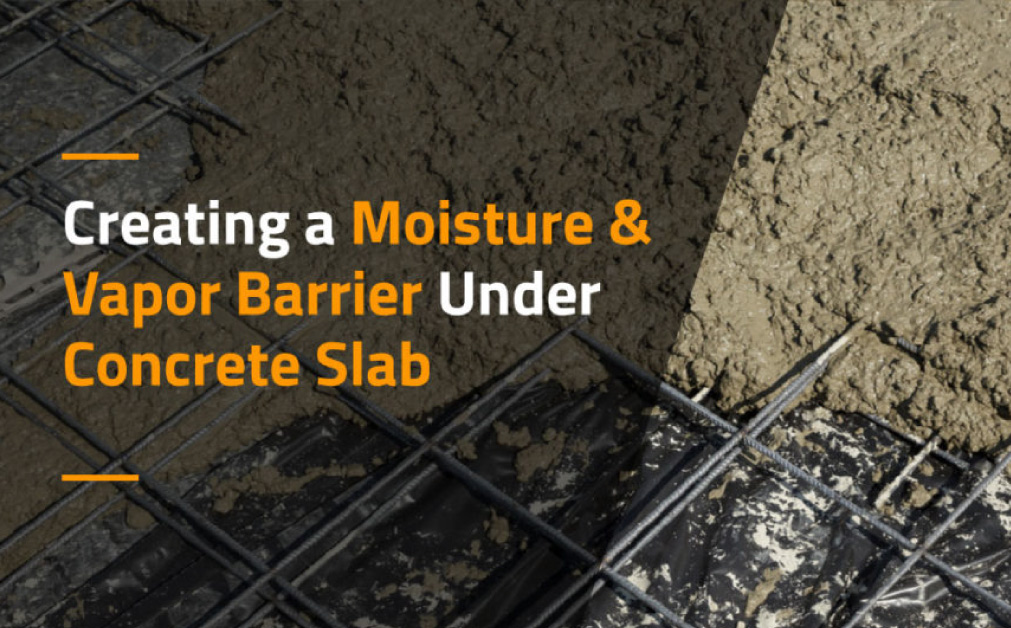
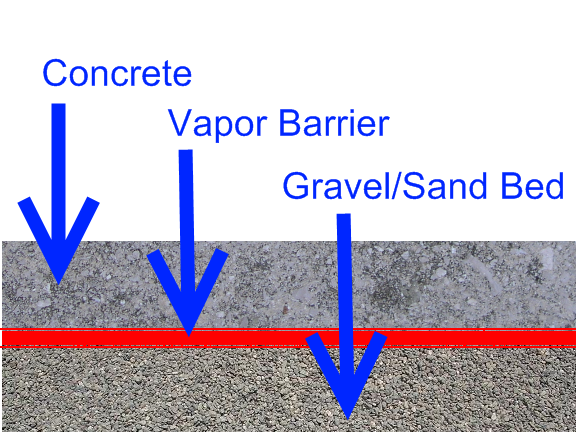
Creating a Moisture u0026 Vapor Barrier Under Concrete Slab Americover
Does the Quiet Walk underlayment plastic/vapor barrier face up or

TEC product: LiquiDam EZ moisture vapor barrier

Underslab Retrofits: Sealing Slabs WATERPROOF! Magazine
The Best Moisture Barrier for Protecting Concrete Slabs and Floors
Can You Install Solid Wood Flooring on Concrete Slab?
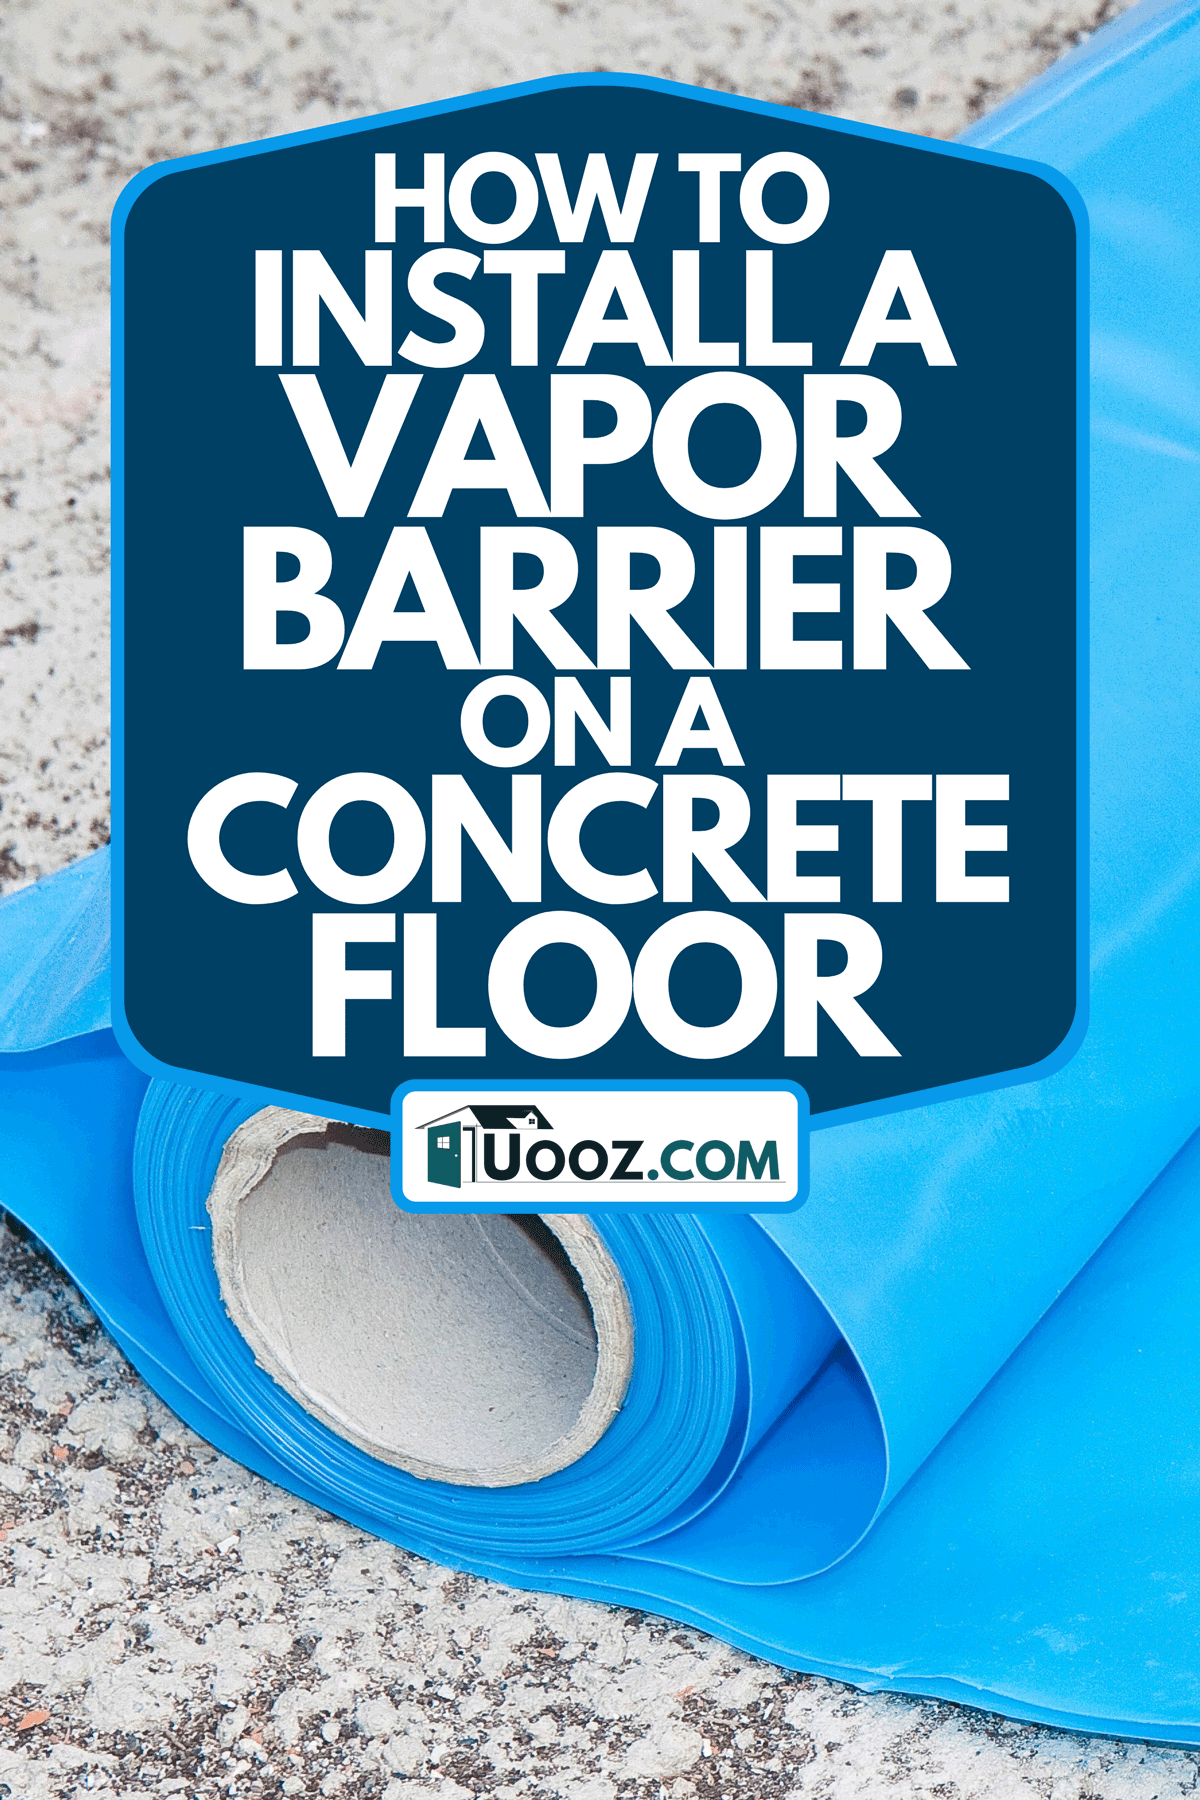
How To Install A Vapor Barrier On A Concrete Floor – uooz.com
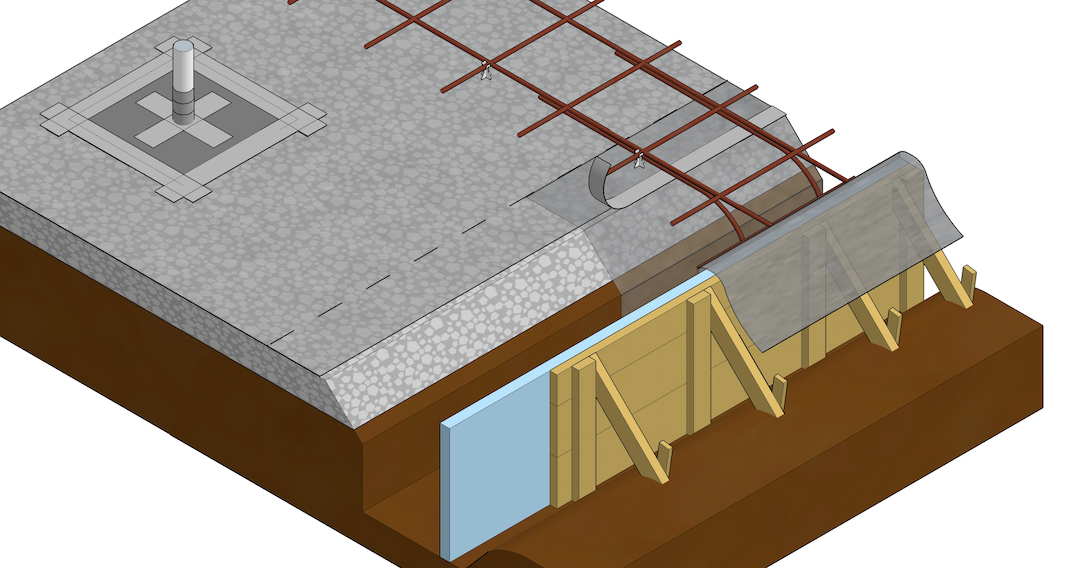
The Importance of a Vapor Barrier for Below-Grade Insulation

How to Install an Under-Slab Vapor Barrier Pro Builder
Polyethylene Under Concrete Slabs – GreenBuildingAdvisor

BSI-082: Walking the Plank Building Science Corporation

How To Install Vapor Barrier On Basement Concrete Floor – HVACseer.com

Related Posts:
- Behr Epoxy Concrete Floor Paint
- Concrete Floor Preparation For Wood Flooring
- Epoxy Paint For Concrete Floors Colors
- Rent Concrete Floor Cleaner
- Heated Concrete Floor Tubing
- Concrete Floor Staining Process
- Concrete Floor Interior Design
- Concrete Floors In Your Home
- Cost Of Poured Concrete Floor
- Outdoor Polished Concrete Floors
Installing Vapor Barrier On Concrete Floor
Introduction:
When it comes to protecting your home from moisture damage, installing a vapor barrier on a concrete floor is an essential step. A vapor barrier acts as a protective layer, preventing moisture from seeping through the concrete and causing issues such as mold growth, rotting, and damage to flooring materials. In this article, we will guide you through the process of installing a vapor barrier on a concrete floor, providing detailed instructions along with frequently asked questions and their answers.
I. Understanding Vapor Barriers:
Before we delve into the installation process, it’s important to understand what a vapor barrier is and why it is necessary. A vapor barrier is a material that resists the movement of moisture through walls, ceilings, and floors. In the case of a concrete floor, moisture can seep through the porous surface and cause various problems. By installing a vapor barrier, you create an effective barrier that prevents moisture from passing through.
FAQs:
1. Why is it important to install a vapor barrier on a concrete floor?
Installing a vapor barrier on a concrete floor is crucial because it prevents moisture from seeping into your home. Moisture can cause mold growth, damage to flooring materials, and even structural issues if left unchecked.
2. Can I skip installing a vapor barrier if my concrete floor is sealed?
While sealing your concrete floor provides some level of protection against moisture, it is not as effective as installing a vapor barrier. A vapor barrier acts as an additional layer of protection that ensures maximum resistance against moisture infiltration.
II. Preparing for Installation:
Before you begin installing the vapor barrier on your concrete floor, there are several preparatory steps you need to take:
1. Clean the Concrete Surface:
Start by thoroughly cleaning the concrete surface using a broom or vacuum cleaner to remove any dirt, dust, or debris. It’s important to have a clean surface to ensure proper adhesion of the vapor barrier.
2. Repair Any Cracks or Imperfections:
Inspect the concrete floor for any cracks, holes, or imperfections. Use a concrete patching compound to fill in any gaps and ensure a smooth surface. This step is crucial as it prevents moisture from seeping through these openings.
3. Test for Moisture:
Before installing the vapor barrier, it’s essential to test the concrete floor for moisture. There are various moisture testing methods available, such as calcium chloride tests or relative humidity tests. Follow the manufacturer’s instructions to determine if your concrete floor has excessive moisture levels.
FAQs:
1. How do I know if my concrete floor has excessive moisture?
Excessive moisture in a concrete floor can be determined by conducting a moisture test. The most common methods include calcium chloride tests and relative humidity tests, which measure the amount of moisture present in the concrete.
2. What should I do if my concrete floor has high moisture levels?
If your concrete floor has high moisture levels, it is advisable to address the underlying issue before proceeding with the installation of a vapor barrier. Consult with a professional contractor to determine the best course of action, which may include using a moisture mitigation system or improving drainage around your home.
III. Choosing the Right Vapor Barrier:
Once you have completed the preparatory steps, it’s time to choose the right vapor barrier for your concrete floor. There are several types of vapor barriers available on the market, each with its unique characteristics and installation methods. Some common types include:
1. Polyethylene Sheeting:
Polyethylene sheeting Is a popular choice for vapor barriers. It is a durable and flexible material that can effectively block moisture from seeping through the concrete floor. It is available in various thicknesses, and you can choose between a clear or black sheeting depending on your preference.
2. Vapor Retarder Paint:
Vapor retarder paint is a coating that can be applied directly to the concrete floor. It acts as a barrier against moisture penetration and is typically used in conjunction with other vapor barrier materials. This option is suitable if you prefer a more seamless and aesthetically pleasing finish.
3. Concrete Sealers:
Concrete sealers are another option for moisture protection. They work by penetrating the concrete surface and forming a protective layer that prevents water vapor from passing through. However, concrete sealers alone may not provide as effective moisture resistance as other types of vapor barriers.
IV. Installing the Vapor Barrier:
Once you have chosen the appropriate vapor barrier for your concrete floor, follow these steps to properly install it:
1. Measure and Cut the Vapor Barrier:
Measure the length and width of your concrete floor, leaving an additional 6-8 inches on each side to ensure complete coverage. Use scissors or a utility knife to cut the vapor barrier sheet accordingly.
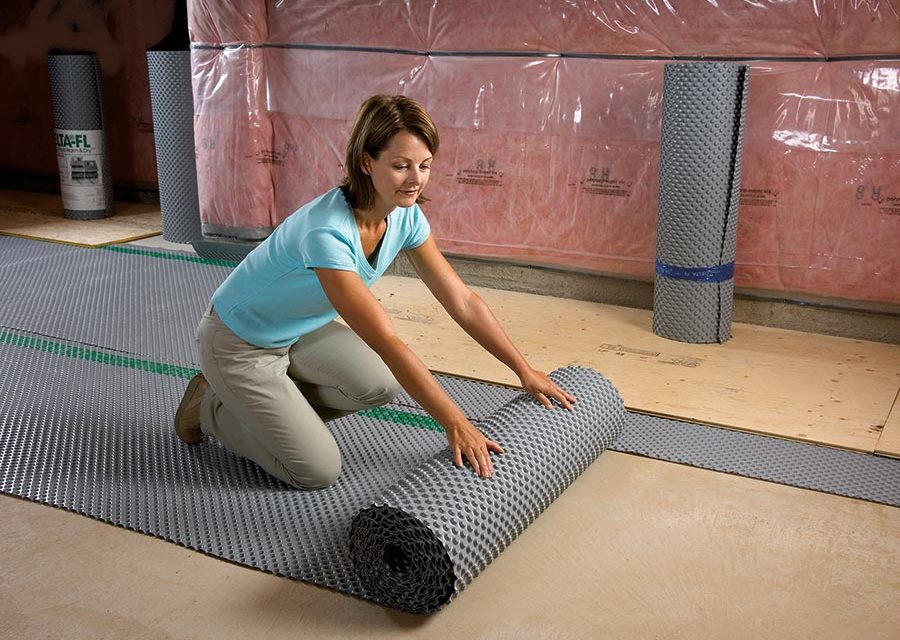
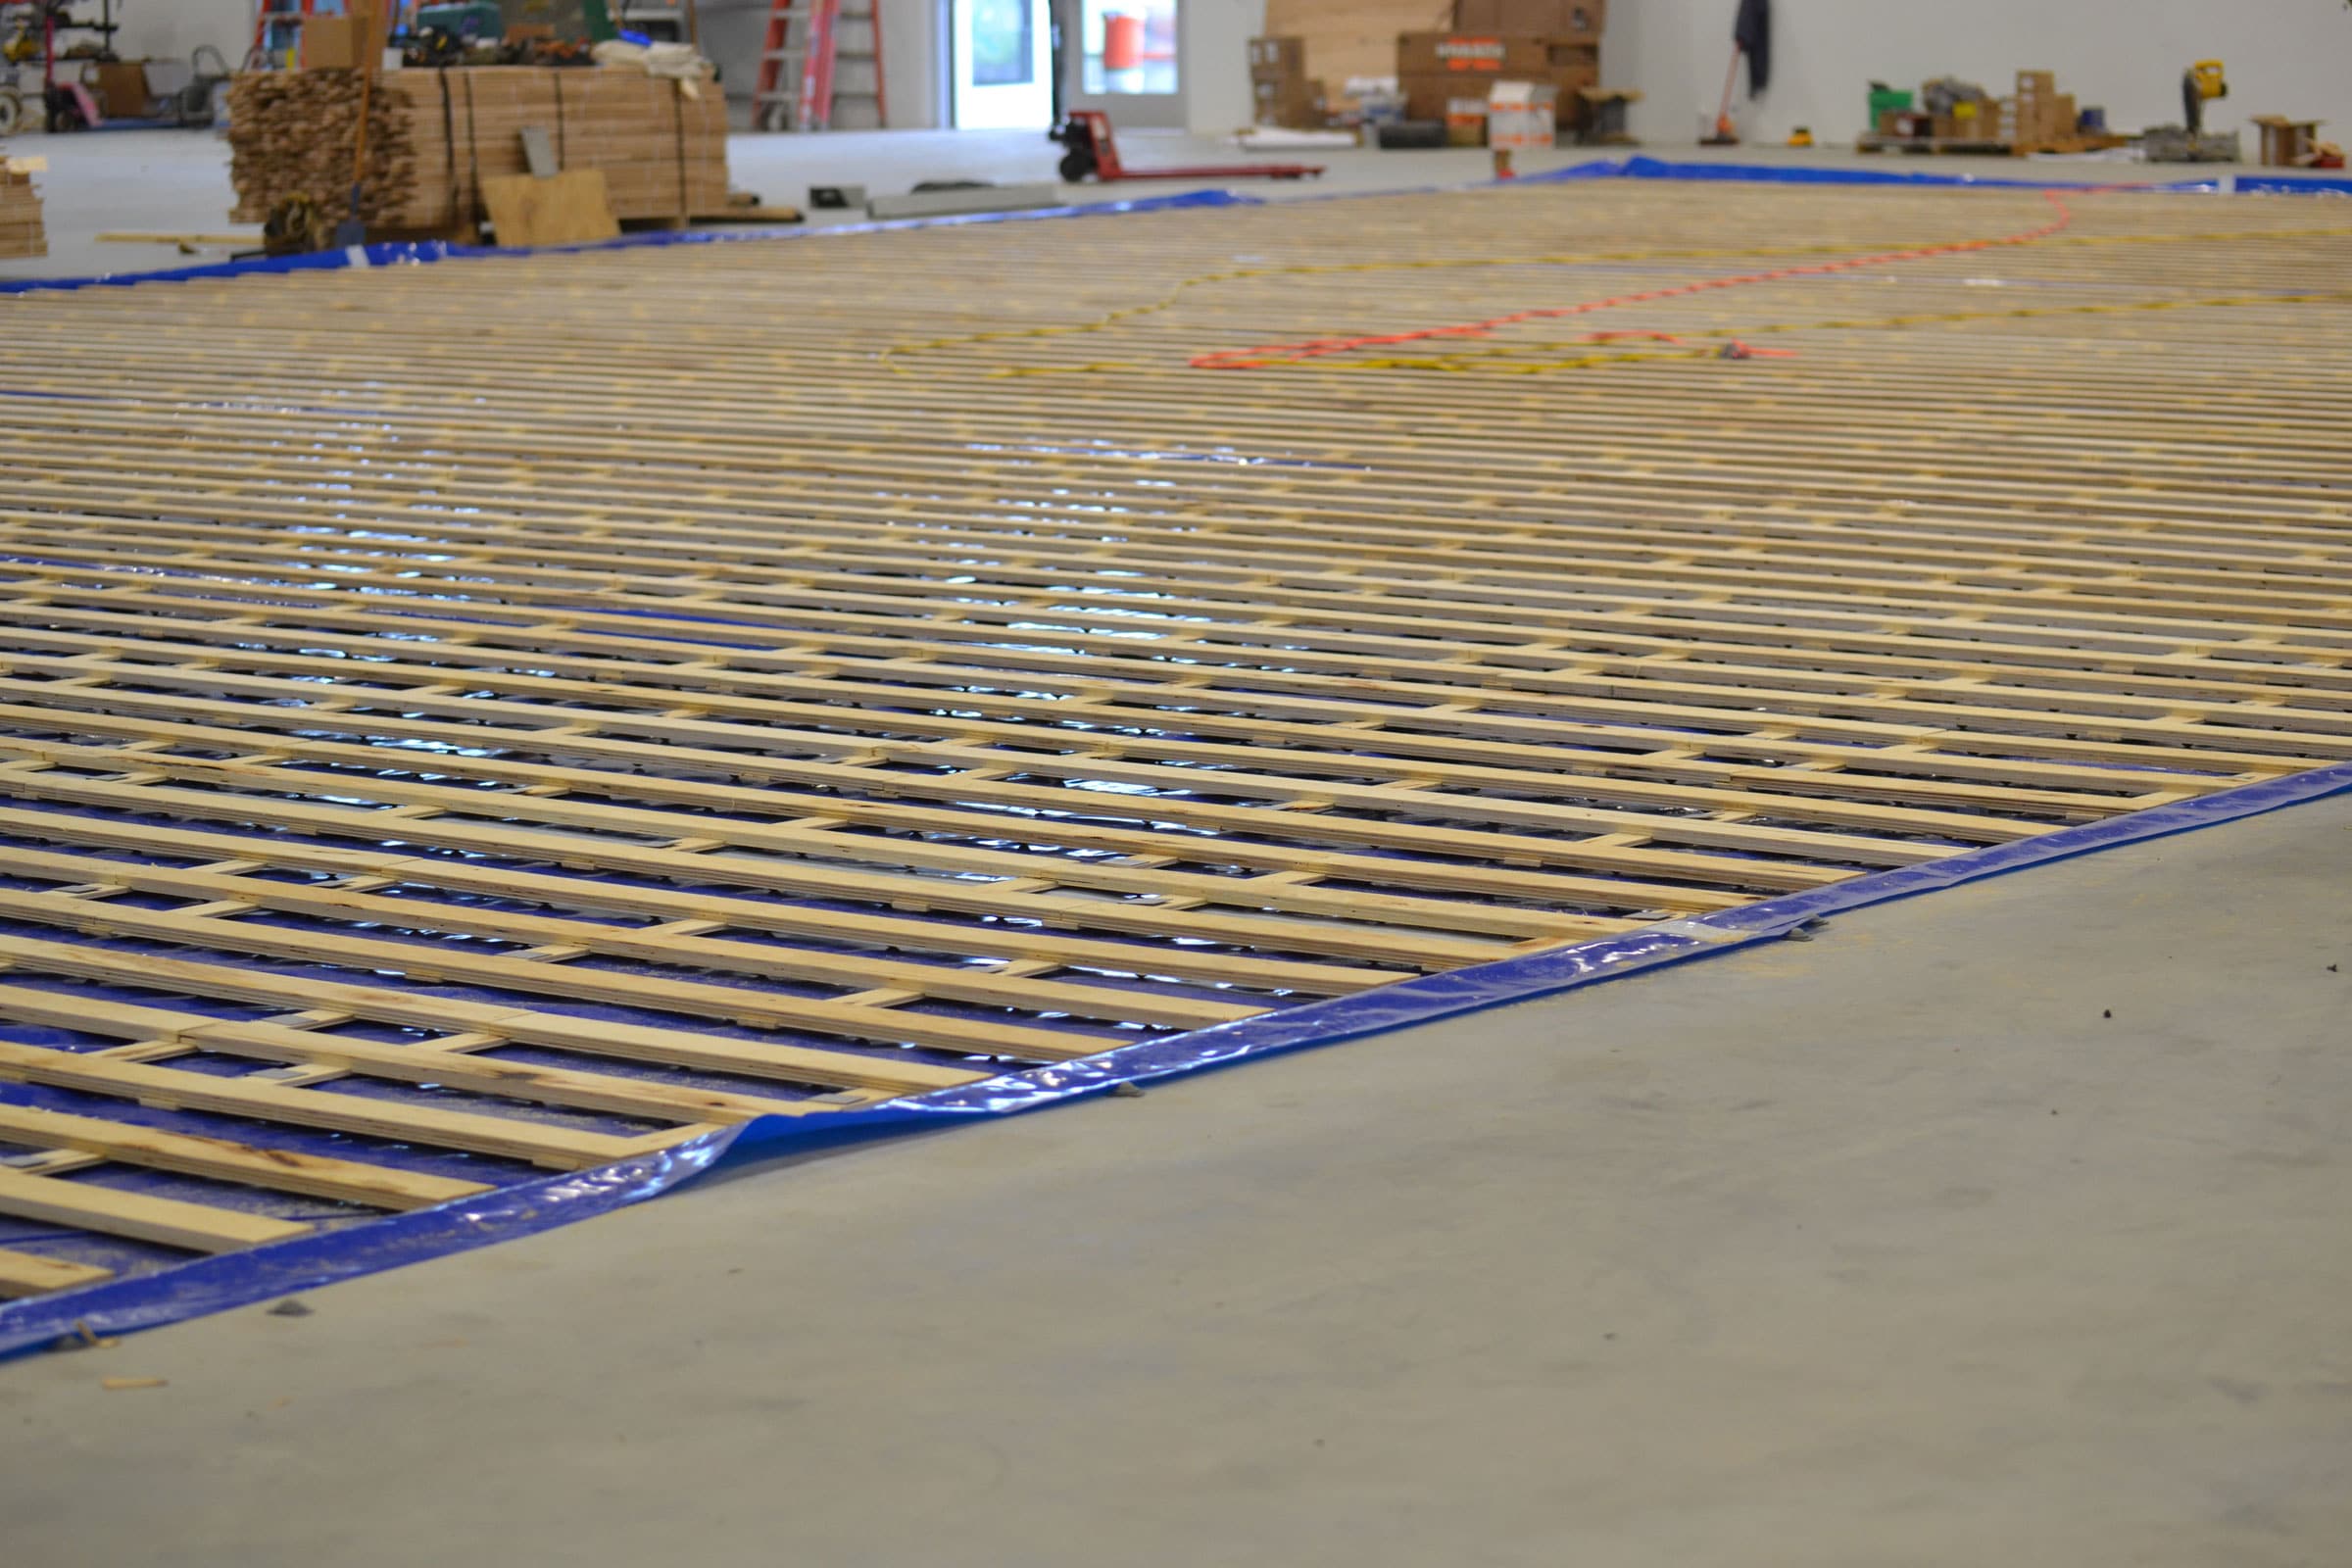
2. Lay the Vapor Barrier:
Start by placing the first sheet of vapor barrier along one edge of the concrete floor, allowing it to overlap the wall by 6-8 inches. Unroll the sheet across the entire length of the floor, ensuring it lays flat and smooth without any wrinkles or folds.
3. Secure the Vapor Barrier:
Use a heavy-duty adhesive or double-sided tape to secure the vapor barrier to the concrete floor. Apply the adhesive or tape along the edges and seams of the sheet, pressing it firmly to ensure proper adhesion.
4. Seal the Joints:
If you are using multiple sheets of vapor barrier, overlap them by at least 6 inches and seal the joints with a vapor barrier tape. This will ensure a continuous and watertight seal.
5. Trim Excess Material:
Finally, trim any excess material from the edges of the vapor barrier using a utility knife or scissors. Be careful not to cut into the sealed joints or damage the adhesion.
Following these steps will help ensure a proper installation of a vapor barrier on your concrete floor, providing maximum protection against moisture infiltration. Remember to consult with a professional if you have any doubts or concerns during the installation process.