Typical fluids that often destroy a garage concrete floor are motor oils, drinking water, as well as other chemical substances that are often stored as well as found in any garage. Most people that spend time functioning in their garage will make use of it as a wood shop or maybe car shop. But there are many types of garage flooring for one to select from.
Images about Preparing Garage Floor For Paint

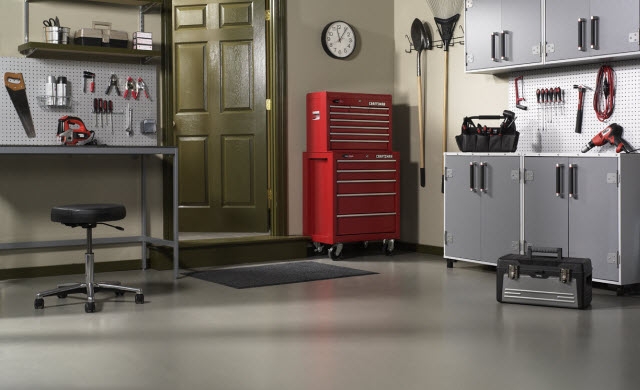
Some of the floors are more affordable to invest in and several less expensive to set up. Is money the largest concern? Have you been installing the flooring yourself? Are tools as well as parts likely to affect the garage floors covering? Coating your garage floor with this epoxy material is able to help look after it out of cracking, weathering, oil spills and other types of moisture which can threaten to use and length of use of your garage floor.
Painting Your Garage Floors Dou0027s u0026 Dontu0027s! –

To calculate the right amount of a rubberized garage floor is often a hard task but one that's incredibly crucial in case you are considering this remarkable home improvement project. Broken floors impact the garage's efficiency in addition to look. Lastly, garage floor tiles are actually a great option for a custom look. Covers tend to be linked with mats.
Floor Preparation Checklist – Painting Concrete Floors Regal Paints
How to Paint Your Garage Floor Easy DIY Tutorial – Amanda Seghetti

Painting Your Garage Floors Dou0027s u0026 Dontu0027s! –
How to Paint a Garage Floor – Clean and Scentsible

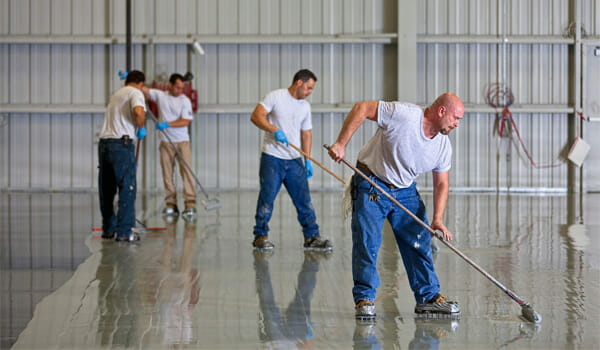
How to Prepare Concrete for Painting: 7 Critical Steps

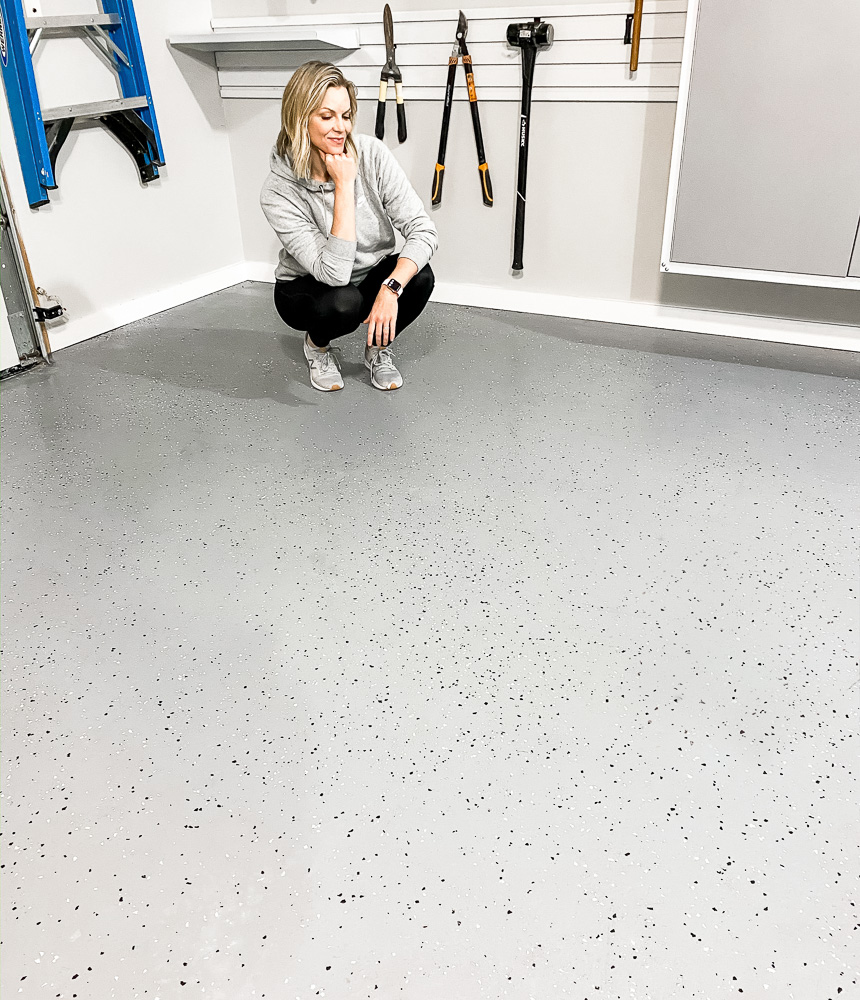
How To Prep A Garage Floor For Epoxy Coating Floor Shields
How to Paint a Garage Floor – Clean and Scentsible
How to Prep Concrete for Epoxy or Urethane Coatings – ThermalChem
How-to Prepare u0026 Coat a Garage Floor Behr
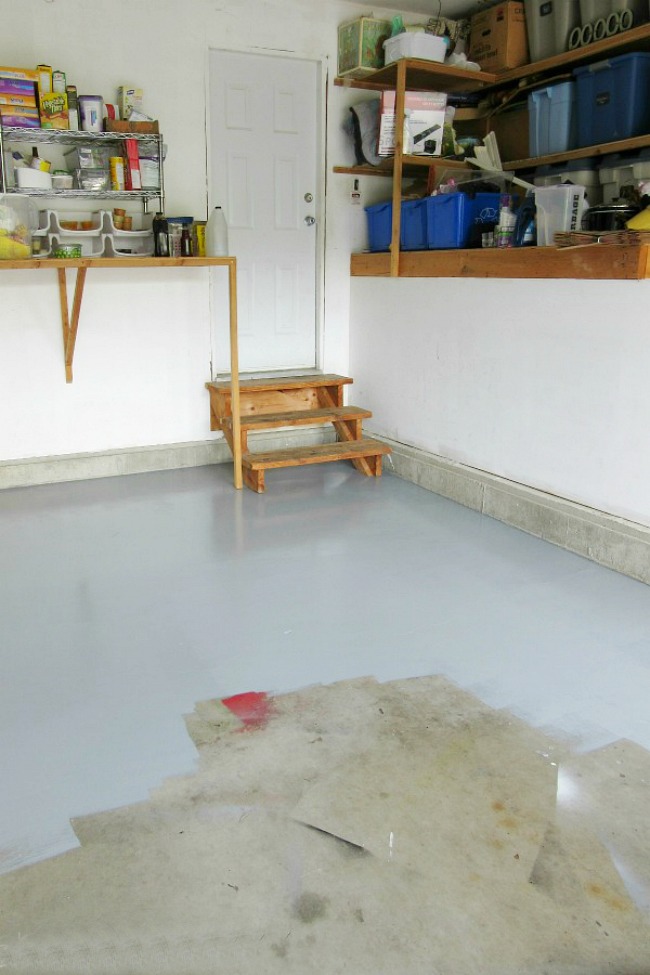
DIY Epoxy Garage Floor Coating Repair – Casper, WY

How To Apply Commercial u0026 Garage Epoxy Floor Paint Coatings
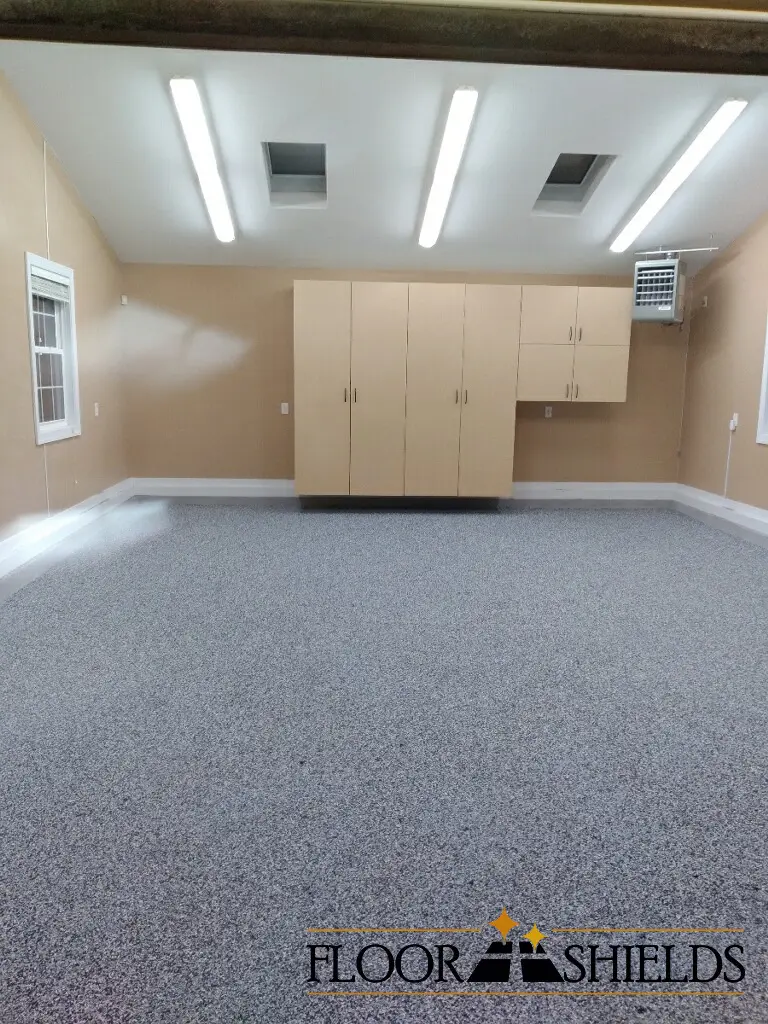
How to Prep Your Garage Floor for Epoxy Epoxy Colorado
Related Posts:
- Garage Floor Protection Mats
- 1 Bedroom Garage Apartment Floor Plans
- How To Install A Garage Floor Drain
- Garage Floor Stain Colors
- Garage Floor Filler
- Liquid Granite Garage Floor
- Ucoat It Garage Floor Coating
- Epoxy Garage Floor Ideas
- Rustoleum Garage Floor Epoxy Touch Up
- Fast Track Garage Flooring
Preparing Garage Floor for Paint
Introduction:
A well-painted garage floor not only enhances the overall look of your space but also protects it from spills, stains, and cracking. However, before you apply a fresh coat of paint, it is crucial to properly prepare the garage floor to ensure a long-lasting and professional finish. In this article, we will guide you through the step-by-step process of preparing your garage floor for paint.
I. Clearing and Cleaning the Garage Floor:
Before diving into the preparation process, it is essential to clear out your garage completely. Remove all items, tools, and vehicles from the area to create a clean and spacious workspace. Once the space is cleared, thoroughly sweep the floor to get rid of dust, dirt, and debris. This step will ensure that no loose particles interfere with the paint adhesion.
FAQs:
1. Should I remove oil stains before painting my garage floor?
Yes, it is highly recommended to remove any oil stains from your garage floor before painting. Oil can prevent paint from adhering properly and cause unsightly peeling or bubbling. Use a degreaser specifically designed for concrete surfaces to eliminate oil stains effectively.
2. Can I use a pressure washer to clean my garage floor?
Using a pressure washer can be an efficient way to clean your garage floor; however, exercise caution. High water pressure can damage the concrete surface if not used correctly. Always follow the manufacturer’s instructions and keep the nozzle at least 12 inches away from the floor.
II. Repairing Cracks and Imperfections:
Inspect your garage floor for cracks, pitting, or other imperfections that may need repair before painting. Small cracks can be fixed using a concrete patching compound or epoxy filler. Follow these steps for crack repair:
1. Clean the crack: Use a wire brush or scraper to remove any loose debris or old filler from the crack.
2. Apply adhesive: Brush a concrete adhesive into the crack to improve the bond between the patching compound and the floor.
3. Mix and apply the patching compound: Prepare the patching compound according to the manufacturer’s instructions. Fill the crack with the compound using a putty knife, ensuring it is level with the surrounding floor.
4. Smooth and blend: Use a trowel or float to smooth and blend the patching compound with the rest of the floor surface. Allow it to dry completely before proceeding.
FAQs:
1. Can I use regular spackling paste to repair cracks in my garage floor?
No, regular spackling paste is not suitable for repairing cracks in your garage floor. It is essential to use a concrete-specific patching compound or epoxy filler as they are designed to withstand heavy loads and adhere well to concrete surfaces.
2. How long should I wait for the patching compound to dry before painting?
The drying time of the patching compound varies depending on its type and brand. Generally, it takes around 24-48 hours for the compound to fully cure. Refer to the manufacturer’s instructions for specific drying times.
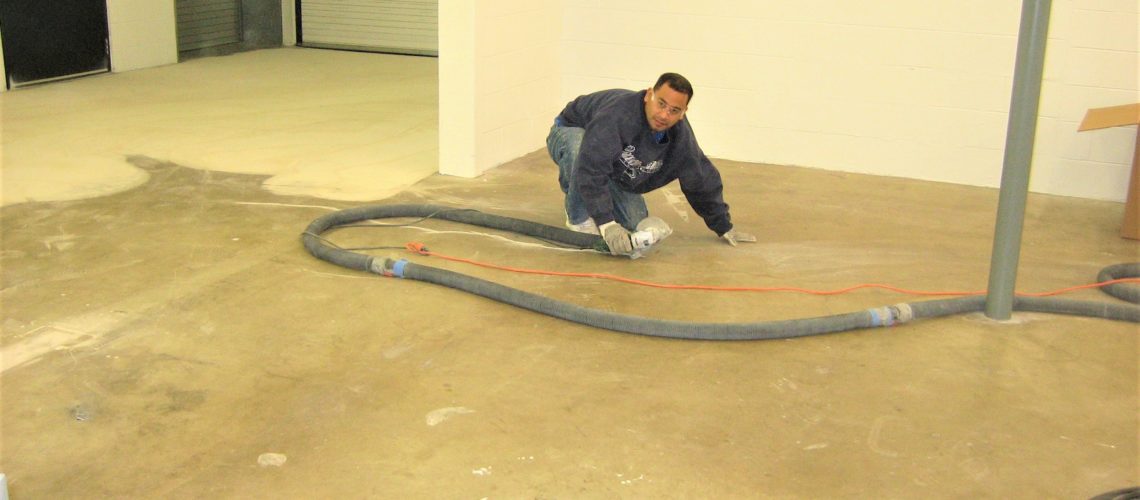
III. Etching or Grinding the Garage Floor:
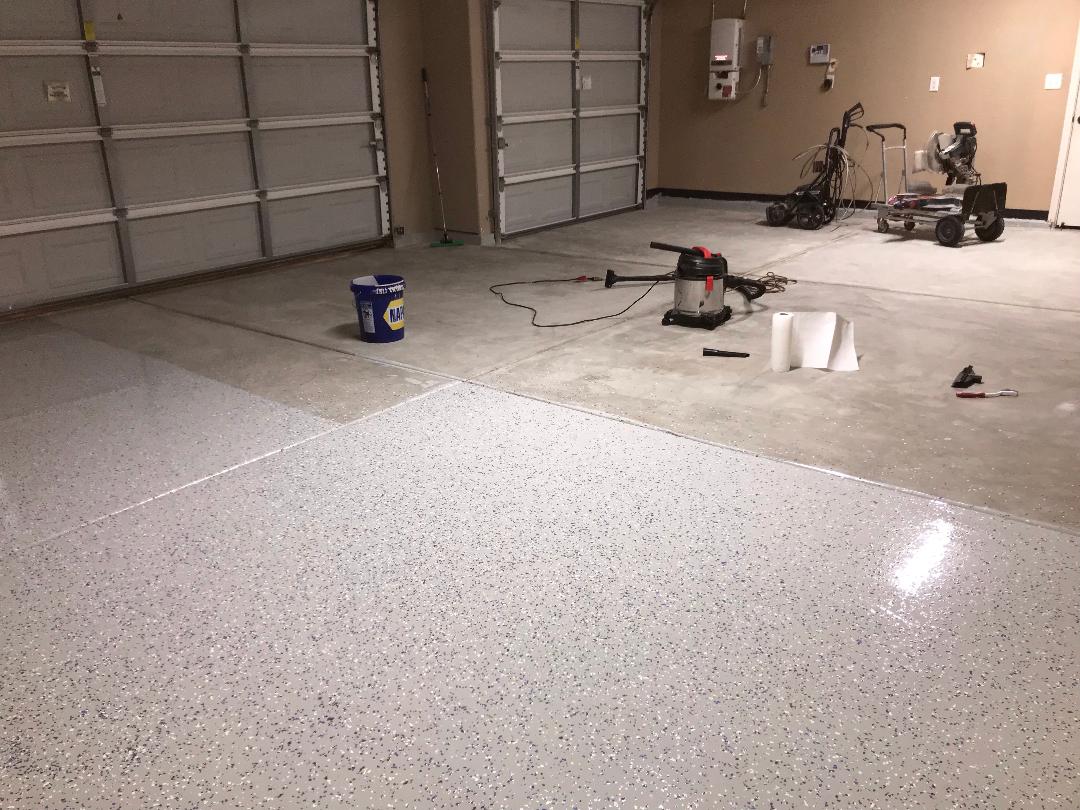
Etching or grinding is a crucial step in preparing your garage floor for paint as it helps remove any existing coatings, stains, or sealers while providing a rough surface for better paint adhesion.
1. Etching method: Etching involves using an acid-based solution, typically muriatic acid, to create a profile on the concrete surface. Mix one part acid With three parts water in a plastic container. Wet the floor with water and then apply the acid solution using a long-handled scrub brush or roller. Allow the solution to sit for 10-15 minutes, then scrub the floor again with a stiff brush. Rinse the floor thoroughly with water to neutralize the acid and remove any residue. Allow the floor to dry completely before painting.
2. Grinding method: Grinding involves using a concrete grinder or sander to mechanically remove the top layer of the concrete surface. This method is more effective for removing thick coatings or stubborn stains. Start by wearing protective gear, such as goggles and a dust mask, and follow the manufacturer’s instructions for operating the grinder or sander. Move in even passes across the entire floor, overlapping each pass slightly for consistent results. Vacuum or sweep up any dust or debris left behind after grinding.
FAQs:
1. Can I skip the etching or grinding step if my garage floor is already bare concrete?
It is still recommended to etch or grind your garage floor even if it is bare concrete. This step helps create a rough surface that improves paint adhesion and ensures long-lasting results.
2. Is muriatic acid safe to use for etching my garage floor?
Muriatic acid can be hazardous if not used properly, so it is important to take safety precautions when working with it. Wear protective clothing, gloves, goggles, and a respirator to protect yourself from fumes and splashes. Follow all safety guidelines provided by the manufacturer and use in a well-ventilated area.
IV. Applying Primer and Paint:
After preparing your garage floor by cleaning, repairing cracks, and etching or grinding, you are ready to apply primer and paint. Follow these steps for a successful application:
1. Choose the right primer: Select a primer specifically designed for concrete surfaces. It will help the paint adhere better and provide additional protection against stains and moisture.
2. Apply the primer: Use a roller or brush to apply an even coat of primer to the entire garage floor. Work in small sections, starting from one corner and moving towards the exit. Allow the primer to dry completely before applying paint.
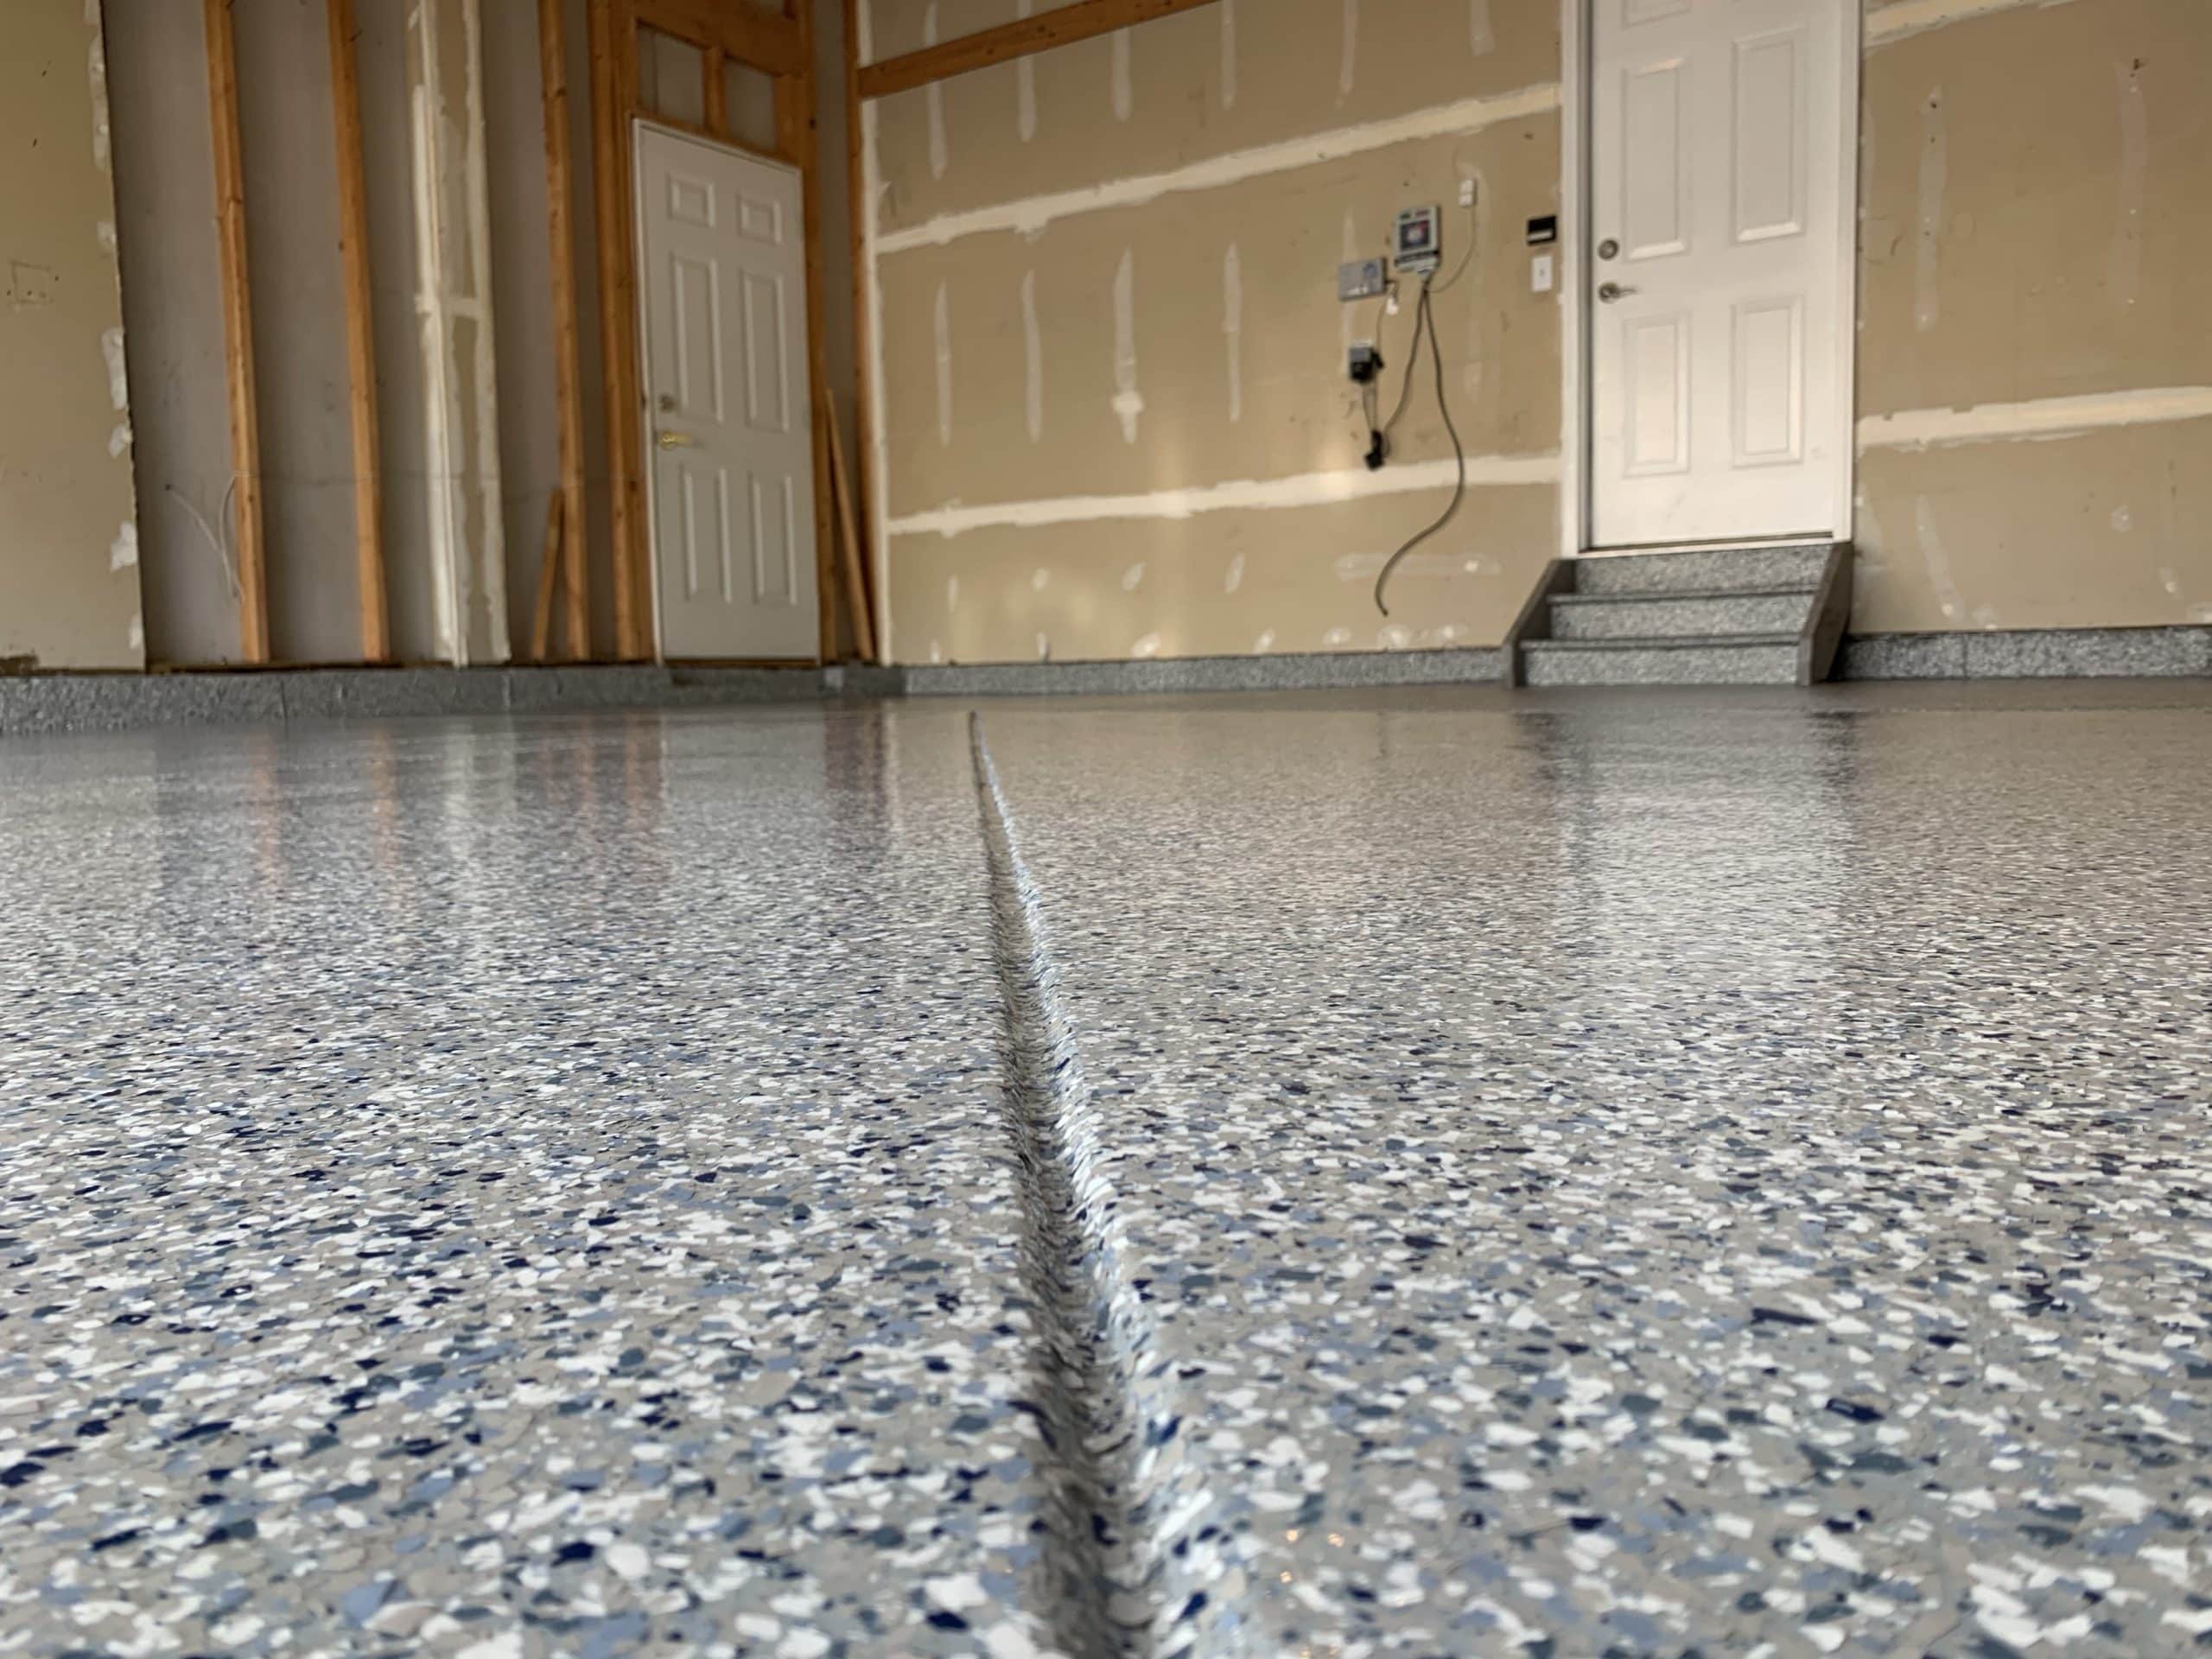
3. Choose the right paint: Opt for a high-quality epoxy or latex-based concrete floor paint that is durable, resistant to chemicals, and suitable for heavy traffic areas.
4. Apply the paint: Similar to priming, use a roller or brush to apply the paint in even coats, working in small sections. Follow the manufacturer’s instructions for drying time between coats. Apply at least two coats for best results.
5. Allow proper drying time: After applying the final coat of paint, allow it to dry completely according to the manufacturer’s instructions before moving any items back into your garage.
FAQs:
1. Can I use regular interior or exterior paint on my garage floor?
No, regular interior or exterior paint is not suitable for garage floors as they are not designed to withstand heavy traffic and can easily peel or chip. It is crucial to use a concrete-specific floor paint that is durable and designed for high-traffic areas.
2. How long does it take for the paint to fully cure?
The curing time of the paint varies depending on its type and brand. Generally, it takes around 7-10 days for the paint to fully cure and achieve maximum hardness. During this time, avoid placing heavy objects or vehicles on the floor to prevent damage.
By following these steps and recommendations, you can successfully paint your garage floor and improve its appearance while protecting it from stains, spills, and wear. Remember to read and follow all product instructions for best results and consult a professional if you are unsure or have specific concerns.