You can also discover them in a number of different styles. A number of people believe that vinyl floor surfaces comes off quickly though this wont be a concern if the tiles are fitted properly. Rubber is also highly durable as well as resistant to components, though it must be studded to be able to prevent slipping.
Images about Quality Vinyl Flooring Bathroom
/top-bathroom-flooring-options-1821353-08-10a210908a09459cb96b9313f1d7fde0.jpg)
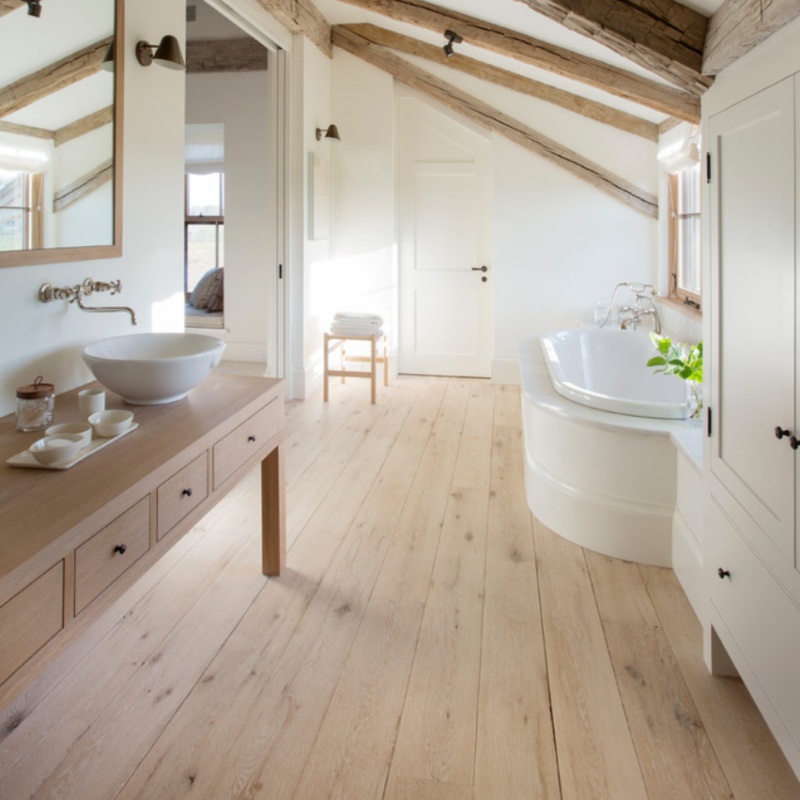
An important benefit of using mosaic bathroom floor tiles is that you are able to deviate from the popular exercise of installing tiles in a row by row way. Below, an introduction of the most desired materials for bath room floors is reported for the convenience of yours. Hardwood floors for bathrooms are sealed so as to keep moisture, grime and dirt from penetrating as well as ruining the wood.
Vinyl Flooring vs. Tiles Comparison Guide
/bathroom-ceramic-tile-vs-vinyl-plank-1822815_hero_0494-f226f2c0d91f42c4b359ac587c0ce9f9-5356cb6e8e2e483da7d99bfd9a491938.jpg)
It is much more elegant compared to that of hardwood and carpets, too, as it is able to use oak, cherry, slate, marble, and so on, for the so called "wear layer" of this bathroom floors. If you're shopping for profound colors as well as shiny textures, choose inlaid vinyl which have color granules embedded within them.
The Best Vinyl Plank Flooring for Your Home 2021 HGTV
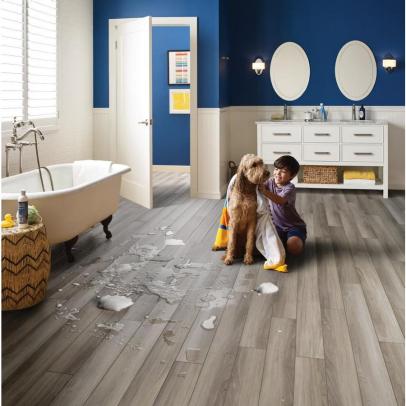
Vinyl Bathroom Floors HGTV
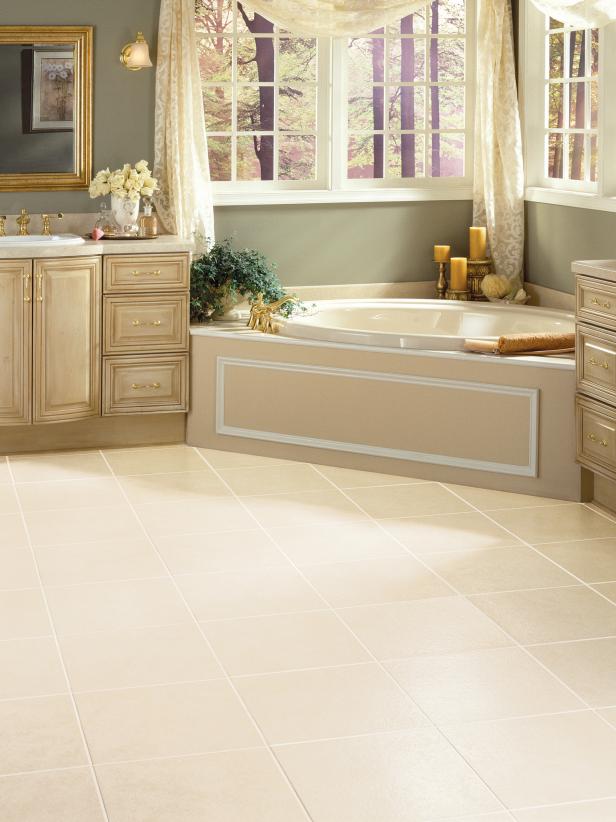
Bathroom Flooring Ideas – Choosing Bathroom Flooring

Bathroom Flooring Luxury Vinyl Bathroom Flooring LVT u0026 Rubber
Exploring Vinyl Bathroom Flooring Options
/vinyl-bathroom-flooring-options-1824802_hero-9fe9d7e65bf841bcafd8439b48643ef0.jpg)
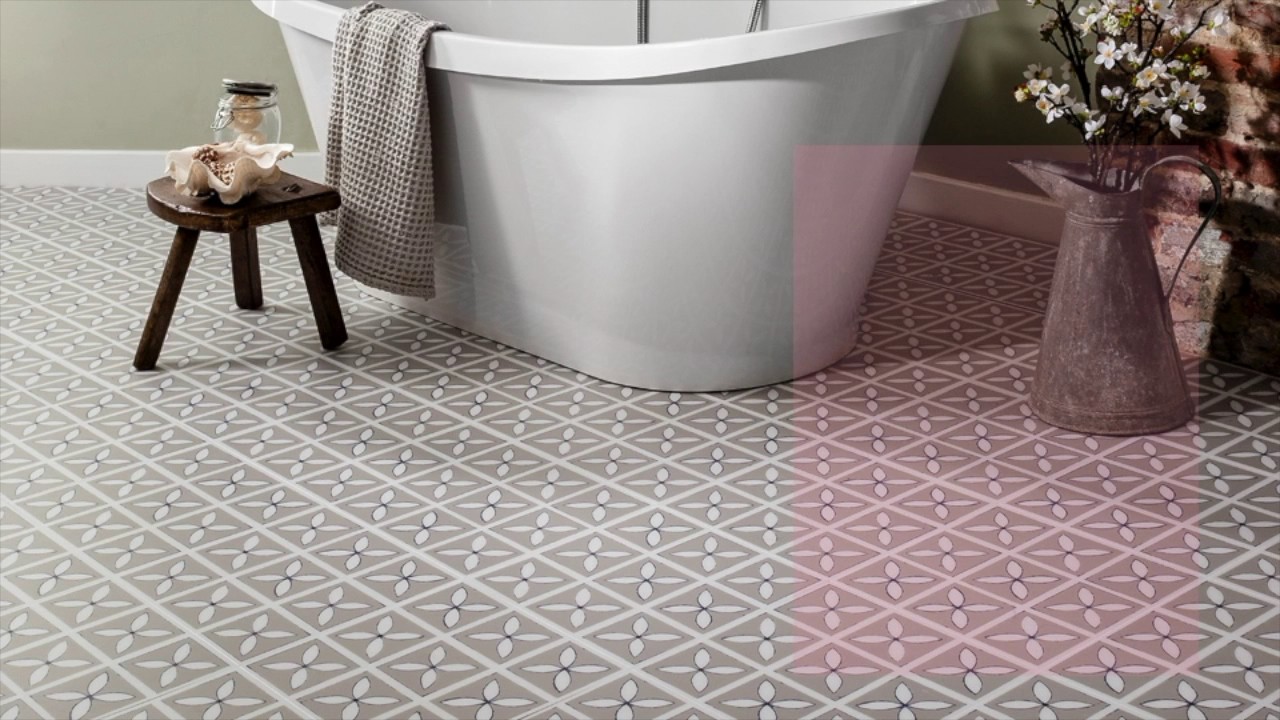
Choosing Vinyl for your bathroom – Tarkett Tarkett
Luxury Vinyl Tile That Defies Every Idea You Have About Vinyl
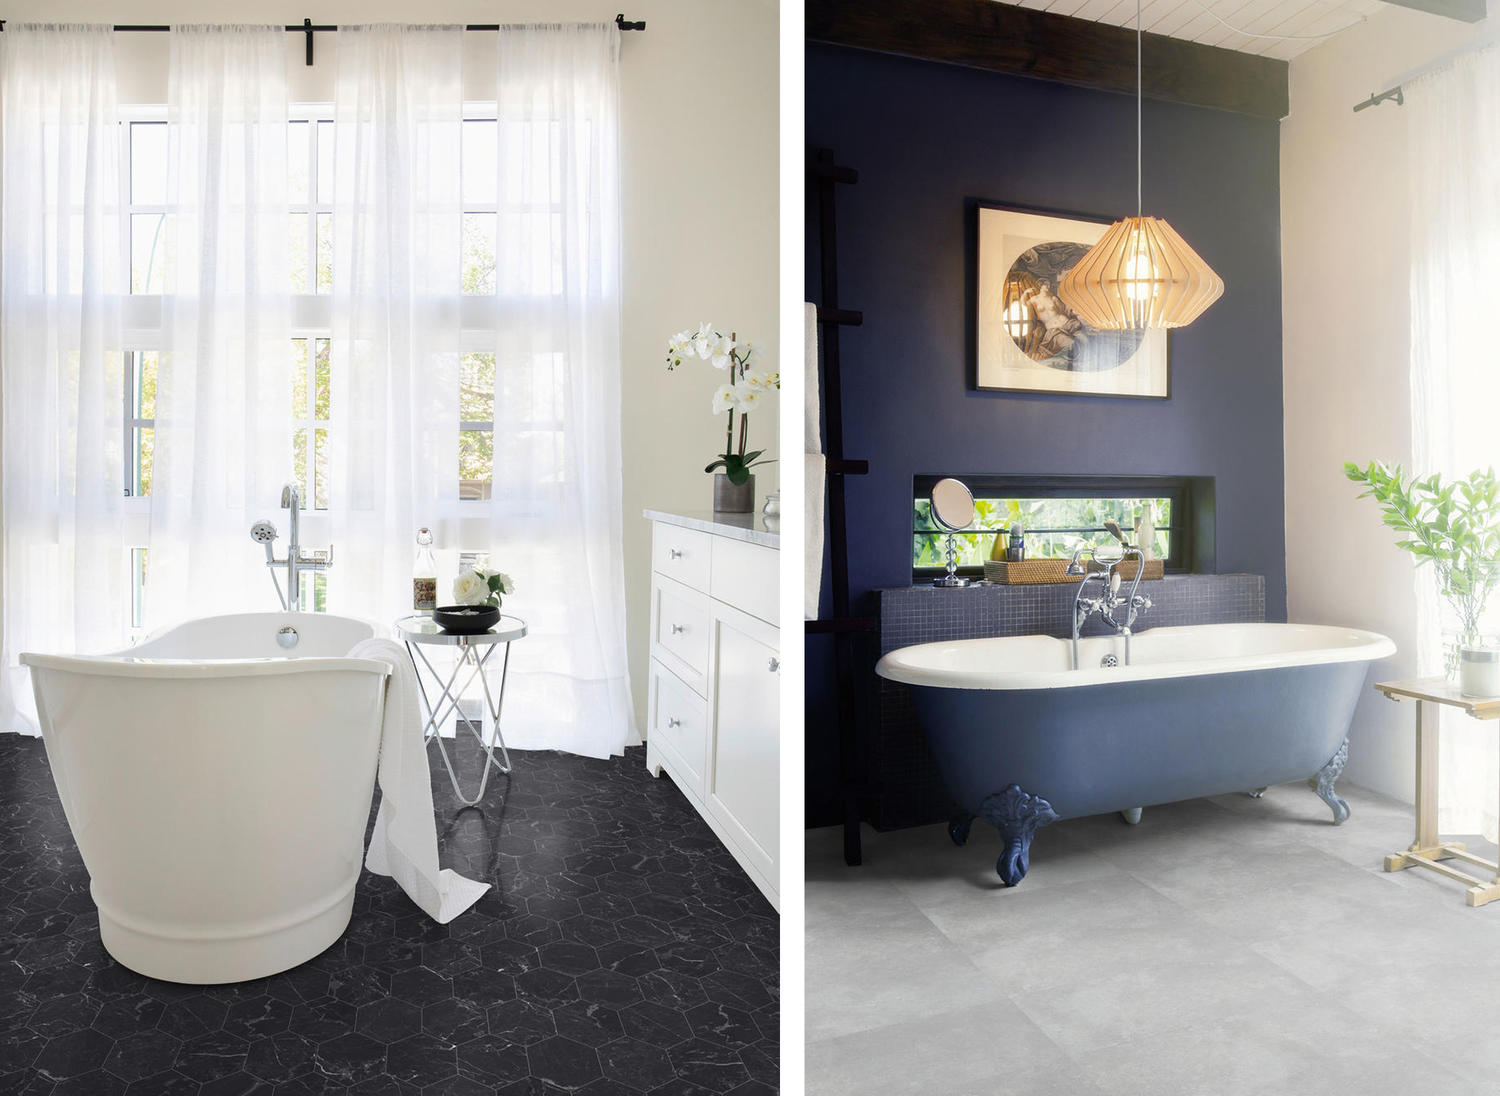
Bathroom Flooring Guide Armstrong Flooring Residential

Bathroom Flooring Ideas – Choosing Bathroom Flooring
Vinyl Flooring: Tiles, Sheets, and Luxury Vinyl
/vinyl-flooring-materials-1314764_0415-2c0ef9712d7e4e8e838acb34399df52a.jpg)
All About Vinyl Flooring – This Old House
/cdn.vox-cdn.com/uploads/chorus_image/image/65894768/14143_beton_room.0.jpg)
Luxury Vinyl Flooring and Other Vinyl Options for Your Bathroom

Related Posts:
- Bathroom Floor Tile Patterns Ideas
- Black And White Bathroom Floor Designs
- Bathroom Epoxy Floor Coating
- Bathroom Floor Covering Options
- His And Hers Bathroom Floor Plans
- Dark Wood Tile Floor Bathroom
- Handicap Bathroom Floor Plans Commercial
- How To Clean Grout In Bathroom Floor
- Bathroom Flooring Wood Look
- Bathroom Floor Tile Layout 12×24
Quality Vinyl Flooring for Your Bathroom: A Durable and Stylish Choice
Introduction:
When it comes to choosing the right flooring for your bathroom, there are several factors to consider. Not only should it be durable and resistant to water damage, but it should also be easy to clean and maintain. With all these requirements in mind, quality vinyl flooring emerges as an excellent choice for bathrooms. In this article, we will explore the various benefits of vinyl flooring, its different types, installation process, maintenance tips, and address frequently asked questions to help you make an informed decision.
1. The Benefits of Quality Vinyl Flooring:
Vinyl flooring has gained immense popularity in recent years due to its numerous advantages. Firstly, it is highly resilient against moisture and water damage, making it ideal for bathroom use where spills and humidity are common occurrences. Additionally, vinyl flooring is exceptionally durable and can withstand heavy foot traffic without showing signs of wear and tear. Furthermore, its smooth surface makes cleaning a breeze as dirt and stains can be easily wiped away. Finally, one of the most appealing aspects of quality vinyl flooring is its affordability compared to other options such as ceramic tiles or hardwood floors.
FAQs:
Q: Is vinyl flooring waterproof?
A: While vinyl flooring is highly resistant to water and moisture, it is not entirely waterproof. However, with proper installation and maintenance, it provides excellent protection against water damage.
Q: Can vinyl flooring be installed over existing tile?
A: Yes, vinyl flooring can be installed over existing tile as long as the surface is clean, level, and free from any cracks or damages.
2. Types of Quality Vinyl Flooring:
There are several types of vinyl flooring available on the market, each offering distinct features and benefits.
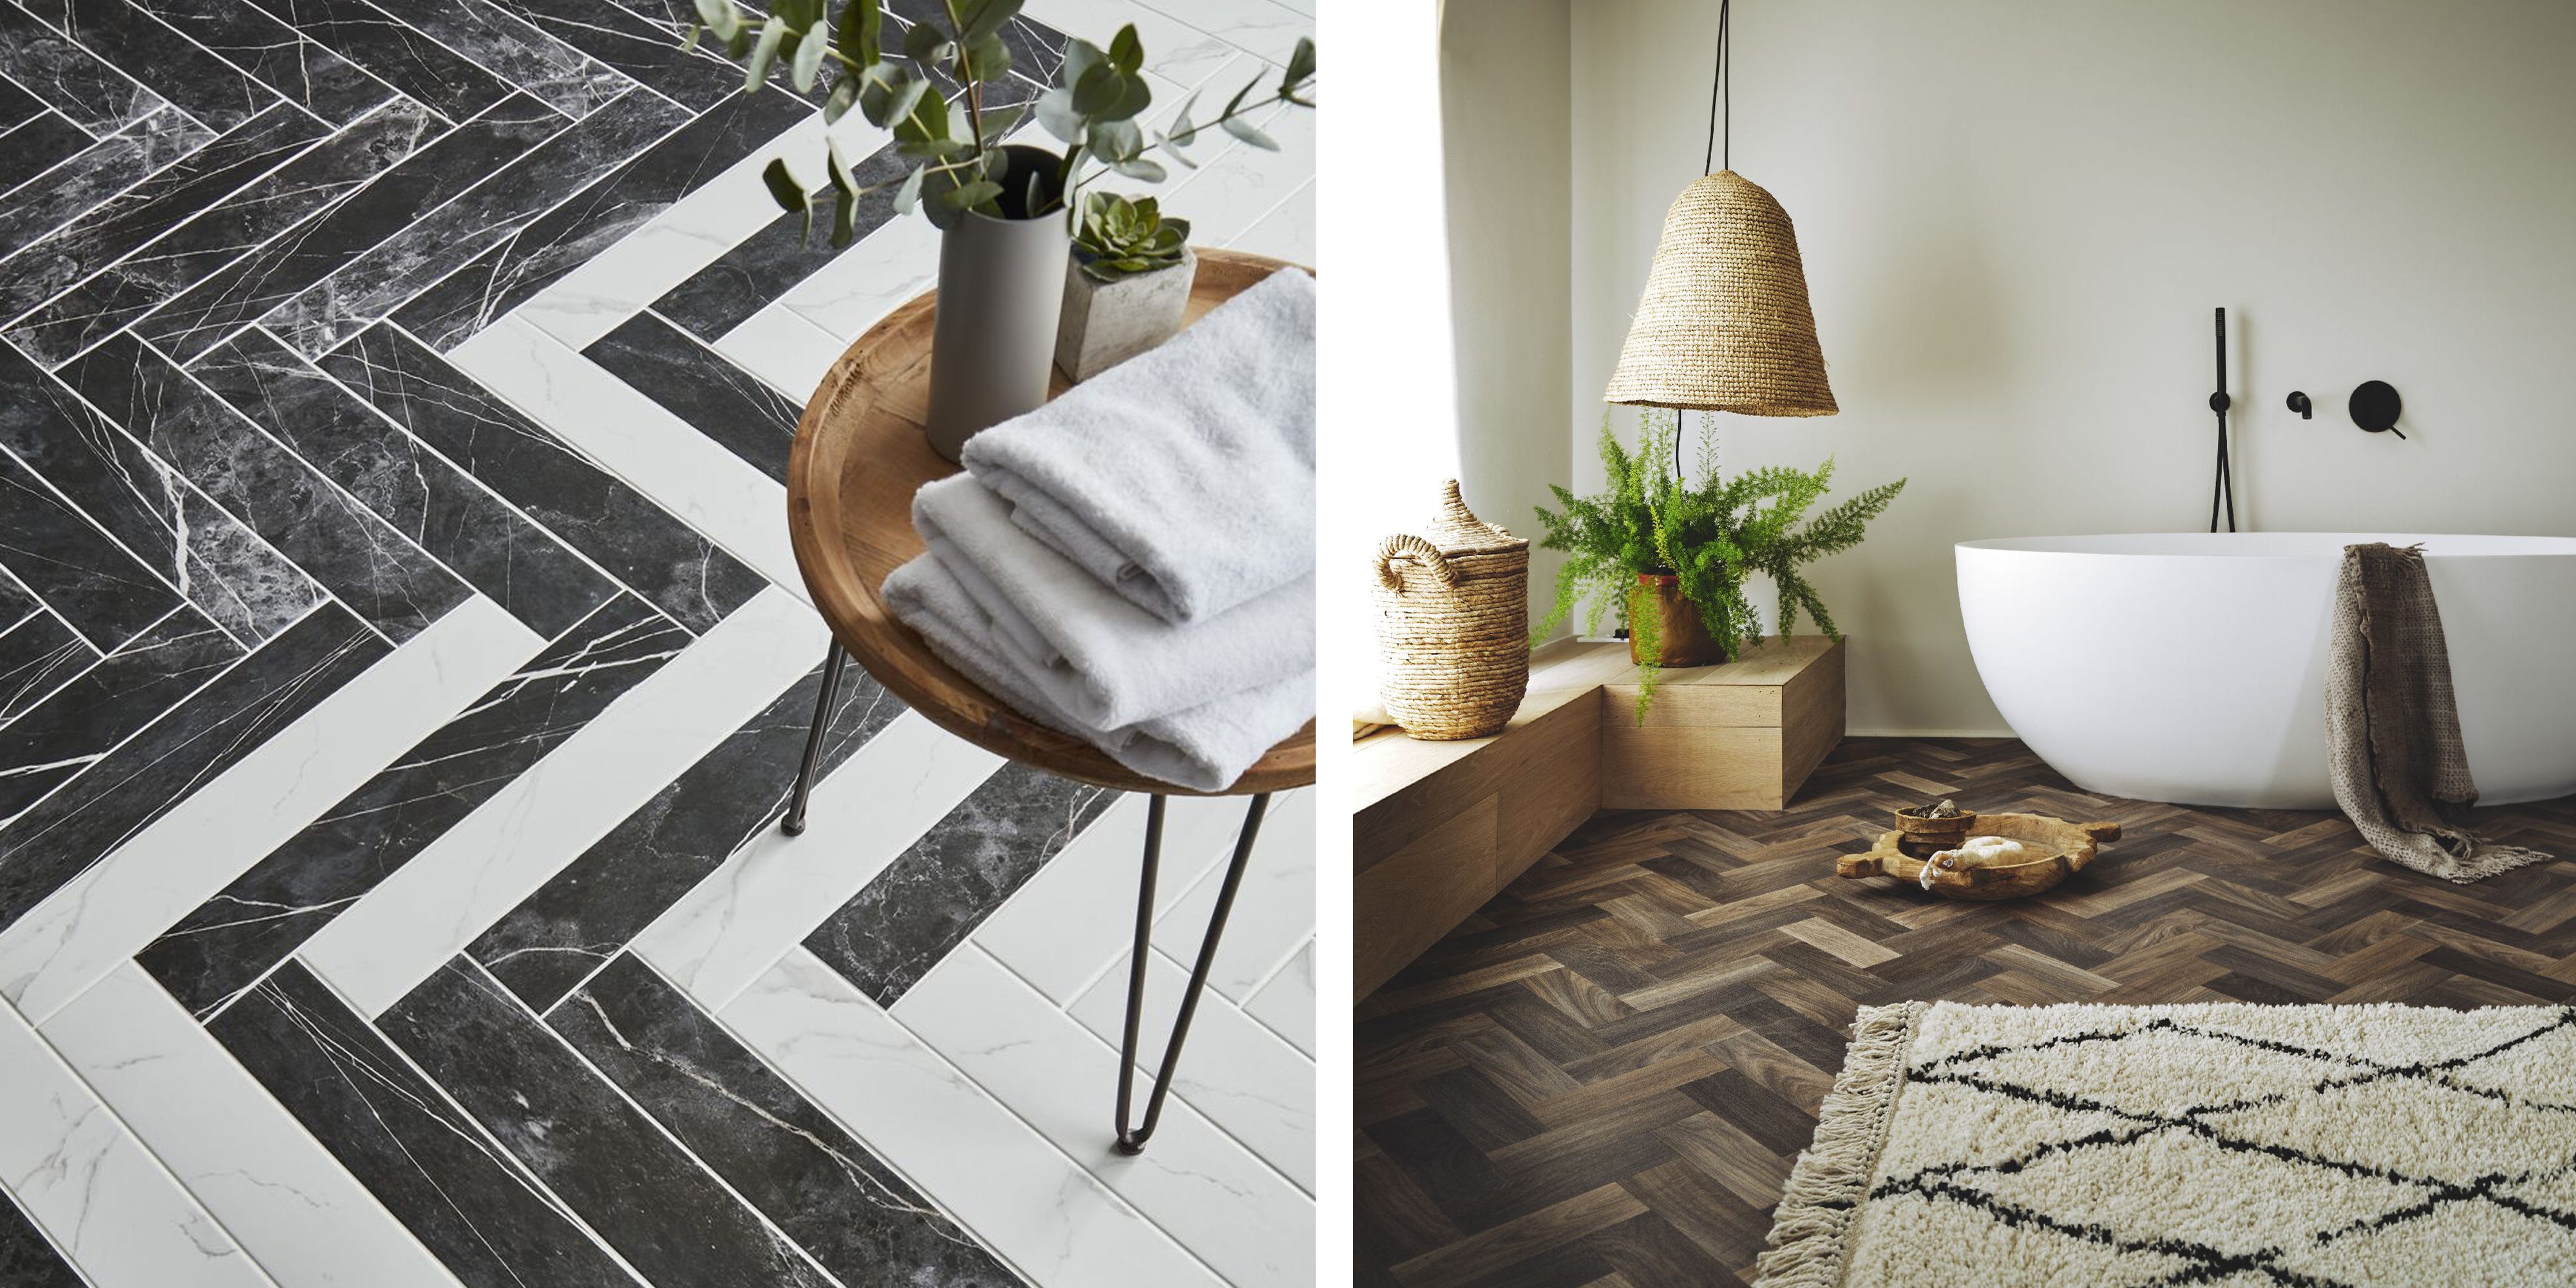
a) Luxury Vinyl Tiles (LVT):
Luxury Vinyl Tiles (LVT) mimic the appearance of natural materials such as stone or wood but offer greater durability and resistance to moisture. These tiles come in a wide range of designs and patterns, allowing you to achieve the desired aesthetic for your bathroom. LVT is also known for its realistic texture, making it difficult to distinguish from actual stone or wood.
b) Sheet Vinyl:
Sheet vinyl is a popular choice for bathrooms due to its seamless and waterproof nature. It is available in rolls that can be easily cut and customized according to your bathroom’s dimensions. Sheet vinyl comes in various styles and finishes, including those that imitate ceramic tiles or hardwood floors.
c) Vinyl Plank Flooring:
Vinyl plank flooring provides the look of hardwood flooring without the associated maintenance and cost. These planks are available in different sizes and finishes, enabling you to create a stunning bathroom floor with the warmth and elegance of real wood. Moreover, vinyl plank flooring is softer underfoot, reducing the chances of slips and falls.
FAQs:
Q: How long does vinyl flooring typically last?
A: The lifespan of vinyl flooring depends on various factors such as quality, maintenance, and level of foot traffic. However, with proper care, high-quality vinyl flooring can last up to 20 years or more.
Q: Can vinyl flooring be installed over radiant heating systems?
A: Yes, vinyl flooring is compatible with radiant heating systems as it conducts heat efficiently. However, it is essential to follow the manufacturer’s guidelines for installation to ensure optimal performance.
3. Installation Process:
Installing quality vinyl flooring in your bathroom requires careful preparation and attention to detail. While it is possible to undertake DIY installation, hiring a professional ensures a flawless finish. Professional installers have the expertise and experience to handle any challenges that may arise during the installation process. Here are the general steps involved in installing vinyl flooring in a bathroom:
1. Prepare the surface: The existing flooring, if any, needs to be removed and the subfloor should be thoroughly cleaned and leveled. Any cracks or damages should be repaired before proceeding.
2. Measure and cut: Measure the bathroom floor accurately and cut the vinyl flooring accordingly, leaving some extra material for trimming.
3. Apply adhesive: Apply a suitable adhesive to the subfloor using a recommended trowel or roller. Follow the manufacturer’s instructions for the specific adhesive being used.
4. Lay the vinyl flooring: Carefully lay the vinyl flooring onto the adhesive, ensuring that it is aligned with the room’s layout and any patterns or designs are consistent.
5. Trim and finish: Trim any excess material along the edges of the room using a utility knife. Install baseboards or molding to cover any gaps between the flooring and walls.
6. Allow for proper curing: It is important to allow sufficient time for the adhesive to cure as per the manufacturer’s instructions before allowing foot traffic or placing heavy objects on the newly installed vinyl flooring.
By following these steps and seeking professional assistance if needed, you can achieve a beautiful and durable vinyl flooring installation in your bathroom.