Tile garage flooring is going to resist chemical, oils, cleaners, and numerous other liquids associated with cars. Latex is the right option since it retards development of mildew plus mold, but will have to have at the very least 2 coats applied. A garage floor with flooring installed on it's easier and warmer to stay clean compared to a cement slab. Once you stick to specific actions you are able to utilize epoxy paint very simply.
Images about Rustoleum Garage Floor Epoxy Kit
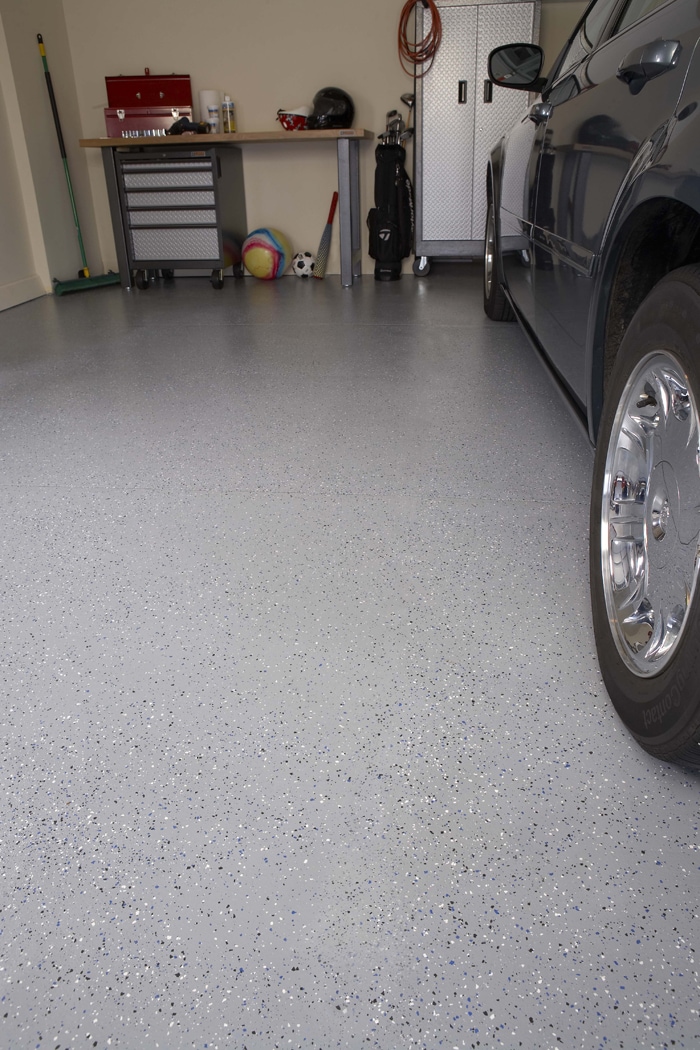
Garage flooring coloring is ready to use right from the can and continues on pretty easily with a roller or perhaps paintbrush. Yet another great advantage to tile flooring is you can change individual tiles if one becomes damaged. Nowadays, technology advances makes possible all storage area floors coatings a limited one with various paints.
Best Garage Floor Coating of 2022 – This Old House
/cdn.vox-cdn.com/uploads/chorus_asset/file/22308892/1120_FEA_Idea_House_Fairfield_Farmhouse_08142020NR_0078_v3.jpg)
The more heavy duty pro grade mats typically cost more than mild duty ones For all the diverse styles, patterns, in addition to duty ratings, you ought to be in a position to decide on a roll through garage mat which suits your criteria. Improving the overall look of your garage, or perhaps fixing those problem areas is a good moment to use garage floor coatings.
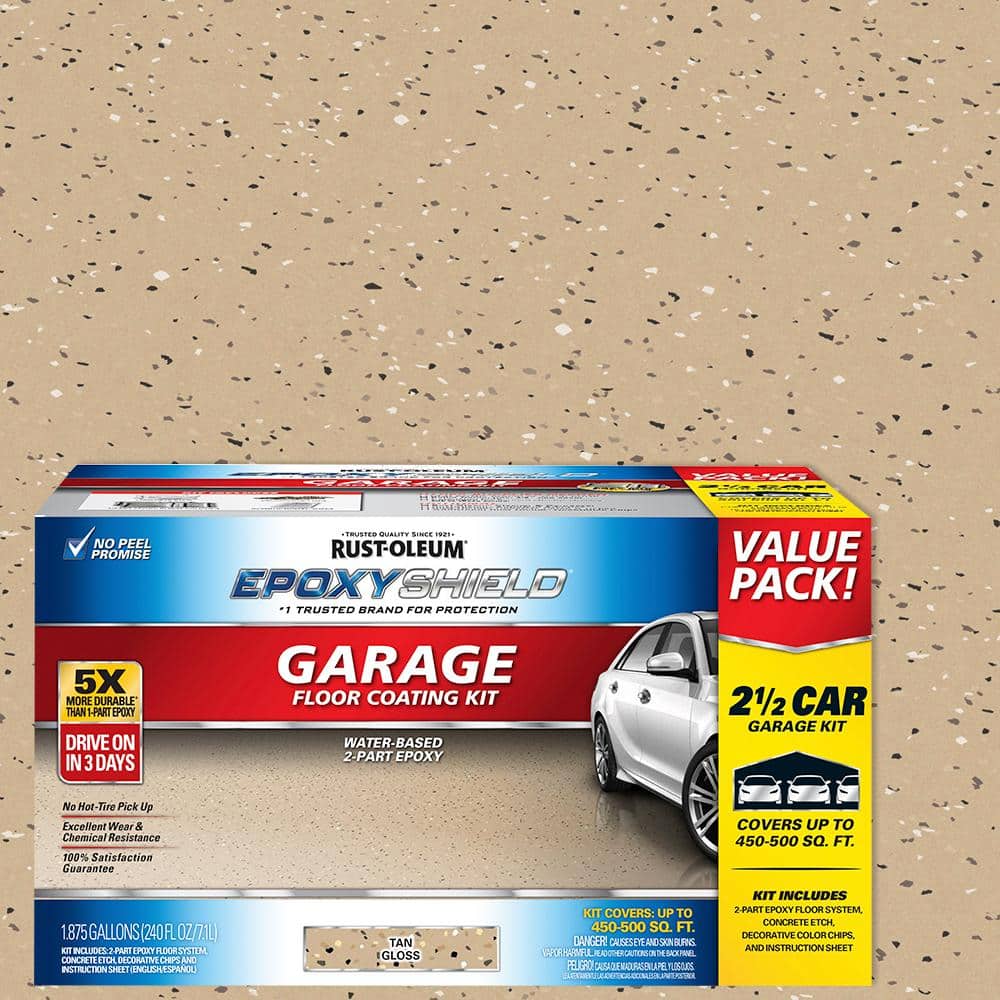
Rust-Oleum EpoxyShield 240 oz. Tan High-Gloss 2.5-Car Garage Floor Kit 365185
DIY Epoxy Garage Floors
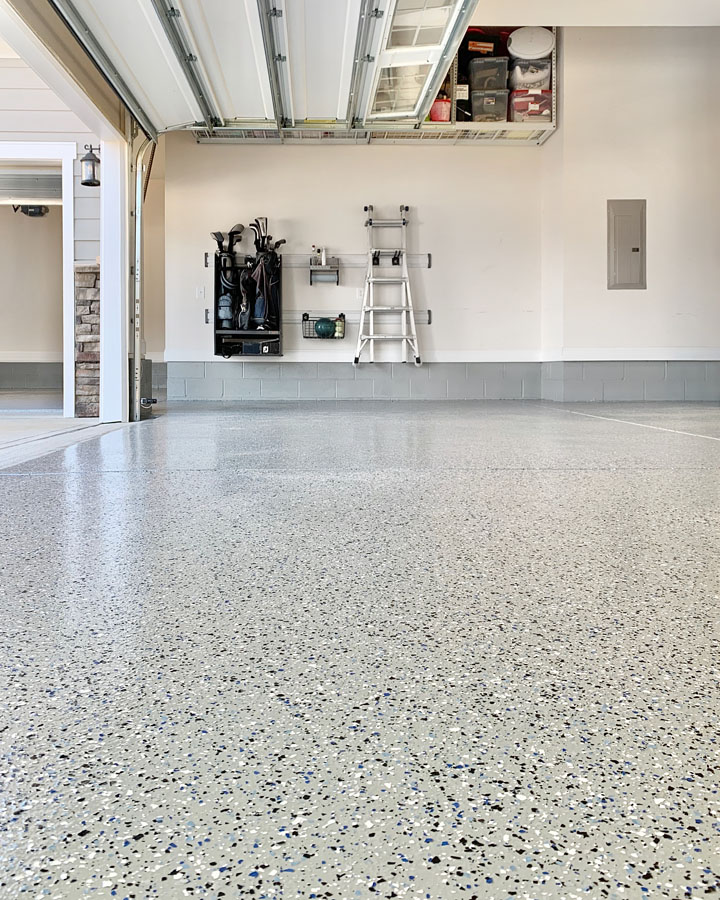
DIY Epoxy Garage Floors
Rust-Oleum EpoxyShield 2-part Tan Gloss Concrete and Garage

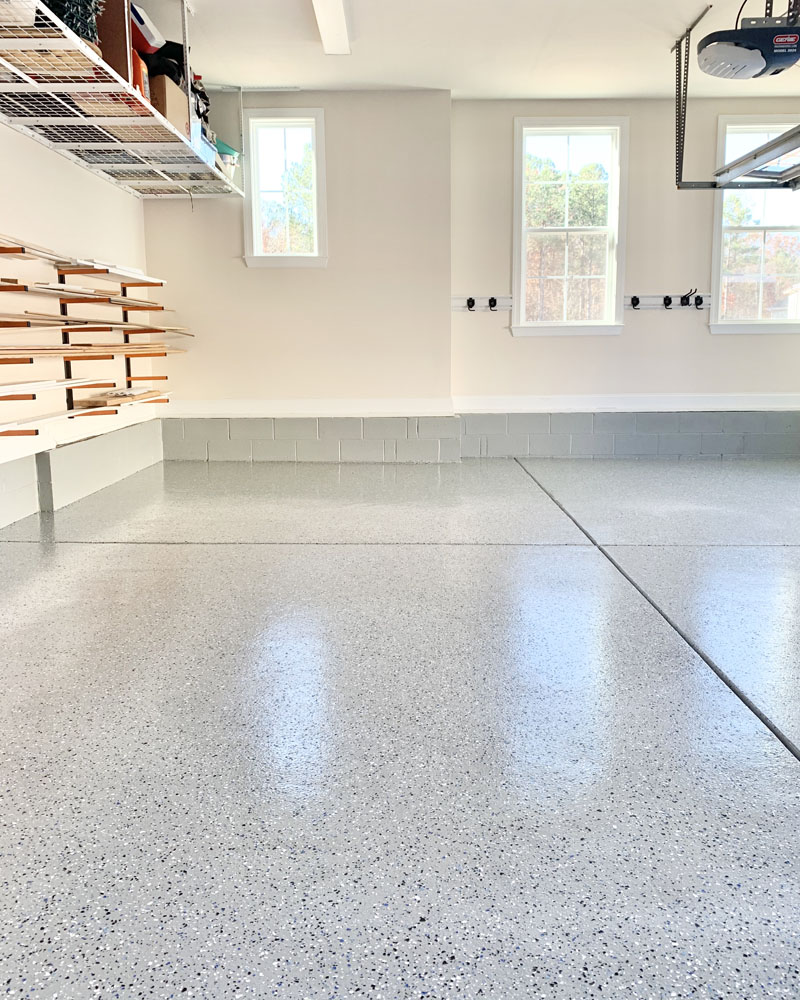
DIY Epoxy Garage Floors
EpoxyShield Garage Floor Coating Rust-Oleum

How to Use Rust-Oleum® Epoxyshield® Garage Floor Coating Kit to Transform Your Floor
EpoxyShield Garage Floor Coating Rust-Oleum

How to Use Rust Oleum Epoxyshield Garage Floor Coating Kit to Transform Your Floor
Rust-Oleum EpoxyShield 2 Gal. Gray Garage Floor Epoxy 261845
Amazon.com: Rust-Oleum 251966 EPOXYSHIELD Garage Floor Coating, 1
Rust-Oleum EpoxyShield 240 oz. Gray High-Gloss 2.5-Car Garage

Related Posts:
- Garage Floor Protection Mats
- 1 Bedroom Garage Apartment Floor Plans
- How To Install A Garage Floor Drain
- Garage Floor Stain Colors
- Garage Floor Filler
- Liquid Granite Garage Floor
- Ucoat It Garage Floor Coating
- Epoxy Garage Floor Ideas
- Rustoleum Garage Floor Epoxy Touch Up
- Fast Track Garage Flooring
Transform Your Garage with Rustoleum Garage Floor Epoxy Kit
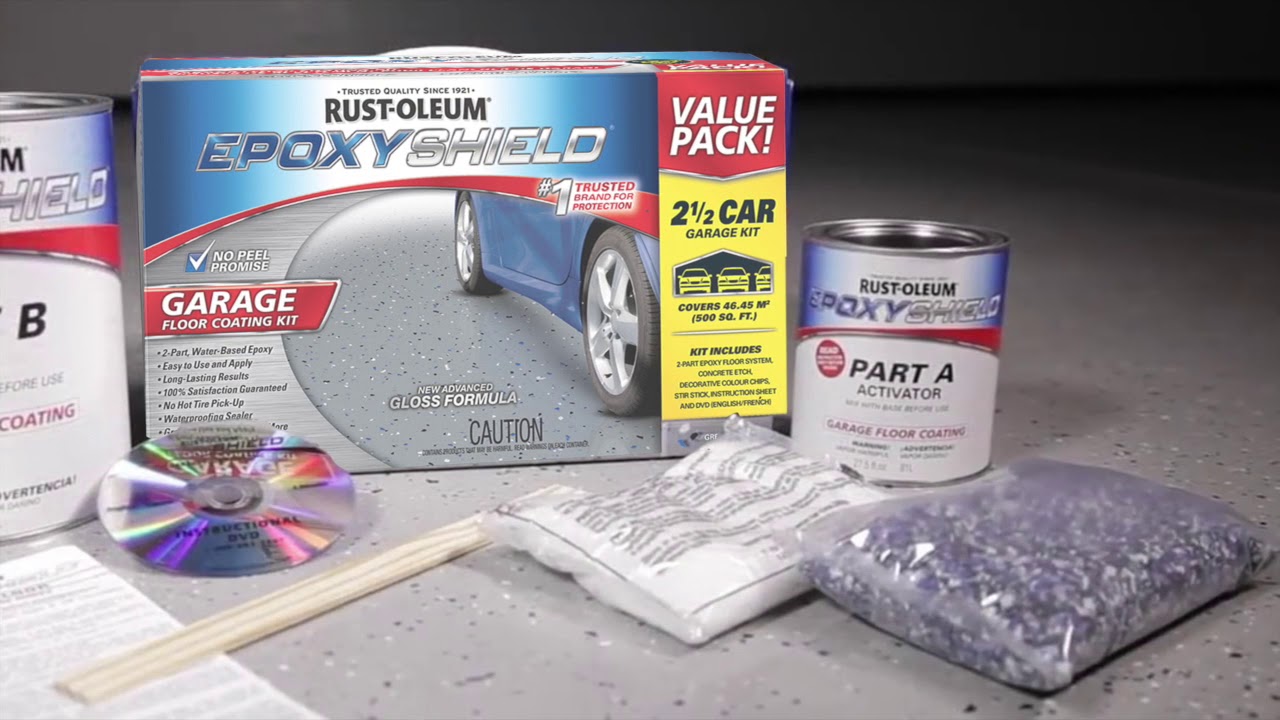
When it comes to transforming your garage into a clean, durable, and attractive space, the Rustoleum Garage Floor Epoxy Kit is a game-changer. This innovative product is designed to provide a professional-grade epoxy coating that not only enhances the look of your garage floor but also adds a layer of protection against spills, stains, and everyday wear and tear. In this article, we will explore the benefits of using the Rustoleum Garage Floor Epoxy Kit, its application process, frequently asked questions, and more.
Enhance the Look and Functionality of Your Garage
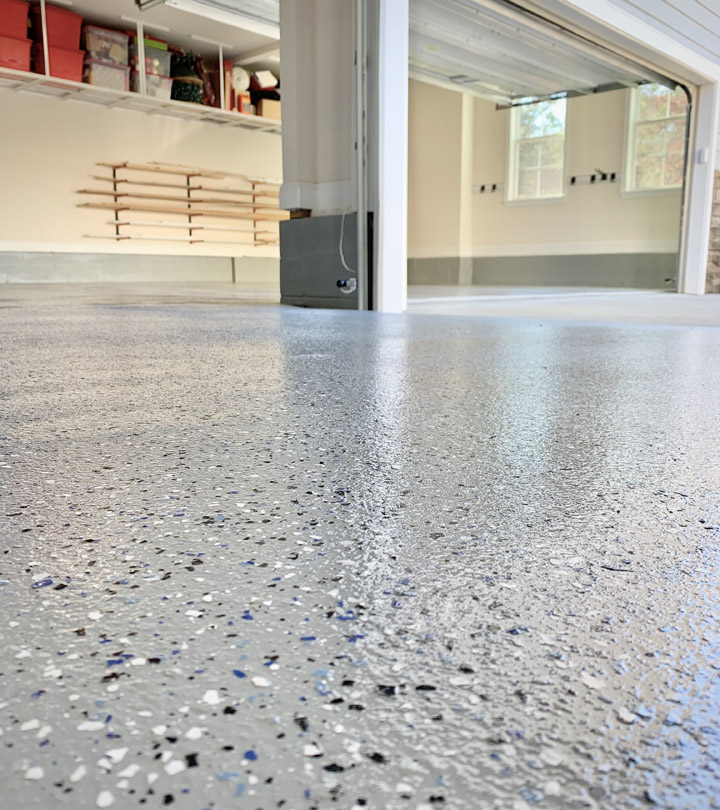
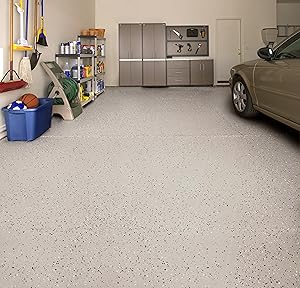
The Rustoleum Garage Floor Epoxy Kit offers an excellent solution for those looking to upgrade their garage floor. Whether you use your garage as a workshop, storage space, or simply to park your vehicles, this epoxy kit will help create a clean and appealing environment. The glossy finish adds a touch of elegance while providing a durable surface that can withstand heavy traffic and resist chemicals.
Application Process Made Easy
Applying the Rustoleum Garage Floor Epoxy Kit is a straightforward process that can be completed by any DIY enthusiast. Here is a step-by-step guide to help you achieve professional-looking results:
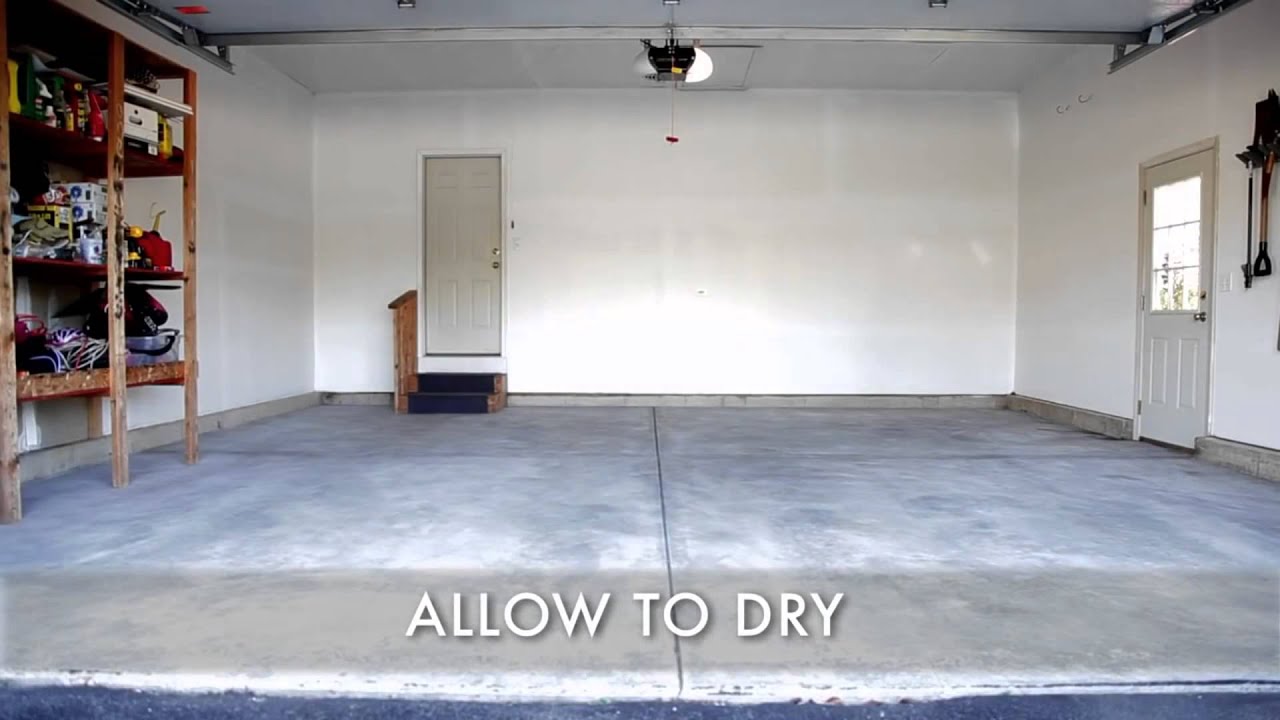
1. Surface Preparation: Properly preparing your garage floor is crucial for the success of the epoxy application. Start by cleaning the floor thoroughly using an etching solution or degreaser to remove any dirt, oil, or grease. Use a stiff brush or broom to scrub the surface and then rinse it with water. Allow the floor to dry completely before proceeding.
2. Patching and Repairing: Inspect your garage floor for any cracks or imperfections. Fill in these areas using an epoxy patching compound according to the manufacturer’s instructions. Smooth out the patched areas with a putty knife or trowel and let them cure as recommended.
3. Applying the Base Coat: Open the Rustoleum Garage Floor Epoxy Kit and mix the base coat with the activator according to the provided ratio. Stir the mixture thoroughly until it is well blended. Start applying the base coat using a roller or brush, working in small sections to ensure even coverage. Allow the base coat to dry for the recommended time before moving on to the next step.
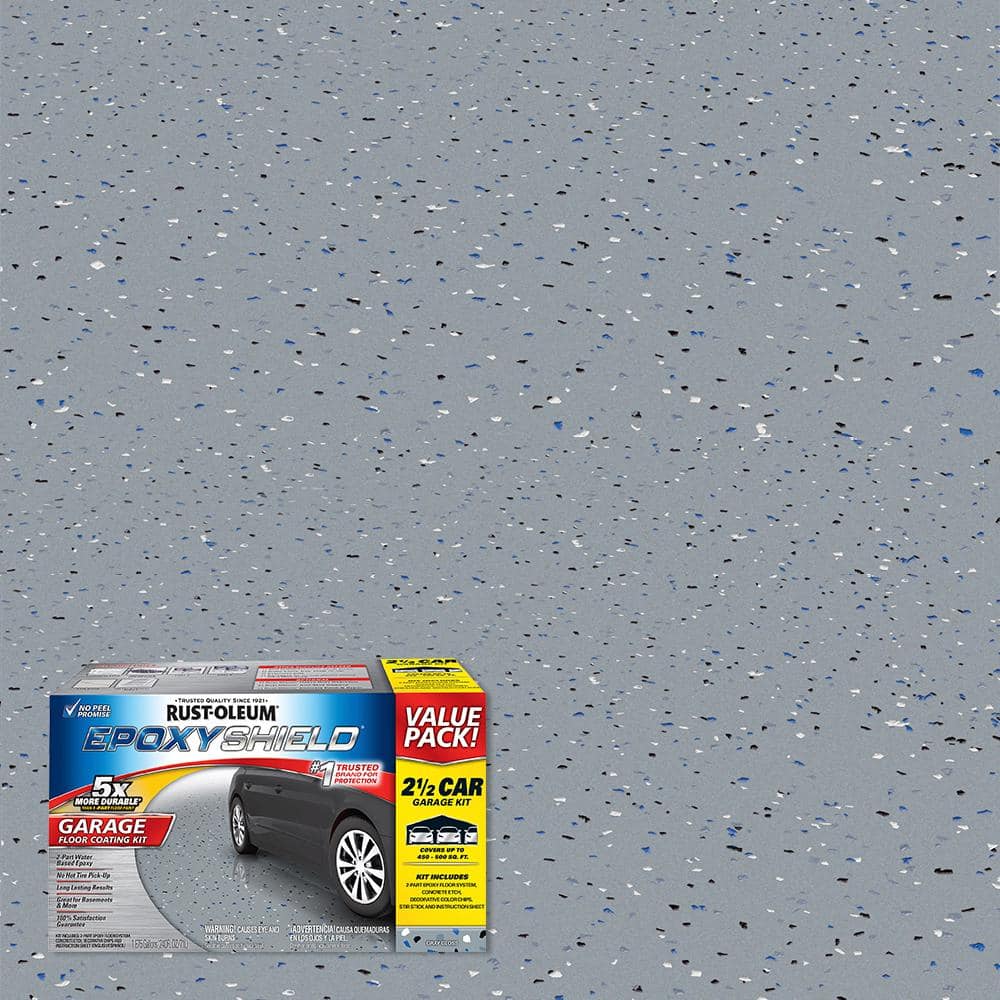
4. Adding Decorative Chips (optional): If desired, you can add decorative color chips to enhance the appearance of your garage floor. Sprinkle the chips evenly across the wet base coat, allowing them to fully adhere. Once done, gently sweep away any loose chips.
5. Top Coat Application: Mix the top coat as instructed on the Rustoleum Garage Floor Epoxy Kit packaging. Apply it over the base coat using a roller or brush, following the same method used for the base coat application. Ensure complete coverage and smooth out any bubbles or streaks. Let the top coat dry according to the manufacturer’s recommendation.
6. Curing Time: After applying the top coat, allow your garage floor to cure for a minimum of 24 hours before subjecting it to foot traffic or heavy loads. It is recommended to wait at least three days before parking vehicles on your newly coated garage floor.
Frequently Asked Questions
Q1: Can I apply Rustoleum Garage Floor Epoxy Kit on previously painted surfaces?
A1: Yes, you can apply this epoxy kit on previously painted surfaces. However, proper surface preparation is crucial for adhesion. Make sure to thoroughly clean and remove any loose or peeling paint before applying the epoxy. Sanding the surface may also be necessary to create a rough texture for better adhesion. Q2: Can I apply the epoxy kit on a garage floor with cracks?
A2: Yes, you can apply the epoxy kit on a garage floor with cracks. Before applying the epoxy, it is important to patch and repair any cracks using an epoxy patching compound. Follow the manufacturer’s instructions for filling in the cracks and allow them to cure before proceeding with the epoxy application.
Q3: How long does it take for the epoxy to dry?
A3: The drying time of the epoxy will depend on various factors such as temperature and humidity. Generally, the base coat will take around 4-6 hours to dry, while the top coat may take 16-24 hours. It is important to follow the manufacturer’s recommendations for drying and curing times to ensure proper adhesion and durability.
Q4: How long should I wait before using my garage after applying the epoxy?
A4: After applying the top coat, it is recommended to wait at least 24 hours before subjecting your garage floor to foot traffic or heavy loads. For parking vehicles on the newly coated floor, it is best to wait for at least three days to allow for proper curing and maximum durability.
Q5: Can I use a roller or brush for both the base coat and top coat application?
A5: Yes, you can use a roller or brush for both the base coat and top coat application. Make sure to choose high-quality brushes or rollers that are suitable for epoxy applications. It is important to work in small sections and ensure even coverage during both application processes.
Q6: Are decorative color chips necessary for the epoxy application?
A6: Decorative color chips are optional but can enhance the appearance of your garage floor. They provide texture and can help to hide imperfections. If you choose to use decorative chips, make sure to sprinkle them evenly across the wet base coat and remove any loose chips after they have adhered.
Q7: Can I apply the epoxy kit in cold temperatures?
A7: It is recommended to apply the epoxy kit in temperatures between 60°F and 85°F (15°C and 29°C) for optimal results. Cold temperatures can slow down the drying and curing process of the epoxy, affecting its adhesion and durability. Make sure to follow the manufacturer’s recommendations for temperature requirements.
Q8: How long will the epoxy coating last?
A8: The longevity of the epoxy coating will depend on various factors such as usage, maintenance, and environmental conditions. With proper application and regular maintenance, a high-quality epoxy coating can last for several years. It is important to avoid using harsh chemicals or abrasive cleaners on the coated surface to prolong its lifespan.