Flooring is an important choice to make for the home, commercial business, or maybe industrial sector. If not, it is advisable to have a professional do it. They've colored chips or perhaps flakes inlaid in the floor surfaces and these lend a very decorative and aesthetic feel to the floor. The most effective surface area to lay epoxy flooring is concrete, however, you are able to install epoxy flooring over surfaces that include wood and steel also.
Images about Stone Epoxy Flooring Do It Yourself

Epoxy floors are available in all of kinds of styles and varieties. On the flip side, in case you've a new slab, wait for a minimum of a month for the flooring to be thoroughly dry prior to epoxy program. Actually the epoxy paints might be granted ideal textures as well. There are a whole lot of rewards in using epoxy as a floor coating. The cost of an epoxy flooring is much like that of other flooring types.
epoxy stone flooring Archives » Everlast® Editorial

You only need to retain the services of the epoxy surfacing professionals and let them know of your necessities and demands and they are going to help you've the concrete covering you demanded. Seamless epoxy flooring will lower the need for floors repairs and at exactly the same time, epoxy flooring supplies a stunningly appealing, polished look to the floors of yours.
DIY Epoxy Stone Flooring » Everlast® Editorial

It's hence, the suggested flooring choice for both residential structures and industries. You cannot go wrong with these floors. It comes in a wide variety of colors and all you will need is to pick any that gives the structure of yours the appropriate appearance. And, gray is no longer the only option when selecting a base coat.
Pebble Tech Flooring How To Install Natural Stone 8 Blog u2013 Otosection

Laying a Stone Carpet – Epoxy Stone Floor Guide and Instructions
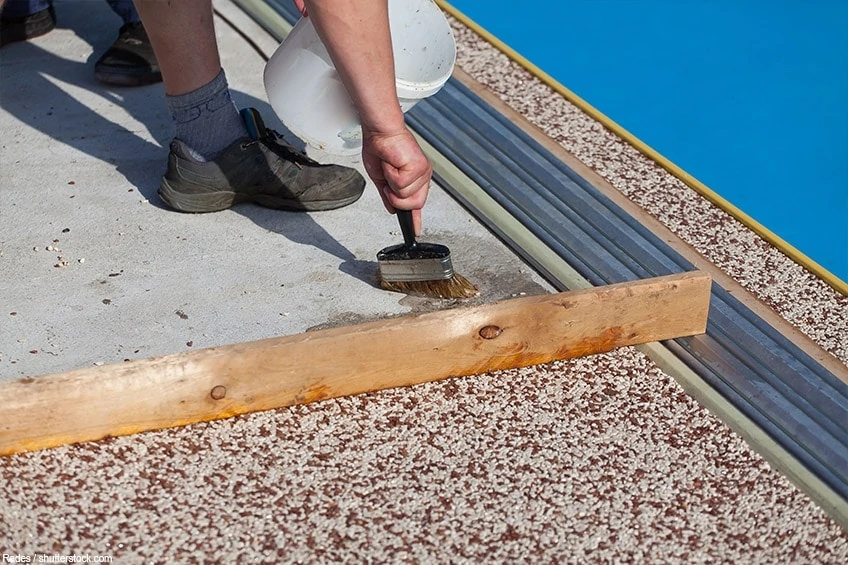
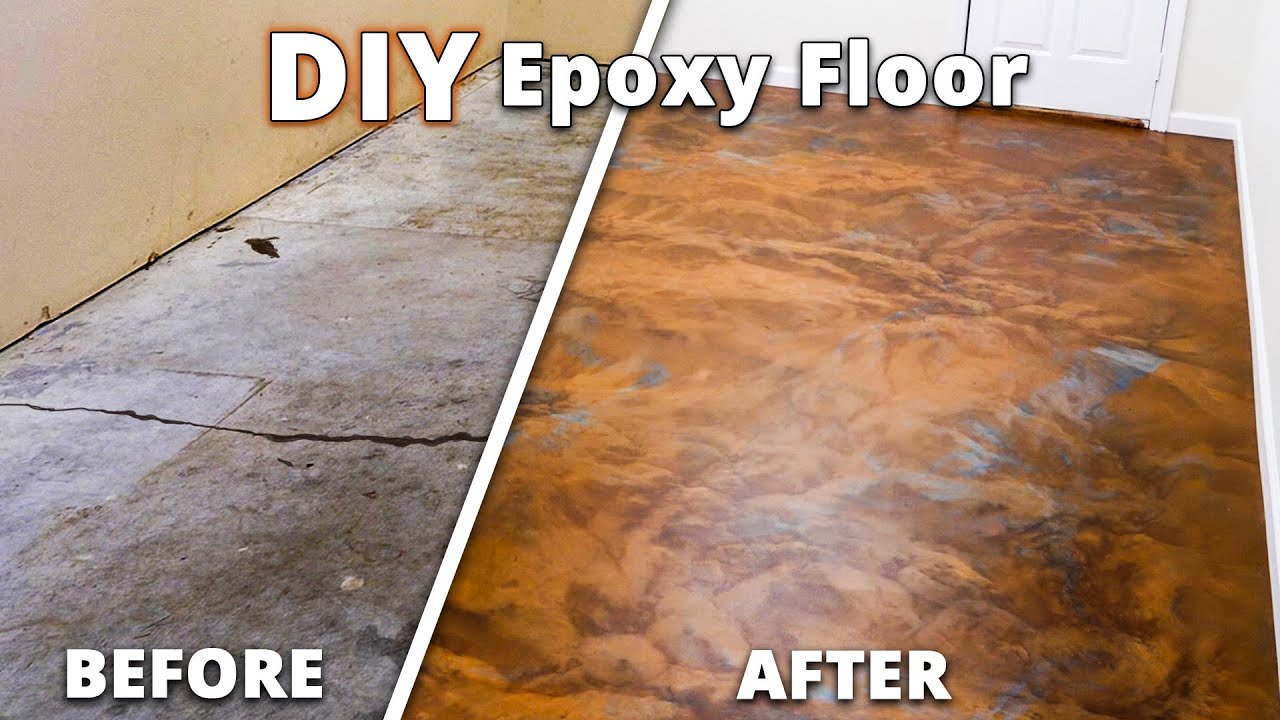
DIY Epoxy Flooring Over Cracked Concrete Start to Finish Stone Coat Epoxy
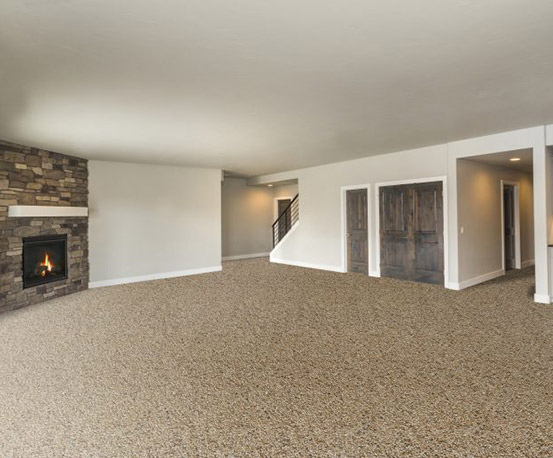
Best Epoxy Stone Basement Flooring – Nature Stone
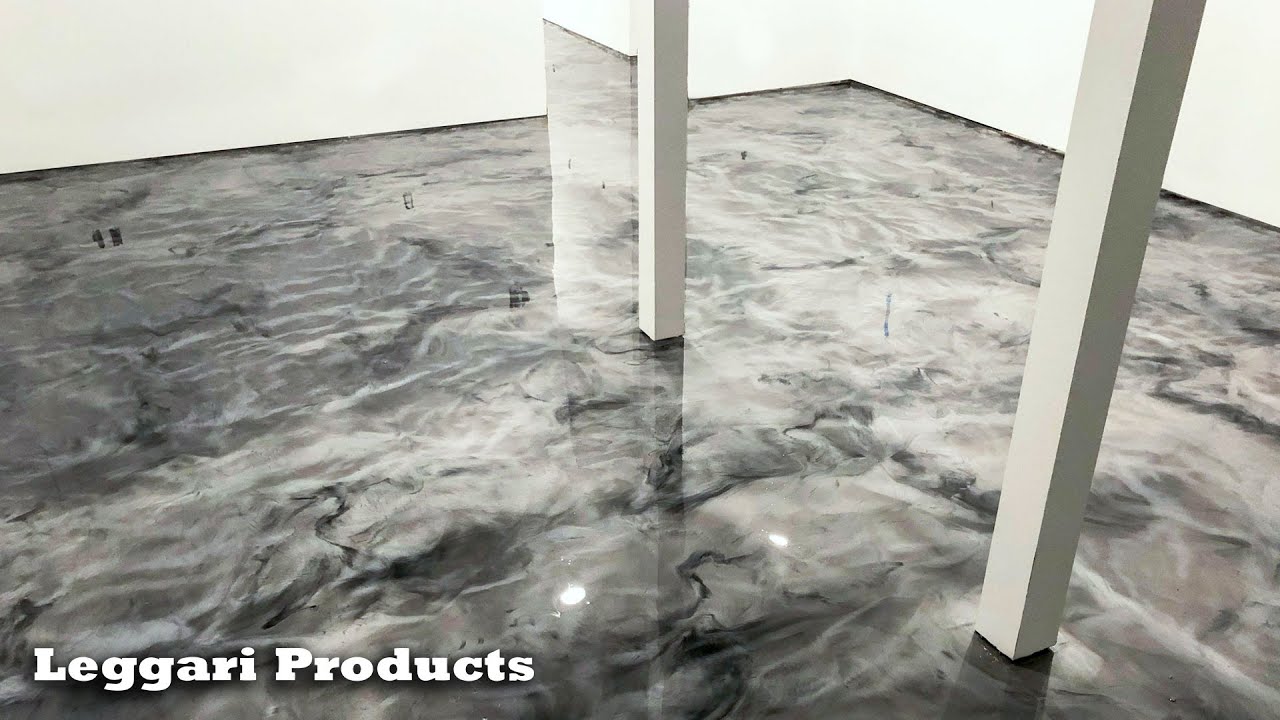
Entire Basement Coated Using Leggariu0027s Epoxy Floor Kit Silver u0026 Black Epoxy Floor Installation
Epoxy Flooring Ideas to Extend the Life of Your Floors

Laying a Stone Carpet – Epoxy Stone Floor Guide and Instructions
Designer Epoxy Floor Installation That You Can Do Yourself
Pin on epoxy floor diy

Pebble, river stone, epoxy stone flooring in Chicago IL

Stone Pebble Epoxy Flooring – Concrete Resurfacing and Floor Coatings

Related Posts:
- Epoxy Garage Floor Crack Filler
- Gray Epoxy Floor
- Behr Epoxy Floor Paint
- High Build Epoxy Floor Coating
- Cost To Have Someone Epoxy Garage Floor
- Epoxy Shield Floor Paint
- Rustoleum Epoxy Basement Floor Paint
- What Is Epoxy Flooring Systems
- Austin Epoxy Floors
- Alternative To Epoxy Flooring
Stone Epoxy Flooring Do It Yourself: A Comprehensive Guide to Transforming Your Floors
Introduction:
Are you tired of looking at your dull, outdated floors? Do you yearn for a fresh and modern look without breaking the bank? Look no further than stone epoxy flooring. Stone epoxy flooring is a cost-effective and durable solution that can transform any space into an elegant and sophisticated environment. In this comprehensive guide, we will walk you through the process of doing it yourself, from preparation to application, ensuring you achieve professional-looking results.
I. Understanding Stone Epoxy Flooring:
Stone epoxy flooring is a decorative coating that combines natural stones with epoxy resin to create a seamless, glossy surface. This innovative flooring solution offers numerous benefits, including enhanced durability, resistance to stains and chemicals, as well as an array of design options.
1. Benefits of Stone Epoxy Flooring:
– Durability: Stone epoxy flooring is highly resistant to wear and tear, making it ideal for high-traffic areas such as kitchens, entryways, and commercial spaces.
– Easy Maintenance: The seamless surface of stone epoxy flooring eliminates grout lines and makes cleaning a breeze. Regular sweeping and mopping are usually sufficient to keep the floors looking pristine.
– Versatility: With a wide range of colors, patterns, and finishes available, stone epoxy flooring can be customized to suit any design preference or aesthetic.
– Cost-effectiveness: Compared to other flooring options like natural stone or hardwood, stone epoxy flooring offers a more budget-friendly alternative without compromising on style or durability.
2. Types of Stone Epoxy Flooring:
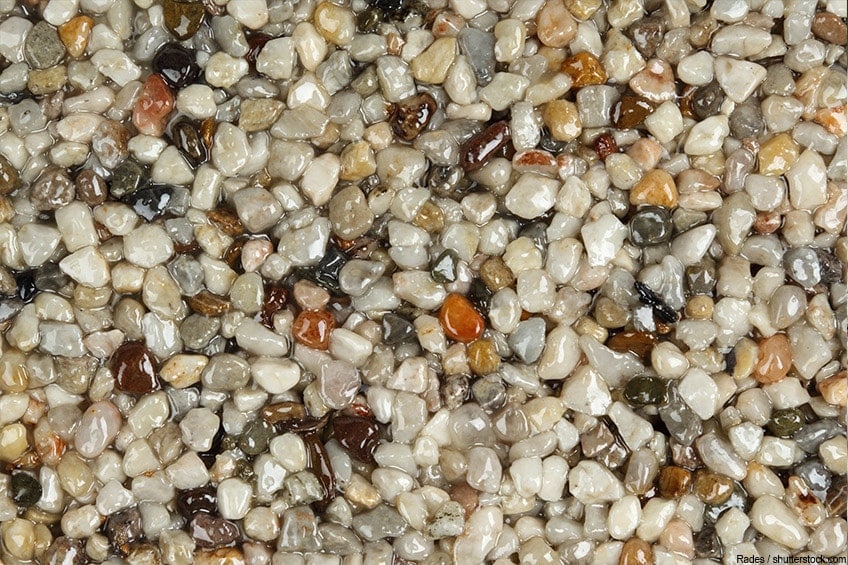
a) Pebblestone Epoxy Flooring: This type of stone epoxy flooring features small pebbles embedded in the epoxy resin. The result is a textured surface that provides excellent slip resistance, making it ideal for pool decks or outdoor areas.
b) Metallic Epoxy Flooring: By incorporating metallic pigments into the epoxy resin, metallic epoxy flooring creates a stunning, shimmering effect reminiscent of molten metal. This option is popular for creating unique and eye-catching designs in residential and commercial settings.
c) Faux Stone Epoxy Flooring: Faux stone epoxy flooring replicates the appearance of natural stone, such as marble or granite, at a fraction of the cost. This option allows homeowners to achieve a high-end look without the hefty price tag.
II. Preparing for Stone Epoxy Flooring Installation:
Before diving into the installation process, proper preparation is crucial to ensure a successful outcome. Here are the essential steps to follow:
1. Assessing the Substrate:
Begin by examining the condition of your existing floor. Stone epoxy flooring can be applied over various substrates, including concrete, wood, or tile. Ensure that the surface is clean, dry, and free from any cracks or imperfections that could affect the adhesion of the epoxy resin.
2. Repairing and Cleaning:
Repair any cracks or damages in the substrate using an appropriate filler or patching compound. Thoroughly clean the floor by removing any dirt, grease, or previous coatings. A pressure washer or degreaser may be necessary to achieve a pristine surface.
3. Etching or Grinding:
To enhance adhesion, it’s often recommended to etch or grind the substrate. Etching involves applying an acid wash to open up pores in concrete, while grinding removes any existing coatings or sealers. Be sure to follow safety precautions when working with acids or heavy machinery.
4. Priming:
Applying A primer is essential to ensure proper bonding between the substrate and the epoxy resin. Choose a primer that is compatible with both the substrate material and the epoxy system being used. Follow the manufacturer’s instructions for application and drying times.
5. Mixing the Epoxy Resin:
Follow the manufacturer’s instructions for mixing the epoxy resin. It’s essential to mix it thoroughly to ensure uniform consistency and proper curing. Use a clean bucket and mixing paddle to avoid any contamination.
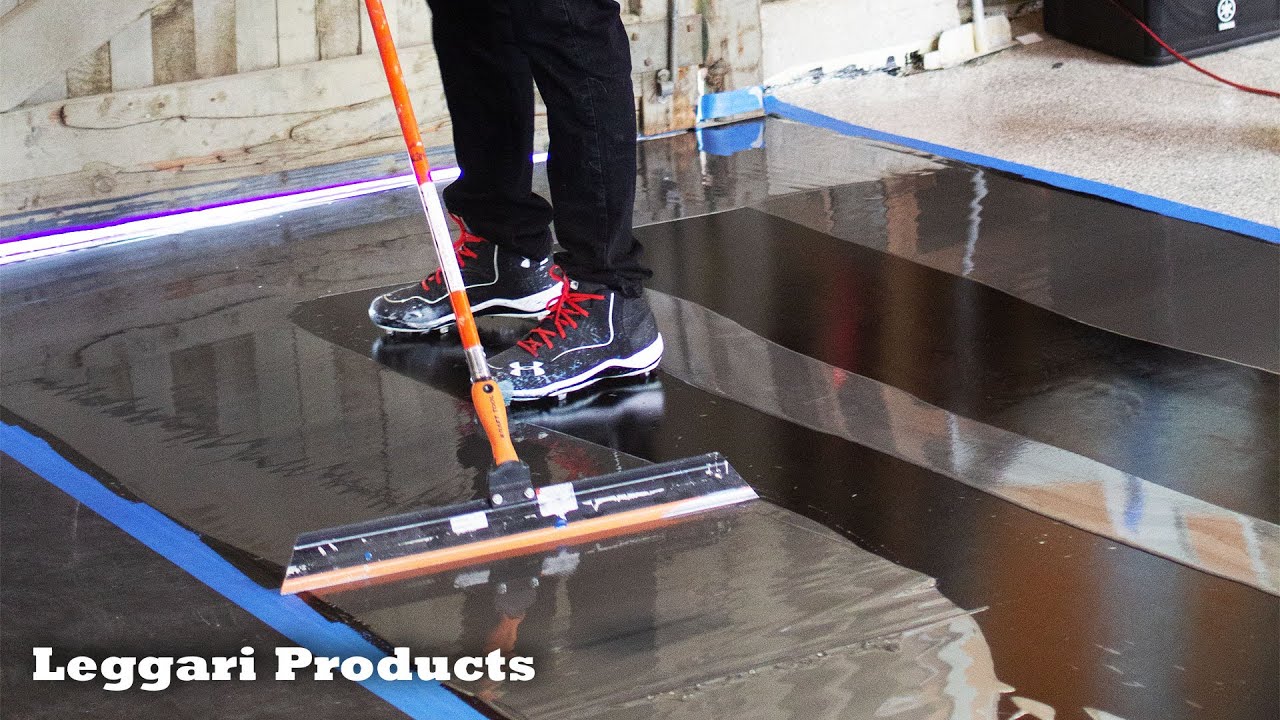
6. Applying the Stone Epoxy Flooring:
Using a roller or squeegee, apply the epoxy resin evenly onto the prepared substrate. Work in small sections to ensure proper coverage and avoid pooling or unevenness. If using pebblestone epoxy flooring, carefully embed the pebbles into the resin and roll over them to secure their placement.
7. Curing and Drying:
Allow the epoxy resin to cure according to the manufacturer’s instructions. This usually involves a waiting period of several hours or even days, depending on the specific product used. Avoid walking on or placing heavy objects on the newly installed floor until it is fully cured.
8. Sealing and Finishing:
To enhance durability and protect against stains or scratches, consider applying a sealer or topcoat to your stone epoxy flooring. This step is optional but recommended for high-traffic areas or areas prone to spills or accidents. Follow the manufacturer’s instructions for application and drying times.
By following these steps and taking proper care of your stone epoxy flooring, you can enjoy its benefits for years to come while maintaining its beauty and functionality.