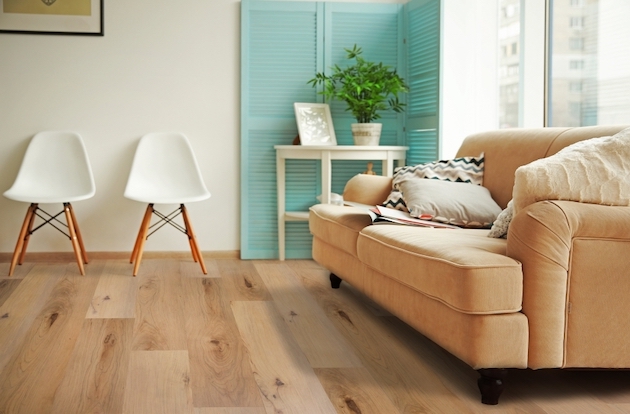
Modern technology has the ability to create the ordinary vinyl flooring of yours straight into a luxurious one. The technique used to imprint the design of the flooring can imitate many patterns such as wood grain, stone, marble and tile. Vinyl flooring is available in many forms. You may even have vinyl flooring with timber design in your bathroom or basement, regions that are a clear no-no for wood floors due to their closeness to water.
Images about Vinyl On Vinyl Flooring
With vinyl you can get the look of hardwood, yet not stress about splashes of h20 from the tub ruining it. Typically, resilient flooring and vinyl flooring are two terms that are interchangeable. You might check your area phone directory for lists of shops which sell vinyl flooring at discounted or regular price. This combination enables you to keep the floor devoid of germs.
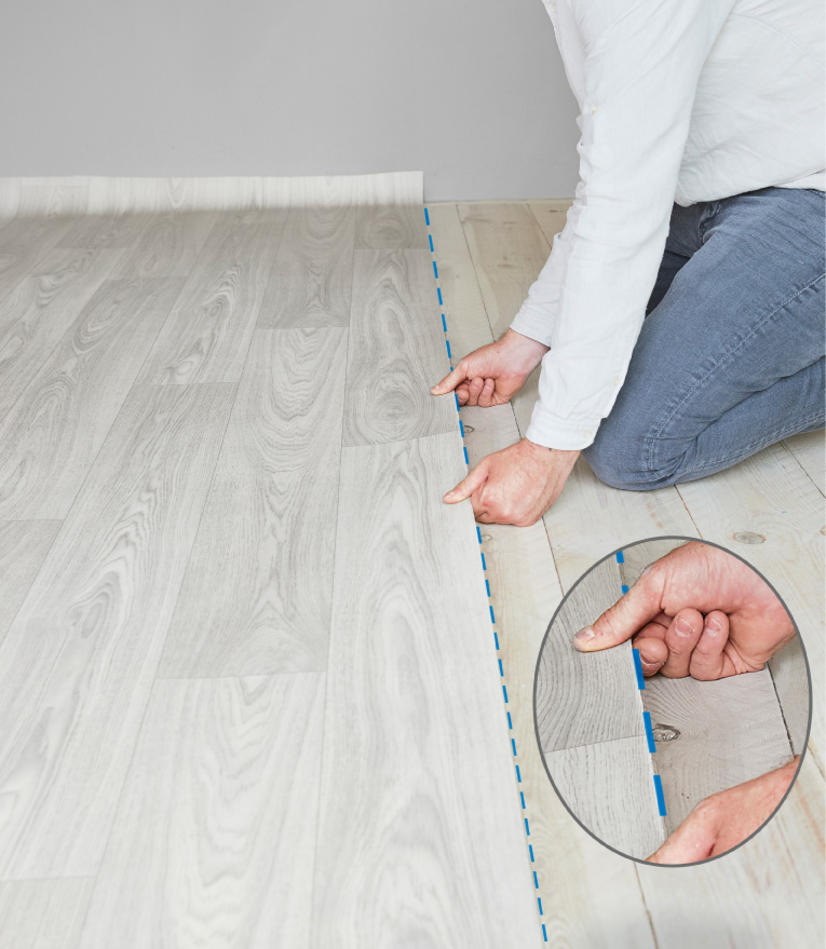
How to Install Vinyl Plank Flooring as a Beginner Home

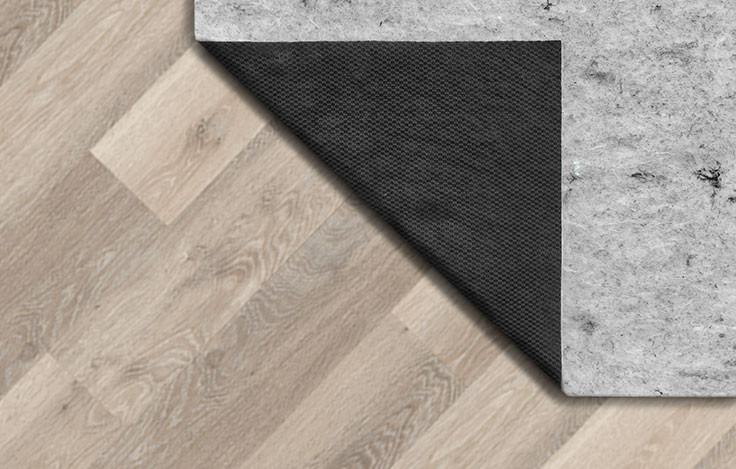
Vinyl kitchen flooring will not rip. As mentioned before the material isn’t the same as real hardwood, tile or stone. However, you’ve to know that the longevity of its is very dependent on the strategy you lay it out there. There might be a cushioning layer on several styles. With all the moisture which comes with the territory, the water may slip through the cracks of a tile floors.
Vinyl Flooring: Pros And Cons u2013 Forbes Advisor

Vinyl vs. Laminate Flooring: Pros, Cons And Differences u2013 Forbes

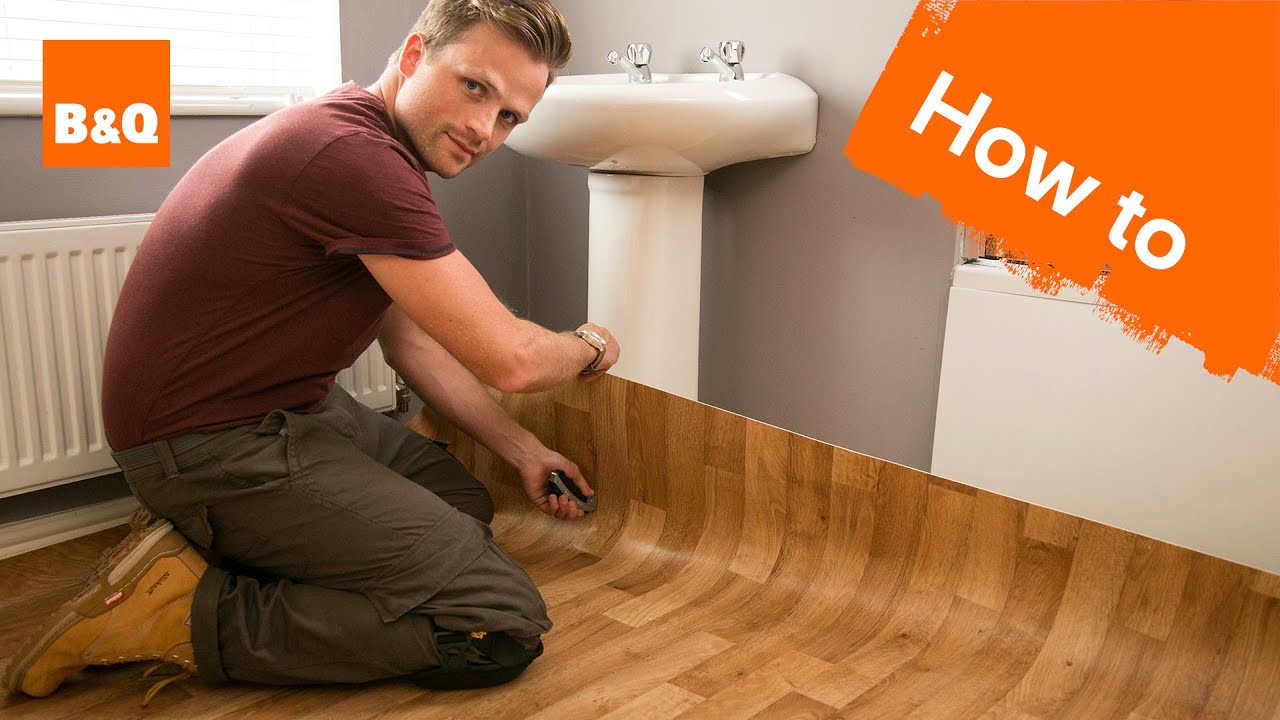
How to lay sheet vinyl flooring
Different types of Vinyl flooring Tarkett
Types of Vinyl Flooring
2022 Vinyl Flooring Trends: 20+ Hot Vinyl Flooring Ideas
Vinyl Flooring
Related Posts:
- Vinyl Flooring Manufacturing Companies
- How To Clean Vinyl Flooring That Looks Like Wood
- Ez Fit Vinyl Flooring Reviews
- Luxury Vinyl Flooring Denver
- Crystal Vinyl Flooring
- Marble Look Sheet Vinyl Flooring
- Orion Vinyl Flooring
- Water Under Vinyl Flooring Concrete
- Transition Strip Between Carpet And Vinyl Flooring
- Lumber Liquidators Vinyl Flooring Formaldehyde
Vinyl On Vinyl Flooring: A Comprehensive Guide
Introduction:
Vinyl flooring has gained immense popularity in recent years due to its durability, affordability, and versatility. It offers a wide range of styles and designs, making it suitable for various applications. One such innovative application is vinyl on vinyl flooring, which involves installing vinyl tiles or planks directly over an existing vinyl floor. This article aims to provide a detailed guide on vinyl on vinyl flooring, covering everything from the installation process to maintenance tips and frequently asked questions.
Benefits of Vinyl on Vinyl Flooring:
1. Cost-Effective Solution:
Vinyl on vinyl flooring is a cost-effective solution compared to completely removing and replacing an existing vinyl floor. It eliminates the need for extensive labor and materials, resulting in significant cost savings.
2. Time-Saving Installation:
One of the major advantages of vinyl on vinyl flooring is the time-saving installation process. Unlike traditional flooring options that require stripping off the old floor, leveling the subfloor, and then installing new flooring, vinyl on vinyl can be done directly over the existing surface. This reduces installation time and allows for quicker occupancy of the space.
3. Enhanced Durability:
Vinyl flooring is known for its exceptional durability, and when installed over another layer of vinyl, it further enhances its resilience. The added thickness provides additional protection against wear and tear, making it ideal for high-traffic areas and commercial spaces.
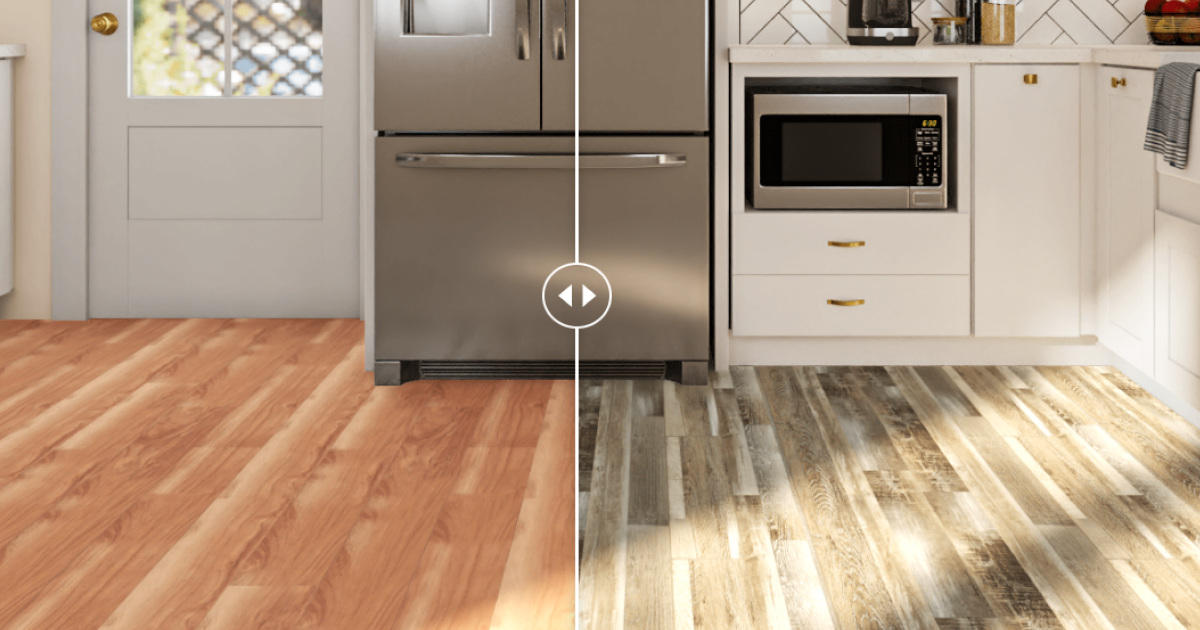
4. Versatility in Design:
Vinyl on vinyl flooring offers endless design possibilities. With a wide range of colors, patterns, textures, and finishes available in both the top layer (new vinyl) and the base layer (existing vinyl), you can create a unique aesthetic that matches your personal style or complements the existing décor seamlessly.
Installation Process for Vinyl on Vinyl Flooring:
1. Prepare the Subfloor:
Before installing vinyl tiles or planks over an existing vinyl floor, it is crucial to ensure that the subfloor is clean, smooth, and free from any imperfections. Remove any debris, dust, or loose particles using a broom or vacuum cleaner. Make sure there are no loose tiles or damaged areas that need repair.
2. Level the Subfloor:
If the existing vinyl floor has any noticeable unevenness or imperfections, it is essential to level it before proceeding with the installation. Use a self-leveling compound to fill in gaps and create a smooth surface. Allow the compound to dry completely as per the manufacturer’s instructions.
3. Acclimate the New Vinyl Flooring:
Acclimating the new vinyl flooring is crucial to prevent any issues related to expansion and contraction. Place the vinyl tiles or planks in the room where they will be installed for at least 24-48 hours before beginning the installation process. This allows them to adjust to the temperature and humidity of the space.
4. Start Installation:
Begin by marking a starting point in the room, usually at the center of the longest wall. Apply adhesive according to the manufacturer’s instructions using a trowel or roller. Lay the first tile or plank at the starting point and press it firmly into place, ensuring proper alignment. Continue installing subsequent tiles or planks, interlocking them securely.
5. Trim and Finish:
Once all the tiles or planks are installed, trim any excess material along the edges using a utility knife or vinyl cutter. Install baseboards or moldings to cover expansion gaps and provide a finished look.
Maintenance Tips for Vinyl on Vinyl Flooring:
1. Regular Cleaning:
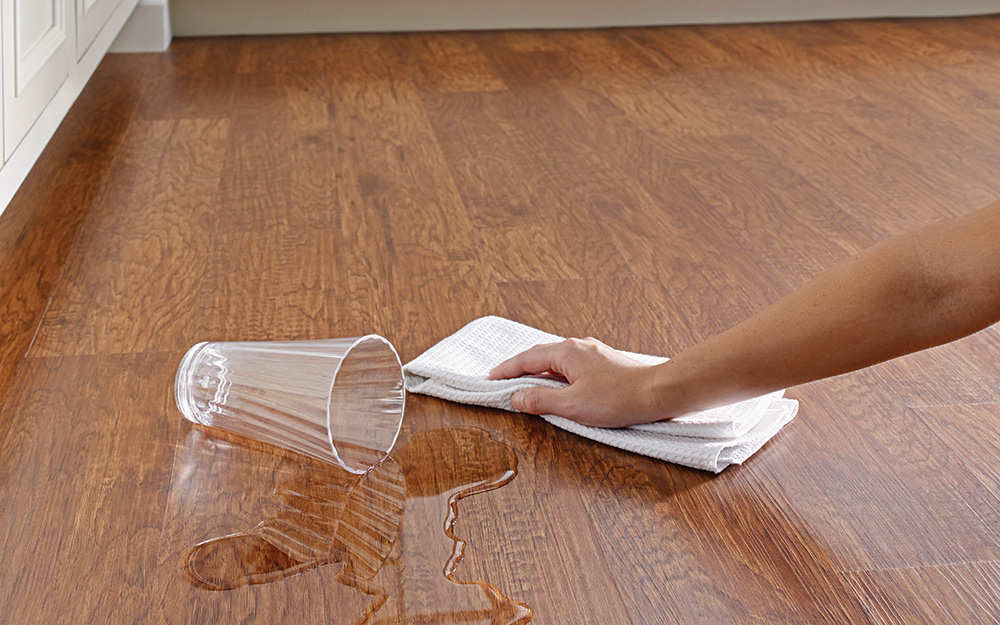
To keep your vinyl On vinyl flooring looking its best, it is important to regularly clean it. Sweep or vacuum the floor to remove any dirt or debris. Use a damp mop with a mild cleaner specifically designed for vinyl floors to remove any stains or spills. Avoid using harsh chemicals or abrasive cleaners, as they can damage the surface of the vinyl.
2. Protect from Scratches:
While vinyl flooring is durable, it is still susceptible to scratches from sharp objects or heavy furniture. Place felt pads under furniture legs to prevent scratching when moving them. Avoid dragging heavy items across the floor, and use rugs or mats in high-traffic areas to provide additional protection.
3. Avoid Excessive Moisture:
Vinyl flooring is water-resistant, but excessive moisture can still cause damage over time. Clean up spills immediately to prevent them from seeping into the seams or causing warping. Use mats or rugs in areas prone to moisture, such as entryways or kitchens, and wipe up any standing water promptly.
4. Prevent Sun Damage:
Prolonged exposure to direct sunlight can cause fading and discoloration of vinyl flooring. Use blinds or curtains to block out UV rays during peak sunlight hours, especially in rooms with large windows or glass doors.
5. Regular Maintenance:
In addition to regular cleaning, it is important to perform routine maintenance tasks to keep your vinyl on vinyl flooring in good condition. Trim and replace any damaged tiles or planks as needed. Inspect the floor for any signs of wear or loose edges and repair them promptly.