For individuals who want the look as well as age of the average hardwood floor but cannot imagine keeping maintenance up for the right look, engineered wood flooring could be only the answer you've been searching for. There are a few different finishes like oiled, un-oiled, smoked, un-smoked, un-lacquered and lacquered. When fitted either fit back foreign skirtings or if using present fit a wood beading to blanket the expansion gap.
Images about Wood Floor Crack Repair

However this luxury is going to come with a considerable cost because not only is it needed to pay for the cost of the actual wood flooring, you'll have to have into account the selling price of expert installation. Having said that, ensure you prepare your home for a wood floor prior to the set up. Not like if you place a tiled floor, there's no need to draw out the role of each timber board you lay.
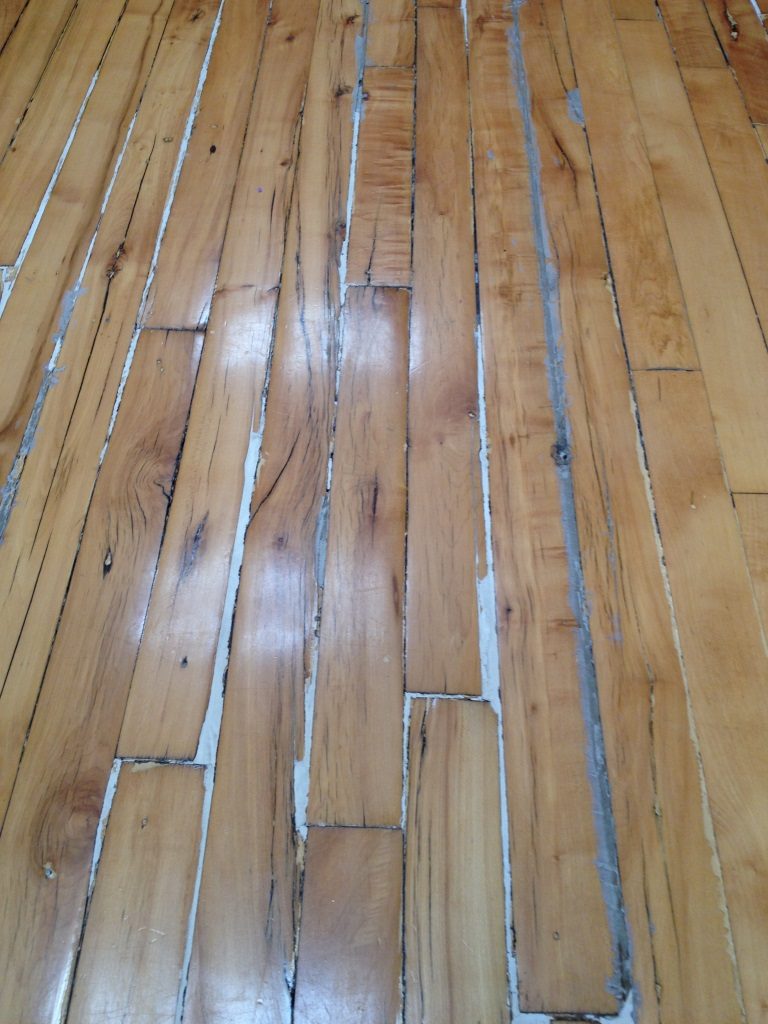
Filling Gaps in Prefinished Wood Floors – Floor Central

Lighter wood colors are ideal for proper living rooms and dining rooms, while darker shades are good for kitchens as well as family rooms. From household to exotic hardwoods, the selection of antique woods reclaimed from generations of long ago delivers endless charm as well as beauty that has had over 500 years to create. The colour of the wood you select will be contingent on your inside scheme as well as personal preferences.
Repairing and Filling Cracks in Hardwood Flooring with Epoxy and Sawdust

How to Repair Cracks in Wood Floors: 8 Steps (with Pictures)

How to fix swelled up crack in hardwood floor?? : r/howto

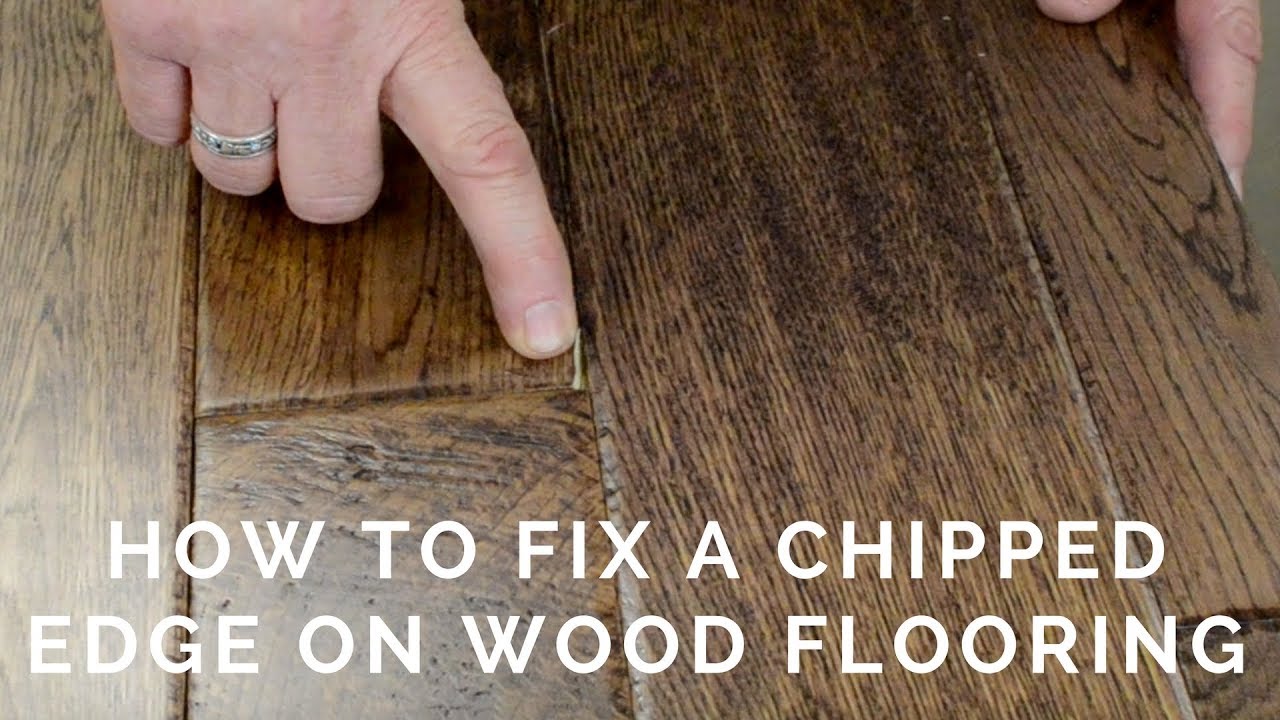
HOW TO FIX A CHIPPED WOOD FLOOR DIY Wood Floor Edge Chip Repair
How to Repair Cracks in Wood Floors: 8 Steps (with Pictures)

A very bossy article about using woodfiller on hardwood floors

How to repair your wood floors Kährs
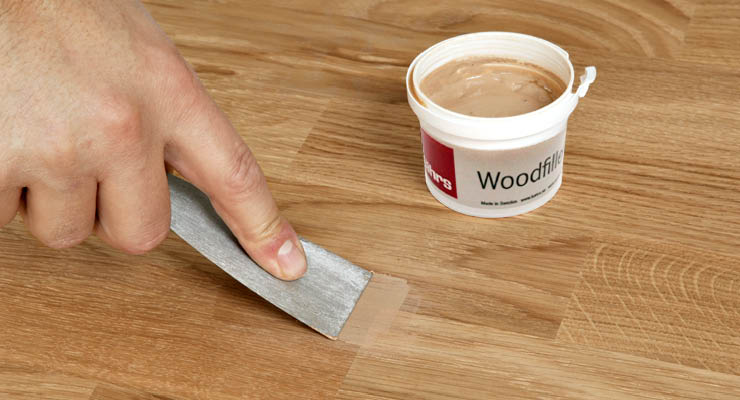
A very bossy article about using woodfiller on hardwood floors

Why has my hardwood floor cracked? – The Wood Flooring Guid

How to Fix Chipped Wood Floor in 9 Steps – This Old House
:no_upscale()/cdn.vox-cdn.com/uploads/chorus_asset/file/19617427/dutchman_secrets.jpg)
What Is A Wood Flooring Filler? » ESB Flooring » Floor Fillers
How to Repair Cracks in Wood Floors: 8 Steps (with Pictures)

Related Posts:
- Canadian Maple Engineered Wood Flooring
- Bordeaux Pine Wood Flooring
- Reclaimed Wood Flooring Ideas
- White Wood Floor Bathroom
- Outdoor Wood Flooring Planks
- Wood Floor Sealing Options
- Bamboo Solid Wood Flooring Reviews
- Wood Floors White Baseboards
- Can You Use Engineered Wood Flooring In A Bathroom
- Wood Floor Out Of Pallets
Wood Floor Crack Repair: Restoring the Beauty and Integrity of Your Flooring
Introduction:
Wood floors are renowned for their timeless beauty and durability. They add warmth and elegance to any space, whether it’s a cozy home or an upscale office. However, over time, wear and tear can take a toll on even the most well-maintained wood floors, leading to cracks that not only mar their appearance but also compromise their structural integrity.
In this comprehensive guide, we will delve into the world of wood floor crack repair, exploring various techniques, tools, and products that can help you restore your flooring to its former glory. Whether you are a seasoned DIY enthusiast or a homeowner looking for professional guidance, this article will equip you with the knowledge needed to tackle wood floor cracks confidently.
I. Understanding Wood Floor Cracks:
Before diving into the repair process, it is essential to understand the nature of wood floor cracks. These cracks can occur due to several factors, including changes in temperature and humidity levels, excessive moisture exposure, or simply the natural aging process of the wood.
a) Types of Wood Floor Cracks:
There are two primary types of cracks that can affect wood floors: surface-level cracks and structural cracks.
1. Surface-Level Cracks:
Surface-level cracks are relatively shallow and affect only the top layer of the wood. These cracks often appear as fine lines or small gaps between individual floorboards. While they may not pose an immediate threat to the structural integrity of your flooring, they can accumulate dirt and moisture over time, leading to more significant issues if left unaddressed.
FAQs:
Q1: Can surface-level cracks be repaired without professional help?
A1: Yes, surface-level cracks can be repaired using simple DIY techniques. We will discuss these techniques in detail later in the article.
2. Structural Cracks:
Structural cracks penetrate deeper into the wood and can extend through multiple layers of floorboards. These cracks may be wider and more noticeable than surface-level cracks, indicating a more severe underlying issue. If you notice structural cracks in your wood flooring, it is advisable to seek professional help to assess and address the problem promptly.
FAQs:
Q2: What are the common causes of structural cracks in wood floors?
A2: Structural cracks can be caused by various factors, such as excessive moisture exposure, inadequate subfloor support, or improper installation. A professional inspection can help determine the specific cause in your case.
II. DIY Wood Floor Crack Repair Techniques:
If you are confident in your DIY skills and have identified surface-level cracks in your wood flooring, you can attempt to repair them yourself. Here are some effective techniques for DIY wood floor crack repair:
a) Filling Cracks with Wood Putty or Filler:
One of the simplest methods to repair surface-level cracks is by using wood putty or filler. This technique is suitable for small to medium-sized cracks that do not extend through the entire depth of the wood.
1. Prepare the Crack:
Start by cleaning the crack and removing any dirt or debris using a soft brush or vacuum cleaner. This step ensures a clean surface for proper adhesion of the filler material.
2. Select the Right Product:
Choose a high-quality wood putty or filler that matches the color and grain of your flooring. This ensures a seamless blend and disguises the repaired area.
FAQs:
Q3: How do I choose the right color of wood putty/filler?
A3: When selecting a wood putty Or filler, it is best to choose a color that closely matches the color of your wood flooring. Some manufacturers provide color charts or samples to help you find the closest match. If you are unable to find an exact match, you can choose a slightly lighter shade, as it will darken over time and blend in better with the surrounding wood.
3. Apply the Filler:
Use a putty knife or a small spatula to fill the crack with the chosen wood putty or filler. Press the material firmly into the crack and smooth it out evenly. Remove any excess filler using the edge of the putty knife or a damp cloth.
4. Allow for Drying and Sanding:
Follow the manufacturer’s instructions for drying time. Once the filler is dry, use fine-grit sandpaper to sand down the repaired area until it is level with the surrounding wood. This will create a smooth and seamless finish.
5. Finish and Protect:
Apply a coat of protective finish or sealant over the repaired area to protect it from further damage and ensure its longevity. Follow the manufacturer’s instructions for application and drying time.
b) Using Epoxy Resin:
For larger cracks or structural cracks that require a stronger repair solution, epoxy resin can be used.
1. Prepare the Crack:
Clean out any debris or loose wood particles from the crack using a chisel or scraper. It is important to create a clean and stable surface for the epoxy resin to adhere to.
2. Mix Epoxy Resin:
Follow the manufacturer’s instructions to mix epoxy resin with its hardener in the correct proportions. Thoroughly mix them together until they form a uniform consistency.
3. Fill the Crack:
Using a putty knife or spatula, apply the mixed epoxy resin into the crack, ensuring it fills the entire depth and width of the crack. Smooth out the surface of the resin to match the surrounding wood.
4. Allow for Curing:
Leave the epoxy resin to cure according to the manufacturer’s instructions. This typically takes several hours or overnight. Avoid walking on or placing heavy objects on the repaired area during this time.
5. Sand and Finish:
Once the epoxy resin is fully cured, use fine-grit sandpaper to sand down the repaired area until it is level with the surrounding wood. Apply a protective finish or sealant to protect and enhance the appearance of the repaired area.
These DIY techniques can effectively repair surface-level cracks in wood floors and restore their appearance. However, it is important to note that if you have structural cracks or are unsure about your ability to repair them yourself, it is best to seek professional help to avoid further damage or safety hazards.