This article zeroes in on several of the issues and solutions that you could need to contend with concerning the dog of yours and the hardwood floor of yours. Engineered floors is pre-coated which makes it more resistant to scratches and provides for greater longevity. If you read through the entire warranty and all of the exclusions it really gives the client the suggestion that there's actually no warranty at all.
Images about Cupped Hardwood Floor Drying
Prior to getting into the helpful suggestions on hardwood flooring, it is only right to initially explore exactly why you will prefer to think about this flooring type in the very first spot. In the event you did a genuinely great job of installing your hardwood flooring making use of the glue down technique, you will not encounter nearly as a lot of creaky floor syndrome as you would along with other methods of set up.
cupped hardwood floors
In contrast to any other techniques which basically require you to be an amateur carpenter or even an experienced carpenter, the nail downwards strategy on how to add hardwood flooring can easily be accomplished by anyone who could swing a hammer. to be able to keep the hardwood flooring free of dirt, you must continue floor mats inside the doorways. These floors will sometimes feel like you are walking on a bubble.
Wood Floor Cupping Cause and Effect – Floor Central

cupped hardwood floors

What Causes Wood Floor Cupping u0026 What To Do – YouTube

Patience Rewards Hardwood Floor Drying – Cleanfax

Wood Floor Cupping: Why Does it Happen u0026 What Can You Do? Wood
A Quick and Easy Way to Repair Buckled Hardwood Flooring

5 FAQs About Repairing Water Damaged Floors – Signature Hardwood

Hardwood Floor Water Damage Problems Water Damage Restoration
Water Damaged Wood Floors – Repairing Cupped Hardwood Floors R4

What is Peaking, Buckling, and Cupping in Wood Floors

What should I do if my wood floors are wet: A ServiceMaster
How to Repair Hardwood Floor Water Damage Step by Step
Related Posts:
- Hardwood Floor Sander Edger
- Hitachi Hardwood Floor Nailer
- Shark Navigator Professional Hardwood Floor Vacuum Cleaners
- Hardwood Floor With Tile Border
- Freeman Hardwood Flooring Nailer
- Prefinished Hardwood Floor Cleaning Tips
- Brazilian Redwood Hardwood Flooring Review
- Engineered Hardwood Flooring Vs Hardwood Cost
- Dark Hardwood Floors And Dogs
- Installing Hardwood Floors On Osb Subfloor
Cupped Hardwood Floor Drying: Restoring Your Flooring to its Former Glory
Introduction:
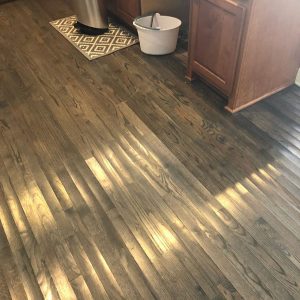
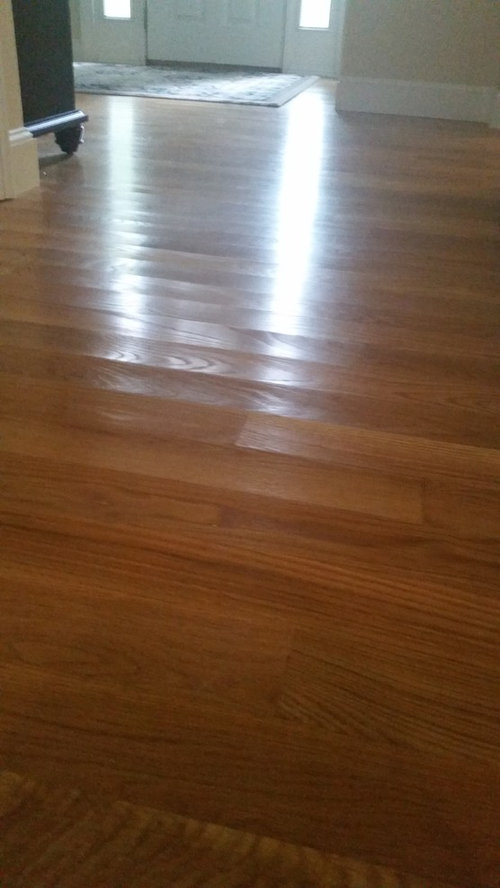
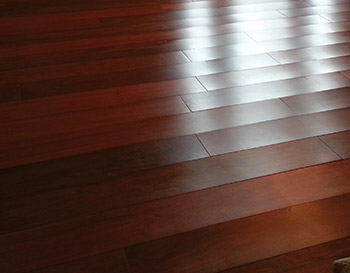
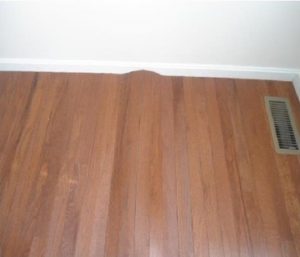
Hardwood floors are known for their timeless beauty and durability. However, even the sturdiest of hardwood floors can suffer from cupping, a common issue caused by moisture imbalance. Cupping occurs when the edges of the floorboards are higher than the center, creating a concave surface. If left untreated, cupped hardwood floors can lead to more serious problems such as warping and buckling. In this article, we will explore the causes of cupping, the drying process, and steps you can take to restore your hardwood floor to its former glory.
Understanding Cupping:
Cupping is a natural response of hardwood flooring to moisture changes in its environment. When excess moisture is present, the wood absorbs it and expands. As a result, the edges of the floorboards rise higher than the center, causing them to cup. Cupping can occur due to various factors such as high humidity levels, water leaks, or inadequate subfloor moisture barriers. It is essential to address cupping promptly to prevent further damage and ensure the longevity of your hardwood floor.
Causes of Cupping:
1. High Humidity Levels: Excessive humidity in your home can cause cupping in hardwood floors over time. Moisture from the air seeps into the wood fibers, leading to expansion and cupping. It is crucial to maintain optimal humidity levels between 35% and 55% to prevent cupping issues.
2. Water Leaks: Undetected water leaks can wreak havoc on hardwood floors. Whether it’s a leaking pipe or an unnoticed spill that seeps into the flooring, prolonged exposure to water can cause severe cupping issues. Identifying and fixing water leaks promptly is crucial in preventing further damage.
3. Inadequate Subfloor Moisture Barriers: A proper moisture barrier between the subfloor and hardwood flooring is essential to prevent moisture-related issues such as cupping. If the subfloor lacks a moisture barrier or if it is improperly installed, moisture can seep through and affect the hardwood flooring above.
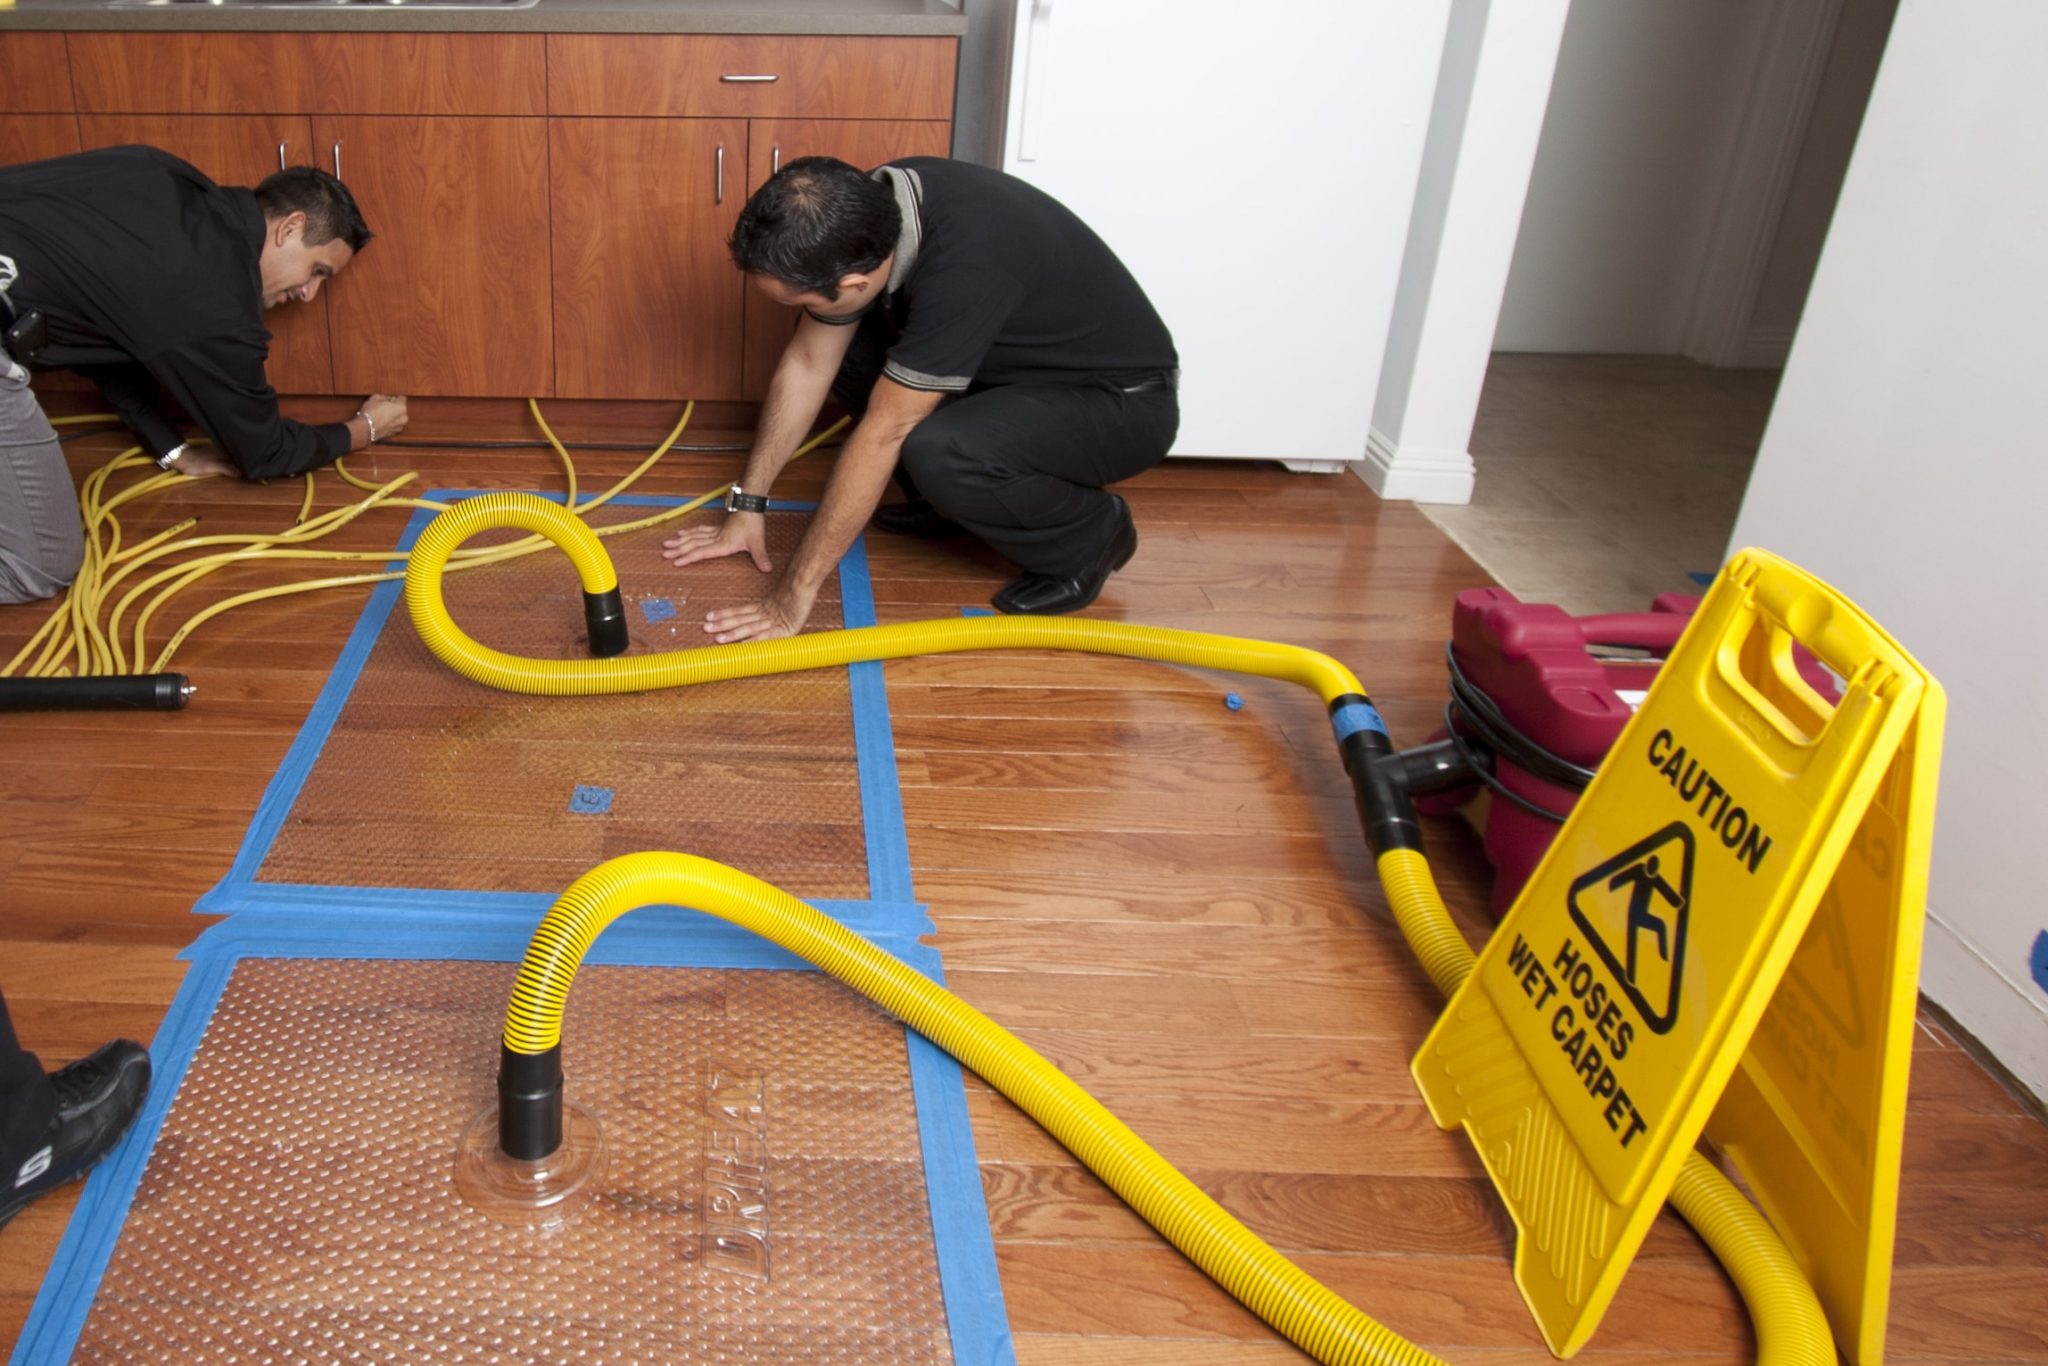
Drying Process for Cupped Hardwood Floors:
1. Identifying the Source of Moisture: Before beginning the drying process, it is vital to identify and address the source of moisture causing cupping in your hardwood floor. This could involve fixing water leaks, improving ventilation, or addressing high humidity levels in your home.
2. Removing Standing Water: If there is any standing water on your cupped hardwood floor, it must be removed promptly. Utilize a wet vacuum or towels to soak up the water. Ensure that all excess moisture is removed before proceeding with drying techniques.
3. Promoting Airflow: Enhancing airflow around the affected area is crucial for effective drying. Open windows and doors to encourage natural air circulation, and use fans or dehumidifiers to expedite the process. Position the fans in a way that directs air across the surface of the cupped flooring.
4. Dehumidification: To facilitate faster drying, consider using dehumidifiers specifically designed for hardwood floor drying. These devices extract excess moisture from the air, aiding in the restoration process. Place dehumidifiers strategically throughout the affected area for optimal results.
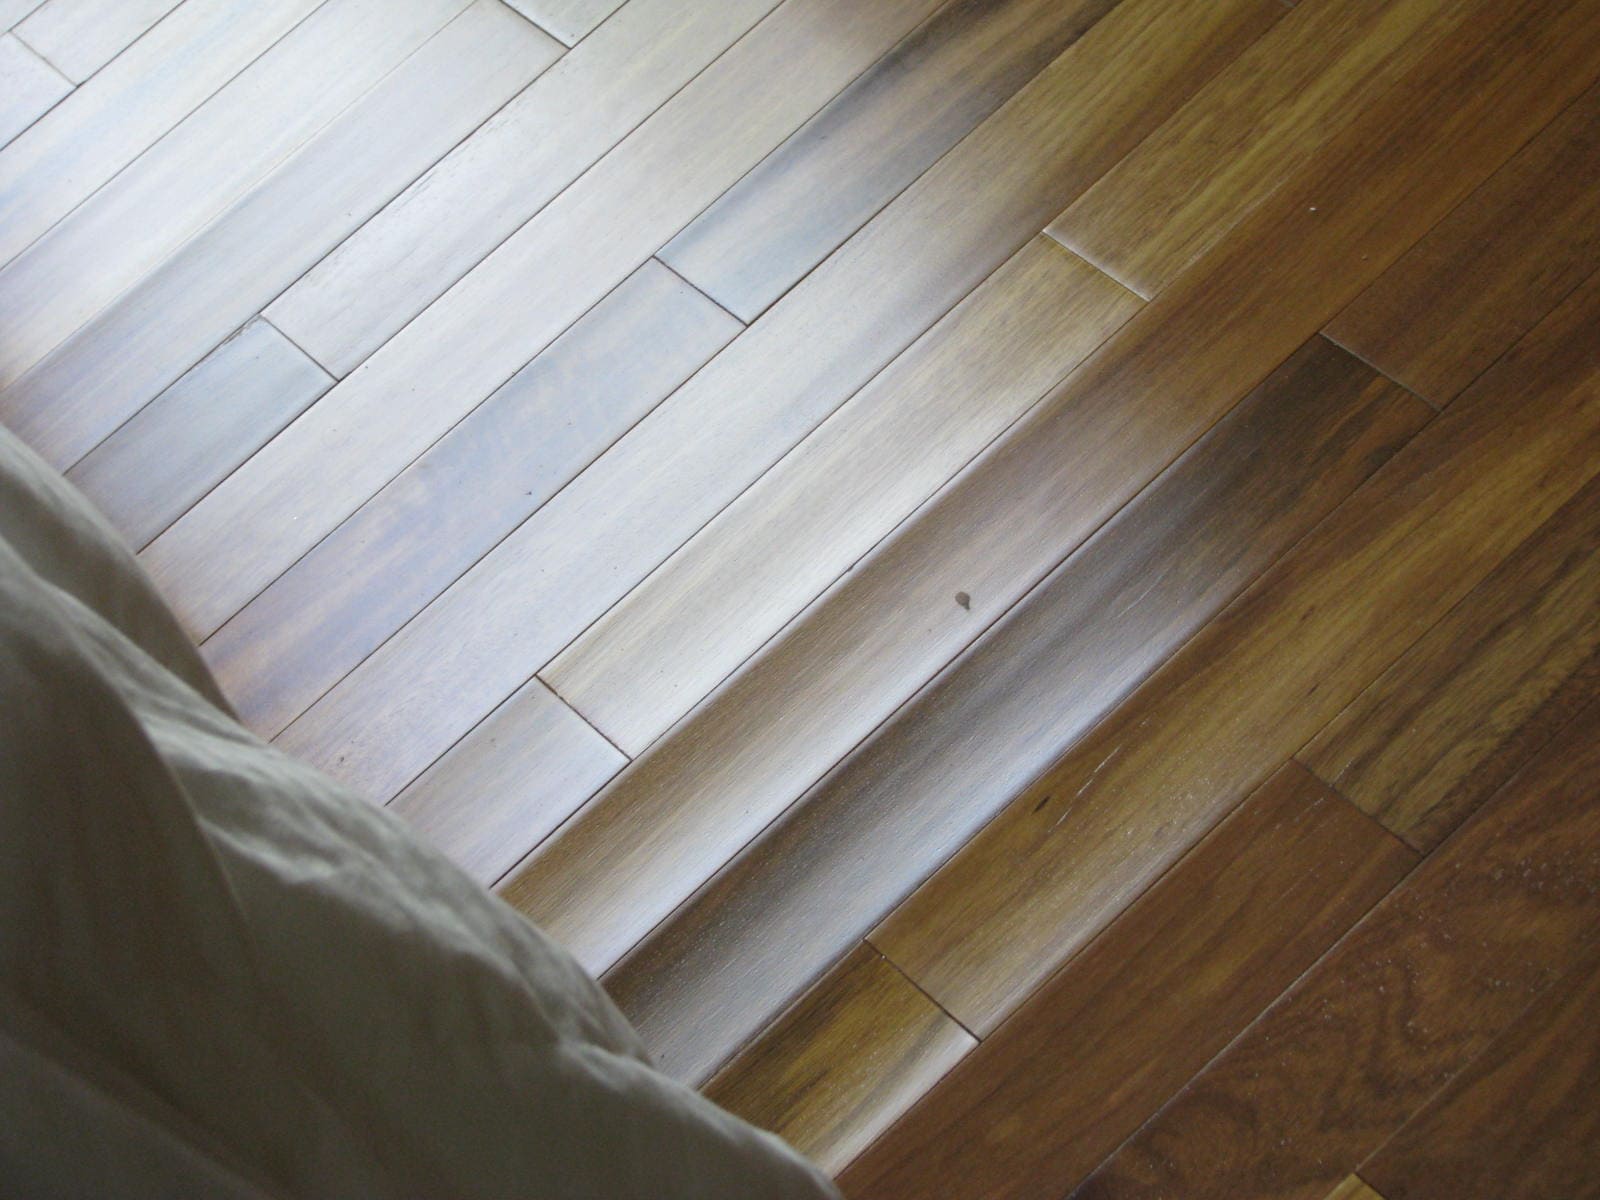
5. Monitoring Moisture Levels: Regularly monitor moisture levels in both the environment and wood flooring during the drying process. Moisture meters can be used to assess moisture content in both the subfloor and hardwood Flooring. This will help determine if the drying process is effective and when it is safe to proceed with repairs or refinishing.
6. Reversing Cupping: Once the hardwood floor is thoroughly dried, measures can be taken to reverse the cupping. This may involve sanding down the raised edges of the affected boards to level them with the rest of the floor. It is recommended to consult a professional flooring contractor for this step to ensure proper techniques and results.
Preventing Cupping in Hardwood Floors:
1. Maintain Optimal Humidity Levels: Invest in a humidity monitor and use a dehumidifier or humidifier as needed to keep humidity levels between 35% and 55%. This will help prevent excessive moisture absorption by the hardwood flooring.
2. Fix Water Leaks Promptly: Regularly inspect your home for any signs of water leaks, such as damp spots or water stains. Address any leaks immediately to prevent prolonged exposure of the hardwood floors to moisture.
3. Install Proper Subfloor Moisture Barriers: Ensure that a suitable moisture barrier is installed between the subfloor and hardwood flooring during installation or renovation projects. This will help prevent moisture from seeping into the wood fibers and causing cupping.
4. Avoid Excessive Wet Cleaning: When cleaning hardwood floors, avoid using excessive amounts of water or wet mops that can saturate the wood. Instead, opt for damp mopping or using specialized hardwood floor cleaners that are designed to minimize moisture exposure.
5. Regular Maintenance and Inspections: Regularly inspect your hardwood floors for any signs of cupping, warping, or other moisture-related issues. Promptly address any concerns to prevent further damage and ensure the longevity of your flooring.
In conclusion, cupping in hardwood floors can be caused by high humidity levels, water leaks, or inadequate subfloor moisture barriers. It is important to address cupping promptly through a drying process that involves identifying and addressing the source of moisture, removing standing water, promoting airflow, using dehumidifiers, and monitoring moisture levels. Taking preventive measures such as maintaining optimal humidity levels, fixing water leaks promptly, installing proper moisture barriers, avoiding excessive wet cleaning, and conducting regular maintenance and inspections can help prevent cupping in hardwood floors.