Tile goes with other flooring. That is one of the major reasons why houses even in contemporary times, choose tile flooring, even when they've so many other choices offered to them similar to carpeting. Numerous hardware stores have tile for the floor cutters which you are able to utilize or perhaps lease for 1 day. Obviously one would need to give some thought to quality, design and brand too.
Images about Do It Yourself Tile Floor
You are able to get a handcrafted look for your floors with this type of tile. Mortar will come up with the sides of this tile, but this can conveniently be wiped away. They have the matte finish, clear, opaque, see through, shiny, frosted , plain and along with other etchings. Wood floors having a high gloss look beautiful but think that floor consistently getting damp and spilled on! It'll eventually rot and warp. Ceramic tiles are a great add-on to each home.
How to DIY Install Floor Tile – Building Our Rez
You are able to even get price mailing list on the various kind of marble floor tiles. You are able to obtain or checkout books as well as videos, and you are able to speak with hardware store personnel. Installation of the tiles of yours is now full. They can be broken by original scoring each side with a glass cutter, and after that snapped having a pair of pliers. This can be a pretty huge task, and at times actually a surprise work.
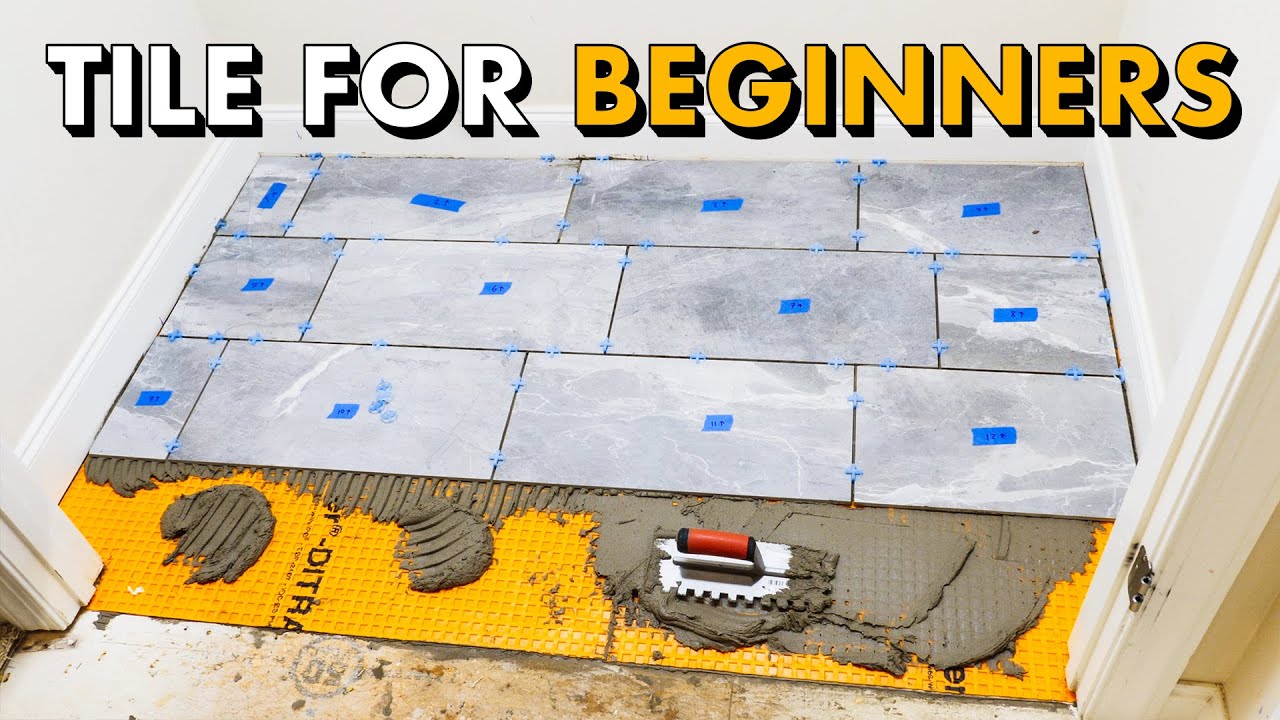
Tile Floor 101 Step by Step How to Install Tile for the First Time

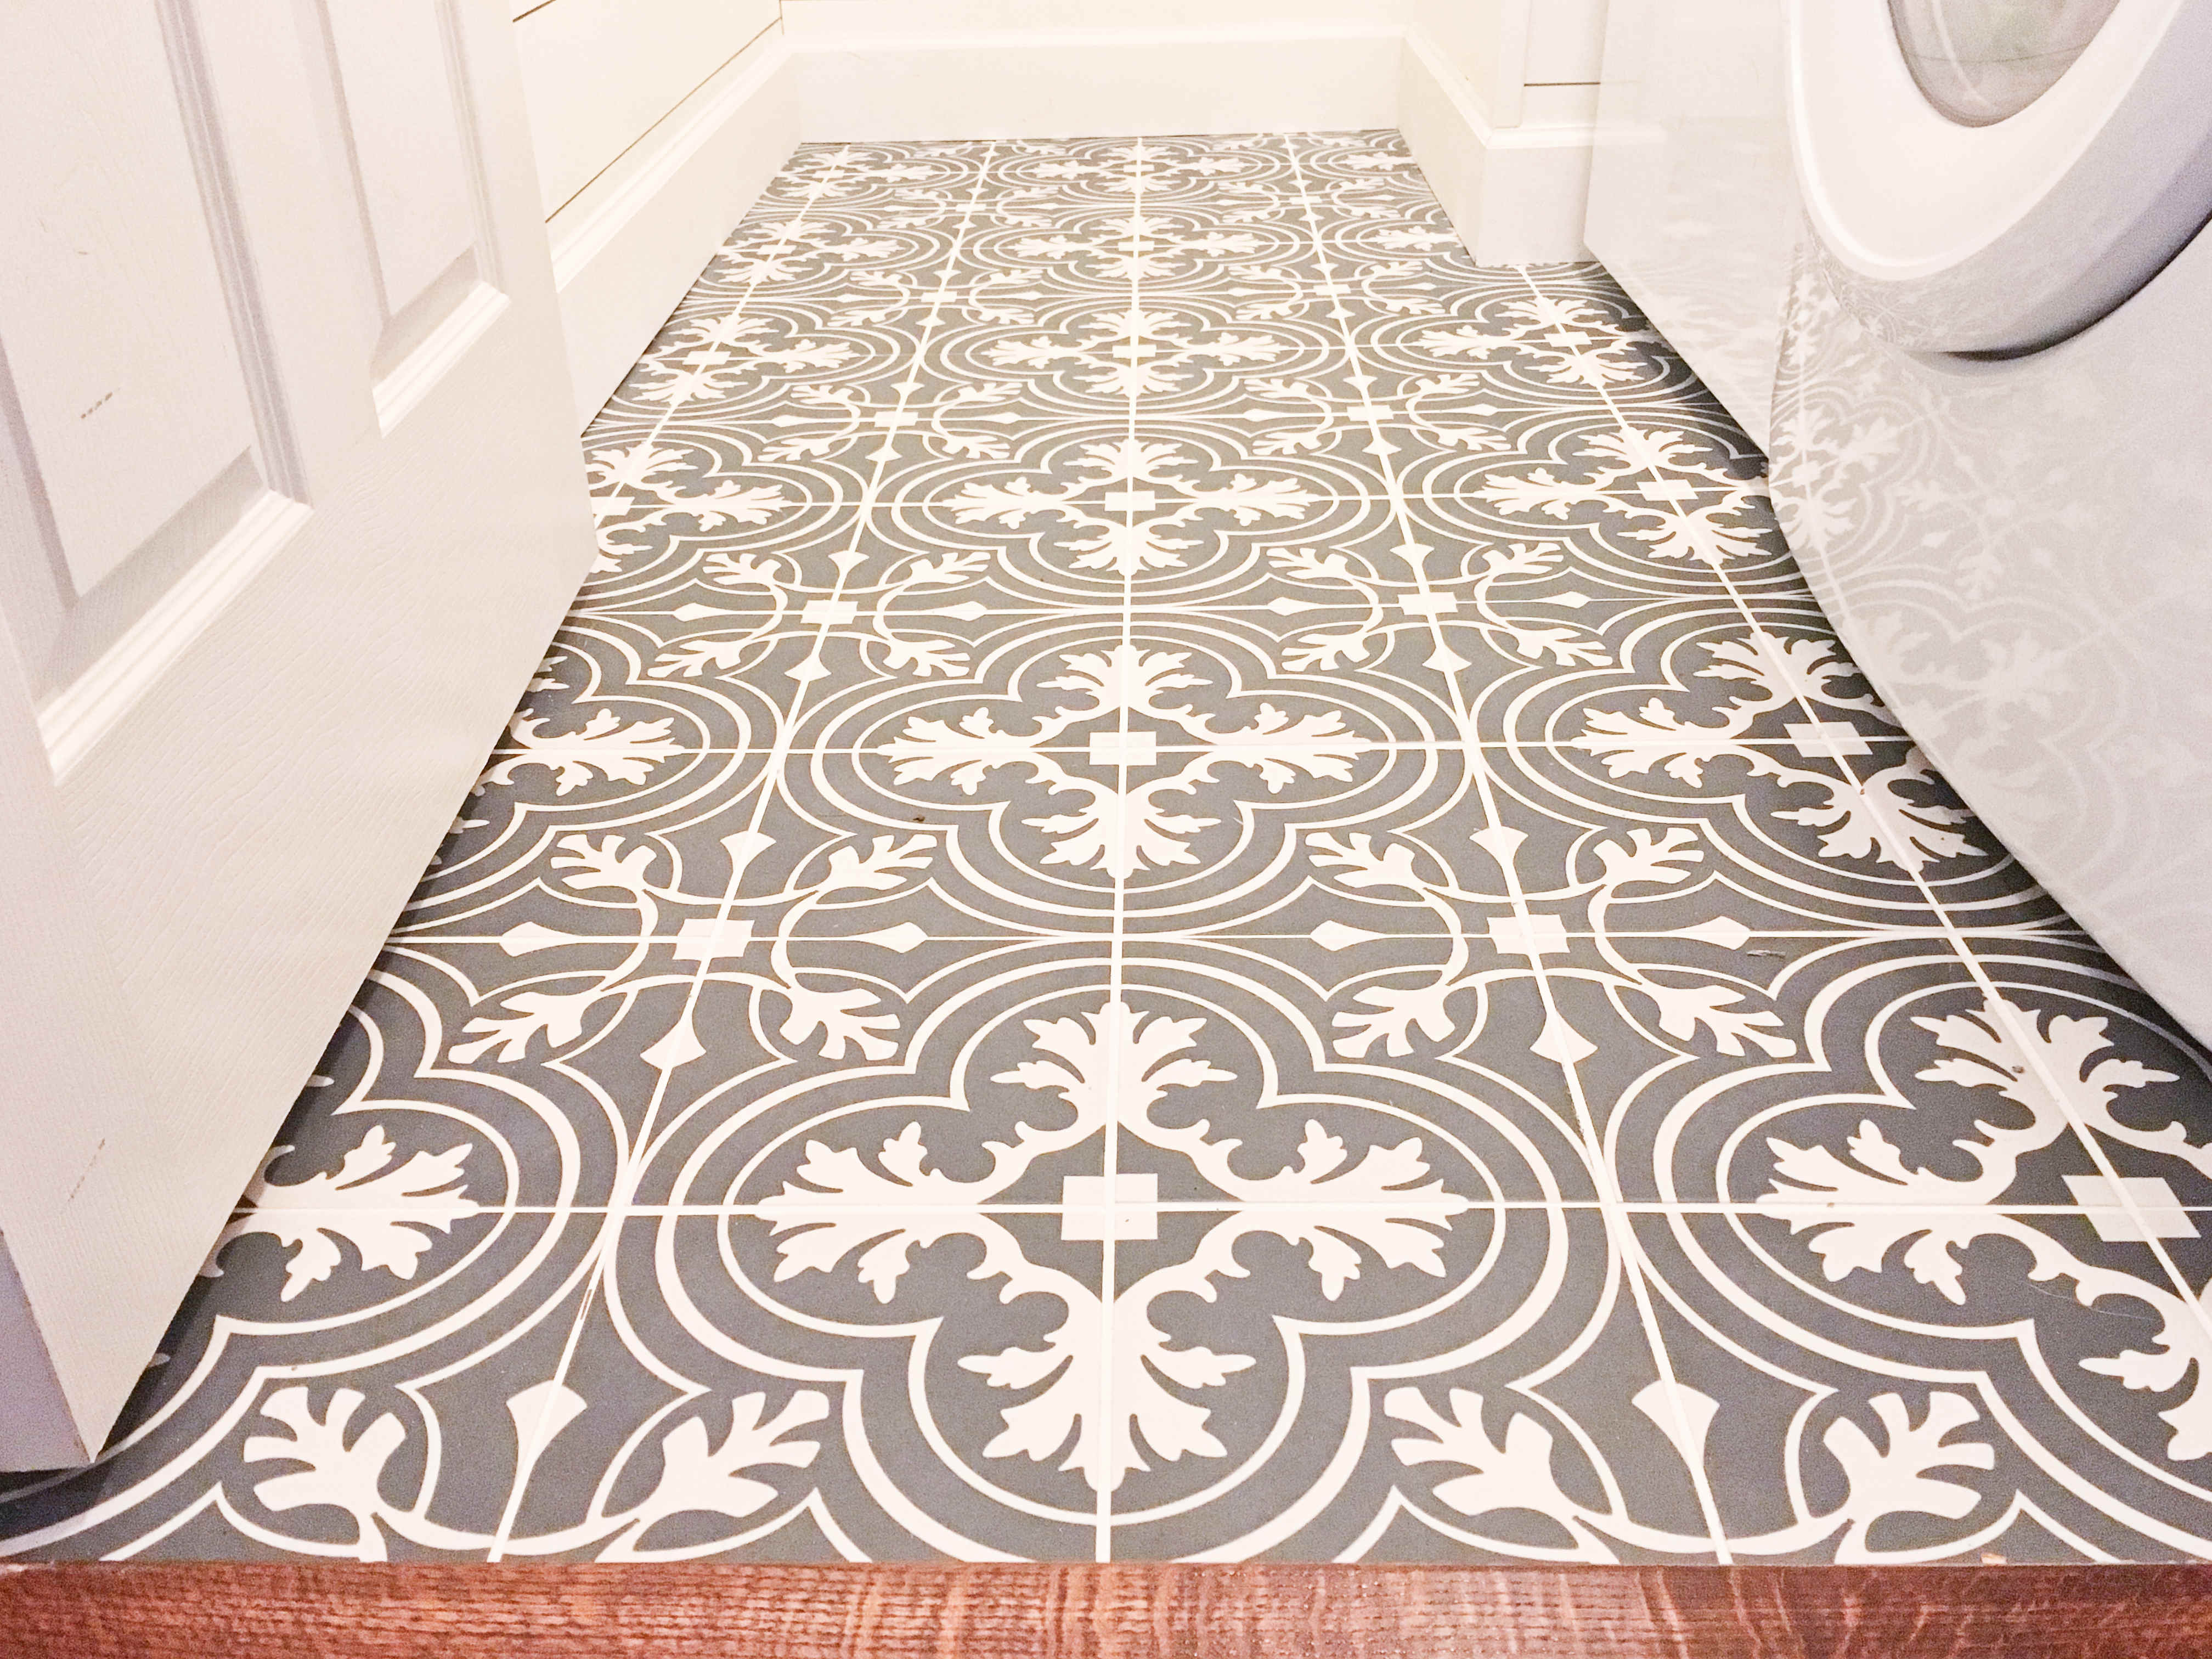
How To Update Your Bathroom Floor Tiles – 6 DIY ideas

DIY Tiling u2013 Is it Worth it? Networx

How to Install a Tile Floor
Tips and Troubleshooting When Tiling a House Yourself
/how-hard-is-it-to-lay-tile-1822606-hero-f968495a39804d2f82df3e00d9f2b6f6.jpg)
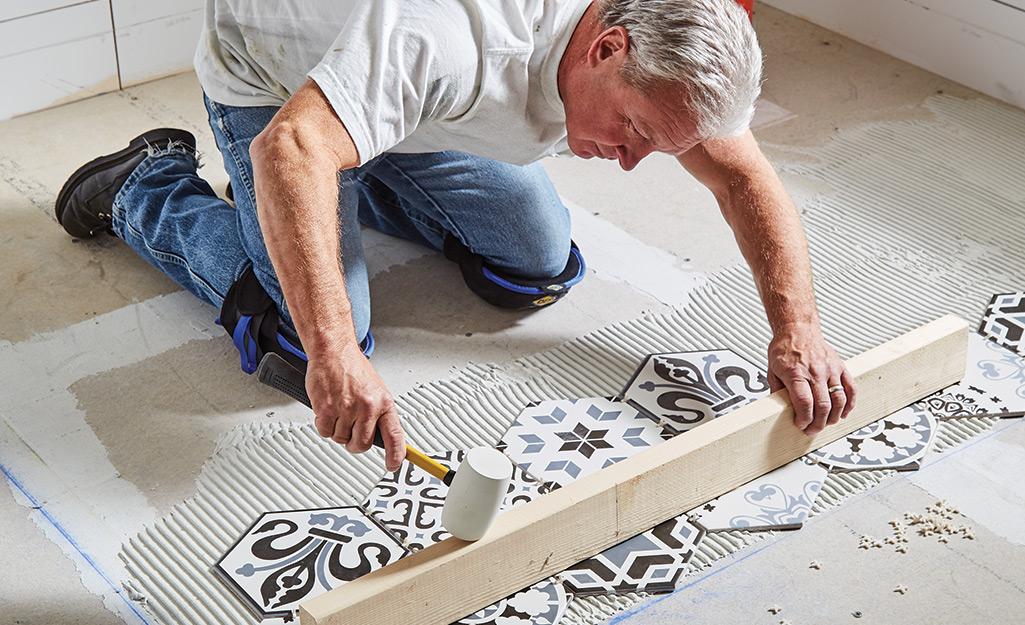
How to Install Ceramic Tile Flooring in 9 Steps – This Old House
/cdn.vox-cdn.com/uploads/chorus_asset/file/19497110/howto_tile_07.jpg)
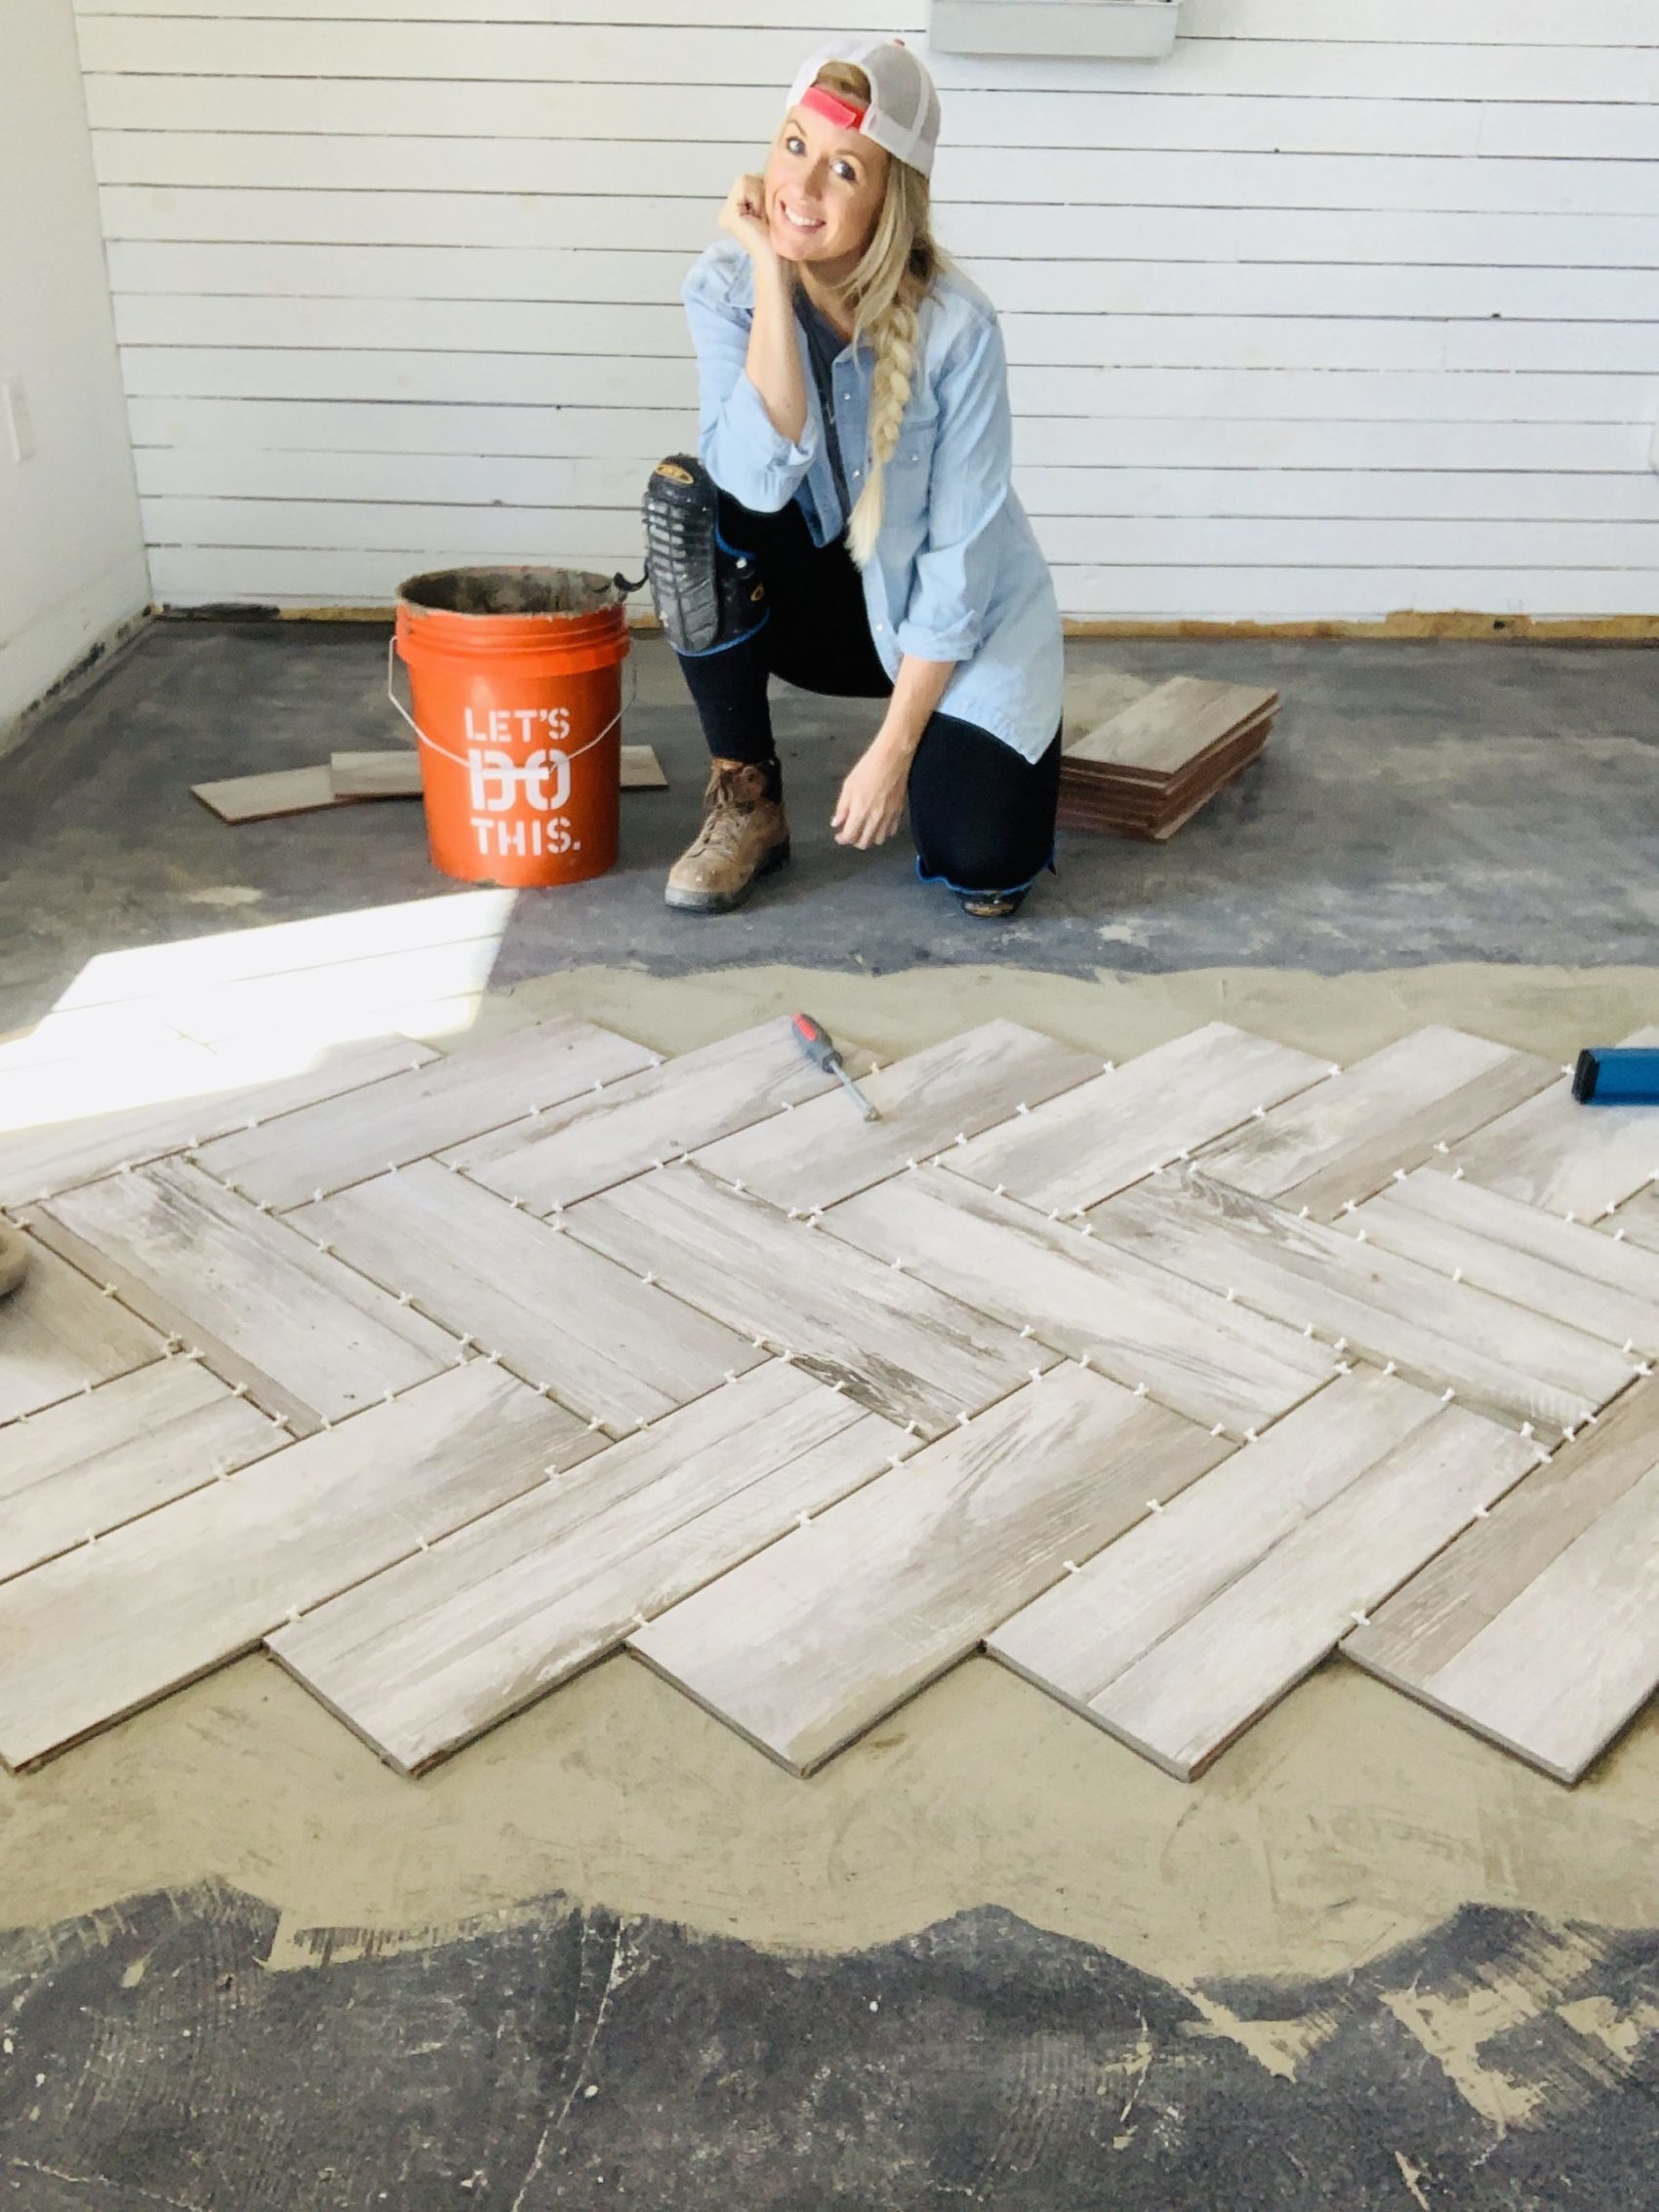
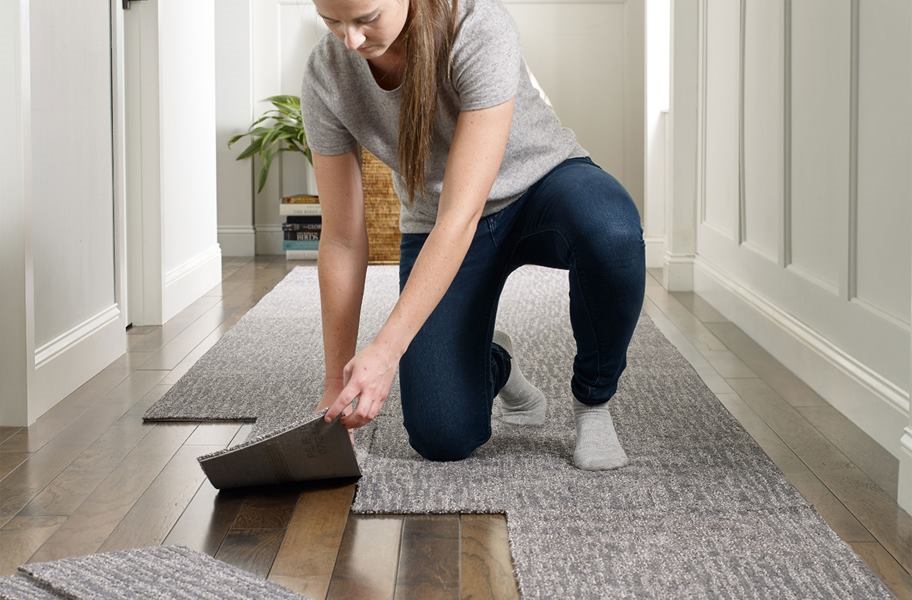
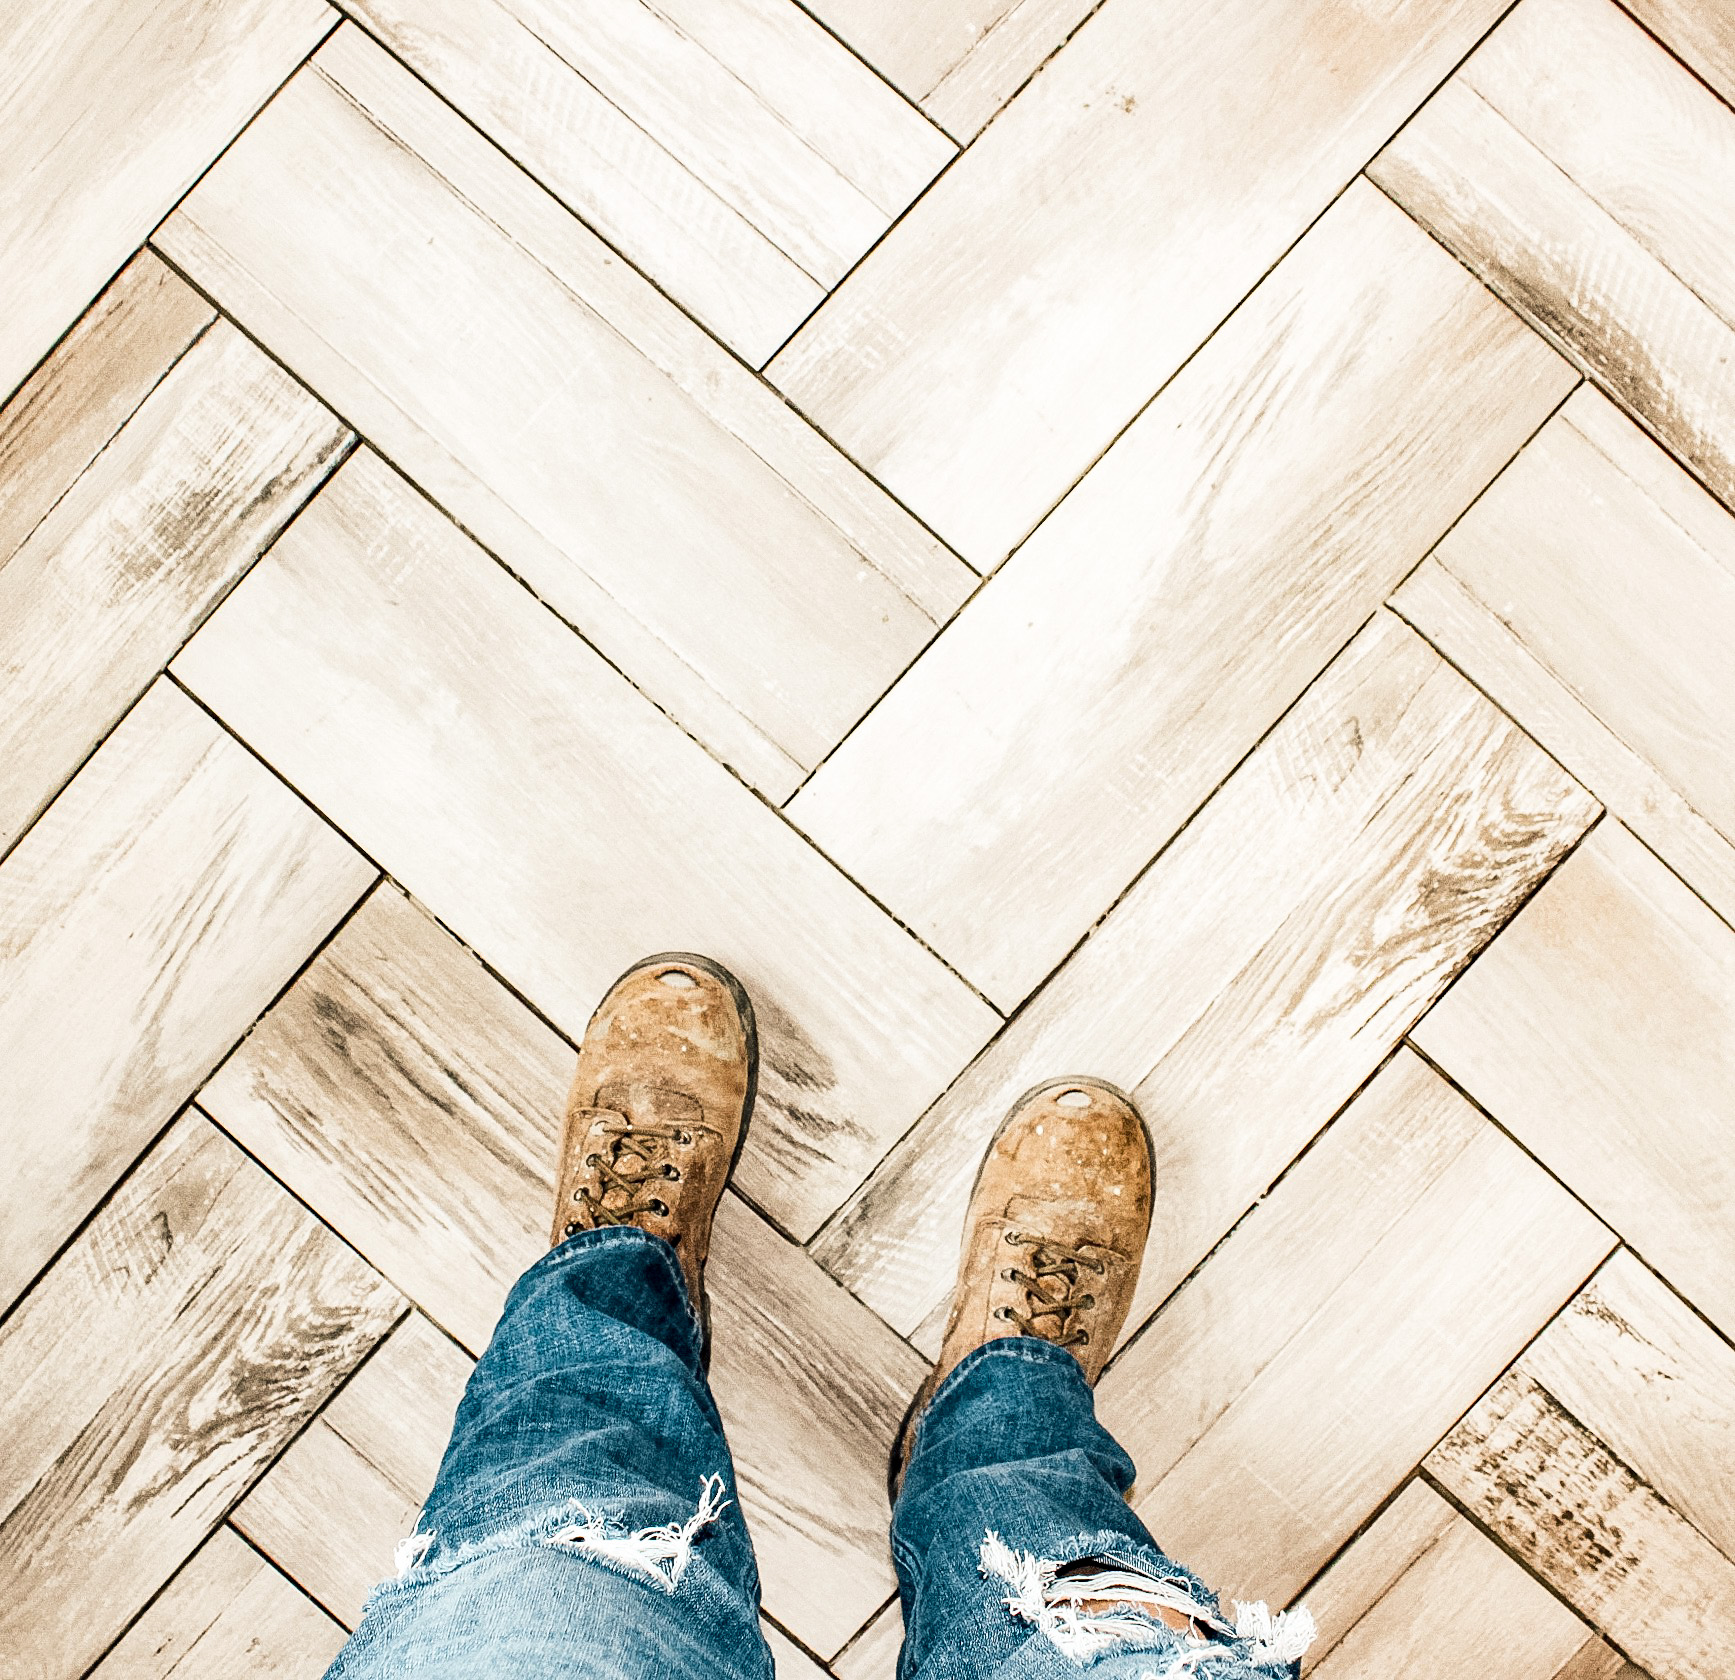
DIY Herringbone Tile Flooring Fletcher Creek Cottage
How To Update Your Bathroom Floor Tiles – 6 DIY ideas

Easiest 5 DIY Flooring Solutions: Learn to Install Flooring On
How to Install a Tile Floor
DIY Herringbone Tile Flooring Fletcher Creek Cottage
How to Install Ceramic Floor Tile
:max_bytes(150000):strip_icc()/Installing-Ceramic-Floor-Tile-86464768-583ffd0d5f9b5851e5eac8c0.jpg)
Related Posts:
- Bissell Tile Floor Scrubbers
- Breaking Up Tile Floor
- How To Clean Dingy Tile Floors
- Bona Mops For Tile Floors
- Faux Ceramic Tile Flooring
- Replace Toilet Flange Tile Floor
- How To Clean And Shine Ceramic Tile Floors
- Cover Bathroom Tile Floor
- Zebra Tile Flooring
- Gray Penny Tile Floor
Do It Yourself Tile Floor: A Comprehensive Guide to Transforming Your Space
Introduction:
When it comes to home renovations, few things can make as big of an impact as updating your flooring. And if you’re looking for a versatile, durable, and stylish option, tile flooring is the way to go. While hiring a professional to install tile floors can be costly, doing it yourself can save you money and give you the satisfaction of completing a project on your own. In this comprehensive guide, we will walk you through each step of the process, from selecting the right tiles to grouting and sealing, ensuring that your DIY tile floor turns out just as stunning as a professional installation.
I. Planning and Preparation:
Before diving into any DIY project, proper planning and preparation are essential. When it comes to installing a tile floor, there are several key steps to consider.
a) Measuring and Estimating:
The first step in planning your DIY tile floor is accurately measuring your space and estimating the number of tiles needed. Measure the length and width of the room, multiply these measurements together to determine the square footage, and add 10% for waste. Keep in mind that different tile sizes may require different amounts of waste due to cuts and adjustments.
FAQ: How do I calculate the number of tiles I need?
To calculate the number of tiles needed, divide the total square footage by the size of one tile (in square feet). Round up to account for any partial tiles required at the perimeter.
b) Choosing Tile Types and Styles:
Tiles come in various materials, sizes, shapes, and finishes. The choice depends on personal preference and practical considerations such as durability and maintenance requirements.
– Ceramic Tiles: These affordable tiles are available in a wide range of styles and colors. They are relatively easy to install but can be prone to chipping.
– Porcelain Tiles: Known for their strength and durability, porcelain tiles are an excellent choice for high-traffic areas. They are available in various finishes, including matte, glossy, and textured.
– Natural Stone Tiles: Options like marble, granite, and travertine exude elegance and timeless beauty. However, natural stone tiles require more maintenance and can be more expensive.
FAQ: Can I install tile over an existing floor?
In most cases, it is possible to install tile over an existing floor. However, it is crucial to ensure that the existing floor is stable, clean, and free of any damage or unevenness. It may be necessary to remove certain types of flooring, such as carpet or laminate, before laying tile.
c) Gathering Tools and Materials:
To tackle a DIY tile floor project successfully, you’ll need a variety of tools and materials. Here are some essentials:
– Tile Saw: A wet tile saw or a snap cutter will help you make precise cuts.
– Trowel: Choose a notched trowel suitable for your tile size to ensure proper adhesive application.
– Grout Float: This tool helps spread grout evenly across the tiles.
– Level and Measuring Tape: These tools are essential for ensuring your tiles are laid straight and level.
– Spacers: Use plastic spacers to maintain consistent spacing between tiles.
– Adhesive and Grout: Select adhesives and grouts appropriate for your chosen tiles and the specific area of installation.
– Safety Gear: Don’t forget safety goggles, gloves, knee pads, and dust masks to protect yourself during the installation process.
II. Preparing the Subfloor and Layout:
Before installing the tiles, it is important to prepare the subfloor and plan the layout.
a) Subfloor Preparation:
The subfloor should be clean, dry, and level. Remove any existing flooring, nails, or adhesive residue. Repair any cracks or uneven areas on the subfloor.
b) Layout Planning:
Start by finding the center of the room. Measure and mark this point on each wall. Use a chalk line or straightedge to connect the marks and create two perpendicular lines intersecting at the center of the room.
c) Dry Layout:
Lay out a few rows of tiles without adhesive to visualize how they will fit in the space. This will allow you to make adjustments and determine if any cuts or adjustments are necessary.
III. Installing the Tiles:
Once you have prepared the subfloor and planned the layout, you can start installing the tiles.
a) Applying Adhesive:
Follow the manufacturer’s instructions for mixing and applying adhesive. Use a notched trowel to spread adhesive evenly on a small area of the subfloor.
b) Placing Tiles:
Start at the intersection of your layout lines and press the first tile firmly into the adhesive. Place plastic spacers between each tile to maintain consistent spacing. Continue laying tiles in rows, working outward from the center.
c) Cutting Tiles:
Use a wet tile saw or snap cutter to make any necessary cuts to fit tiles around obstacles or along edges. Measure carefully and mark the tile before making the cut.
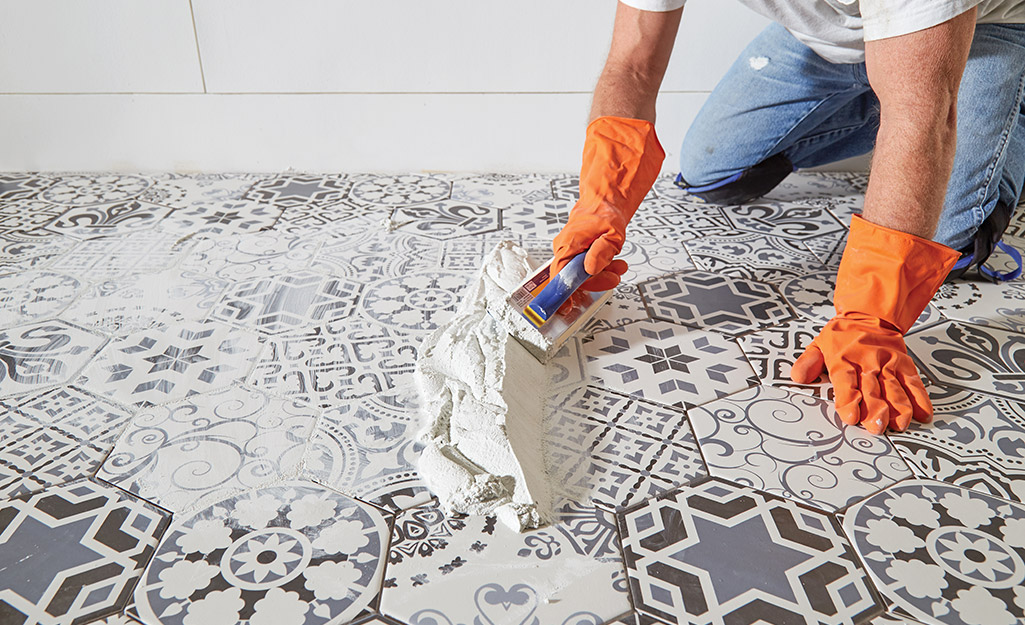
d) Applying Grout:
Once all the tiles are in place and the adhesive has dried, remove the plastic spacers. Mix grout according to the manufacturer’s instructions and use a grout float to spread it across the tiles at a 45-degree angle. Remove excess grout with a damp sponge.
e) Sealing:
If you are using natural stone tiles, it is recommended to apply a sealer after the grout has dried to protect the surface.
IV. Finishing Touches:
After the tiles are installed and grouted, there are a few final steps to complete your tile floor project.
a) Cleaning:
Thoroughly clean the tiles and remove any grout haze or residue using a tile cleaner or vinegar solution.
b) Curing Time:
Allow the grout to cure for the recommended time before walking on the floor or applying any additional sealant or polish.
c) Maintenance:
Follow proper maintenance practices for your specific tile type. Regularly clean and sweep the floor, and avoid using abrasive cleaners or tools that could damage the tiles.<