If you plan to sell your house or perhaps place it up for rent, in that case you're guaranteed to find an even better resale value for tile flooring houses rather than any flooring type. As a result of this particular changeability, tiles are excellent for all those people which wish to change the style of a floor.
Images about Breaking Up Tile Floor
Floors which get damp like bathtubs and kitchens need to be of incredibly durable products as well as ceramic tile floors fits the bill perfectly. Grout is able to have a tremendous influence on tile flooring's lifetime. For example, they might make use of carpet floors in the rooms which don't have windows or other sources through which sunlight or maybe dust could very well are available in and use tiles in some other rooms.
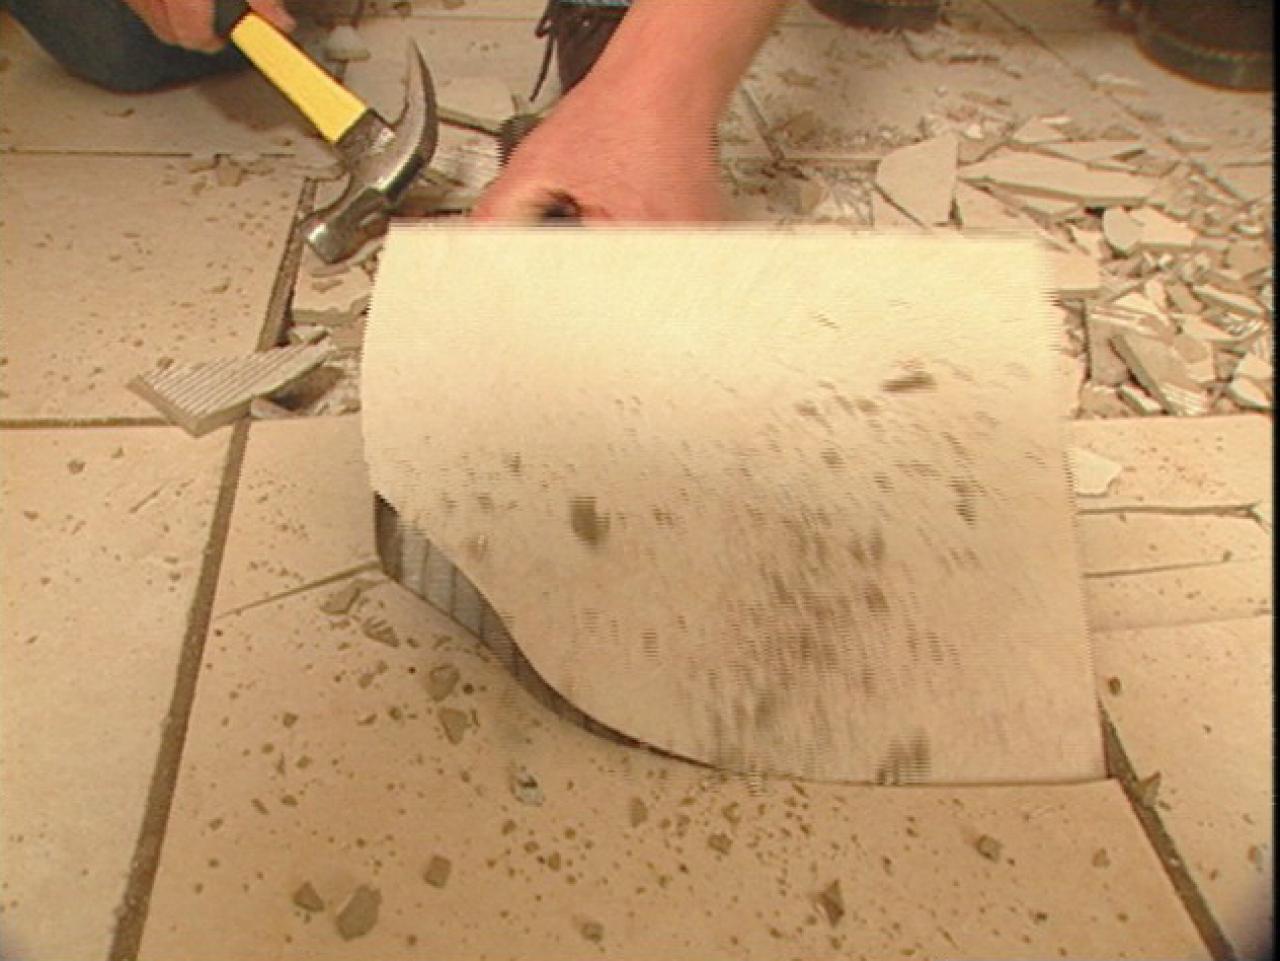
How to Remove a Tile Floor HGTV
Grout the ceramic tile flooring, and wipe off any grout that will get on the tile. You are able to alter the accessory floor tiles by removing it and having them replaced with the new ones. They need twice as rigid a floors as ceramic. To start off of all don't use some sort of abrasive because it could create scratches on the floor. The tiles can be snapped by hand or perhaps with tile nippers, tile cutters or using a damp saw.
How to Remove Tile Flooring Yourself {with Tips and Tricks} All
A DIY Guide to Removing Tile Floor – Moving.com

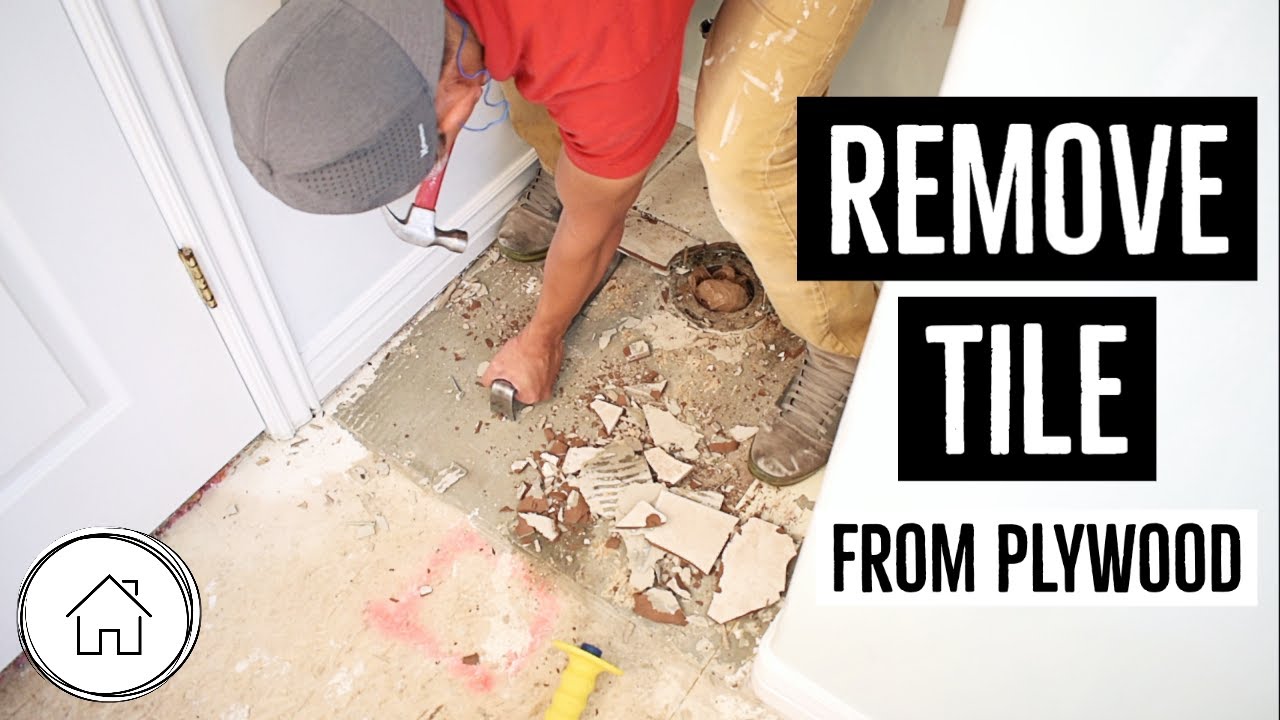
How To Remove A Tile Floor and Underlayment
How To Remove Tile – Kitchen Infinity

How to Remove Tile the Easy Way – Like a Pro PTR

How To Remove A Tile Floor and Underlayment
How to remove tile – easy ceramic tile removal
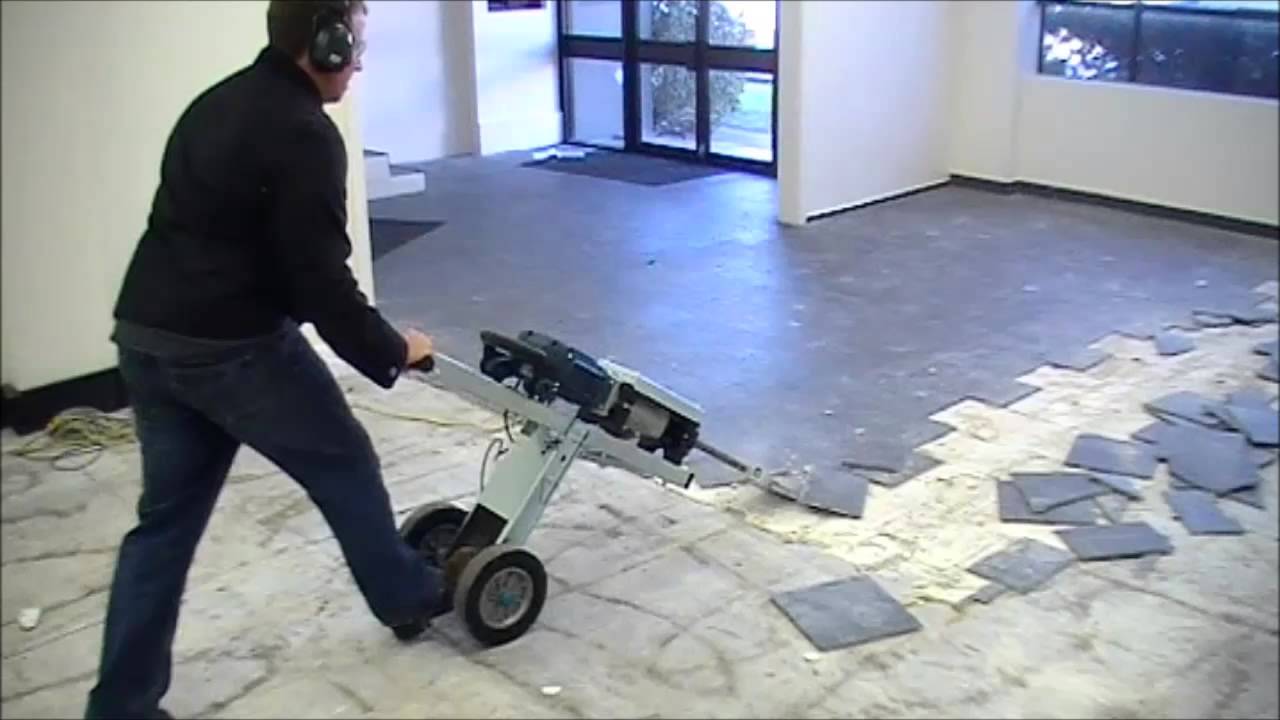
FASTEST WAY TO REMOVE FLOOR TILES
How to Remove Tile (Ugh!) – The Honeycomb Home
Removing Tile Floor Outlet, 50% OFF www.ingeniovirtual.com
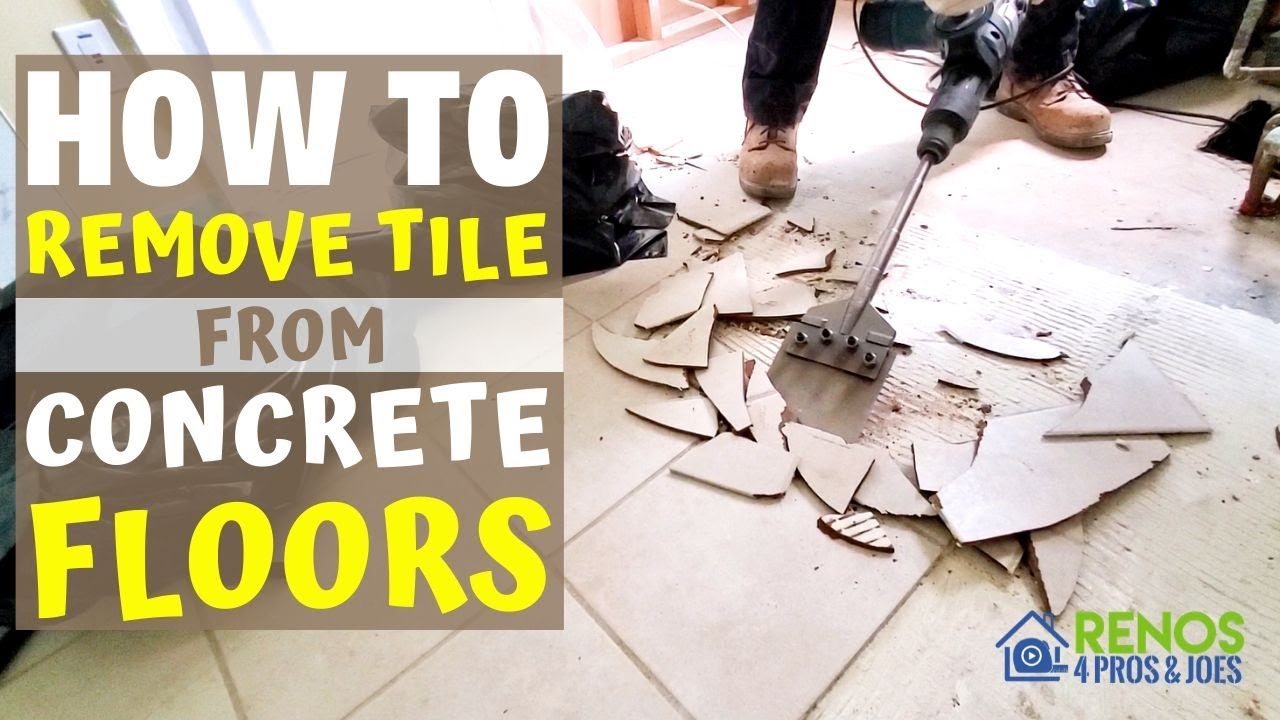
How to Remove Tile from a Concrete Floor
How to Remove Ceramic Tile

Related Posts:
- Bissell Tile Floor Scrubbers
- Breaking Up Tile Floor
- How To Clean Dingy Tile Floors
- Bona Mops For Tile Floors
- Faux Ceramic Tile Flooring
- Replace Toilet Flange Tile Floor
- How To Clean And Shine Ceramic Tile Floors
- Cover Bathroom Tile Floor
- Zebra Tile Flooring
- Gray Penny Tile Floor
Breaking Up Tile Floor: A Step-by-Step Guide to Tearing Down and Removing Tiles
Introduction:
Tile floors can add elegance and durability to any space, but there may come a time when you need to break up and remove the tiles. Whether you’re renovating your home or simply replacing damaged tiles, knowing how to break up tile floor properly is essential. In this comprehensive guide, we will walk you through the process step-by-step, providing detailed instructions and tips along the way.
I. Preparation:
Before you begin breaking up the tile floor, it’s crucial to take the necessary precautions and gather the required tools. Here’s what you’ll need:
1. Safety Equipment:
Ensure your safety by wearing protective gear including safety goggles, gloves, long pants, and closed-toe shoes. These will protect you from flying debris, sharp edges, and potential injuries.
FAQ: Why is it important to wear safety equipment when breaking up tile floor?
Wearing safety equipment is vital to prevent injuries from flying shards of tiles or sharp edges during the demolition process. It acts as a barrier between you and potential hazards.
2. Tools:
To successfully break up tile floor, you will need several tools:
– Hammer: A heavy-duty hammer with a clawed end will be useful for removing stubborn tiles.
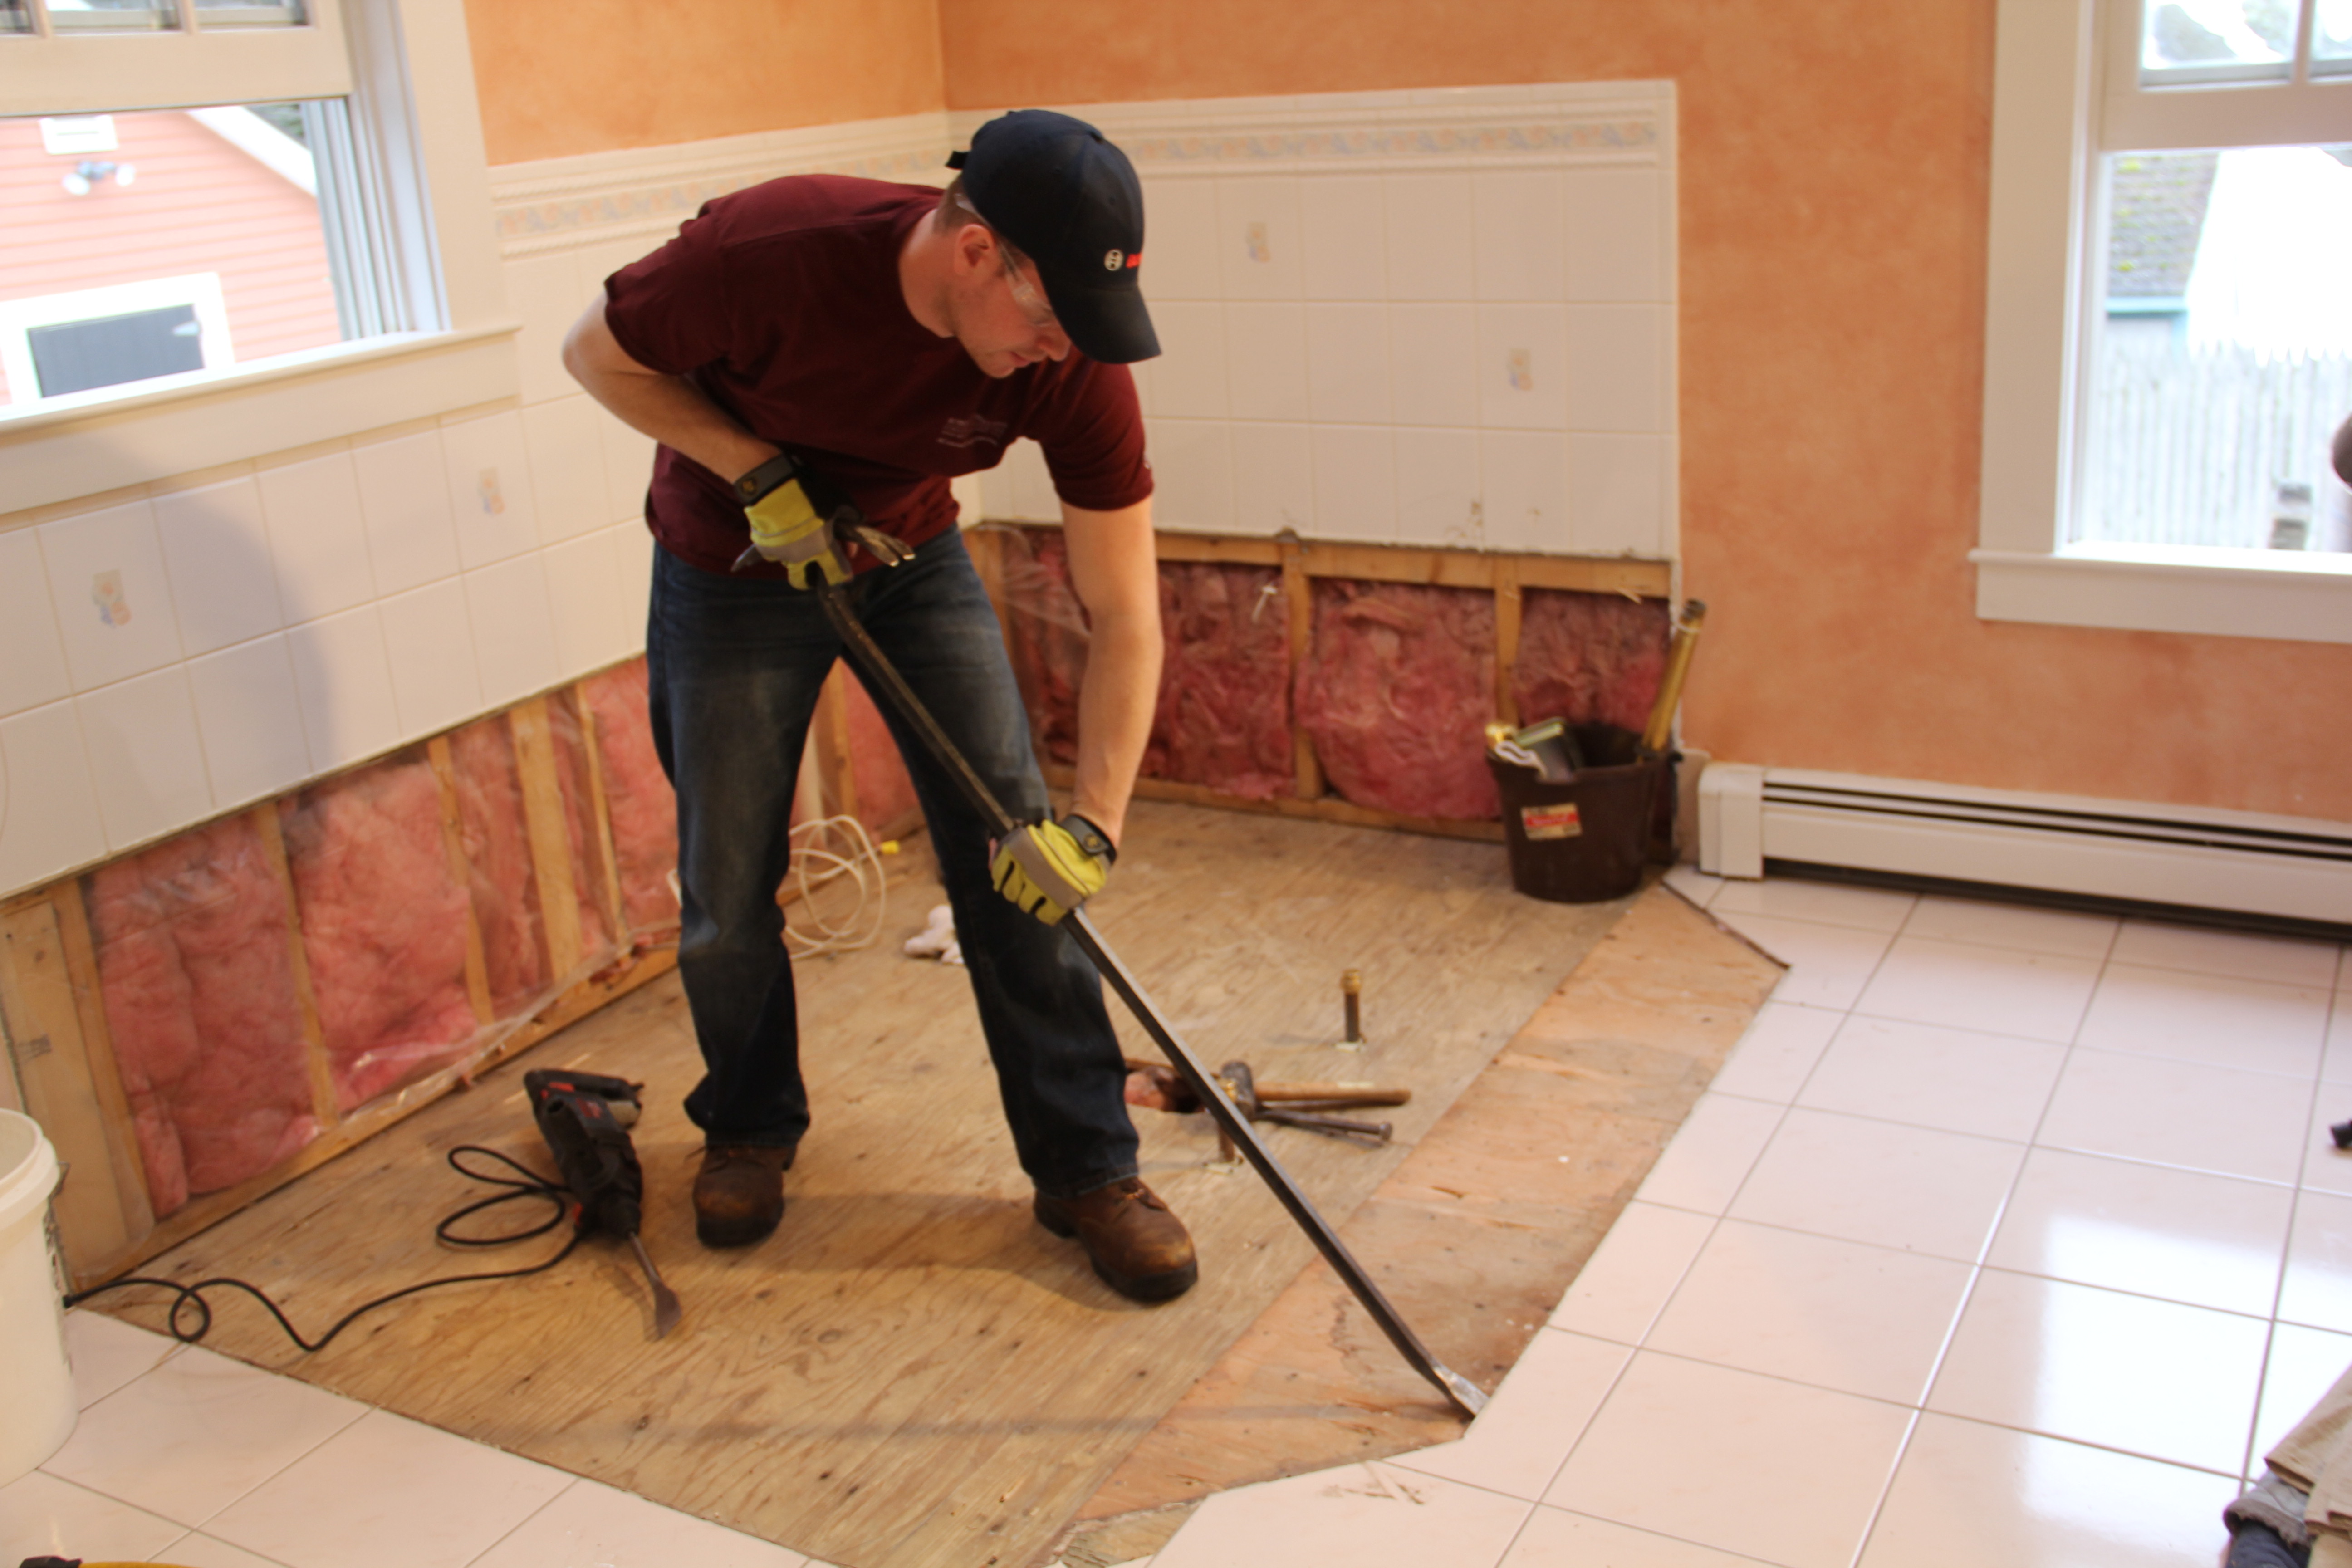
– Chisel: Use a wide chisel to pry up tiles that are difficult to remove.
– Pry Bar: A sturdy pry bar will help in lifting larger sections of tile.
– Floor Scraper: A floor scraper with a long handle is ideal for removing adhesive residues after the tiles are removed.
– Dust Mask: Protect yourself from inhaling dust particles by wearing a dust mask.
FAQ: What kind of hammer should I use when breaking up tile floor?
It is recommended to use a 16-ounce or heavier hammer with a clawed end for breaking up tile floor. The weight provides enough force to break through the tiles, and the clawed end can be used to remove individual pieces.
II. Tile Removal:
Once you have your safety equipment and tools ready, it’s time to start breaking up the tile floor. Follow these steps for effective tile removal:
1. Clear the Area:
Remove all furniture, appliances, or any other objects from the room to create a clear working space. This will prevent accidents and provide you with ample room to maneuver while removing the tiles.
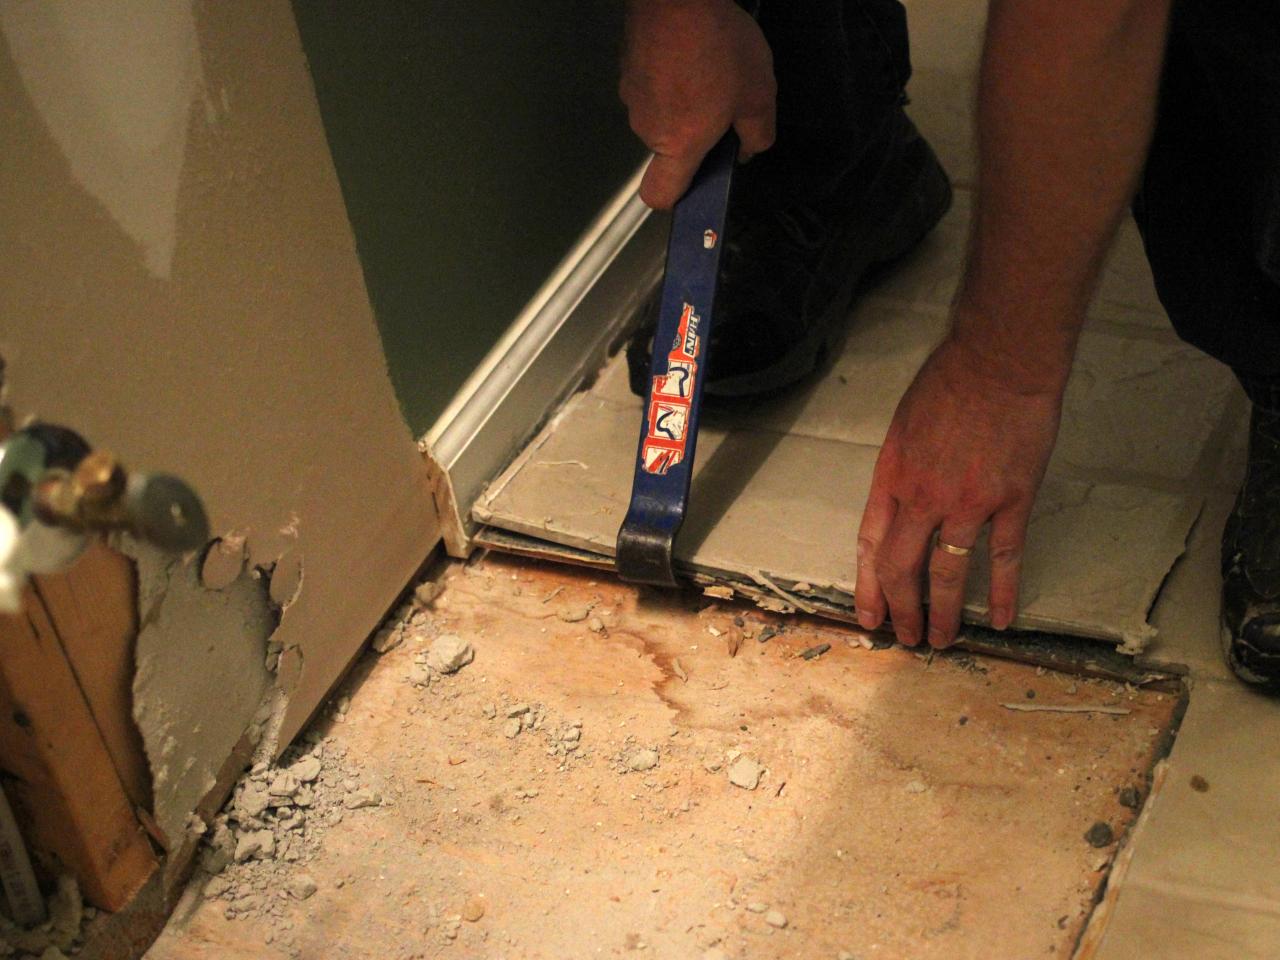
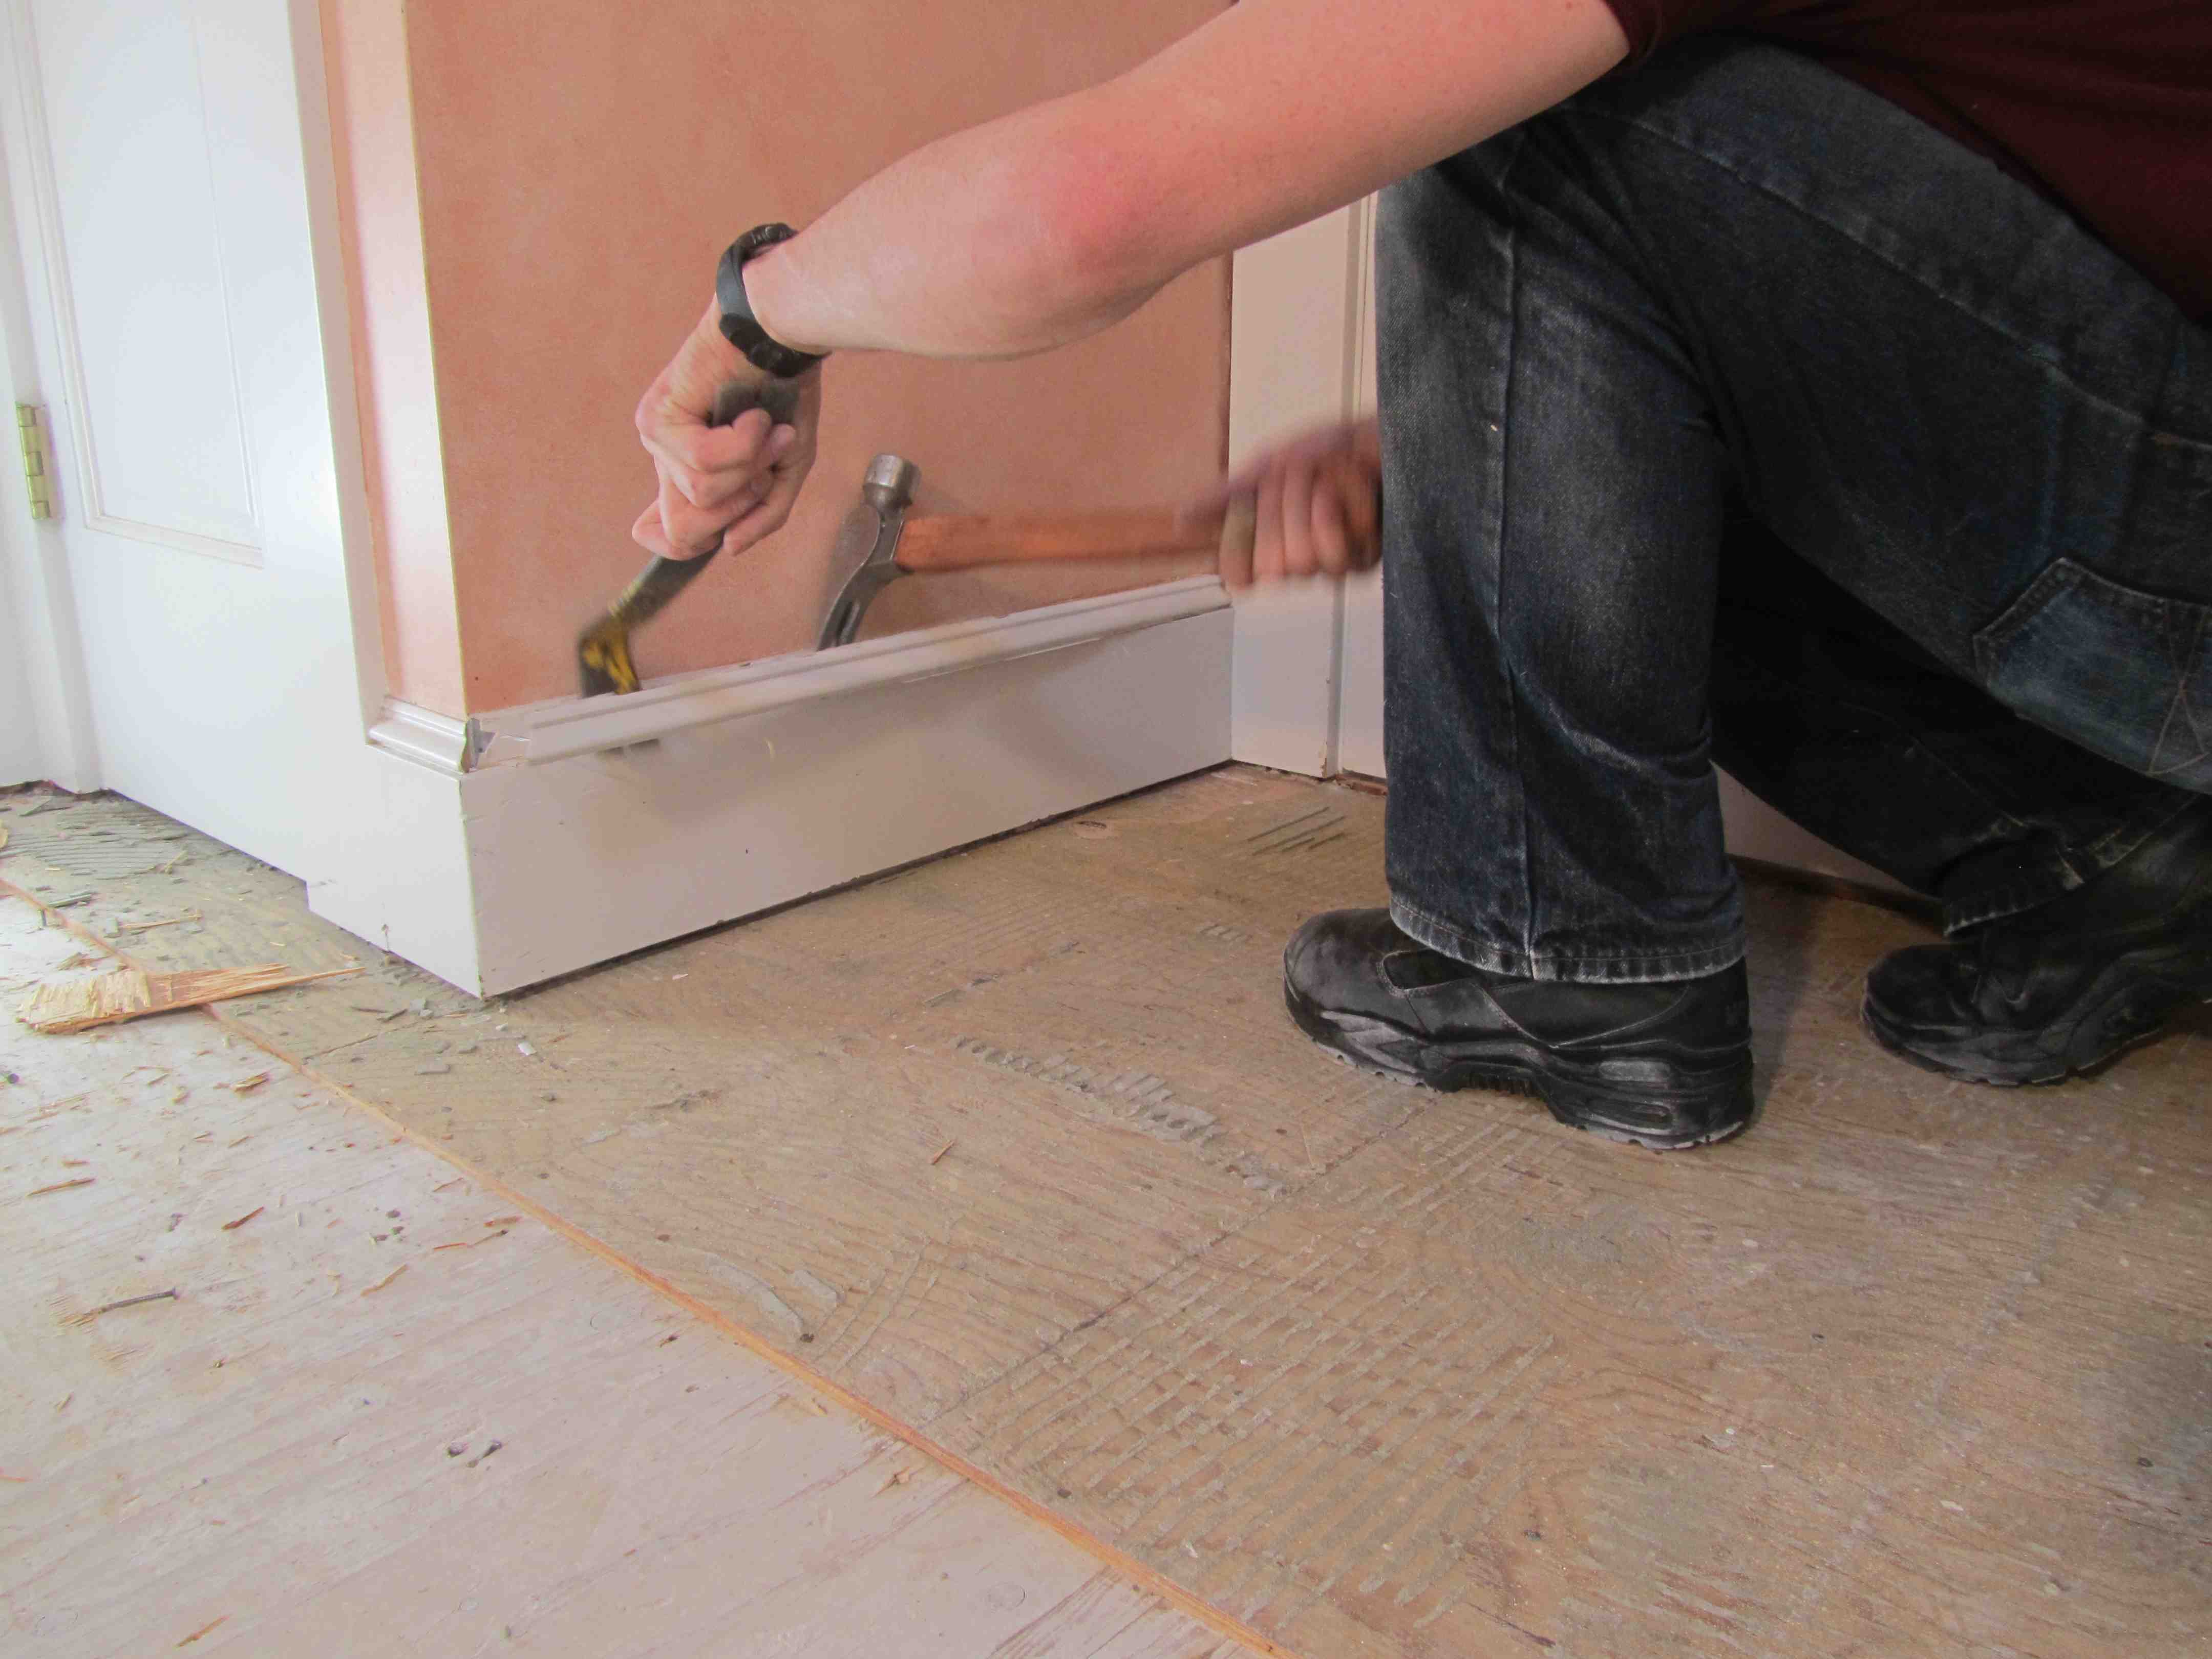
2. Start at the Edges:
Using a hammer and chisel, begin by targeting the edges of the tile floor. By starting at the edges, you can loosen the tiles in a controlled manner without damaging adjacent tiles or the subfloor.
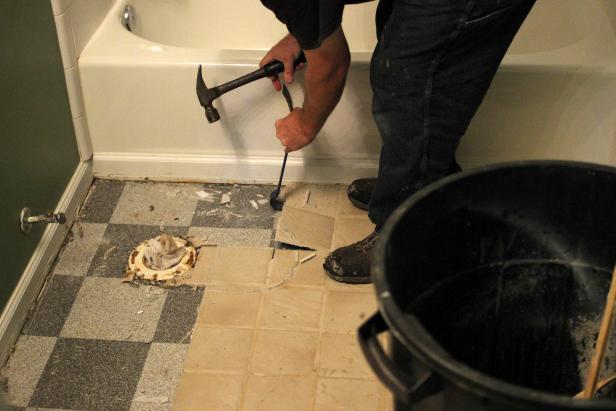
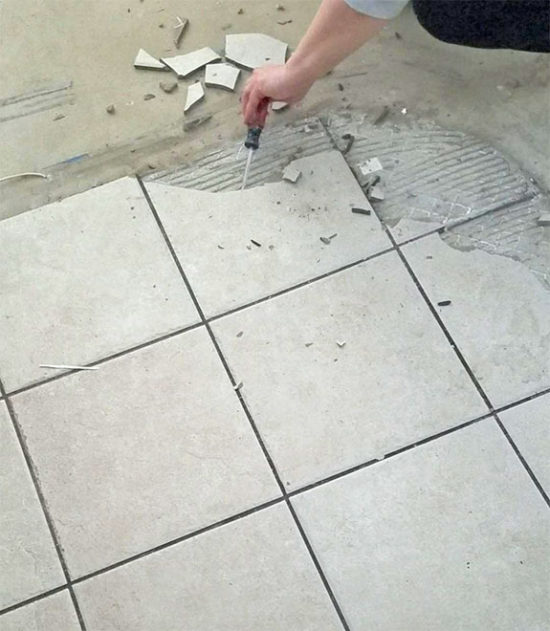
3. Break up Tiles:
Once you’ve loosened a few tiles at the edges, continue breaking them up using your hammer. Aim for the center of each tile and strike it firmly but not excessively hard to avoid damaging the subfloor.
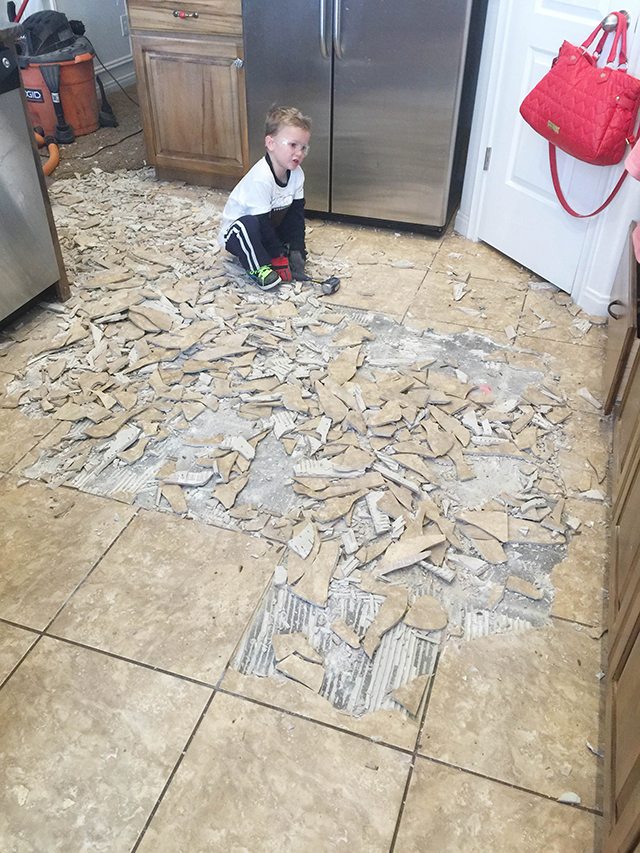
4. Remove Broken Tiles:
After breaking up a few tiles, use a pry bar or chisel to carefully lift and remove them from the floor. Place broken tiles in a sturdy container or bag to dispose of them safely.
FAQ: How can I prevent damage to the subfloor while breaking up tile floor?
To minimize damage to the subfloor, strike each tile firmly but not excessively hard with your hammer. Additionally, using a wide chisel can help lift tiles without damaging the underlying surface.
III. Adhesive Removal:
Once all tiles are removed, you’ll need to remove any adhesive residues left behind on the Floor. Follow these steps to effectively remove adhesive:
1. Scrape the Surface:
Use a floor scraper with a long handle to scrape off as much of the adhesive as possible. Apply firm pressure and work in small sections at a time.
2. Apply Adhesive Remover:
If there are still adhesive residues remaining, apply an adhesive remover according to the manufacturer’s instructions. Allow it to sit for the recommended amount of time to soften the adhesive.
3. Scrape or Scrub:
After the adhesive remover has had time to work, use a scraper or scrub brush to remove the softened adhesive. Work in small sections and apply enough pressure to effectively remove the residue.
4. Clean the Floor:
Once all adhesive residues are removed, thoroughly clean the floor with warm soapy water and a mop or cloth. This will ensure that all traces of adhesive are eliminated.
FAQ: What should I do if the adhesive is particularly stubborn?
If the adhesive is stubborn and difficult to remove, you may need to repeat the process or try using a stronger adhesive remover. Alternatively, you can consult a professional for assistance.
IV. Safety Precautions:
During the tile removal process, it is important to prioritize safety. Here are some precautions to take:
– Wear Protective Gear: Always wear safety goggles, gloves, and a dust mask to protect yourself from flying shards of tiles and dust particles.
– Use Caution: Handle tools and equipment with care to avoid accidents or injuries. Pay attention to your surroundings and be mindful of others in the area.
– Proper Disposal: Dispose of broken tiles and adhesive residues in accordance with local regulations. Use sturdy containers or bags to prevent injuries during disposal.
– Ventilation: Open windows or use fans to provide adequate ventilation and minimize the inhalation of dust particles.
Remember, it is important to approach tile removal with caution and prioritize safety at all times. If you are unsure or uncomfortable with the process, consider hiring a professional for assistance.