Tiled floors inside kitchens, places and food processing facilities commonly feature very high concentrations of germ as well as bacteria buildup. Since they're thicker than standard tiles and able to withstand traffic which is heavy, they could be less prone to cracking than a vulnerable, thinner tile. They could provide the effect of having water on the floors of yours that's oh so dramatic.
Images about Fixing Grout On Tile Floors
Ceramic tiling is an enticing powerful resource generally useful for bathroom floors, skirting along walls as well as kitchens. So you do not need to get worried about staining them. Today, you can make use of tiles to beautify the living room of yours, make your bedroom much more dramatic etc. Instead of mostly smooth tiles, you are able to discover tile flooring in textures which are raised or perhaps dimpled.
How to Repair Cracked Tile Grout: An Easy Guide- The Lived-in Look

Additionally, the durability of these tiles means a great investment that will hold good for no less than 20 years. When it is a bit of time to vacuum, it is truly complicated to get rid of dust and sand stuck in the carpeting of yours. Tile next to wood is usually a distinctive appearance, as remarkable hardwood in a single room is married to stylish ceramic in the next. Blend the grout based on the details by the manufacturer.
How to Repair Cracked Tile Grout: An Easy Guide- The Lived-in Look

Fix Cracked u0026 Missing Tile Grout In A Few Easy Steps! Hometalk
Tile u0026 Grout Repair u0026 Regrouting Contour Cleaning

Fix Cracked u0026 Missing Tile Grout In A Few Easy Steps! Hometalk
Can Grout Be Replaced?
Can I put new grout over my old grout? The Grout Medic

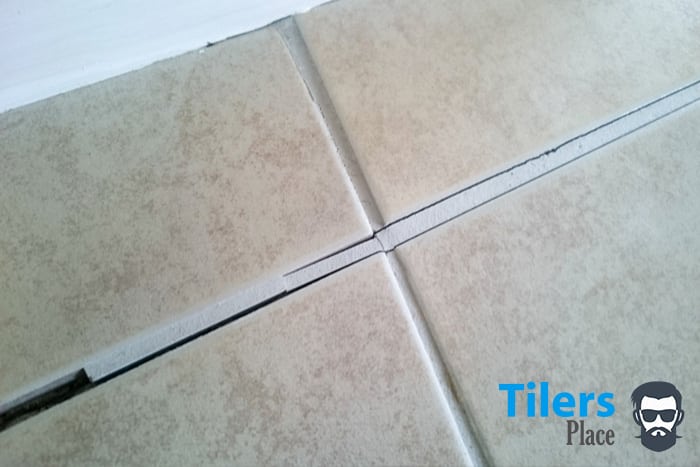
Cracked or Broken Grout Signals a Bigger Problem – The Grout Experts

How to Repair Cracked Tile Grout: An Easy Guide- The Lived-in Look

How To Grout Tile Repair Tile Grout Complete Grout Guide
Quick Fix- Whiten Floor Tile Grout
How Do I Repair a Crack in Tile Grout? : Ceramic Tile Repair

How to Change Grout Color
/change-tile-grout-color-apply-colorants-1822577-hero-a83419b3ebfe404a9c330375091521d0.jpg)
Related Posts:
- Bissell Tile Floor Scrubbers
- Breaking Up Tile Floor
- How To Clean Dingy Tile Floors
- Bona Mops For Tile Floors
- Faux Ceramic Tile Flooring
- Replace Toilet Flange Tile Floor
- How To Clean And Shine Ceramic Tile Floors
- Cover Bathroom Tile Floor
- Zebra Tile Flooring
- Gray Penny Tile Floor
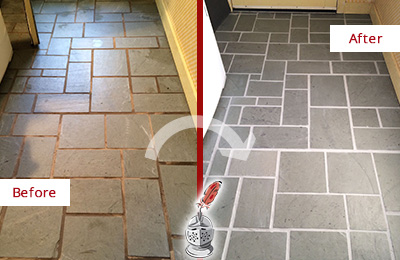
Fixing Grout on Tile Floors: A Comprehensive Guide to Restoring Your Floor’s Beauty
Introduction:
Tile floors are a popular choice for homeowners due to their durability, versatility, and aesthetic appeal. However, over time, the grout between the tiles can become worn, cracked, or discolored, detracting from the overall beauty of your floor. In this guide, we will provide you with detailed steps on how to fix grout on tile floors, ensuring that your flooring looks as good as new. From preparing the area to selecting the right materials and applying the grout correctly, we’ve got you covered.
I. Assessing the Condition of the Grout:
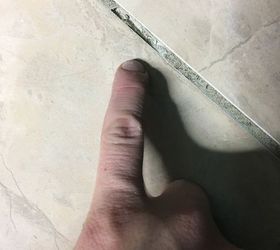
Before diving into fixing the grout on your tile floor, it is crucial to assess its condition and identify any underlying issues. Take a close look at the grout lines and check for cracks, discoloration, or signs of mold or mildew growth. It’s also important to determine whether you need to replace only a few sections of grout or if the entire floor requires attention.
FAQs:
1. How can I tell if my grout needs fixing?
Signs such as cracks, discoloration, or crumbling grout indicate that it needs attention. Additionally, if you notice water seeping through or tiles becoming loose, it is essential to address these issues promptly.
2. Can I fix small cracks in the grout myself?
Yes, minor cracks can often be fixed without professional help. However, large cracks or widespread damage may require professional assistance.
II. Gathering the Necessary Tools and Materials:
Once you have assessed the condition of your grout and identified the areas that require attention, it’s time to gather all the tools and materials necessary for a successful repair job. Here are some essential items you will need:
a) Grout removal tools: These include a grout saw or scraper for removing damaged grout from between the tiles.
b) Safety gear: Protect yourself by wearing safety goggles, gloves, and a dust mask to avoid inhaling grout dust or getting it in your eyes.
c) Cleaning supplies: A bucket, mild detergent or grout cleaner, scrub brush, and clean rags for preparing the surface.
d) Grout mix: Choose a grout mix that matches the color of your existing grout. Opt for a high-quality, stain-resistant product for long-lasting results.
e) Grout float and sponge: These tools will help you apply and smooth the new grout into the joints.
f) Sealer: A grout sealer will protect your newly repaired grout from stains and moisture penetration.
FAQs:
1. Can I reuse the existing grout?
While it may be tempting to reuse the old grout, it is generally recommended to remove it entirely and replace it with fresh grout. This ensures a more uniform appearance and better adhesion.
2. How do I choose the right grout color?
To select the most suitable color, consider factors such as tile color, room lighting, personal preference, and desired aesthetic. It’s best to test a small sample of different colors on your floor before making a final decision.
III. Preparing the Area for Grout Repair:
Before applying new grout, it is crucial to prepare the area properly to ensure optimal adhesion and durability of the repair job. Follow these steps:
a) Clear the area: Remove any furniture or objects from the floor to provide Adequate space for the repair work.
b) Clean the surface: Use a mild detergent or grout cleaner to thoroughly clean the tiles and remove any dirt, grime, or residue. Scrub the area with a scrub brush and rinse with clean water. Allow the surface to dry completely before proceeding.
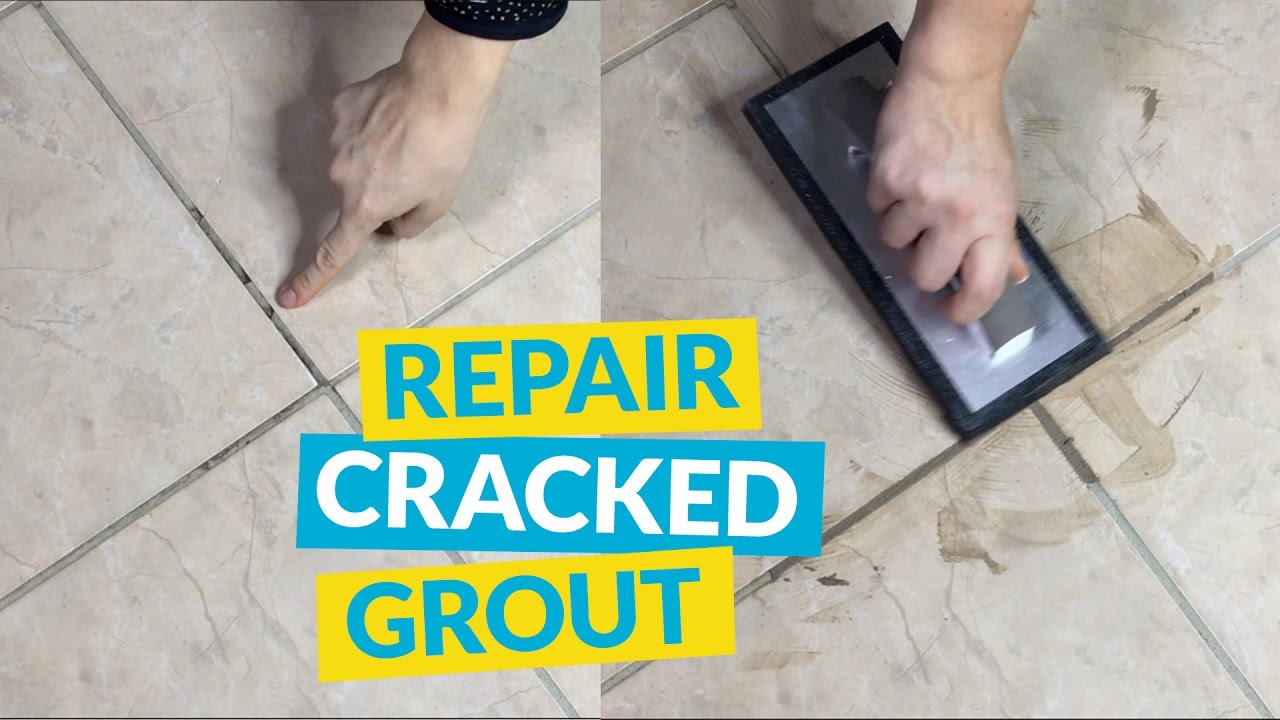
c) Remove damaged grout: Use a grout saw or scraper to carefully remove the damaged grout from between the tiles. Take care not to damage the surrounding tiles during this process.
d) Vacuum or sweep up debris: Use a vacuum cleaner or broom to remove any loose grout particles, dust, or debris from the area.
e) Apply primer (if necessary): Depending on the type of grout you are using, you may need to apply a primer to enhance adhesion. Follow the manufacturer’s instructions for applying the primer and allow it to dry completely.
FAQs:
1. Can I skip the cleaning step?
No, proper cleaning is essential for optimal adhesion of the new grout. Any dirt, grime, or residue on the surface can prevent the grout from properly bonding with the tiles.
2. Do I need to remove all of the old grout?
It is generally recommended to remove all of the damaged or deteriorated grout and replace it with fresh grout. This ensures a more durable and long-lasting repair job.
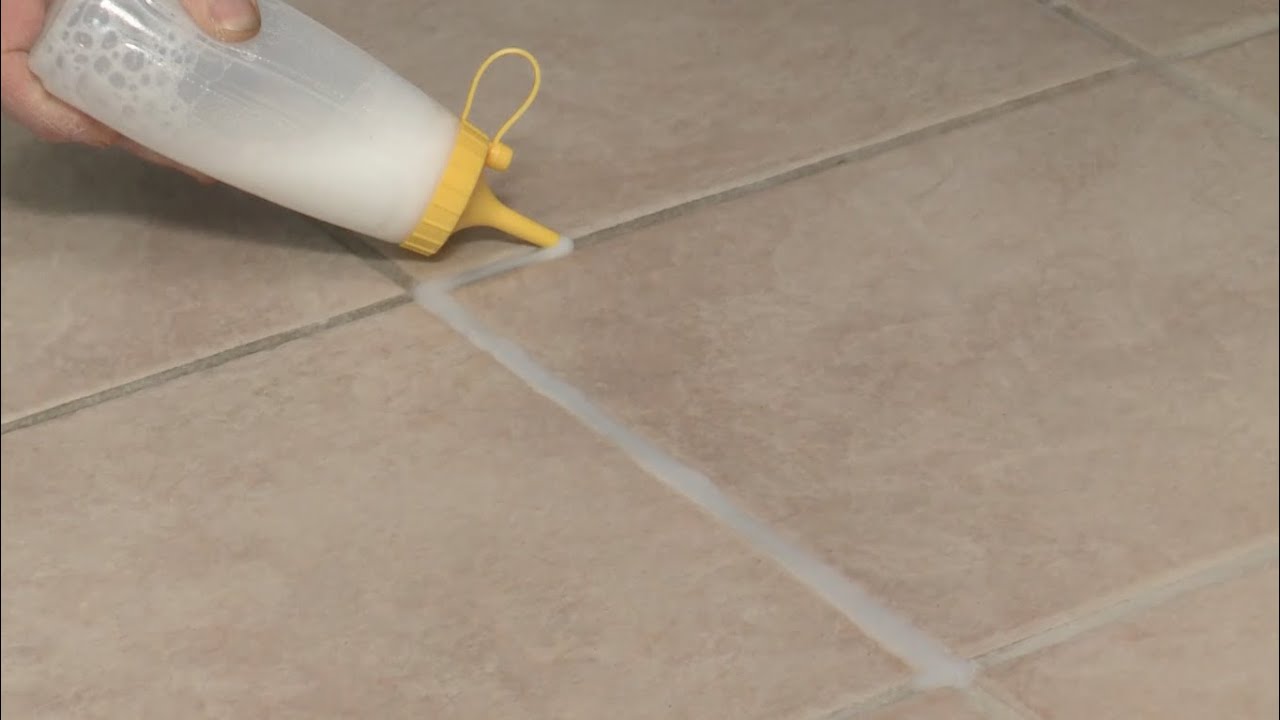
IV. Applying New Grout:
Now that you have prepared the area, it’s time to apply new grout to fill in the gaps between the tiles. Follow these steps:
a) Mix the grout: Follow the manufacturer’s instructions to mix the grout to the desired consistency. It should be similar to thick peanut butter.
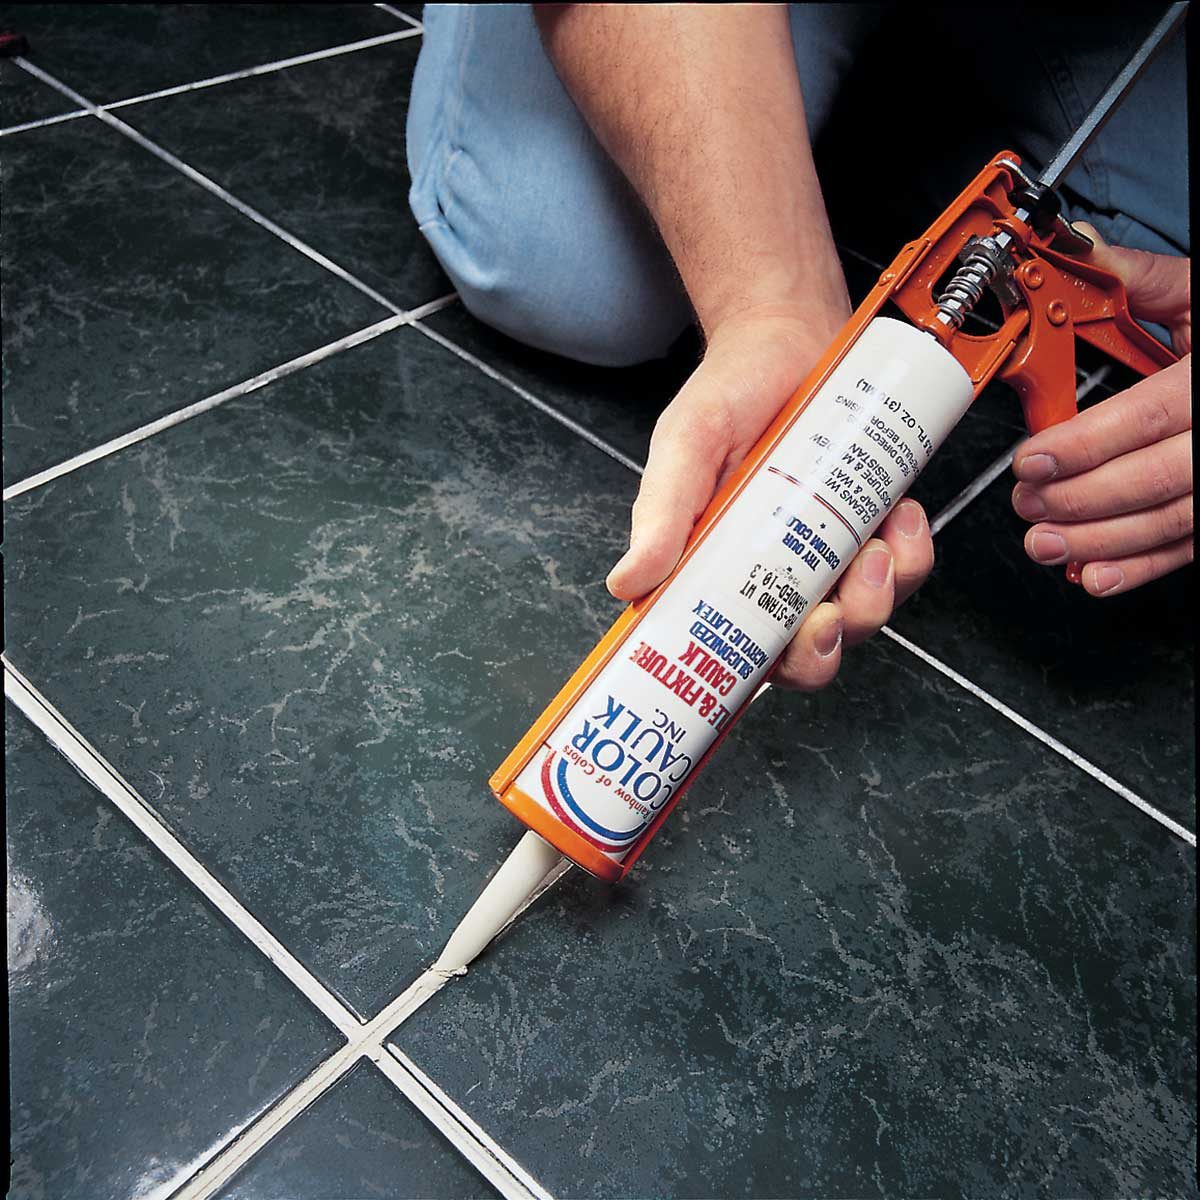
b) Apply the grout: Use a grout float to spread the grout diagonally across the tiles, filling in the gaps. Press firmly to ensure that the grout fills all the spaces.
c) Remove excess grout: Use the edge of the grout float or a damp sponge to remove any excess grout from the tile surface. Wipe diagonally across the tiles to avoid removing too much of the newly applied grout.
d) Clean up: Wait for about 15-30 minutes for the grout to set slightly, then use a clean, damp sponge to gently wipe away any haze or residue from the tiles. Rinse the sponge frequently and continue wiping until the tiles are clean and the grout lines are smooth.
e) Allow curing time: Follow the manufacturer’s instructions for curing time. Avoid walking on or placing heavy objects on the newly repaired grout until it is fully cured.
FAQs:
1. How long does it take for grout to cure?
The curing time can vary depending on factors such as humidity and temperature. It is generally recommended to wait at least 24-48 hours before exposing the new grout to water or heavy traffic.
2. Can I speed up the curing process?
It is best to allow the grout to cure naturally, as trying to speed up the process can compromise its durability and adhesion. Follow the manufacturer’s instructions for proper curing times.
V. Sealing the Grout:
To protect your newly repaired grout from stains and moisture, it is important to apply a grout sealer. Follow these steps:
a) Wait for the grout to cure: Ensure that the grout is fully cured before applying the sealer. Refer to the manufacturer’s instructions for curing time.
b) Apply the sealer: Use a small brush or roller to apply the grout sealer evenly over the entire surface of the grout lines. Be careful not to get any sealer on the tiles themselves.
c) Let it dry: Allow the sealer to dry completely according to the manufacturer’s instructions. This may take several hours.
d) Apply a second coat (optional): If desired, apply a second coat of sealer for added protection. Remember to let each coat dry completely before applying another.
e) Maintain regular sealing schedule: Depending on the type of sealer used, it is generally recommended to reseal your grout every 1-3 years to maintain optimal protection.
FAQs:
1. Can I skip sealing the grout?
While it is not mandatory, sealing your grout can significantly extend its lifespan and protect it from stains and moisture. It is highly recommended for long-lasting results.
2. How do I choose the right grout sealer?
There are various types of grout sealers available, such as penetrating sealers and topical sealers. Consider factors such as tile material, desired level of sheen, and ease of application when choosing a sealer. Read product labels and consult with experts if needed.