As you likely know, tile floors are incredibly durable no matter what the material. You'll find various types of tile flooring but the most often tile used in Colorado and Denver Springs are stone, porcelain, mosaic, ceramic, granite, travertine, slate and Saltillo. Doing the installation of ceramic tile on the house floors of yours would most likely be the best decision you actually made.
Images about How To Clean Unsealed Tile Floors

Floors which get wet like bathtubs and kitchens have to get of incredibly durable materials and ceramic tile floors fits the bill perfectly. Grout can have a big impact on tile flooring's lifetime. As an example, they may make use of carpet floors in the rooms which do not have windows or other sources through which sunlight or dust could possibly are available in and use tiles in other rooms.
How to Clean a Saltillo Tile Floor

It is very dense & heavy, and it does not involve some kind of glazing before usage. This's typically a one or even two year warranty. In the event that you need the floor of yours to have the visual appeal of brass, steel or bronze, this's the one to opt for. It often requires the contractor 2 to three days to perform a tile flooring installation. You can decide to perform some of the prep work yourself to save a lot of cash.
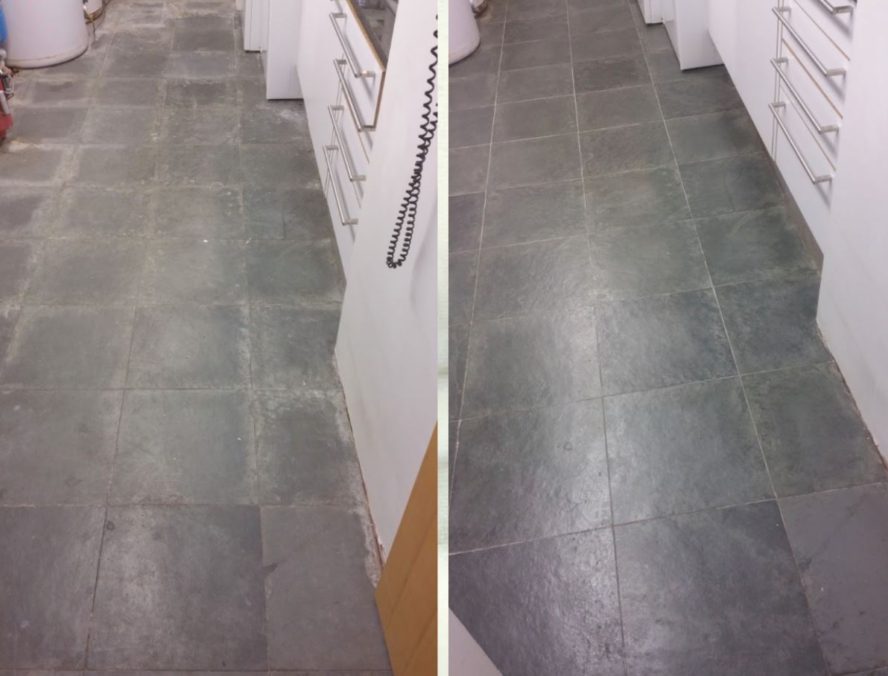
HOW TO CLEAN AND SEAL A NATURAL STONE FLOOR WWW.STONE-REPAIRS.COM
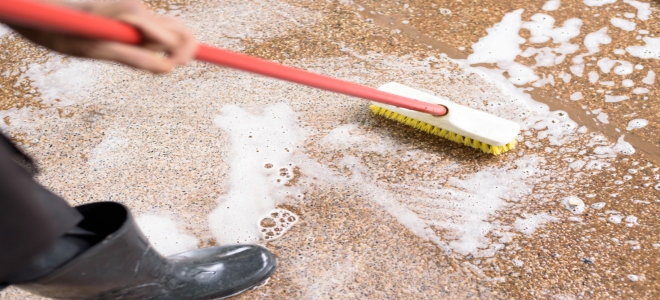
How to Clean Unsealed Grout » How To Clean Stuff.net
How to Clean Unsealed Grout [4 Easy Solutions] – Home Arise

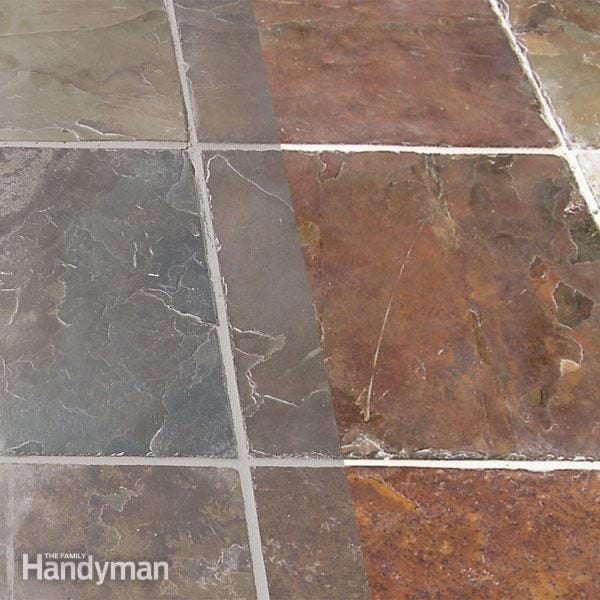
How to Remove Grout Haze From Stone Tile (DIY) Family Handyman
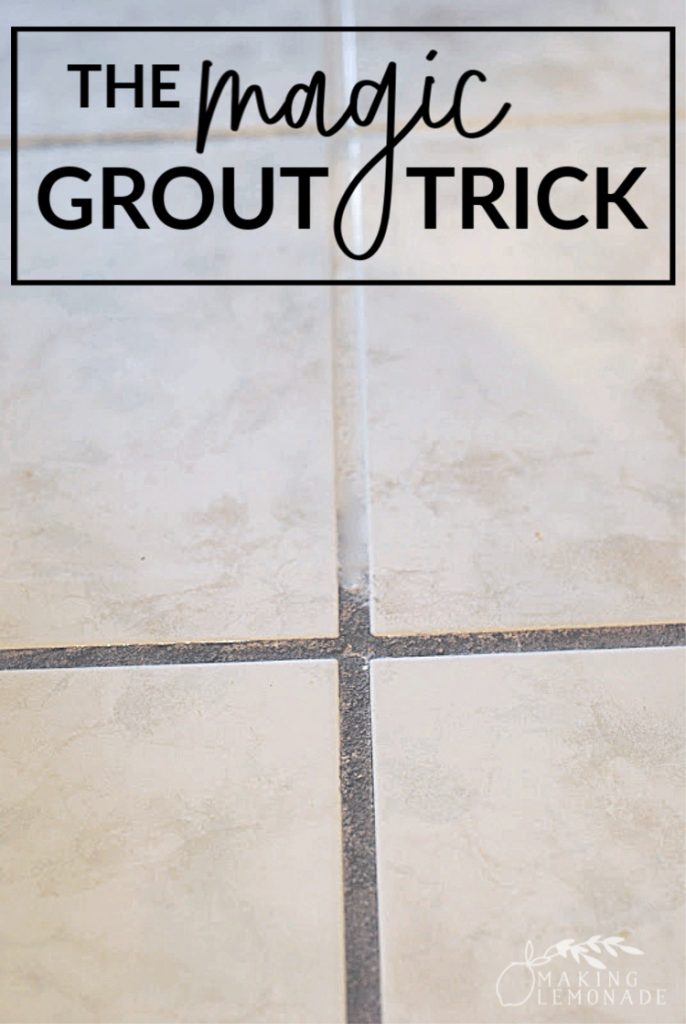
3 (Top Secret) Tricks for Cleaning with Vinegar – Making Lemonade
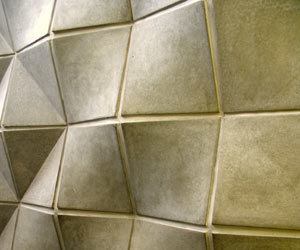
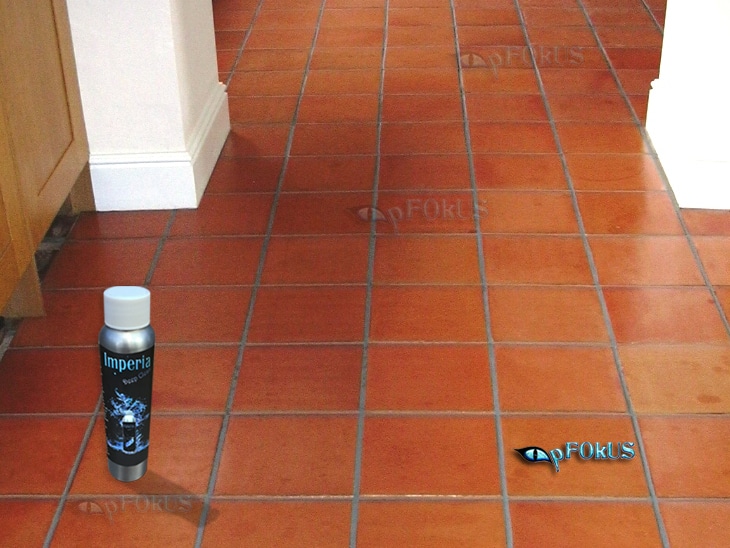
Terracotta Floor Tile Cleaning and Maintenance – pFOkUS
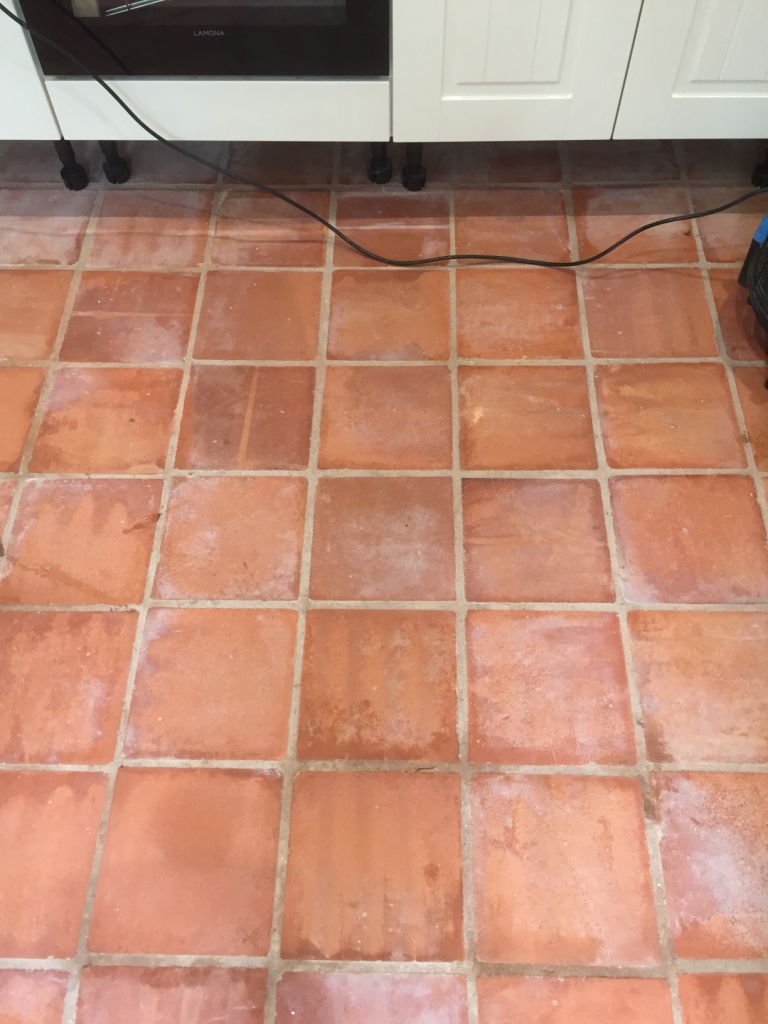
Unsealed Terracotta Kitchen Tiles Treated for Grout Haze in

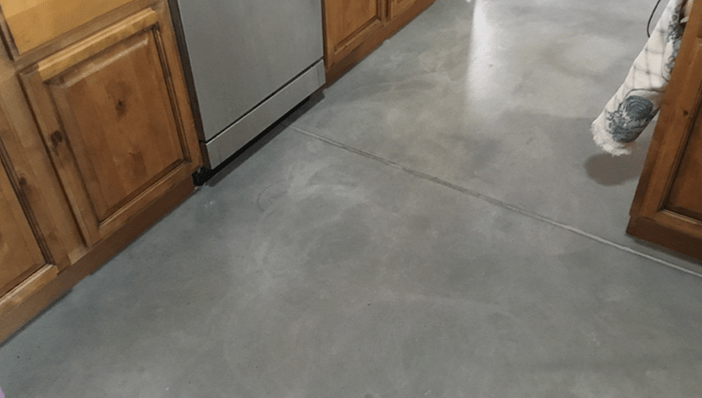
How to Clean Unsealed Concrete Floors? – LivingProofMag
Cleaning Unsealed Tile Floor Grout DoItYourself.com
How to Clean Saltillo Tile Floors – Maids By Trade

Terracotta floor tile cleaning
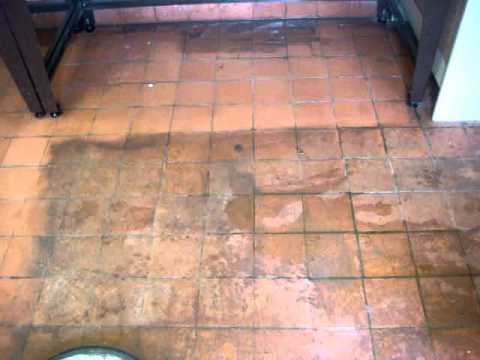
Unsealed Terracotta Kitchen Tiles Treated for Grout Haze in
Related Posts:
- Bissell Tile Floor Scrubbers
- Breaking Up Tile Floor
- How To Clean Dingy Tile Floors
- Faux Ceramic Tile Flooring
- Bona Mops For Tile Floors
- Replace Toilet Flange Tile Floor
- How To Clean And Shine Ceramic Tile Floors
- Cover Bathroom Tile Floor
- Zebra Tile Flooring
- Gray Penny Tile Floor
How to Clean Unsealed Tile Floors
Having unsealed tile floors can be a beautiful addition to any home, but it also requires special care and maintenance. Without a protective sealant, unsealed tile floors are more susceptible to stains, dirt buildup, and damage. However, with the right cleaning techniques and products, you can keep your unsealed tile floors looking pristine and extend their lifespan. In this article, we will guide you through the step-by-step process of effectively cleaning unsealed tile floors, ensuring they remain clean and fresh for years to come.
I. Gather the necessary cleaning tools and supplies:
Before diving into the cleaning process, it’s essential to gather all the necessary tools and supplies. Here is a list of items you’ll need:
1. Soft-bristle broom or vacuum cleaner: Use a broom with soft bristles or a vacuum cleaner with a brush attachment to remove loose dirt, dust, and debris from the tiles’ surface without scratching them.
2. Mop: Choose a mop with a microfiber or cotton head as they are gentle on unsealed tile floors. Avoid using string mops or sponge mops as they tend to push dirt around rather than picking it up.
3. Bucket: Get a large bucket that can hold an ample amount of water and cleaning solution for efficient mopping.
4. pH-neutral tile cleaner: Look for a tile cleaner specifically designed for unsealed surfaces. Avoid using acidic or harsh chemical cleaners as they can damage the tiles over time.
5. Warm water: You’ll need warm water for diluting the tile cleaner and rinsing the floor afterward.
6. Soft cloths or towels: Keep some soft cloths or towels handy for drying any excess moisture or wiping up spills during the cleaning process.
II. Sweep or vacuum the floor:
Start by removing loose dirt, dust, and debris from your unsealed tile floors using a soft-bristle broom or a vacuum cleaner with a brush attachment. This step is crucial as it prevents these particles from scratching the tiles while you clean and ensures a more effective cleaning process overall.
FAQs:
1. Can I use a regular broom to sweep unsealed tile floors?
While you can use a regular broom, it’s best to opt for one with soft bristles to prevent scratching the tiles. Alternatively, using a vacuum cleaner with a brush attachment can be even more effective in removing debris without causing any damage.
2. How often should I sweep or vacuum my unsealed tile floors?
It’s recommended to sweep or vacuum your unsealed tile floors at least once or twice a week, depending on the amount of foot traffic in the area. Regular maintenance will prevent dirt and dust from building up and making the cleaning process more challenging.
III. Prepare the cleaning solution:
Once you’ve cleared the surface of loose dirt and debris, it’s time to prepare the cleaning solution for your unsealed tile floors. Fill a bucket with warm water, following the manufacturer’s instructions on your chosen pH-neutral tile cleaner to determine the appropriate dilution ratio.
FAQs:
1. Can I make my own DIY tile cleaner for unsealed tile floors?
While there are various DIY recipes available for homemade tile cleaners, they may not be suitable for unsealed surfaces. It’s best to use a pH-neutral tile cleaner specifically designed for unsealed tiles as it ensures gentle yet effective cleaning without causing any damage.
2. How much cleaning solution should I use?
The amount of cleaning solution needed Will depend on the size of your bucket and the manufacturer’s instructions on your chosen tile cleaner. It’s important to follow the recommended dilution ratio to ensure effective cleaning without causing any damage to your unsealed tile floors. IV. Mop the floor:
Dip a mop into the bucket of cleaning solution and wring out any excess liquid. Start mopping the unsealed tile floors, working in small sections at a time. Make sure to mop in a back-and-forth motion, applying gentle pressure to remove dirt and stains. Avoid using excessive water or allowing the cleaning solution to sit on the tiles for too long, as this can cause damage.
V. Rinse the floor:
After mopping, it’s important to rinse the unsealed tile floors with clean warm water. Fill another bucket with warm water and use a separate mop or cloth to rinse off any remaining cleaning solution. This step helps remove any residue and ensures a streak-free finish.
VI. Dry the floor:
Use soft cloths or towels to dry the unsealed tile floors thoroughly. Wipe up any excess moisture left behind from mopping or rinsing to prevent water spots or damage. Pay extra attention to areas near sinks, showers, or any other sources of water that may require additional drying.
FAQs:
1. Can I let my unsealed tile floors air dry?
While air drying is an option, it’s best to dry your unsealed tile floors manually using soft cloths or towels. This ensures that all moisture is removed, preventing any potential damage or water spots from forming.
2. Are there any additional steps I should take after drying my unsealed tile floors?
Once your unsealed tile floors are dry, you can consider applying a sealant specifically designed for unsealed surfaces for added protection against stains and moisture. However, make sure to follow the manufacturer’s instructions and allow sufficient drying time before walking on the floors again.