You are able to also cut the tile while you’re installing it, but then you have to be certain you have not laid down the mortar right up until you’ve created the necessary cuts. Remove all nails and debris and check the subfloor closely for symptoms of rot, warped boards and broken pimples. Styles range from lively to subdued; textures differ from classically sleek to antiqued markings.
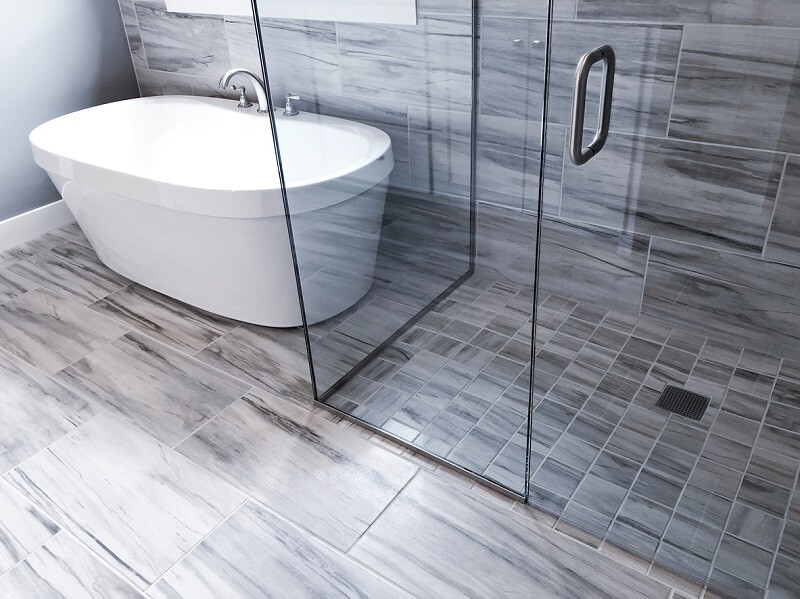
Images about Install Bathtub Over Tile Floor
You are able to do the mosaic picture on your own by putting together parts of flooring together or perhaps you are able to get the pre arranged mosaic tiles as well as lay the sheet on the floors. The primary process is to take up the old flooring covering, whatever it might possibly be. The intersection of the 2 lines of the plus is the facility of your floor space; it is here that you need to begin your ceramic tile flooring installation.
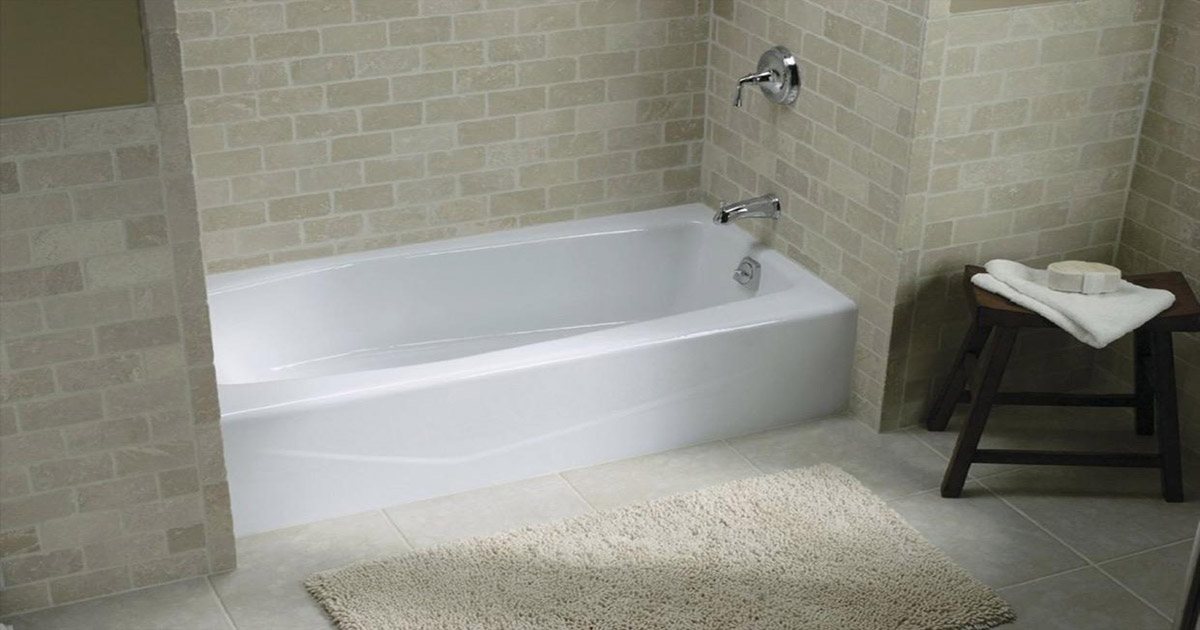
Tile Under Tub: Should You Do It?
Exposure to website traffic and moisture can easily bring about the accumulation of dirt and grime. But, if you reside in places where the house of yours might be accessible to rain – or dampness – then ceramic flooring will be a wonderful idea as they’re much better at resisting moisture and temperature changes than any other kind of flooring.
Tile Installation: Backer Board Around a Bathtub Family Handyman

How to Install Tile Around a Bathtub

How to Tile a Tub Surround – This Old House
:no_upscale()/cdn.vox-cdn.com/uploads/chorus_asset/file/19495745/howto_bathtiles_08.jpg)
Tile Under Tub: Should You Do It?
How to tile over tile.
How to Tile a Tub Surround – This Old House
/cdn.vox-cdn.com/uploads/chorus_image/image/65891957/Overall__Right_6430_FINAL.7.jpg)
How to Replace a Bath Tub – Bathroom Repair Tutor

Can You Put a Bathtub Wall Kit Over Old-Fashioned Ceramic Tiles on

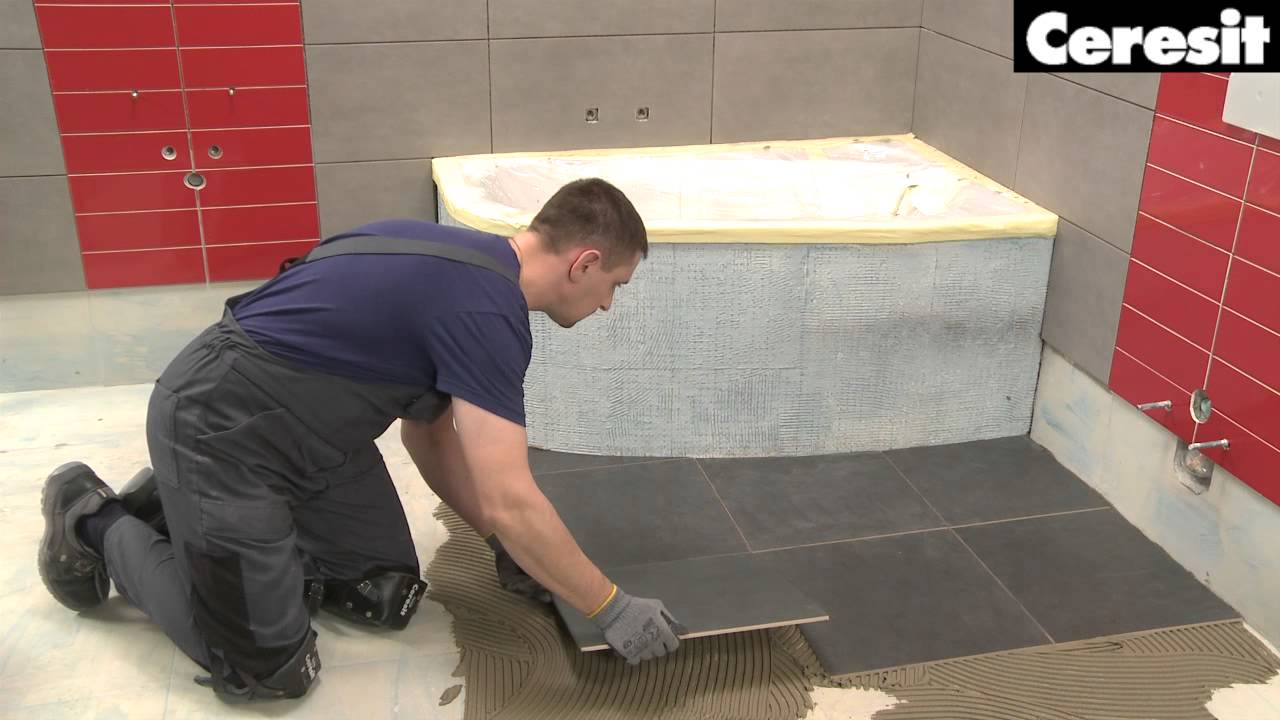
Flooring or Bathtub? Which to Install first Badeloft
How to Install Adhesive Tub or Shower Surround Panels
/adhesive-type-tub-and-shower-surround-2718959-hero-22d394dc48de474a988eeaad88e9d7b0.jpg)
Bathtub Liner or Refinishing: Which Is Worth It? – This Old House
/cdn.vox-cdn.com/uploads/chorus_asset/file/21866175/iStock_171257569.jpg)
2022 Bathtub Liners Cost Acrylic Tub Inserts u0026 Fitting Prices

Related Posts:
- Bissell Tile Floor Scrubbers
- Breaking Up Tile Floor
- How To Clean Dingy Tile Floors
- Bona Mops For Tile Floors
- Faux Ceramic Tile Flooring
- Replace Toilet Flange Tile Floor
- How To Clean And Shine Ceramic Tile Floors
- Cover Bathroom Tile Floor
- Zebra Tile Flooring
- Gray Penny Tile Floor
Installing a bathtub over a tile floor can be a daunting task, but with the right tools and knowledge, it is definitely achievable. Whether you are looking to replace your old bathtub or simply want to give your bathroom a fresh new look, installing a bathtub over tile can be a great option. In this article, we will guide you through the step-by-step process of installing a bathtub over a tile floor, providing you with detailed instructions and tips along the way.
1. Preparing the Area:
Before you begin the installation process, it is important to properly prepare the area where the bathtub will be placed. Start by removing any existing fixtures or accessories that may hinder the installation process. This includes removing shower doors, faucets, and any other attachments that are in close proximity to the bathtub.
Next, thoroughly clean the tile floor to ensure that there is no dirt or debris that could interfere with the installation. Use a mild detergent and warm water to clean the tiles, and make sure to remove any adhesive residue that may be present.
2. Measuring and Marking:
Accurate measurements are crucial when it comes to installing a bathtub over a tile floor. Begin by measuring the length and width of the area where the bathtub will be placed. It is important to ensure that these measurements are precise in order for the bathtub to fit properly.
Once you have measured the area, use masking tape or chalk to mark the outline of where the bathtub will be positioned. This will serve as a guide during the installation process and help you maintain accuracy.
3. Checking for Level:
Ensuring that your tile floor is level is essential before proceeding with the installation. Use a spirit level to check for any unevenness in the floor surface. If you find any areas that are not level, you may need to make adjustments before installing the bathtub.
4. Creating Support for Bathtub:
To provide proper support for your bathtub, it is recommended to create a wooden frame or platform. This will help distribute the weight of the bathtub evenly and prevent any sagging or damage to the tile floor.
Measure and cut pieces of pressure-treated lumber to create the frame, making sure that they fit snugly within the marked outline. Secure the frame to the floor using screws or nails, ensuring that it is level and sturdy.
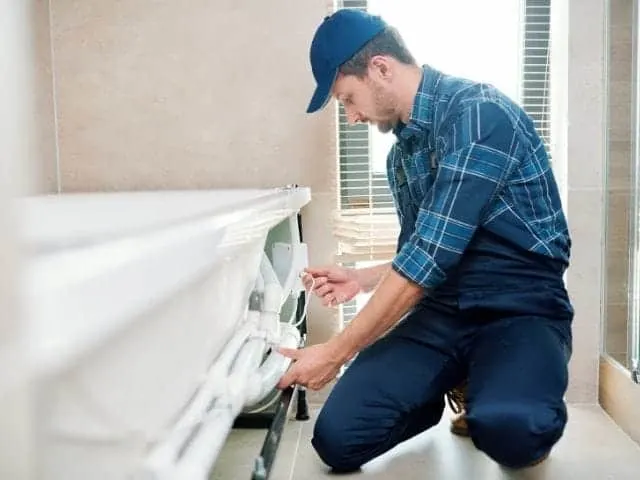
5. Installing Drain and Overflow:
Before placing the bathtub onto the support frame, it is important to install the drain and overflow components. Follow the manufacturer’s instructions for your specific bathtub model, as installation methods may vary.
Typically, a drain shoe and overflow pipe will need to be installed through an access hole in the tub. Apply plumber’s putty around the drain flange before inserting it into the drain hole. Tighten the drain flange from underneath, ensuring that it is securely in place.
Connect the overflow pipe to the overflow opening in the bathtub, making sure to use appropriate fittings and sealants as recommended by the manufacturer. Test for leaks by filling the bathtub with water and checking for any signs of water escaping.
6. Placing and Securing Bathtub:
With the drain and overflow components in place, carefully position the bathtub onto the support frame. Make sure that it is centered within the marked outline on the tile floor.
To secure the bathtub in place, use shims or leveling wedges as needed to ensure that it is level from all sides. Once you have achieved a level position, secure the bathtub to the support frame using screws or brackets provided by the manufacturer. Ensure that the screws or brackets are securely fastened to prevent any movement or instability of the bathtub. Double-check the bathtub’s levelness before proceeding to the next step.
7. Connecting Plumbing:
Once the bathtub is securely in place, you can connect the plumbing. This typically involves connecting the water supply lines and the drain pipe. Follow the manufacturer’s instructions for your specific bathtub model to ensure proper installation.
Attach the hot and cold water supply lines to the corresponding valves on the bathtub. Use plumber’s tape or thread sealant to create a watertight seal. Tighten the connections using adjustable wrenches, being careful not to overtighten.
Connect the drain pipe to the drain shoe on the underside of the bathtub. Again, use plumber’s tape or a suitable sealant to ensure a proper seal. Secure the connections using adjustable wrenches.
8. Testing for Leaks:
Before using your newly installed bathtub, it is important to test for any leaks. Fill the bathtub with water and let it sit for several minutes. Check all connections, including those underneath and around the drain and overflow components, for any signs of water leakage.
If you notice any leaks, tighten or reseal the affected connections as necessary until they are watertight.
9. Finishing Touches:
Once you have confirmed that there are no leaks, you can proceed with finishing touches such as caulking and sealing around the edges of the bathtub. Use a silicone-based caulk that is suitable for use in wet areas.
Apply a thin and even bead of caulk along all edges where the bathtub meets the tile floor and walls. Smooth out the caulk using a caulk smoothing tool or your finger, ensuring a neat and clean finish.
Allow sufficient time for the caulk to dry and cure before using your bathtub.
10. Regular Maintenance:
To keep your bathtub and tile floor in good condition, it is important to perform regular maintenance. Clean the bathtub regularly using non-abrasive cleaners and a soft cloth or sponge. Avoid using harsh chemicals or abrasive brushes that can damage the surface.
Inspect the caulking periodically and reapply as needed to maintain a watertight seal. Check for any signs of wear or damage to the tile floor and repair as necessary.
By following these steps and taking proper care of your bathtub and tile floor, you can enjoy a beautiful and functional bathroom for years to come.