Before one decides to try this art of decoration, it is important for one to recognize the different type of laminate flooring materials to choose the best information which complements the surrounding of the home the laminate is to be installed in. To be able to maintain the shine as well as elegance of laminated flooring, you need to stay away from using wax or polish or perhaps cleaning up chemicals.
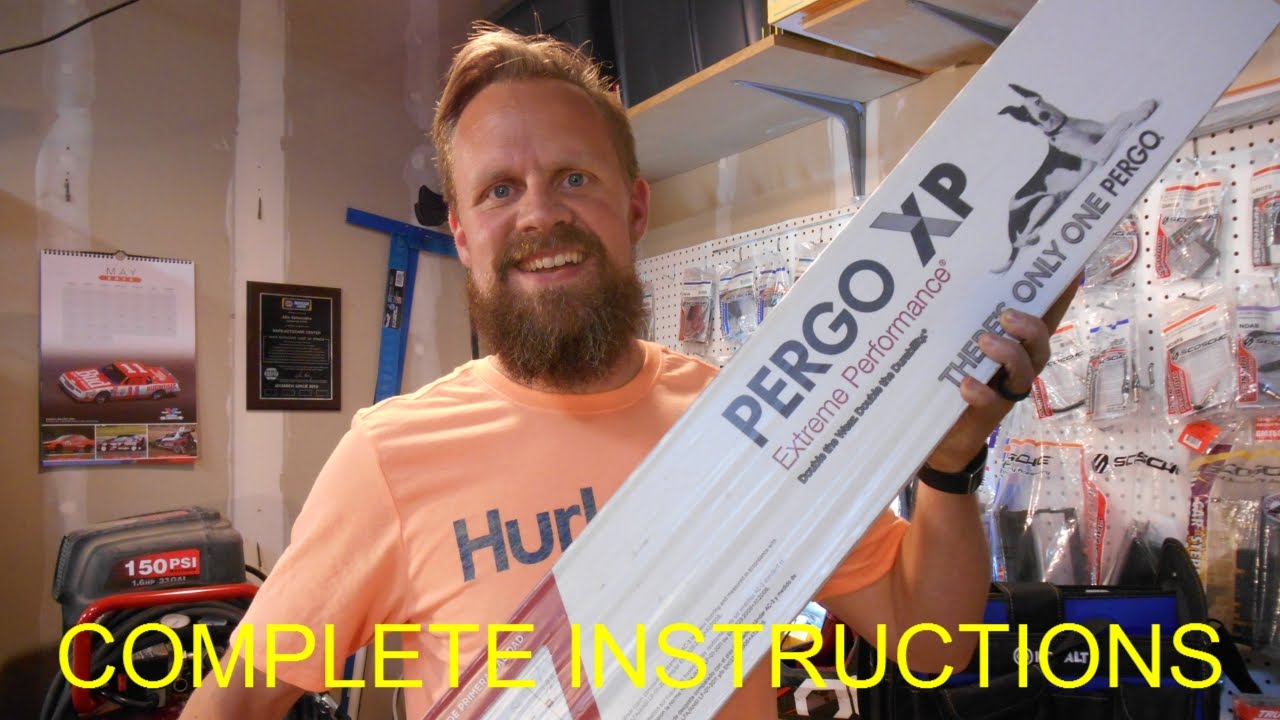
Images about Installing Pergo Xp Laminate Flooring

No 2 boards of sound hardwoods are going to be precisely the same because of the organic graining as well as weaknesses in the wood, however, the patterns inside laminates are repeated over and over. Many home owners choose laminate as it's among the most durable sorts of flooring available on the market today. Additionally, Pergo has today become the best seller of flooring in the world, so you know it is trusted worldwide.
How to install laminate flooring Real DIY Tips Pergo XP Flooring
If you would like to make a medium warm firmness to the home choose Brazilian cherry as well as for a rustic look Mocha oak is definitely the smartest choice. The initial would be that the craft paper style sheets will be glued together and also with a print film, which will then be glued to the center. Laminate floors are a great choice especially for homes and most homeowners shop for immediate pressure laminate for their homes.
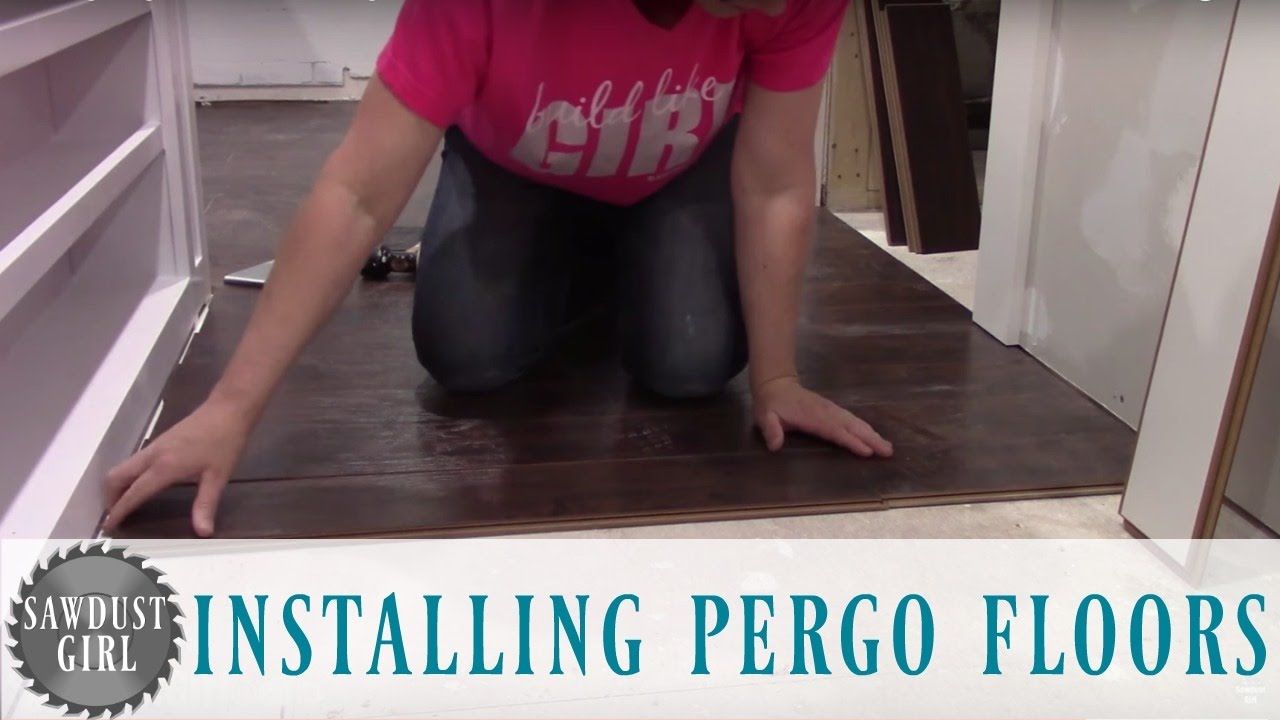
How to Install Pergo Laminate Flooring
How to Install Pergo Flooring: Chapter 8 – Installing on Stairs
How to Install Pergo Laminate Uniclic Flooring
Step By Step Process for How to Install Laminate Flooring
Pergo XP DIY Installation Review – YouTube
How to Install Pergo Flooring: 11 Steps (with Pictures) – wikiHow

How (NOT) To Install Laminate Flooring – Life She Has
Pergo XP Haley Oak 8 mm Thick x 7-1/2 in. Wide x 47-1/4 in. Length Laminate Flooring (19.63 sq. ft./case)

How to Install DIY Laminate, Hardwood and Vinyl Flooring PERGO®

Pergo XP Groveport Hickory
How to Install DIY Laminate, Hardwood and Vinyl Flooring PERGO®

HOW TO INSTALL PERGO LAMINATE FLOORING FOR BEGINNERS / DIY / PERGO

Related Posts:
- Direction Of Laminate Flooring In Bedroom
- Installing Laminate Flooring Trim Molding
- Traditional Living Laminate Flooring Reviews
- How To Nail Laminate Flooring
- Best Way To Clean Timber Laminate Flooring
- Laminate Flooring Up To Stairs
- Price To Install Laminate Flooring On Stairs
- Krono Aberdeen Oak Laminate Flooring
- How To Replace Laminate Flooring With Hardwood
- Red Gloss Laminate Flooring
Installing Pergo XP Laminate Flooring: A Comprehensive Guide
Introduction
Pergo XP laminate flooring is a popular choice for homeowners looking to enhance the beauty and functionality of their floors. This innovative flooring solution combines durability, style, and affordability, making it an excellent option for any room in your home. In this comprehensive guide, we will walk you through the step-by-step process of installing Pergo XP laminate flooring, ensuring that you achieve professional-looking results.
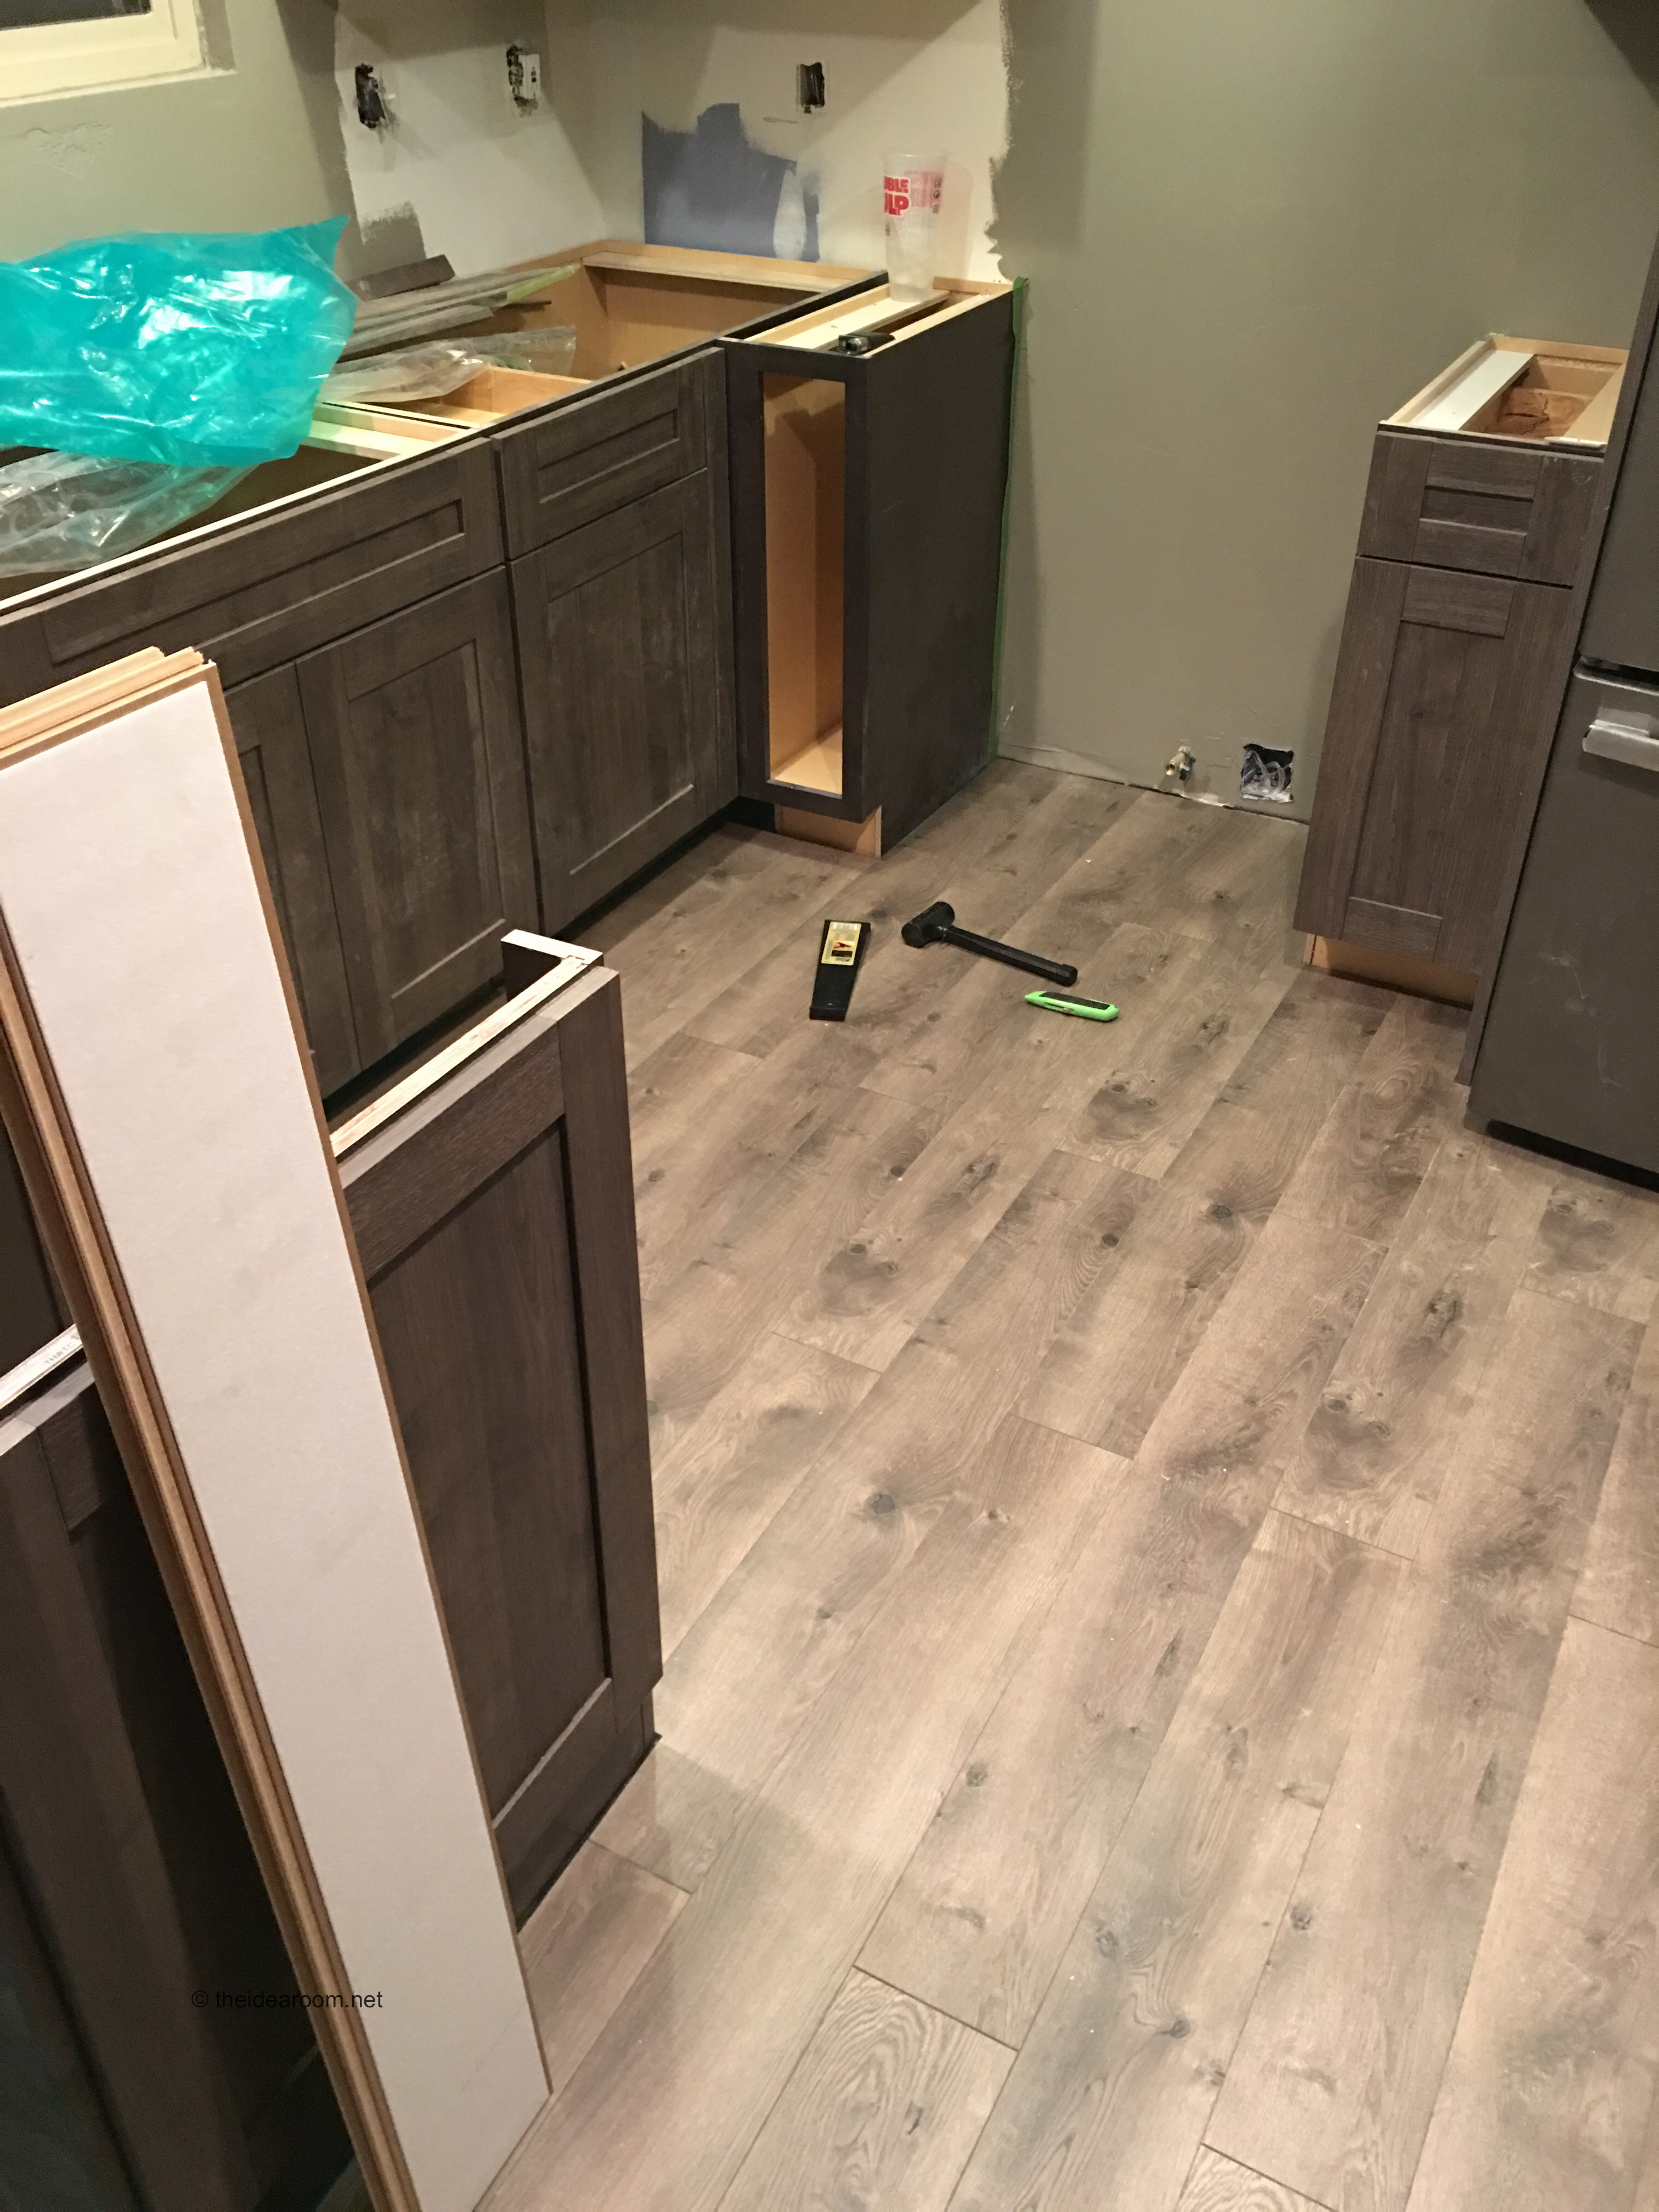
1. Preparing the Subfloor
Before you begin installing Pergo XP laminate flooring, it is crucial to prepare the subfloor properly. Start by removing any existing flooring materials, such as carpet or vinyl, and thoroughly clean the surface. Remove any debris or adhesive residue, ensuring a smooth and even subfloor. If necessary, use a self-leveling compound to correct any imperfections and ensure a flat surface.
FAQ: Can I install Pergo XP laminate flooring over existing hardwood floors?
Answer: Yes, you can install Pergo XP laminate flooring over existing hardwood floors. However, it is essential to assess the condition of the hardwood before proceeding. Ensure that the hardwood is level, free from moisture damage or warping, and firmly attached to the subfloor. If there are any issues with the existing hardwood, it may be necessary to remove it before installing Pergo XP laminate flooring.
2. Acclimating the Flooring
To ensure optimal performance and prevent potential issues with your Pergo XP laminate flooring down the line, it’s crucial to acclimate the planks before installation. Open each box of flooring and allow them to sit in the room where they will be installed for at least 48 hours. This process allows the planks to adjust to the temperature and humidity levels of your space.
FAQ: Can I skip the acclimation process if I’m in a hurry?
Answer: No, it is not recommended to skip the acclimation process. Acclimating the flooring helps prevent issues such as warping or buckling after installation. Rushing through this step may compromise the long-term performance and durability of your Pergo XP laminate flooring.
3. Installing the Underlayment
Before laying the Pergo XP laminate planks, it is essential to install an underlayment to provide cushioning, moisture protection, and noise reduction. Begin by rolling out the underlayment perpendicular to the direction you plan to lay the planks. Trim any excess material using a utility knife and ensure that there are no gaps or overlaps between the sections.
FAQ: Is underlayment necessary for Pergo XP laminate flooring?
Answer: Yes, using underlayment is highly recommended for Pergo XP laminate flooring. It helps create a more comfortable walking surface, reduces noise transmission, and provides a barrier against moisture from the subfloor.
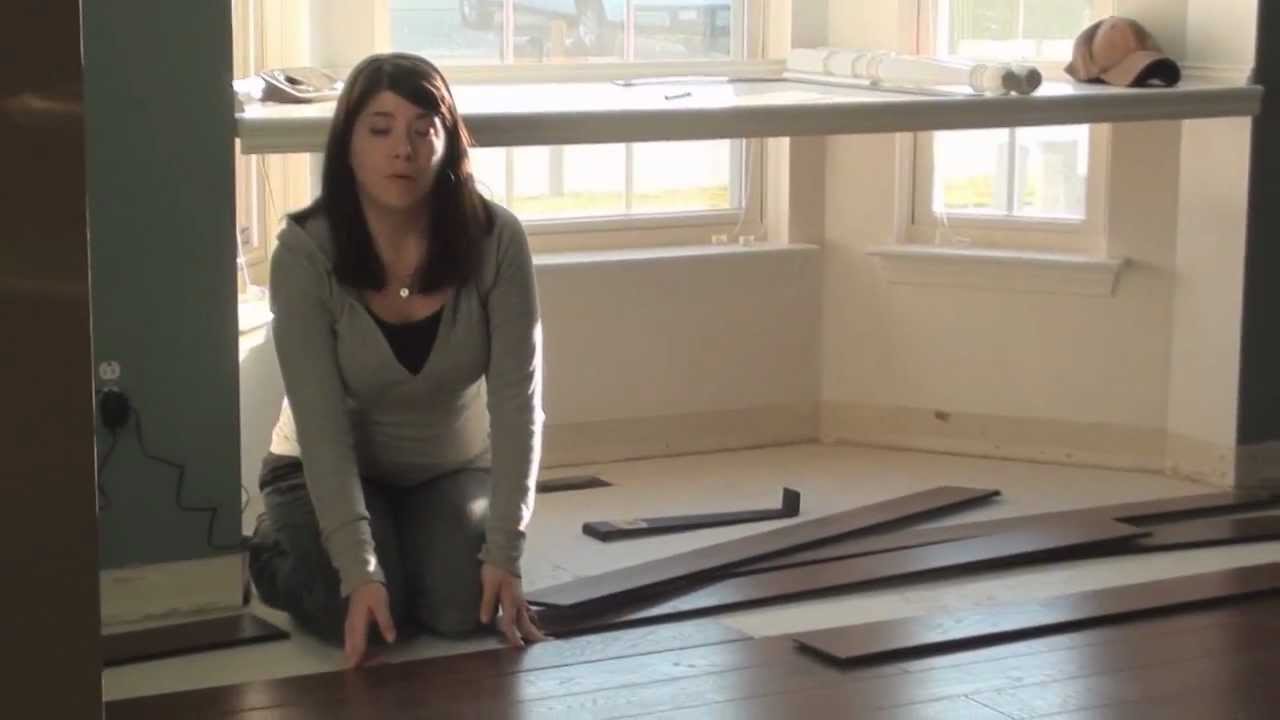
4. Starting the Installation
Now that your subfloor is ready and the underlayment is in place, it’s time to start installing your Pergo XP laminate flooring. Begin by selecting a corner of the room as your starting point. Place spacers along the walls to allow for expansion and contraction of the flooring. These spacers will be removed once the installation is complete.
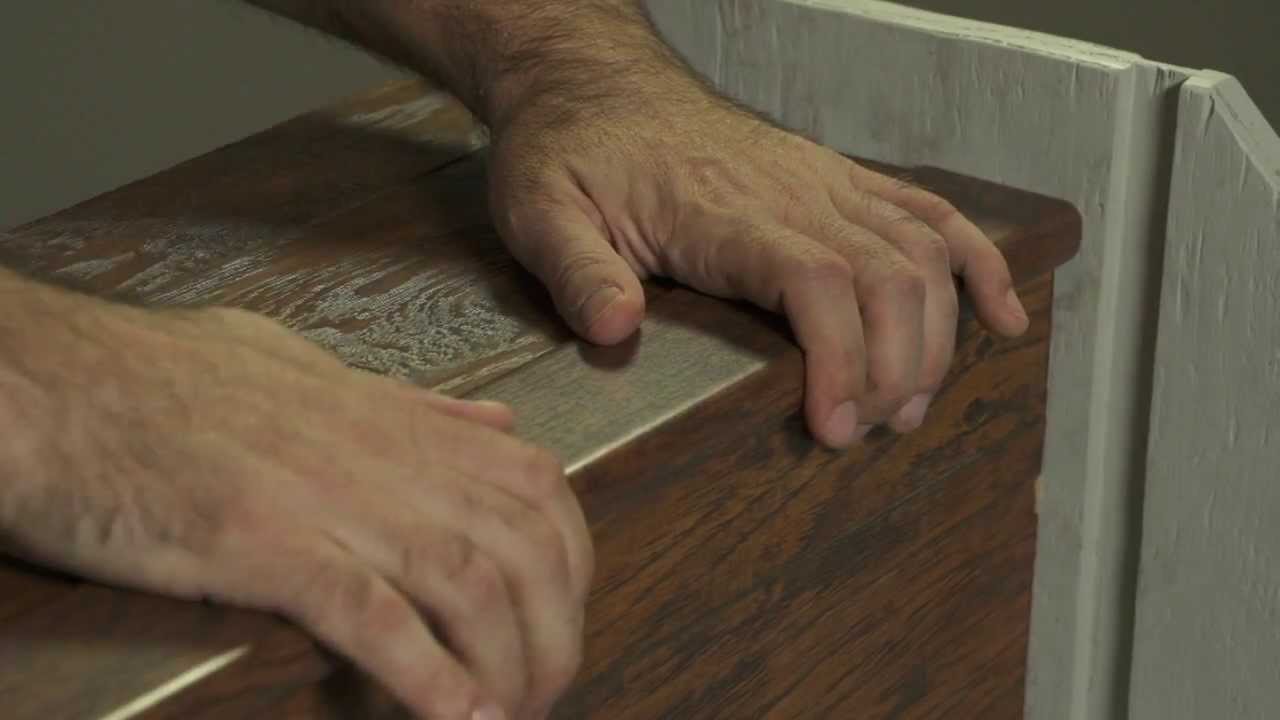
Take a full plank and place it against the wall, with its tongue facing away from the wall. Use a tapping block and a hammer to gently tap the plank into place until it is snugly fitted with the previous row. Continue adding full pl Anks in this manner, making sure to stagger the end joints for a more visually appealing and structurally sound installation. Use a saw to cut the last plank in each row as needed.
FAQ: How do I ensure a tight fit between planks during installation?
Answer: To ensure a tight fit, use a tapping block and a hammer to gently tap each plank into place. This will help eliminate any gaps between the planks and create a seamless and secure installation.
5. Finishing the Installation
Once all the planks have been installed, remove the spacers from along the walls. Use a pull bar and hammer to gently tap the planks together if needed. Install any transition pieces or molding as necessary to complete the look of your Pergo XP laminate flooring.
FAQ: Can I install Pergo XP laminate flooring in wet areas such as bathrooms or kitchens?
Answer: While Pergo XP laminate flooring is water-resistant, it is not recommended for wet areas such as bathrooms or kitchens where there is a high risk of water exposure. For these areas, it is best to choose a flooring option specifically designed for wet environments, such as vinyl or tile.
By following these steps and guidelines, you can successfully install Pergo XP laminate flooring over existing hardwood floors. Remember to assess the condition of the hardwood beforehand, acclimate the planks, use underlayment, start at a corner, ensure a tight fit between planks, and finish with appropriate molding. If you have any further questions or concerns, consult the manufacturer’s instructions or seek professional assistance.