On the flip side, laminate floors are ideal for those searching for cheaper options since it is able to showcase the attractiveness of fire wood, stone or marble at a lesser cost. The kitchen area flooring is the foundation which the kitchen of yours literally rests. Modern vinyl flooring is sturdy and water resistant and can even mimic more high-priced flooring options like all-natural stone and hardwood.
Images about How To Screed A Kitchen Floor
Kitchen flooring can make it possible to produce a totally new feel to the kitchen of yours, whether you wish to add the illusion of space and light, or whether you want to create a cozier, more homely feel. Cork floor also is another new flooring material in the marketplace. For more modern kitchens, homeowners can use resins and glass. It is not needed for you to wax the floors.
Concrete kitchen floor ideas u2013 20 ways to introduce this popular
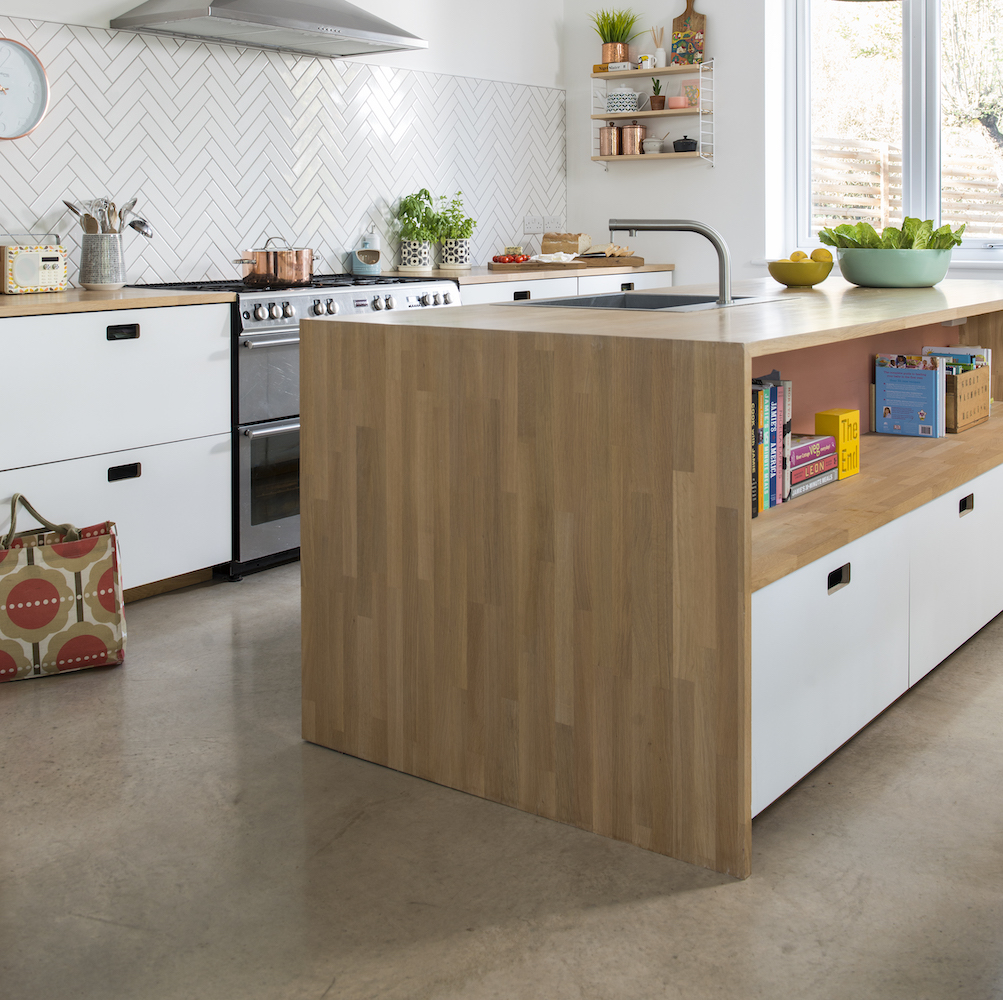
The varieties of substances, patterns and colors available in the market is extremely overpowering and will confuse you if you don't know much more about it. In days that are past, families didn't spend too much occasion of the kitchen together, and sometimes it was a separate little corner of the house all alone. The kitchen laminate flooring allows you to have an attractive, clean and homey kitchen with very little maintenance at all times.
How to DIY Floor screed. – YouTube
iTe – iTe CEMOX decorative screed finish floor completes a kitchen

kitchen cement screed wall Kitchen room design, Kitchen layout

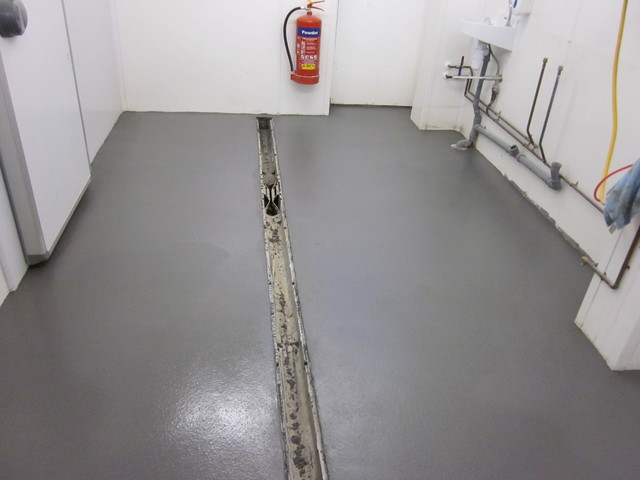
Seamless Hygienic Polyurethane floor screed for Whitby Kitchen
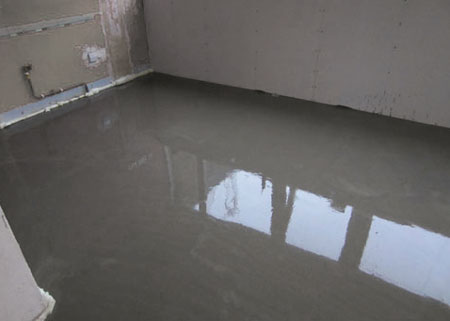
HOME DZINE Kitchen Self-levelling cement screed floor
Any DIYu0027d self levelling screed for final finish? Overclockers

levelling/screeding kitchen/dining room floor ? DIYnot Forums

How to pour self levelling concrete yourself.
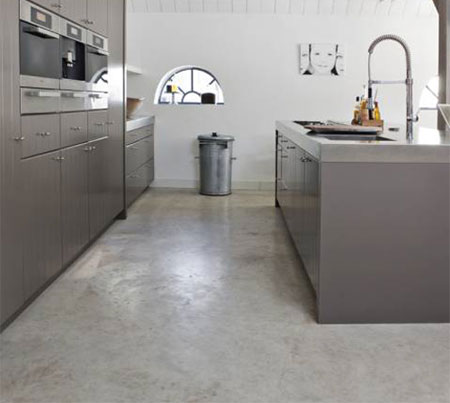
An In-Depth Look at 30 Concrete Floor Designs – Concrete Flooring

Best Kitchen Flooring – Kitchen Floor Ideas For Your Home

Concrete in kitchens – floors, coated walls and countertops – B2B

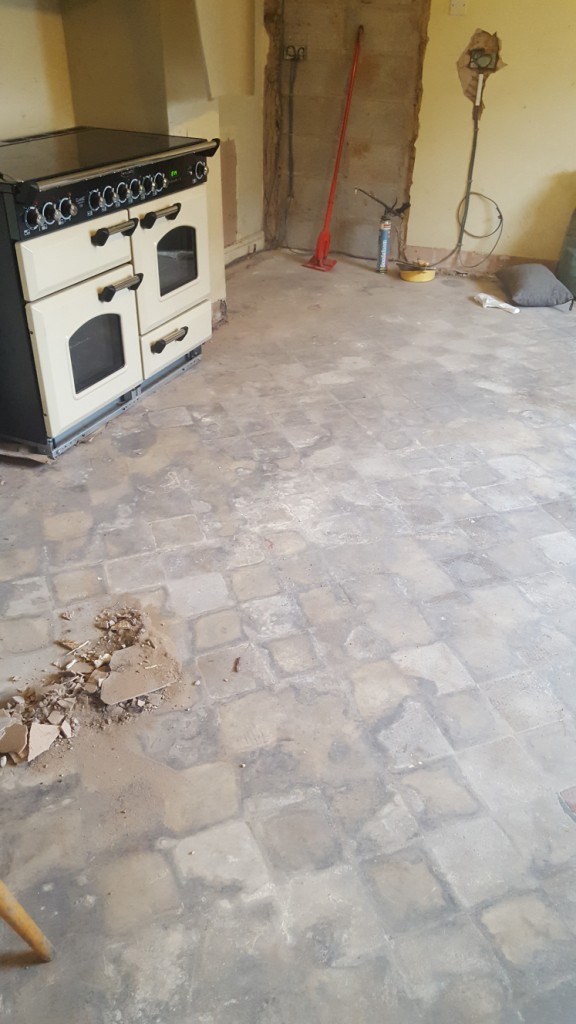
Full Restoration of Quarry Tiled Kitchen Floor Hidden under Screed
Related Posts:
- Home Floor And Kitchens
- Floor Tiles White Kitchen
- Cracked Tiles In Kitchen Floor
- Clean My Kitchen Floor
- Can You Put Kitchen Cabinets On Top Of Laminate Flooring
- Is Marble Floor Good For Kitchen
- Ikea Kitchen Floor To Ceiling Cabinets
- Bamboo Flooring In Kitchen Reviews
- Best Non Slip Kitchen Flooring
- Patterned Kitchen Floor
Title: How to Achieve a Perfectly Leveled Kitchen Floor with Screeding
Introduction:
A properly leveled kitchen floor is essential for ensuring the stability and longevity of your kitchen space. One effective method for achieving a level surface is through a process called screeding. In this comprehensive guide, we will walk you through the step-by-step process of screeding a kitchen floor, providing helpful tips and addressing frequently asked questions to ensure your project’s success.
I. Understanding Screeding:
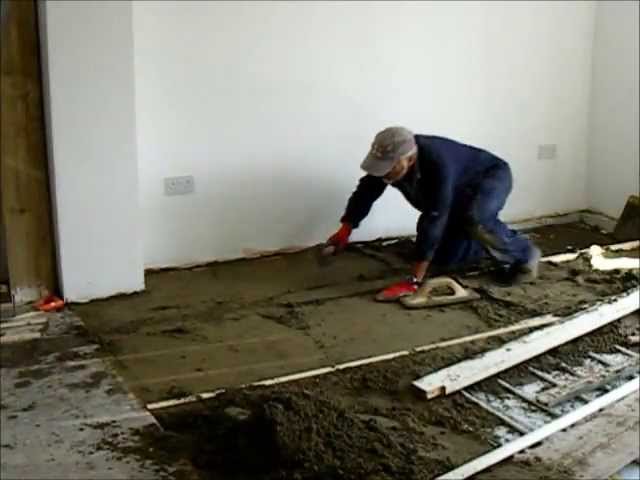
Screeding is the process of creating a smooth and level surface using a mixture of sand, cement, and water. It helps to eliminate any inconsistencies or imperfections in the floor’s base layer, ensuring an even foundation for laying tiles or other flooring materials.
II. Tools and Materials Required:
Before embarking on your screeding project, gather the following tools and materials:
1. Spirit level: A long spirit level is crucial for accurately measuring the floor’s levelness.
2. Screed rails: These are guide rails that help maintain the desired thickness and levelness while screeding.
3. Mixing equipment: A large mixing tub or wheelbarrow for combining sand, cement, and water.
4. Trowel: Used for spreading and smoothing the screed mixture.
5. Wooden float: Ideal for finishing touches and achieving a smooth surface.
6. Protective gear: Wear gloves, safety goggles, and a mask to protect yourself during the process.
7. Sand, cement, and water: High-quality sand (sharp or builder’s sand) and cement are essential ingredients for your screed mixture.
III. Preparing the Floor:
1. Clear the area: Remove any obstacles from the kitchen floor, including furniture, appliances, or loose debris.
2. Clean thoroughly: Sweep away dust and dirt from the surface to ensure proper adhesion of the screed mixture.
3. Repair damages: Inspect the floor for any cracks or holes. Fill them with a suitable floor repair compound and allow it to dry before proceeding.
IV. Calculating the Screed Mixture:
To determine the amount of material needed for your screeding project, follow these steps:
1. Measure the area: Calculate the square footage of the kitchen floor by multiplying its length by width.
2. Determine the screed thickness: The ideal thickness for a kitchen floor screed usually ranges between 25mm to 40mm (1 to 1.5 inches).
3. Calculate materials: Use a screed calculator or consult packaging guidelines to determine the correct ratio of sand, cement, and water based on your measurements.
V. Mixing the Screed:
Once you have determined the required amounts, proceed with mixing the screed:
1. Combine materials: In your mixing tub or wheelbarrow, add sand and cement in the recommended ratio, gradually mixing them together.
2. Add water gradually: Pour water into the mixture while continuously stirring until you achieve a workable consistency.
3. Avoid excess water: Be cautious not to add too much water, as this can weaken the final product.
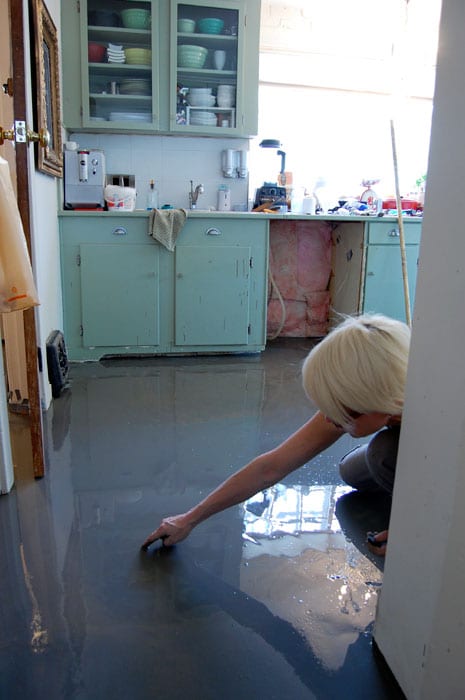
VI. Screeding Process:
Follow these steps to screed your kitchen floor effectively:
1. Set up guide rails: Place screed rails across the room parallel to each other at a distance corresponding to your desired screed thickness.
2. Apply the first layer: Pour the mixed screed onto one side of the room, between the guide rails.
3. Spread evenly: Using a trowel, spread and level The screed mixture across the floor, ensuring it is evenly distributed between the guide rails.
4. Compact and smooth: Use a wooden float to compact and smooth the surface of the screed, removing any air pockets or unevenness.
5. Repeat the process: Continue pouring, spreading, and smoothing the screed mixture in small sections until the entire kitchen floor is covered.
6. Check for levelness: Use a level or straightedge to check the levelness of the screed. Adjust as necessary by adding or removing screed mixture.
7. Allow to dry: Leave the screed to dry and cure for at least 24-48 hours before proceeding with any further flooring installation.
VII. Cleaning and Maintenance:
1. Clean tools and equipment: Thoroughly clean all tools and equipment used in the screeding process before the materials harden.
2. Dispose of waste properly: Dispose of any leftover sand, cement, or water in accordance with local regulations.
3. Regular maintenance: Once your new kitchen floor is installed, regularly clean and maintain it according to the manufacturer’s instructions to preserve its longevity and appearance. 4. Consider sealing the screed: Depending on the type of screed used, you may want to consider applying a sealer to protect it from stains, moisture, and wear. Consult with a professional for the best sealing options for your specific kitchen floor screed.
5. Address any cracks or damage: If you notice any cracks or damage in the screed over time, address them promptly to prevent further deterioration. Consult with a professional for the best repair methods.
6. Avoid heavy or sharp objects: To prevent damage to the screed, avoid dragging heavy furniture or appliances across the floor and use caution when handling sharp objects.
7. Monitor moisture levels: Keep an eye on the moisture levels in your kitchen to prevent excessive moisture from affecting the screed. Use mats or rugs in areas prone to spills or high humidity.
8. Regularly inspect for wear and tear: Regularly inspect your kitchen floor for any signs of wear and tear, such as scratches or chips in the screed. Address these issues promptly to maintain the integrity of your floor.
9. Follow proper cleaning techniques: Use non-abrasive cleaners and avoid harsh chemicals that can damage the screed. Follow manufacturer’s instructions for cleaning and maintenance to ensure longevity.
10. Schedule professional maintenance: Consider scheduling regular professional maintenance for your kitchen floor screed to ensure it remains in optimal condition and to address any potential issues early on.
Remember to consult with professionals or experts in flooring installation for specific advice and guidance tailored to your kitchen floor’s needs.