It's not only because of style and also the decor of the home of yours that you have to think about using kitchen area floor flooring for your floor but additionally you're looking at durability and toughness in the sense your floor is able to take the spills and splashes that can occur regularly in a hectic kitchen.
Images about Clean My Kitchen Floor

Selecting one that is going to make the stay of its in your kitchen won't be an easy process because it'll involve a good deal of planning as well as design consideration. No where else will you find the selection you are able to on the web. To have an awesome kitchen floor, you don't involve high maintenance. To be truthful, hardwood flooring is really good though you need to allocate more time to keep up this kind of flooring.
How Often Should You Clean Your Kitchen Floor? Martha Stewart

In case you decide to continue the same flooring that you actually have, you would still need to conserve a little more with your budget to rehabilitate the floor into design because of all the stressful consequences that a major build up might have on it. The exact same effect is achieved by diagonally arranging floor tiles when installing it instead of laying it in such a way that it's parallel to the wall space.
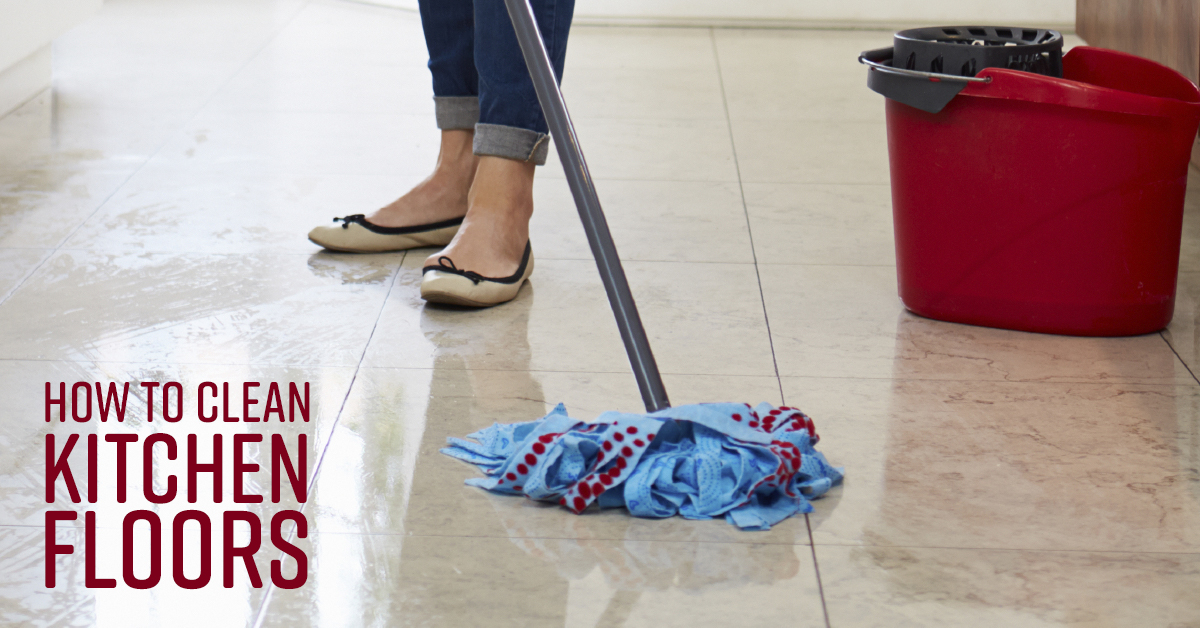
How to Clean Kitchen Floors Better Homes u0026 Gardens

How to Clean Kitchen Floors tips and advice @ build directLearning

How to Clean Kitchen Floors – Simple Green
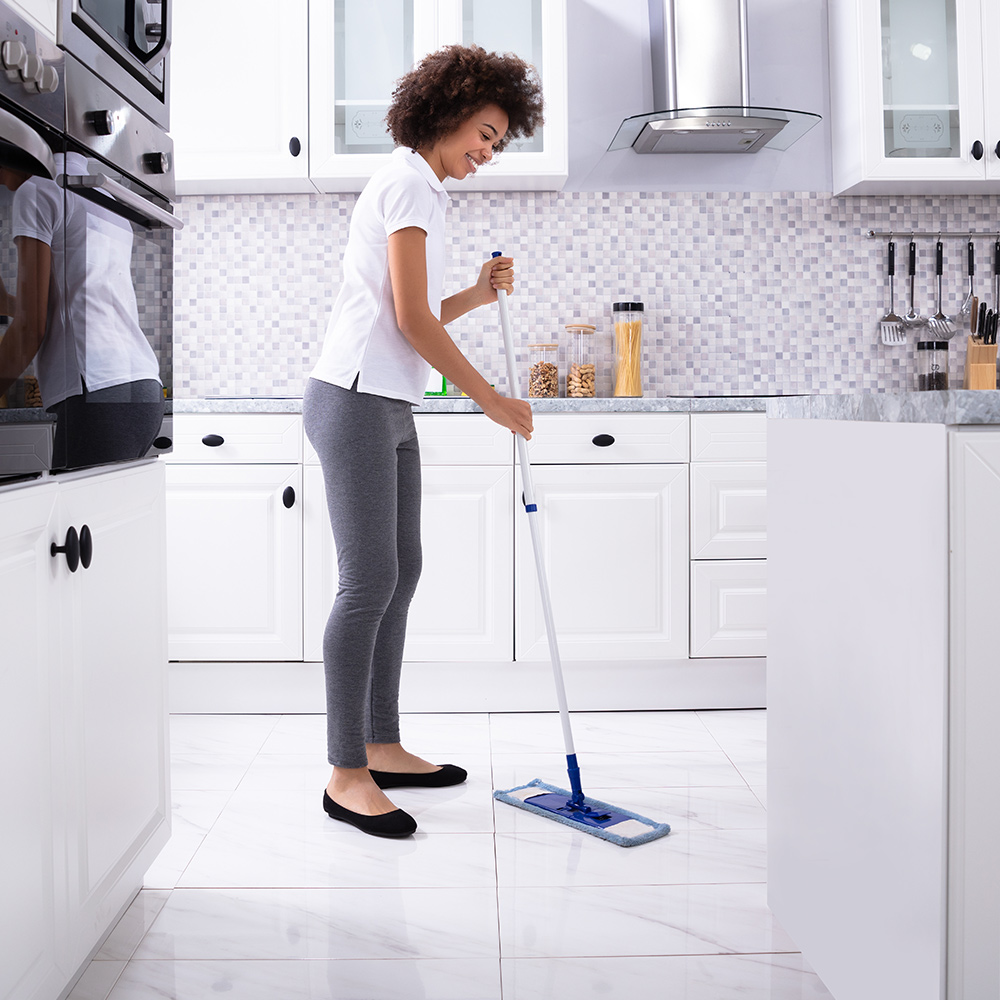
How to Clean Tile Floors
How to Seriously Deep Clean Your Kitchen Floor

How I wash My Floors- Deep Cleaning Floors
How to Clean Your Kitchen Floor: 10 Steps (with Pictures)

The Easiest Way to Clean Filthy, Neglected Tile Flooring
How to Clean Your Kitchen Floor: 10 Steps (with Pictures)

How to Clean Kitchen Floors Better Homes u0026 Gardens

The Easiest Way to Clean Filthy, Neglected Tile Flooring
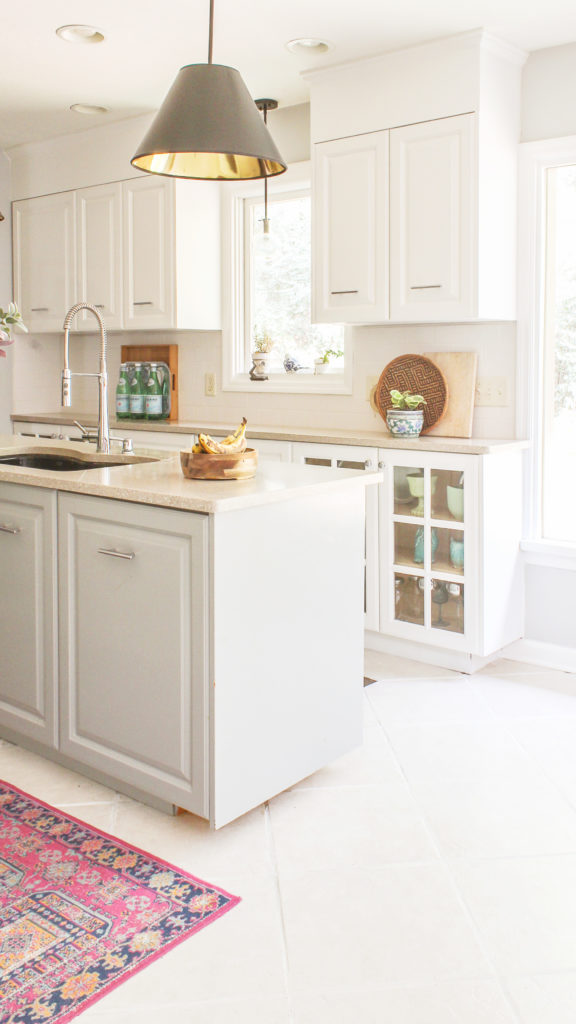
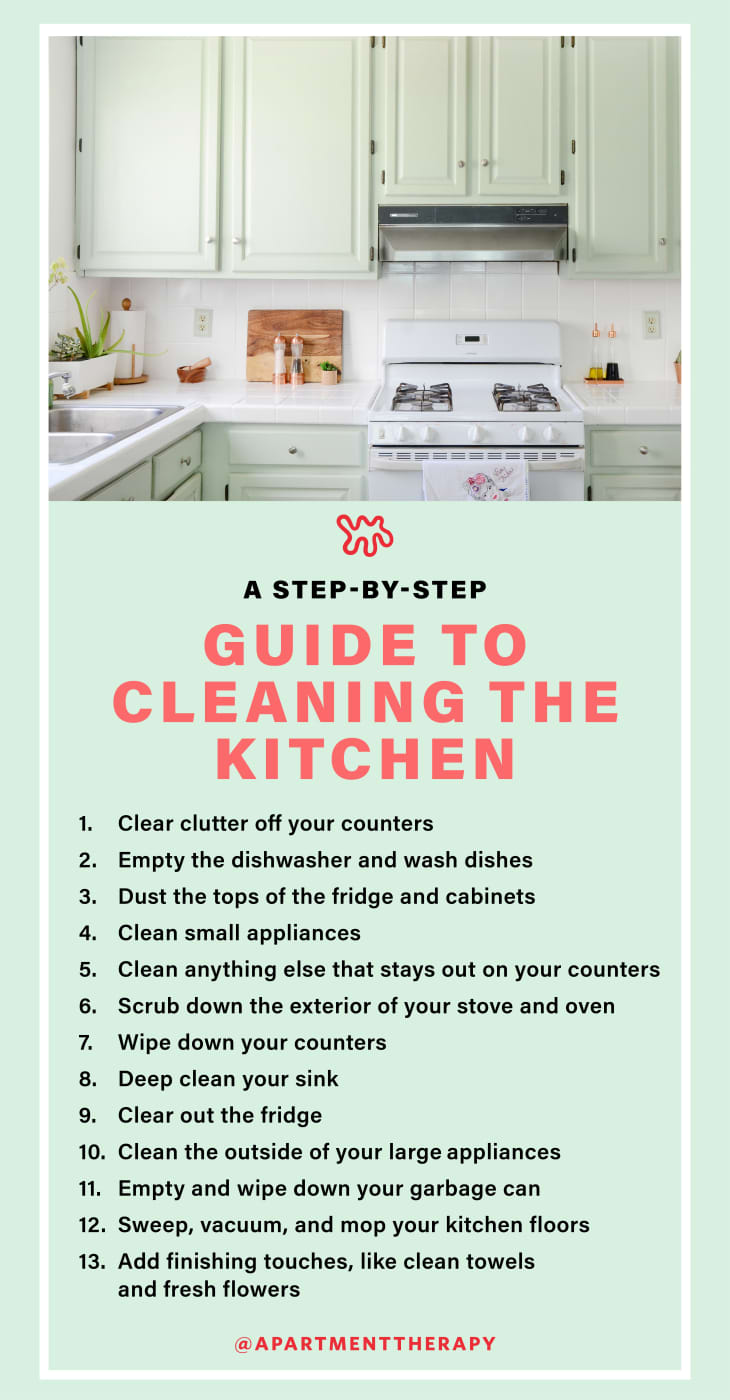
Kitchen Cleaning: A Step-by-Step Guide Apartment Therapy
Related Posts:
- Home Floor And Kitchens
- Floor Tiles White Kitchen
- Cracked Tiles In Kitchen Floor
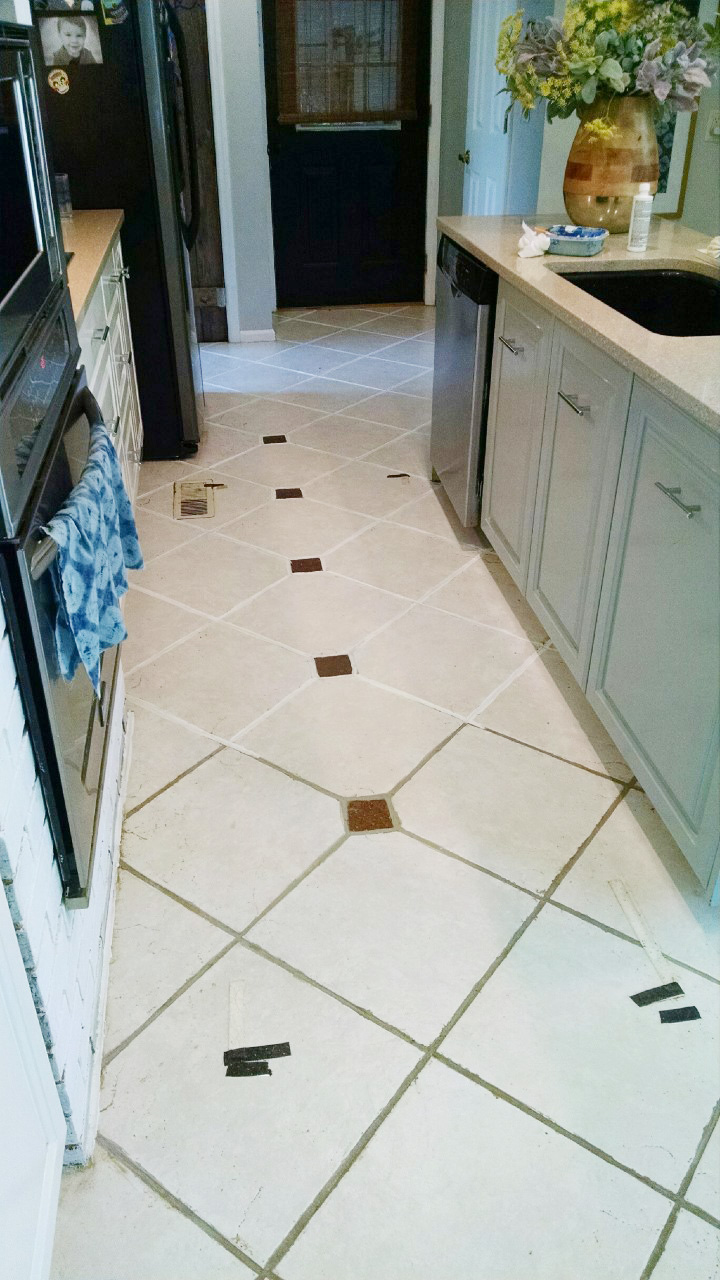
- Clean My Kitchen Floor
- Can You Put Kitchen Cabinets On Top Of Laminate Flooring
- Is Marble Floor Good For Kitchen
- Ikea Kitchen Floor To Ceiling Cabinets
- Bamboo Flooring In Kitchen Reviews
- Best Non Slip Kitchen Flooring
- Patterned Kitchen Floor
Clean My Kitchen Floor: A Comprehensive Guide to Sparkling Cleanliness
Introduction:
Keeping your kitchen floor spotless is essential for maintaining a clean and hygienic environment in your home. Over time, kitchen floors can accumulate dirt, stains, and spills, making them look dull and unappealing. However, with the right tools, techniques, and a bit of elbow grease, you can restore the shine to your kitchen floor. In this comprehensive guide, we will take you through step-by-step instructions on how to clean your kitchen floor effectively.
I. Gathering the Necessary Supplies:
Before diving into the cleaning process, it’s crucial to gather all the supplies you’ll need to ensure a thorough and efficient cleaning session. Here are some essential items you should have at hand:
1. Broom or vacuum cleaner: Start by removing loose dirt, food crumbs, and debris from the floor’s surface using a broom or vacuum cleaner with a hard floor attachment. This step prevents scratching the floor while mopping.
FAQ: Should I use a broom or vacuum cleaner for my kitchen floor?
Answer: Both options work well; however, if your kitchen floor has many tight corners and crevices, using a vacuum cleaner might be more effective in reaching those hard-to-reach areas.
2. Microfiber mop or sponge mop: A microfiber mop or sponge mop is ideal for cleaning kitchen floors as they are highly absorbent and gentle on various types of flooring materials.
FAQ: Can I use a regular cotton mop instead of a microfiber or sponge mop?
Answer: While a regular cotton mop can get the job done, it tends to leave streaks and may not absorb as much water as microfiber or sponge mops. Therefore, it’s recommended to use either of these options for optimal results.
3. Cleaning solution: Depending on the type of flooring you have in your kitchen, select an appropriate cleaning solution. For most kitchen floors, a mild detergent mixed with warm water should suffice. However, if you have specific flooring materials like hardwood or laminate, be sure to use a cleaner specifically designed for those surfaces.
FAQ: Is it safe to use vinegar as a cleaning solution for my kitchen floor?
Answer: Yes, vinegar can be an effective and natural cleaning solution for many types of flooring. However, always check the manufacturer’s recommendations and test a small, inconspicuous area before using vinegar on your entire kitchen floor.
II. Preparing the Floor for Cleaning:
Now that you have gathered your supplies, it’s time to prepare the floor for cleaning. Follow these steps:
1. Remove movable objects: Before starting the cleaning process, clear your kitchen floor of any movable objects such as chairs, stools, or small appliances. This step ensures that you have an unobstructed surface to work with.
2. Wipe up spills and stains: Take a damp cloth or paper towel and gently wipe up any fresh spills or stains on the floor. This prevents them from spreading during the cleaning process.
3. Pre-treat stubborn stains: If your kitchen floor has stubborn stains that won’t come off with regular cleaning, consider pre-treating them. Apply a small amount of appropriate stain remover directly onto the stain and let it sit for a few minutes before proceeding with the cleaning.
FAQ: How do I remove tough grease stains from my kitchen floor?
Answer: Grease stains can be challenging to remove from kitchen floors. One effective method is to sprinkle baking soda on the stain And then scrub it with a damp cloth or sponge. You can also try using a degreasing dish soap mixed with warm water to tackle the stain. If these methods don’t work, you may need to seek professional help or consult the manufacturer for specific recommendations.
4. Sweep or vacuum the floor: Before mopping, it’s important to remove any loose dirt, dust, or debris from the floor surface. Use a broom or vacuum cleaner to thoroughly sweep or vacuum the entire kitchen floor.
FAQ: How often should I sweep or vacuum my kitchen floor?
Answer: The frequency of sweeping or vacuuming your kitchen floor depends on several factors such as foot traffic, cooking activities, and pet presence. As a general rule, it’s recommended to sweep or vacuum at least once a week to keep your kitchen floor clean and free from dirt and debris.
III. Mopping the Floor:
Now that your kitchen floor is prepared, it’s time to start mopping. Follow these steps:
1. Fill a bucket with warm water: Fill a bucket with warm water and add your chosen cleaning solution according to the manufacturer’s instructions. Be careful not to use excessive amounts of cleaning solution as it may leave residue on the floor.
2. Dip the mop in the cleaning solution: Dip your microfiber mop or sponge mop into the cleaning solution, ensuring that it is fully soaked but not dripping excessively.
3. Start mopping: Begin mopping the kitchen floor by starting at one corner and working your way towards the exit. Use gentle back-and-forth motions to cover the entire floor surface.
4. Pay attention to stubborn stains: If you encounter stubborn stains or spots during the mopping process, spend a bit more time and effort on those areas. You may need to apply some pressure or use a scrub brush to loosen the dirt or grime.
5. Rinse and wring out the mop: Periodically rinse your mop in clean water and wring out any excess liquid. This helps prevent streaks and ensures that you are using clean water to mop the floor.
6. Change the water if necessary: If the water becomes visibly dirty or murky, it’s time to change it for a fresh batch. Using dirty water can spread dirt and grime around instead of cleaning the floor.
7. Allow the floor to air dry: After you have finished mopping, allow the kitchen floor to air dry completely before walking on it or placing any furniture back in place. This helps avoid slipping accidents and allows any remaining moisture to evaporate.
FAQ: Can I use a fan or open windows to speed up the drying process?
Answer: Yes, you can use a fan or open windows to aid in the drying process of your kitchen floor. However, be cautious not to create a draft that may blow dust or debris onto the wet surface.