Even with the best kind of sealant when you allow water by sitting along with your cork floors it is going to harm them so I continually suggest a mat where drinking water is a possible concern together with ensuring that any liquid spill is wiped up immediately. They include bar stools by sitting on and everyone is able to talk and take pleasure in the cooking experience together.
Images about Cracked Tiles In Kitchen Floor

By neglecting to give far more believed to the kitchen floor solutions of yours and choosing the incorrect flooring surface area will guarantee that an overall exceptional kitchen will look only natural, and get dated quicker. You can go from a really plain appearance to very elegant in kitchen flooring. Part of what makes it very easy to keep clean is seamless in design.
What Causes Tile Floors to Crack? 50 Floor
Resins are terrific for areas with irregular shapes and sizes. It's likewise simpler to do research and to find a way to comparison shop online for your bamboo kitchen area flooring selection. A lot of people tend to overlook kitchen flooring choices when they're renovating the kitchen of theirs, yet selecting the right flooring is one way to boost the overall appeal of the home.
Reasons for Cracked Floor and Wall Tile
/reasons-why-tile-floor-is-cracked-1822645-hero2-d370ff4a97b548b78daba6117abe6519.jpg)
Help! Why Do I Have Lifting Floor Tiles In My House?
How to Hide or Repair Cracked Tiles in Your Home

Fix broken tiles on kitchen floor Hometalk
How to Repair a Hairline Crack in Tile
Precautions for Tile Cracking u0026 Tips to Repair Cracked Tile

How to Replace a Cracked Floor Tile – This Old House

Are Cracked Tile Floors Signs Of Foundation Issues? HD Foundations
How To Repair Hairline Crack in Shower Tile
How to Prevent Your Tile Floor from Cracking

Causes of Cracked Tile in Your House
How to Fix Cracked Tile
Related Posts:
- Home Floor And Kitchens
- Floor Tiles White Kitchen
- Cracked Tiles In Kitchen Floor
- Clean My Kitchen Floor
- Can You Put Kitchen Cabinets On Top Of Laminate Flooring
- Is Marble Floor Good For Kitchen
- Bamboo Flooring In Kitchen Reviews
- Ikea Kitchen Floor To Ceiling Cabinets
- Best Non Slip Kitchen Flooring
- Patterned Kitchen Floor
Cracked Tiles in Kitchen Floor: Causes, Solutions, and Frequently Asked Questions
Introduction:
A cracked tile in the kitchen floor can be a frustrating sight for homeowners. Not only does it affect the aesthetic appeal of the space, but it can also pose potential safety hazards. Understanding the causes of cracked tiles and knowing how to tackle this issue is essential for maintaining a functional and beautiful kitchen. In this article, we will explore the various reasons behind cracked tiles in kitchen floors, effective solutions to address this problem, and answer some frequently asked questions to help you navigate through this common household issue.
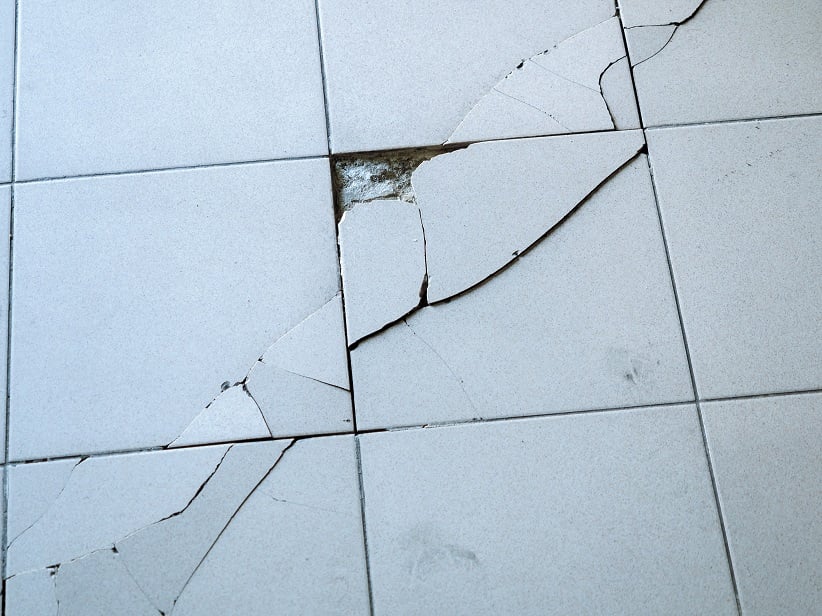
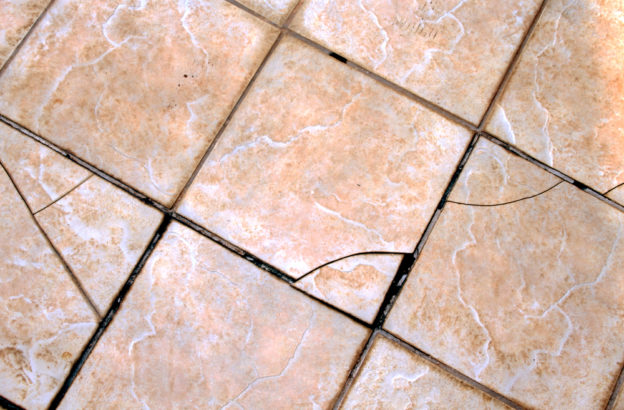
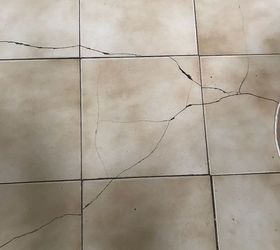
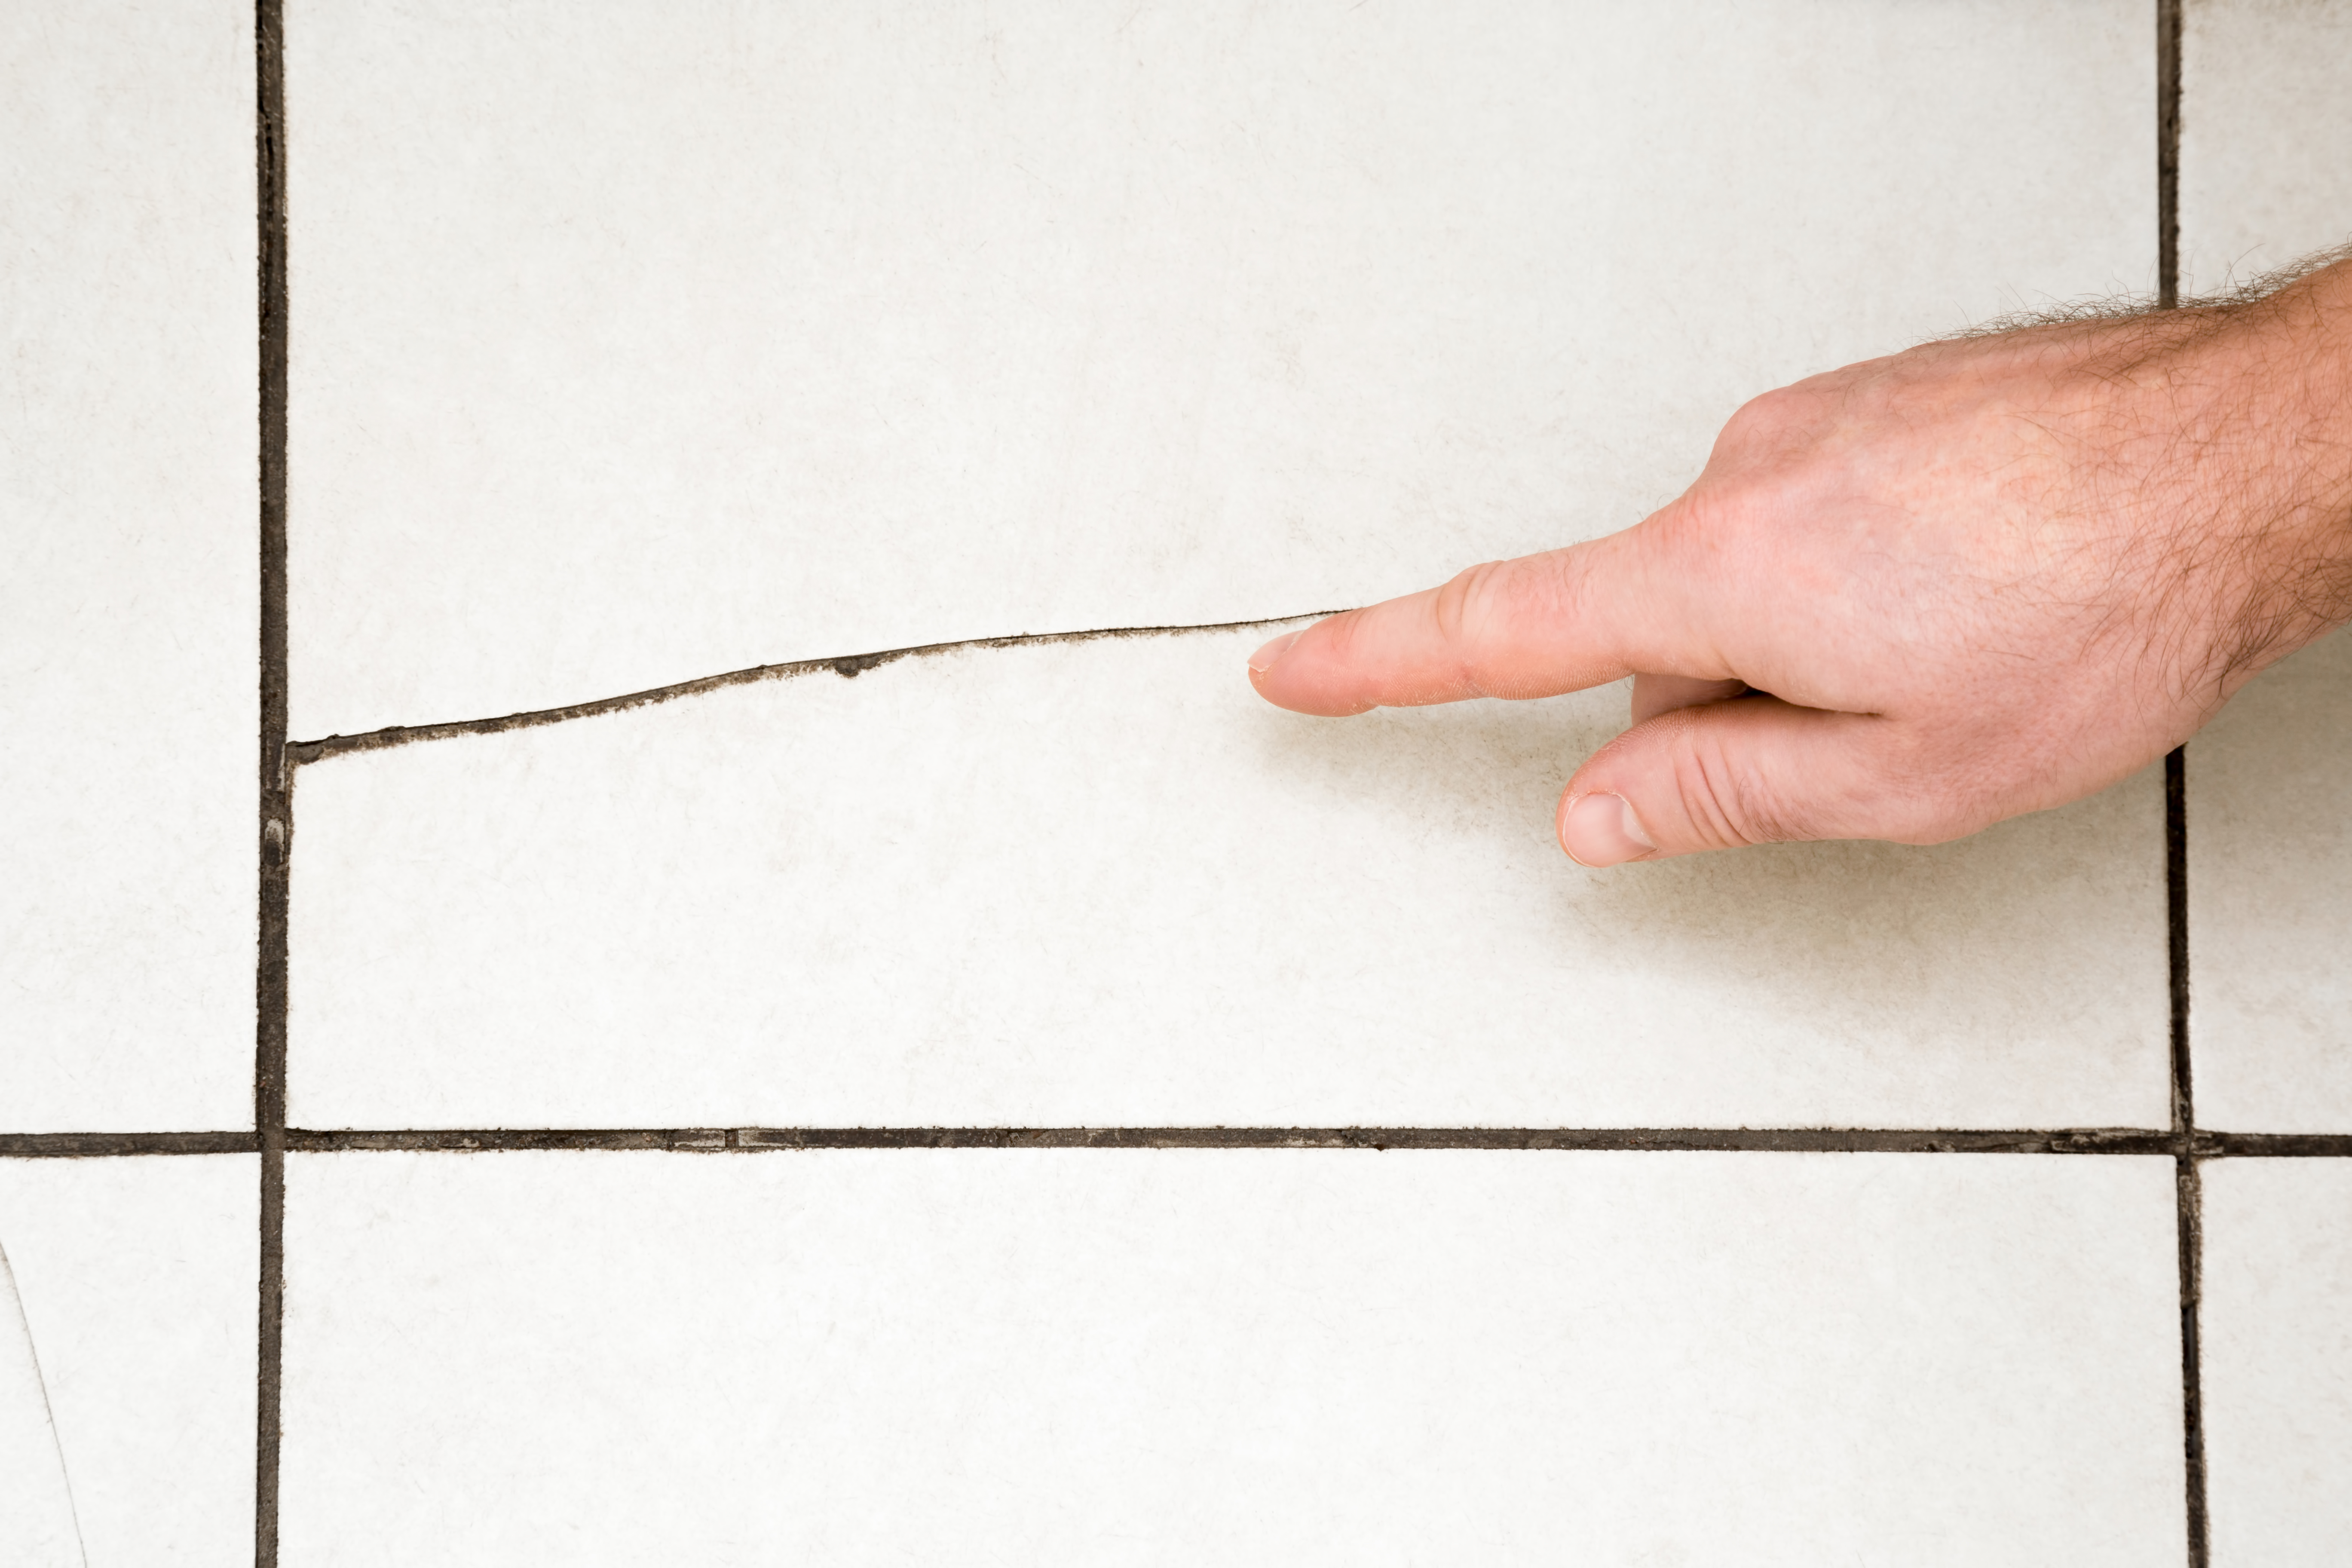
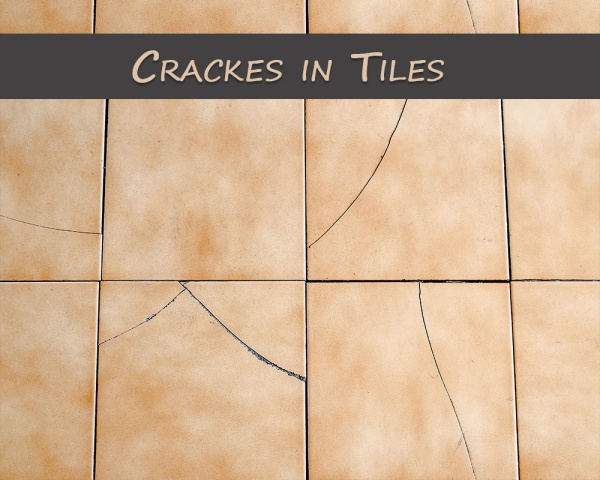
1. Causes of Cracked Tiles:
a) Poor Installation:
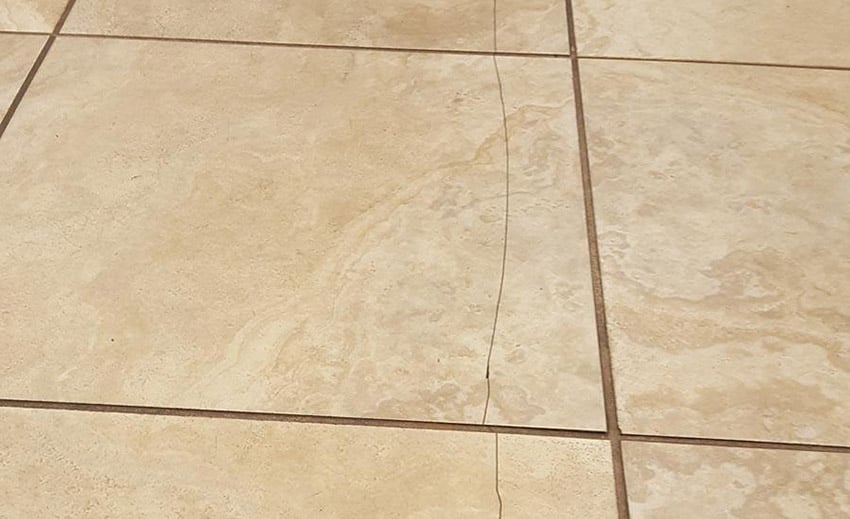
One of the primary causes of cracked tiles in kitchen floors is poor installation. When tiles are not properly installed with an adequate adhesive layer or incorrect grouting techniques, they may become susceptible to cracking over time. Additionally, uneven subfloors or improper preparation before tiling can put undue stress on the tiles, leading to cracks.
b) Subfloor Movement:
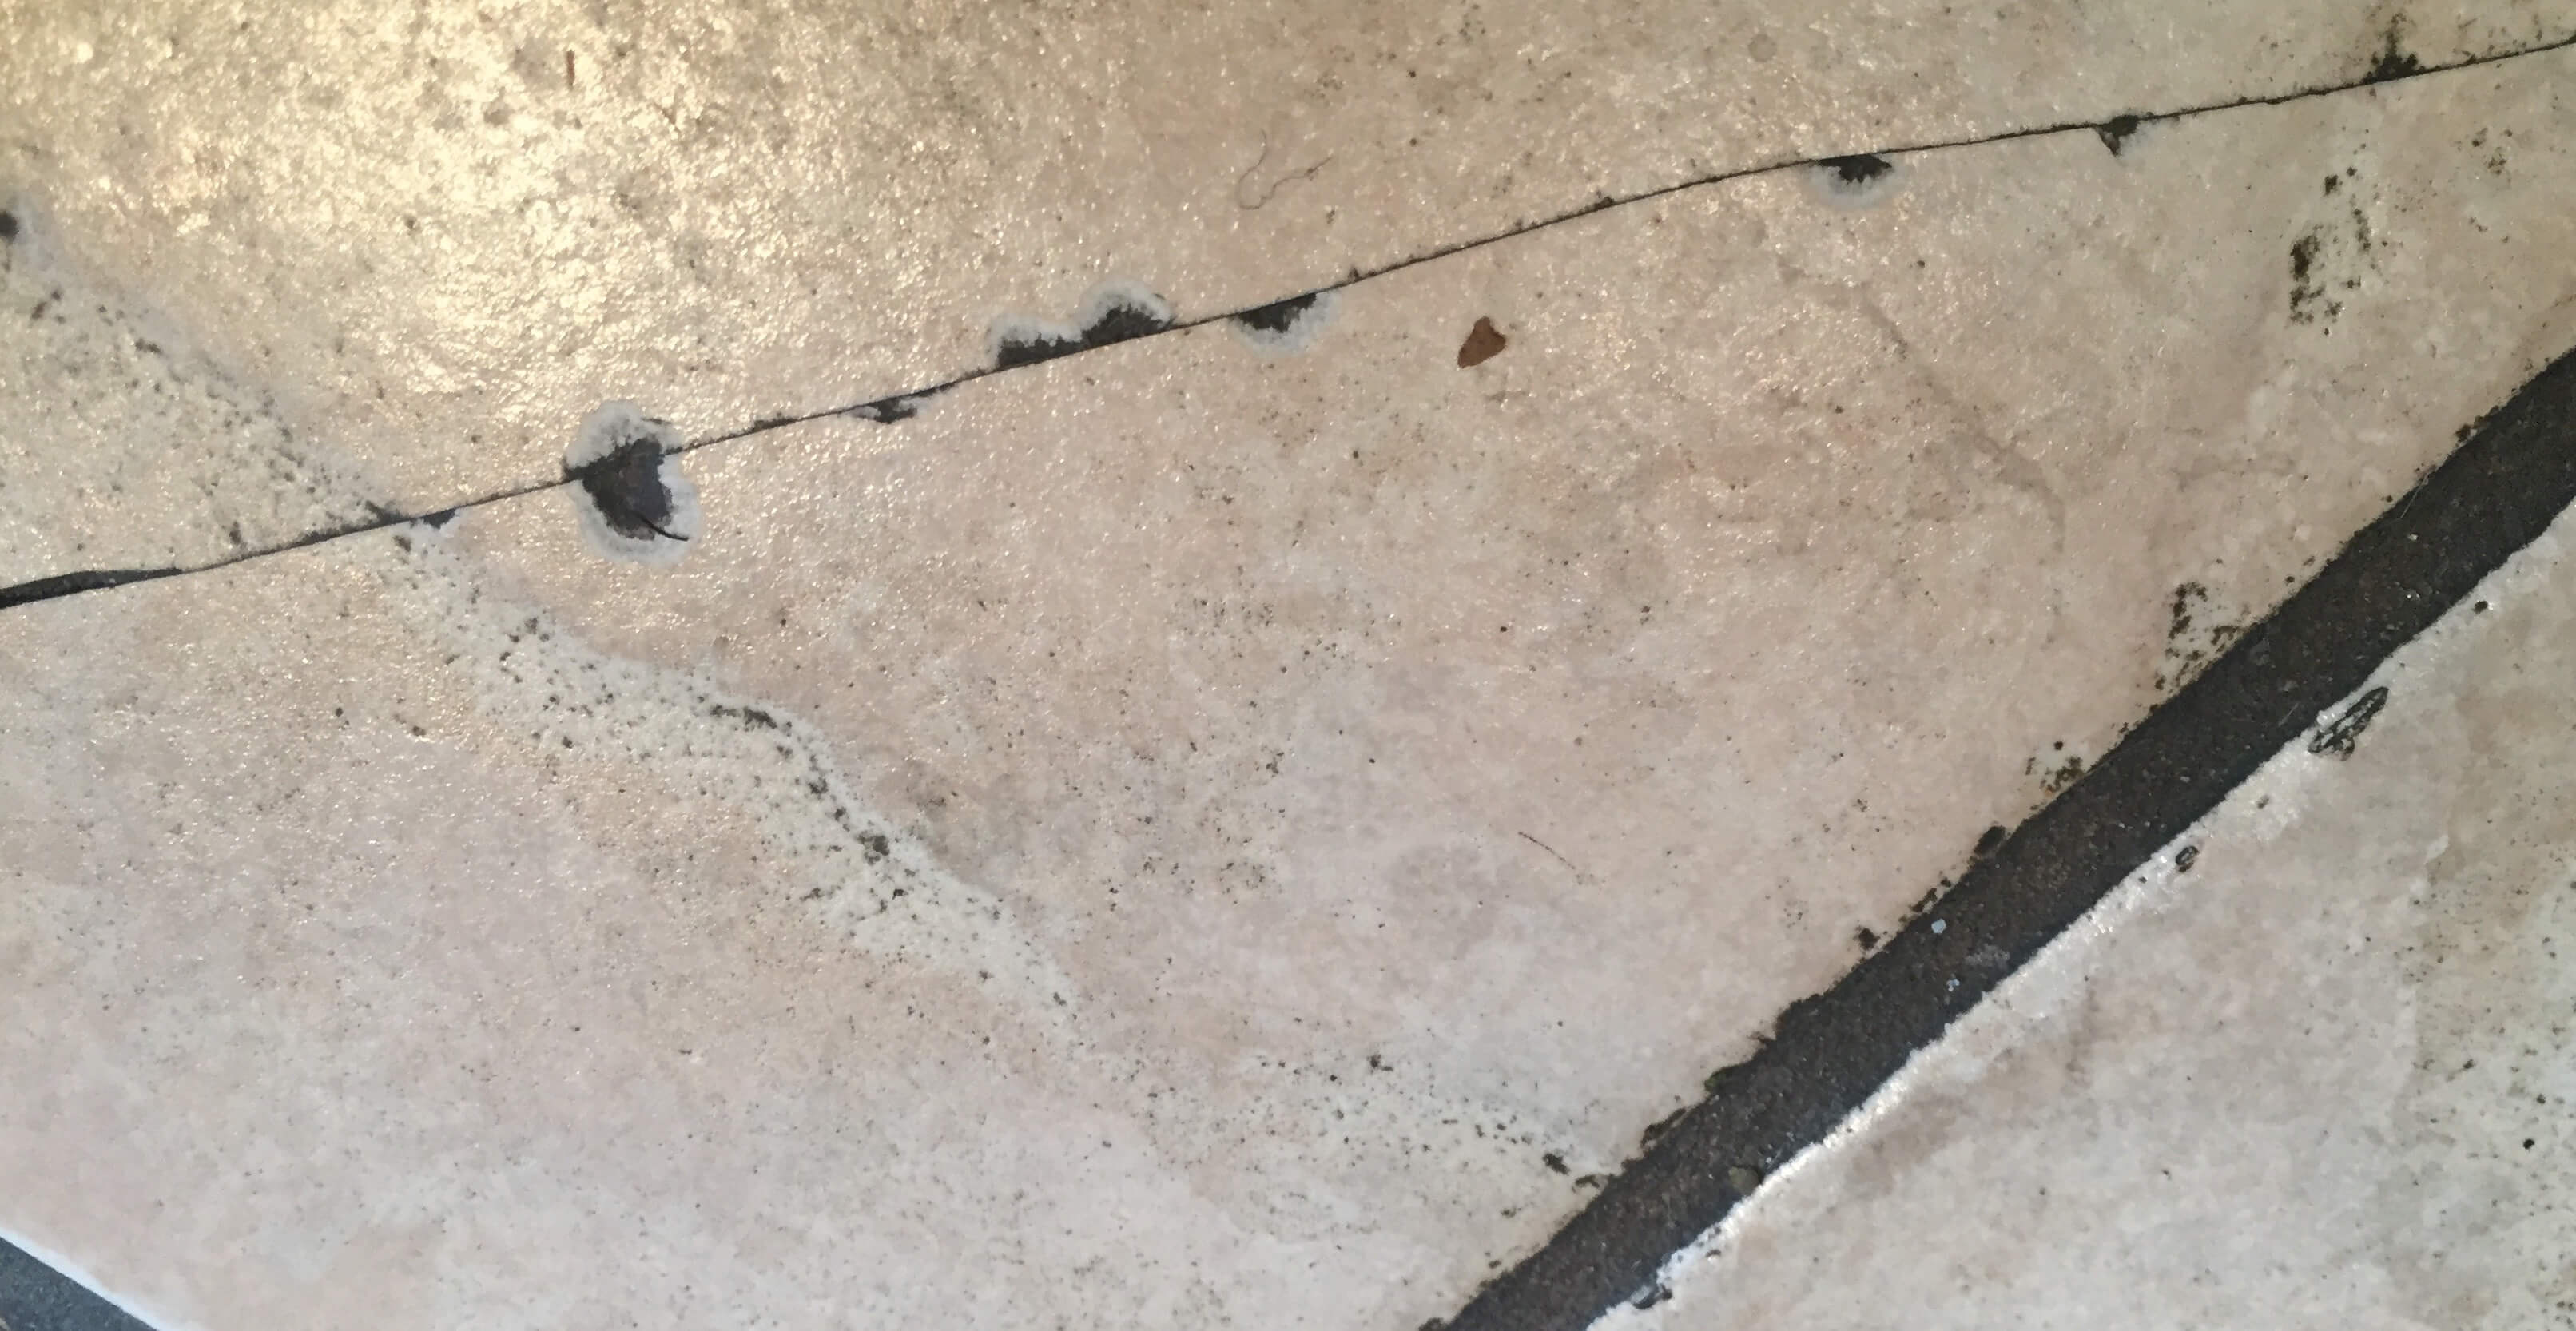
Another common cause of cracked tiles is subfloor movement. This occurs when the foundation beneath the tile surface shifts or settles due to factors such as moisture fluctuations, temperature changes, or inadequate support. As a result, the tiles bear excessive pressure, causing them to crack.
c) Heavy Impact:
The kitchen is a high-traffic area where heavy objects are often dropped or moved around. A significant impact from dropping heavy pots or pans can lead to immediate tile cracks. Even smaller impacts over time, such as dragging furniture or appliances across the floor without proper precautions, can contribute to tile damage.
d) Thermal Expansion and Contraction:
Temperature variations can also play a role in causing cracked tiles. When exposed to heat or cold for extended periods, materials expand or contract accordingly. If the tiles and underlying materials lack sufficient flexibility to accommodate thermal movement, cracks may develop.
e) Moisture and Water Damage:
Kitchens are prone to spills and water exposure, especially near sinks, dishwashers, or refrigerators. When moisture seeps through the grout lines or penetrates beneath the tiles, it can weaken the adhesive bond and compromise the overall integrity of the floor. Over time, this moisture damage can result in cracked tiles.
2. Solutions for Cracked Tiles:
a) Repairing Individual Tiles:
If you have a few isolated cracked tiles in your kitchen floor, repairing them individually can be a cost-effective solution. Here’s how you can do it yourself:
1. Remove the damaged tile: Use a chisel and hammer to carefully chip away at the cracked tile until it breaks into smaller pieces. Be cautious not to damage surrounding tiles.
2. Clean the area: Remove any debris or adhesive remnants from the subfloor using a scraper or putty knife. Ensure that the surface is smooth and free from any loose material.
3. Apply adhesive: Spread a thin layer of tile adhesive on the clean subfloor using a notched trowel. Make sure to use an adhesive suitable for your specific tile material.
4. Install new tile: Press the replacement tile firmly into the adhesive, aligning it with neighboring tiles for a seamless appearance. Allow sufficient drying time before applying grout.
5. Grout the tile: Once the adhesive has dried, fill the gaps between tiles with grout using a grout float. Wipe off excess grout with a damp sponge and let it cure according to manufacturer instructions.
b) Complete Floor Replacement:
In cases where multiple tiles are cracked Beyond repair or if the underlying foundation is severely compromised, a complete floor replacement may be necessary. This is a more extensive and costly solution, but it ensures a long-lasting and aesthetically pleasing result. Here are the steps involved in a complete floor replacement:
1. Remove old tiles: Use a chisel and hammer to carefully remove all the cracked tiles from the floor. Be cautious not to damage the subfloor or surrounding tiles.
2. Inspect the subfloor: Check the condition of the subfloor to ensure it is stable and free from any damage or moisture issues. If necessary, repair or replace any damaged areas.
3. Prepare the surface: Clean the subfloor thoroughly, removing any debris, adhesive remnants, or loose material. Ensure that the surface is smooth and level.
4. Apply tile adhesive: Spread a thin layer of tile adhesive on the prepared subfloor using a notched trowel. Make sure to use an adhesive suitable for your specific tile material.
5. Install new tiles: Place each tile firmly into the adhesive, aligning them properly to create an even and seamless floor surface. Use spacers between tiles to maintain consistent grout lines.
6. Allow for proper curing time: Follow manufacturer instructions for drying and curing times of the adhesive before proceeding with grouting.
7. Grout the tiles: Fill the gaps between tiles with grout using a grout float, making sure to press it firmly into the joints. Remove excess grout with a damp sponge before it fully dries.
8. Seal the grout: Once the grout has dried completely, apply a grout sealer to protect it from stains and moisture damage.
By following these steps, you can effectively repair individual cracked tiles or perform a complete floor replacement in your kitchen. Remember to choose high-quality materials and take proper precautions to prevent future tile damage.