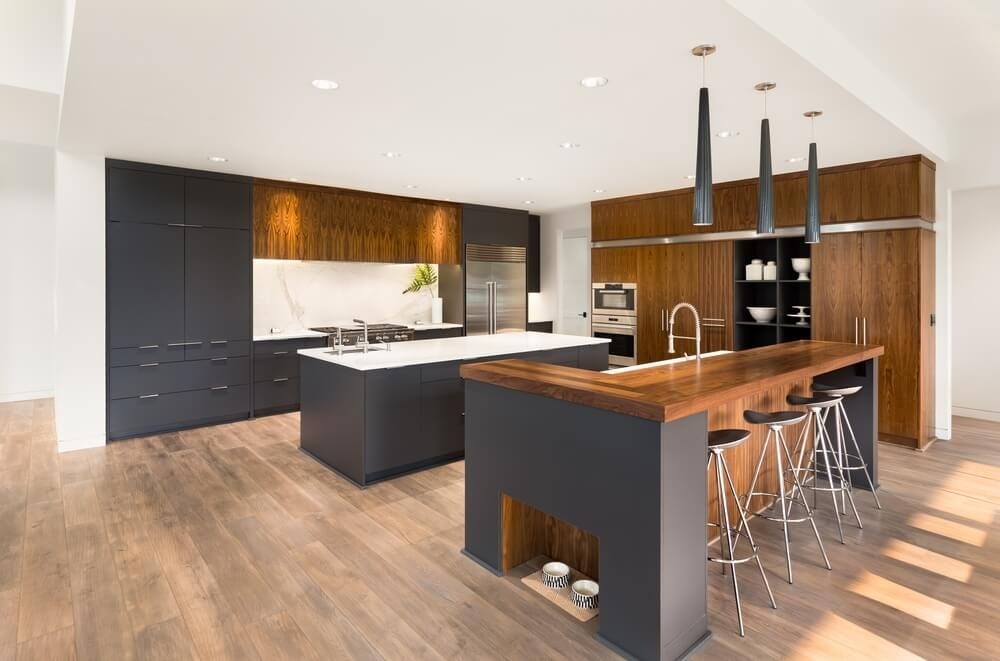
Bamboo kitchen flooring is known to be pretty durable and strong. At some point the perfect approach to help make the choice on kitchen area flooring material is to look through samples that are free from warehouse, wholesale, commercial enterprises and showrooms in your general vicinity. Many home holders have a propensity making the error of not offering plenty of thought to kitchen area flooring options.
Images about Installing Wood Floors In Kitchen
Commercial kitchen flooring used to be tough to uncover. There are numerous shades and species of colors which could produce the perfect kitchen you want. It is going to need to match the adjoining areas if it isn't the same choice of flooring. It is ideal to be used in kitchen flooring. Saltillo tiles are for Mediterranean created kitchens which should be sealed and cleaned with damp cloth without chemical substances.
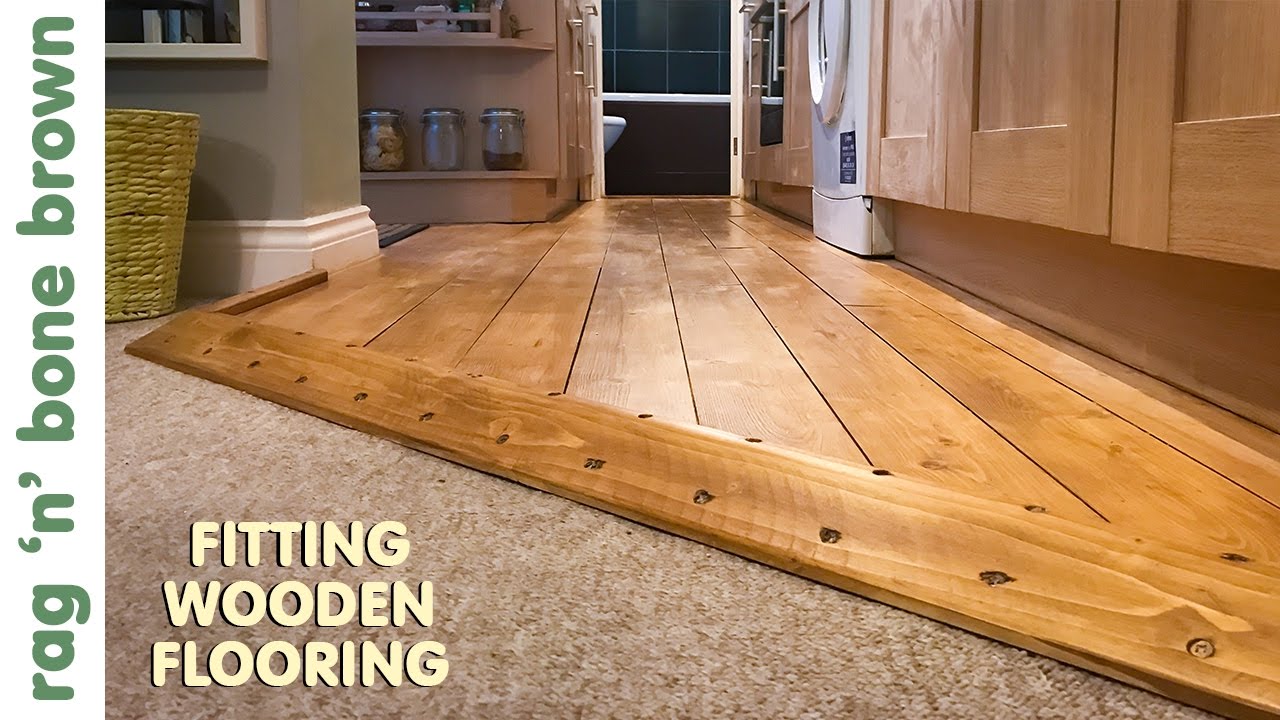
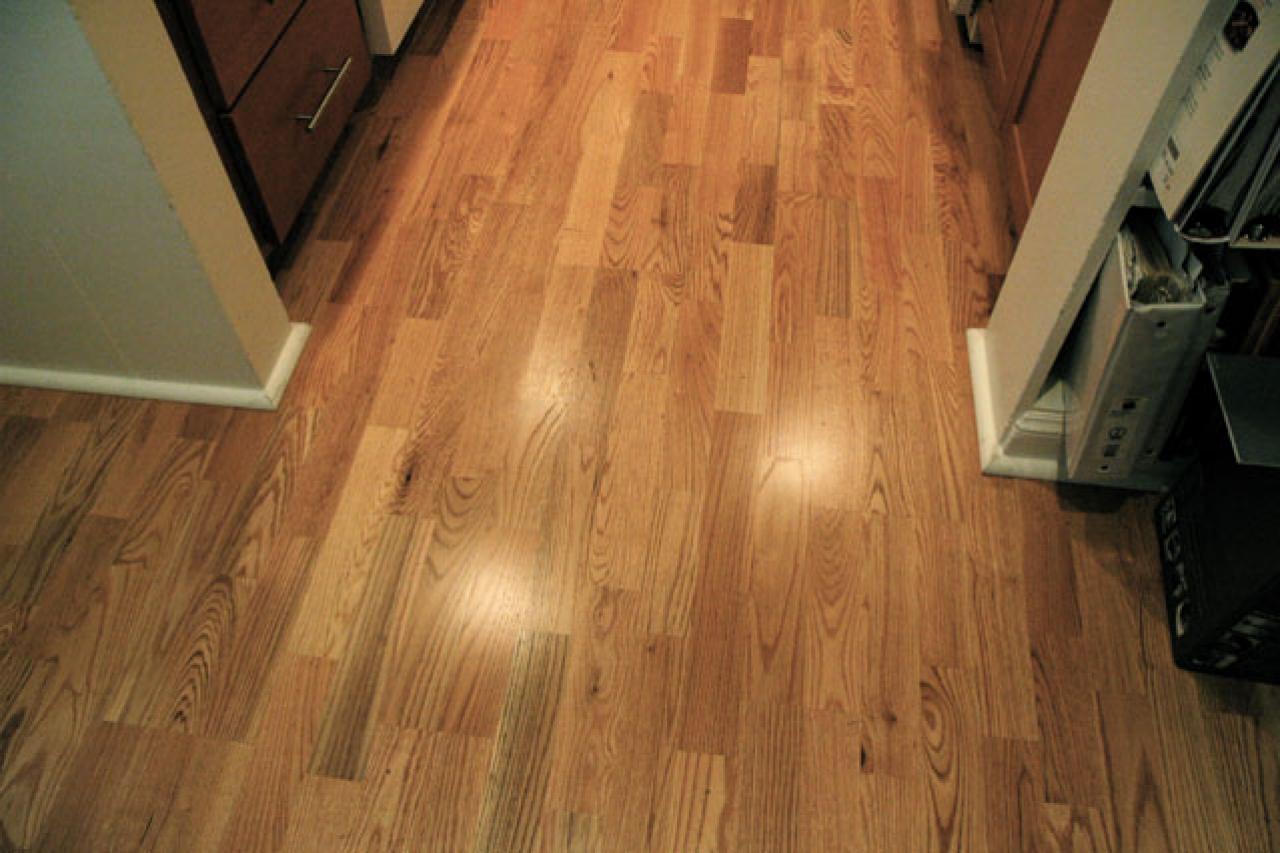
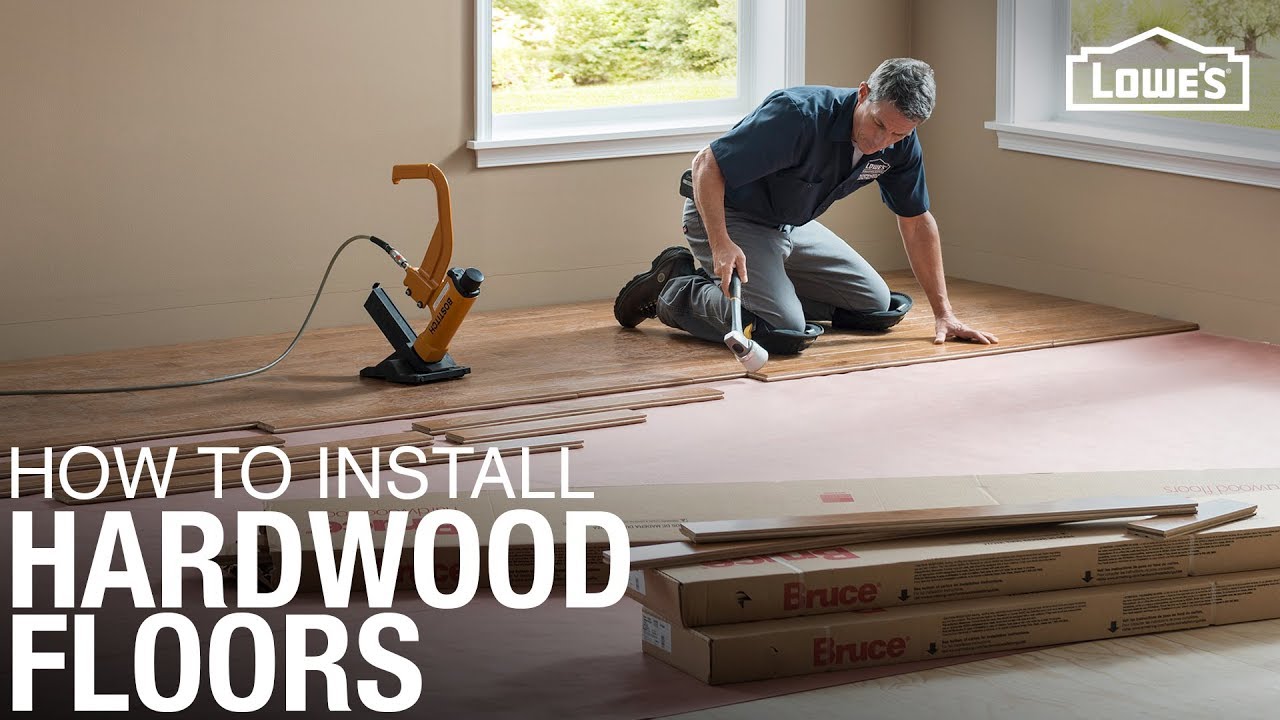
How to Install Hardwood Flooring in a Kitchen HGTV
If you're excited about developing a standard looking kitchen, then you should think of going for solid wood flooring. This's because bamboo is prone to scratches to ensure that dirt, sand and also other particles are able to bring about some damage. The way you are able to purchase a sense along with a idea of which flooring option will best suit your kitchen renovation plans.
Should You Install Hardwood In Your Kitchen? in Buffalo, MN
How to Install u0026 Lay New Flooring Flooring America
![]()
Installing Kitchen Flooring or Cabinets First? – This Old House
/cdn.vox-cdn.com/uploads/chorus_image/image/66530483/32_cabinets_styles.0.jpg)
Hardwood Flooring in the Kitchen HGTV

Install Floors or Cabinets First? Kitchen Reno Tips BuildDirect

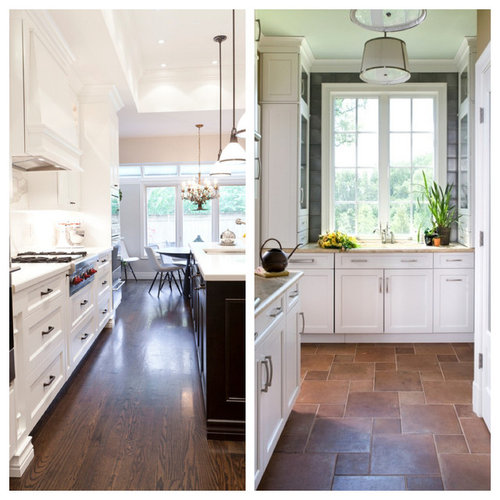
POLL: Wood Floors in the Kitchen?
Pros and Cons of Installing Laminate in the KitchenLearning Center

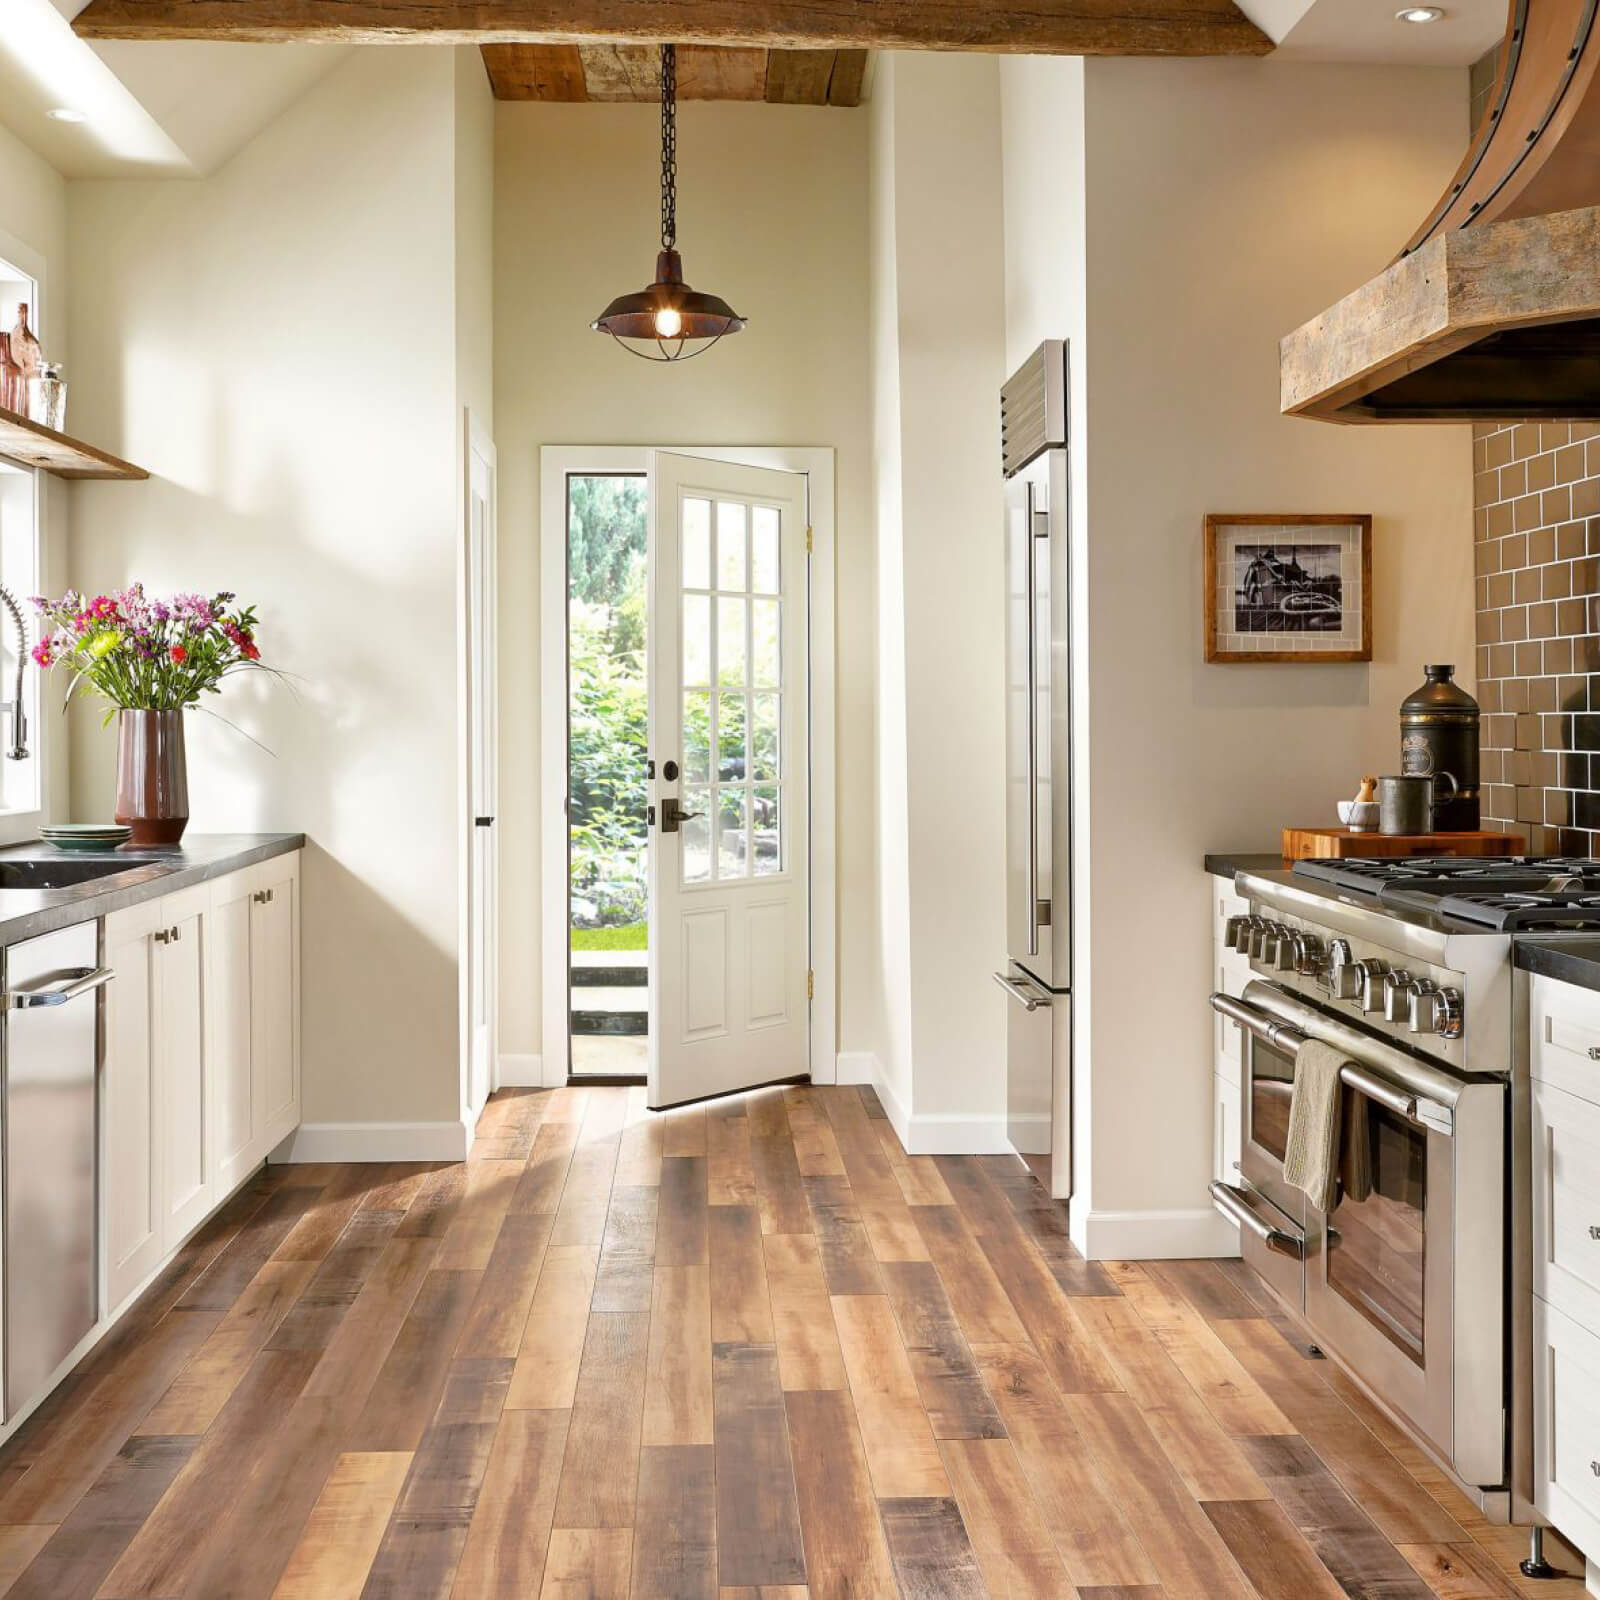
Should You Use Hardwood Floors in Kitchens and Bathrooms?
Whatu0027s the Right Wood Floor Installation for You?

What To Expect From A Hardwood Flooring Installation
Install Floors or Cabinets First? Kitchen Reno Tips BuildDirect

Learn How to Install Hardwood Floors DIY Projects
Related Posts:
- Home Floor And Kitchens
- Floor Tiles White Kitchen
- Cracked Tiles In Kitchen Floor
- Clean My Kitchen Floor
- Can You Put Kitchen Cabinets On Top Of Laminate Flooring
- Is Marble Floor Good For Kitchen
- Ikea Kitchen Floor To Ceiling Cabinets
- Bamboo Flooring In Kitchen Reviews
- Best Non Slip Kitchen Flooring
- Patterned Kitchen Floor
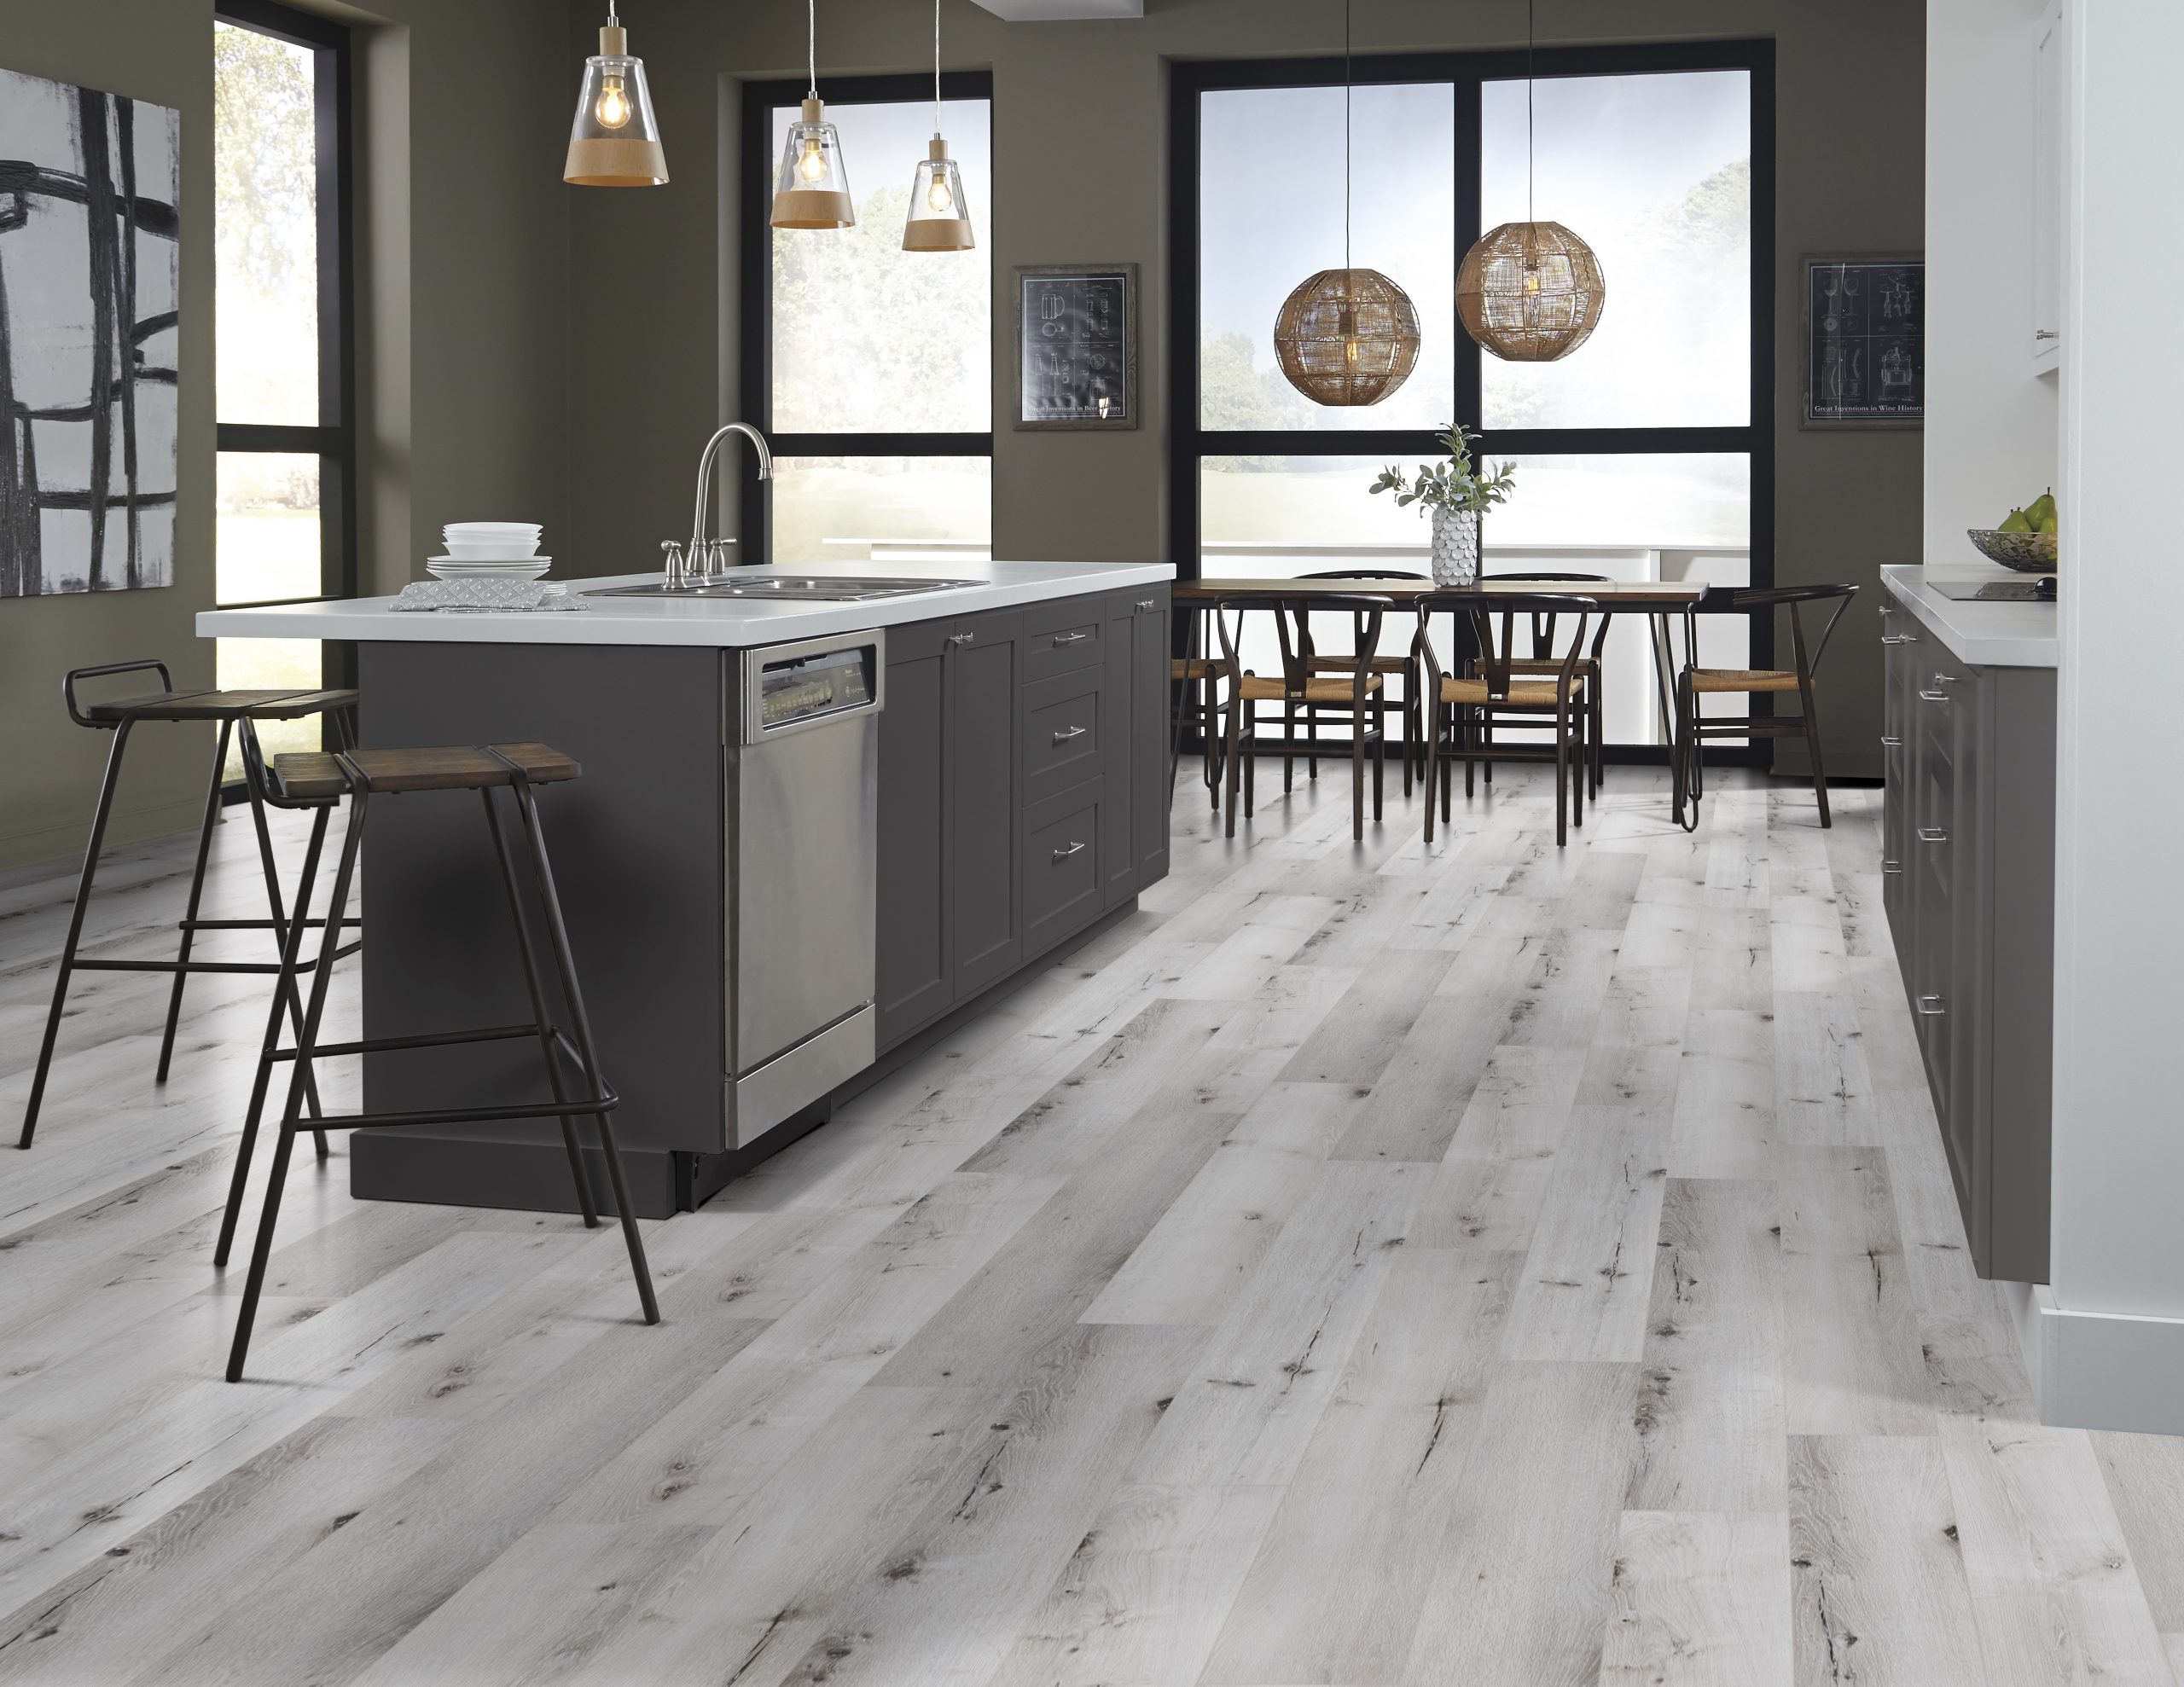
Installing Wood Floors In Kitchen
Wood floors are a popular choice for kitchens due to their timeless beauty, durability, and ability to add warmth and character to any space. However, installing wood floors in a kitchen requires careful planning and execution to ensure long-lasting results. In this article, we will guide you through the process of installing wood floors in your kitchen, covering everything from choosing the right type of wood to proper installation techniques and maintenance.
Choosing the Right Type of Wood
The first step in installing wood floors in your kitchen is selecting the right type of wood. Not all types of wood are suitable for kitchen environments, as they need to withstand moisture, spills, and heavy foot traffic. Hardwoods such as oak, maple, cherry, and walnut are excellent choices for kitchen floors due to their durability and resistance to moisture.
When choosing wood for your kitchen floor, consider the hardness rating of the wood species. The Janka hardness scale measures how resistant a wood species is to dents and wear. Opt for woods with higher ratings, such as Brazilian cherry or hickory, for increased durability in high-traffic areas like kitchens.
Additionally, consider the grain pattern and color of the wood. Different woods offer varying aesthetics that can complement your kitchen design. Whether you prefer a rustic look with prominent grain patterns or a sleek contemporary style with minimal grain, there is a wide range of options available to suit your taste.
Preparing the Subfloor
Before installing new wood flooring in your kitchen, it is crucial to prepare the subfloor properly. The subfloor should be clean, dry, level, and structurally sound. Remove any existing flooring materials down to the subflooring and ensure that it is free from debris and dust.
If there are any dips or uneven areas on the subfloor, use a leveling compound to create a smooth surface. Allow sufficient time for the compound to dry before proceeding with the installation.
Installing Underlayment
Underlayment is a vital component of wood floor installations as it provides a cushioning layer, helps reduce noise, and acts as a moisture barrier. In kitchens, where spills are more likely to occur, using underlayment with moisture resistance properties is essential.
There are various types of underlayment available for wood floors, including foam, cork, and rubber. Foam underlayment is the most commonly used type due to its affordability, ease of installation, and moisture resistance. However, if you are looking for superior sound insulation or have specific moisture concerns, consider options such as cork or rubber underlayment.
Once you have chosen the appropriate underlayment material for your kitchen floor, roll it out across the entire area. Trim any excess material along the edges using a utility knife and secure it in place using adhesive tape.
Installing the Wood Flooring
With the subfloor prepared and underlayment in place, you can now begin installing the wood flooring in your kitchen. Follow these steps for a successful installation:
1. Acclimate the Wood: Before installing the wood flooring, allow it to acclimate to the kitchen environment by placing it in the room for at least 72 hours. This step allows the wood to adjust to the temperature and humidity conditions of your kitchen.
2. Start with a Reference Line: Begin by establishing a reference line parallel to one of the longest walls in your kitchen. This line will guide you during installation and ensure that your wood flooring is straight and properly aligned.
3. Lay the First Row: Place the first row of Wood flooring along the reference line, with the tongue side facing the wall. Use spacers between the flooring and the wall to allow for expansion. Secure the planks in place using a nail gun or adhesive, following the manufacturer’s instructions.
4. Continue with Subsequent Rows: Lay the next rows of wood flooring, ensuring that each plank is properly aligned and tightly fitted against the previous row. Use a tapping block and mallet to gently tap the planks together if necessary.
5. Cut and Trim as Needed: Measure and cut planks as needed to fit around obstacles such as kitchen islands, cabinets, or appliances. Use a jigsaw or circular saw for straight cuts, and a coping saw or oscillating multitool for curved cuts.
6. Maintain Expansion Gaps: Leave a small expansion gap between the flooring and any fixed objects such as walls or cabinets. This gap allows for natural movement of the wood due to changes in temperature and humidity.
7. Finish with Trim Pieces: Install trim pieces such as baseboards or quarter round along the edges of the flooring to provide a finished look and cover any gaps.
8. Allow for Proper Drying Time: After installation, allow the wood flooring to dry completely before using your kitchen. Follow the manufacturer’s recommendations for drying time, which is typically around 24-48 hours.
9. Maintain and Care for Your Wood Flooring: To keep your wood flooring in optimal condition, regularly clean it with a hardwood floor cleaner and avoid using excessive water or harsh cleaning agents. Place protective mats or rugs in high-traffic areas to prevent scratches and wear.
By properly preparing and installing wood flooring in your kitchen, you can enhance its aesthetic appeal and durability. Follow these guidelines to ensure a successful and long-lasting installation that will withstand the demands of your kitchen environment.